Restoring old 1985 Corolla For Fun and Profit
** eurobeat intensifies
This blog documents the joy, frustration, and occasional existential dread of reviving a Toyota Corolla Sprinter Trueno. Expect rust, regrets, and maybe redemption — all in the name of JDM dreams and questionable financial decisions.
So, I recently stumbled into a project I didn’t know I needed.
While casually scrolling through Facebook Marketplace, I saw someone selling a Toyota 3A engine. Out of curiosity, I messaged the guy — just to ask what car it came from. “A Trueno,” he said. That instantly caught my attention. I pressed a bit further and asked if he was planning to sell the whole car. His response? “Kinda… but come check it out first.”
I did exactly that.
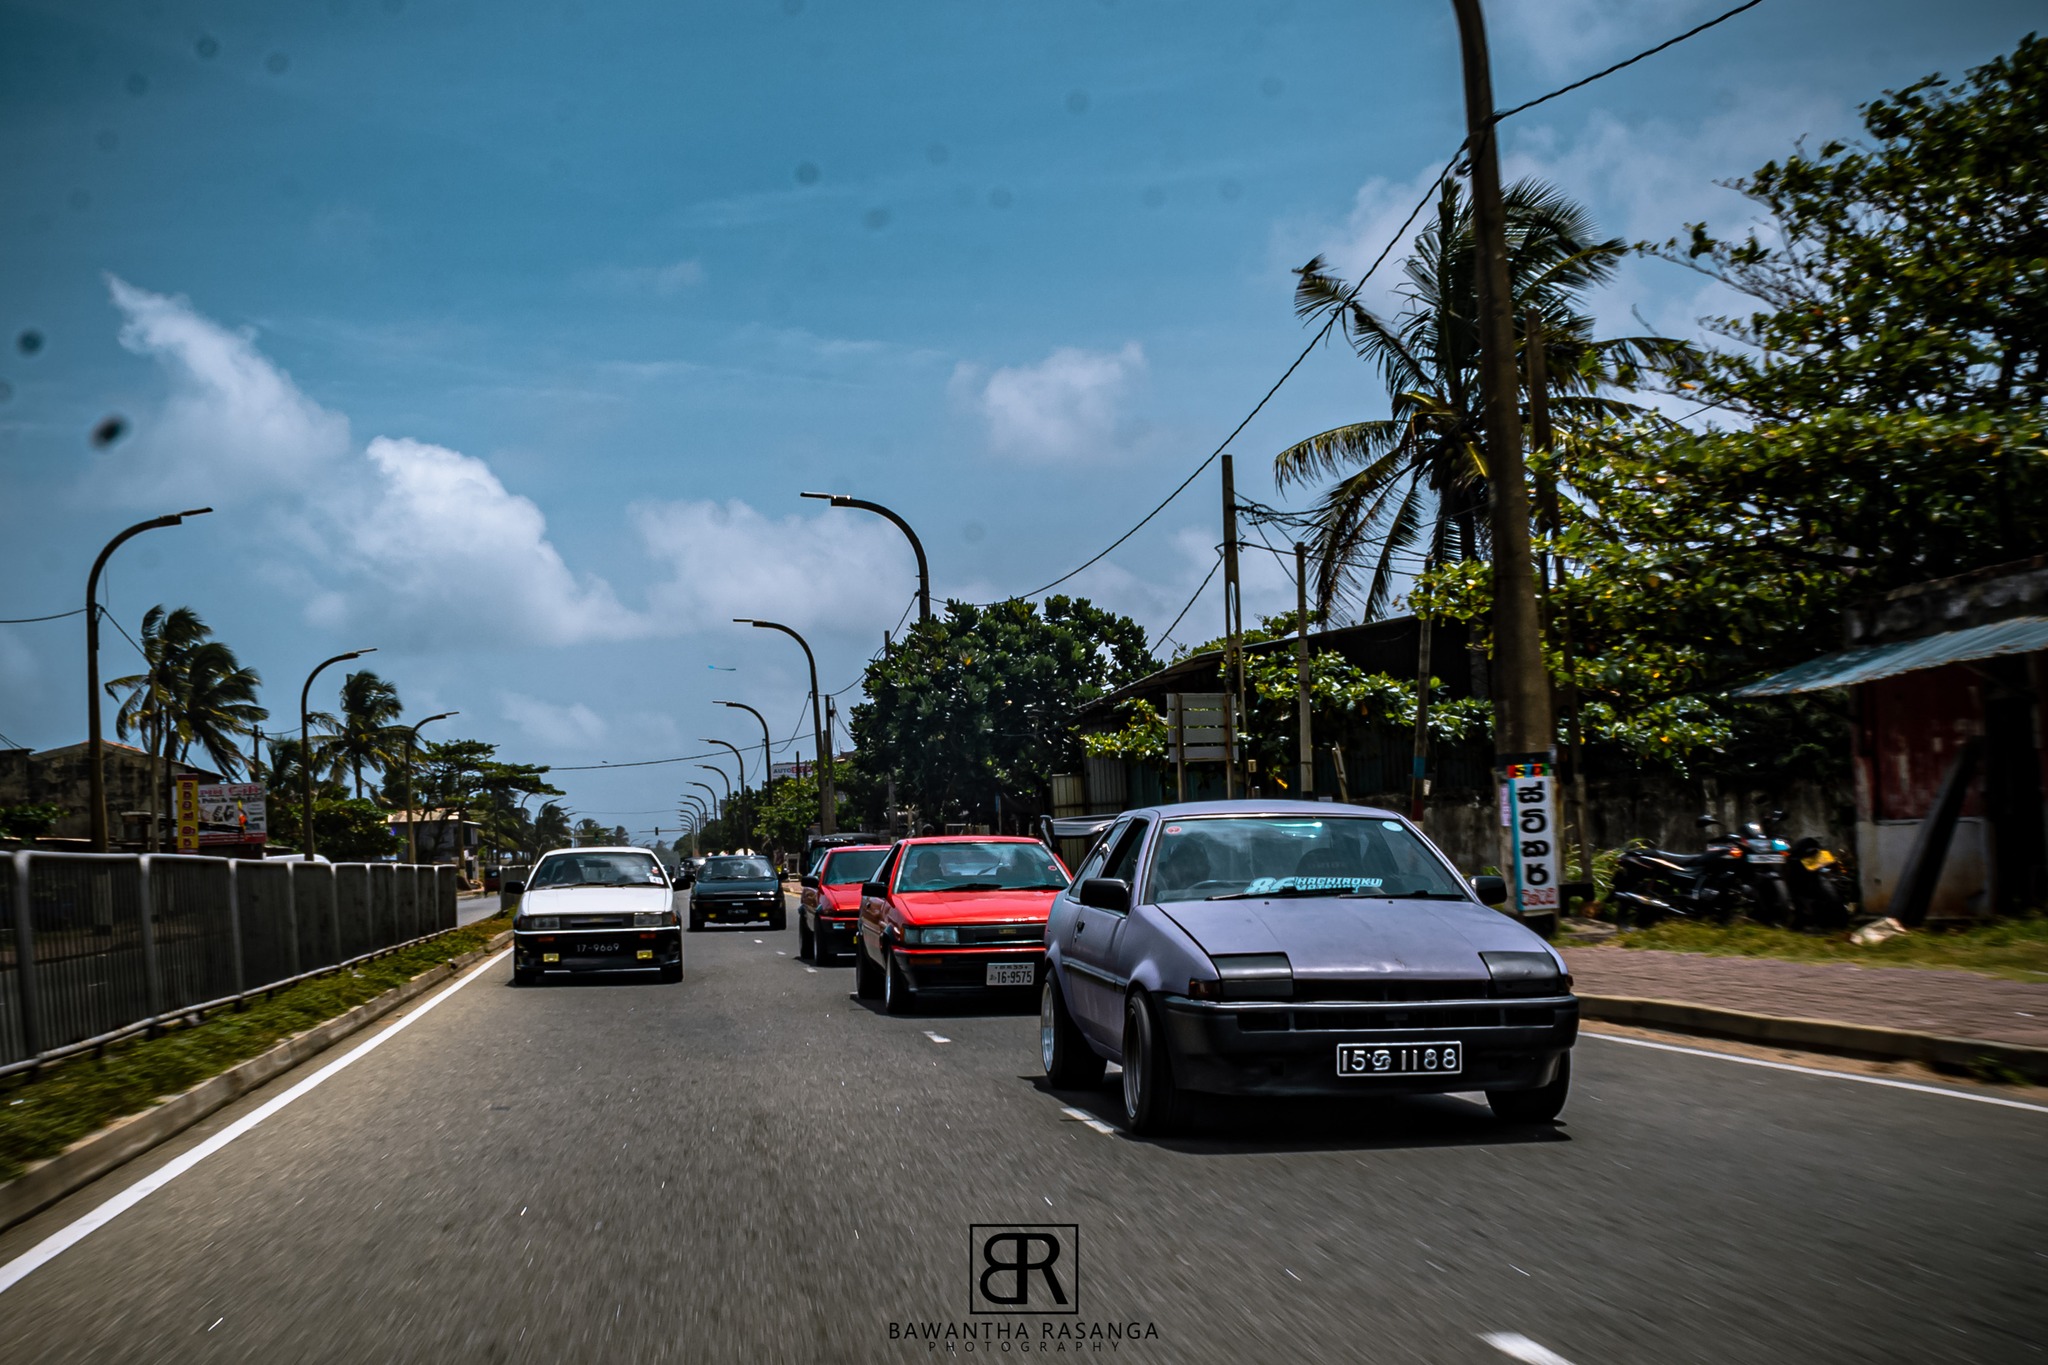
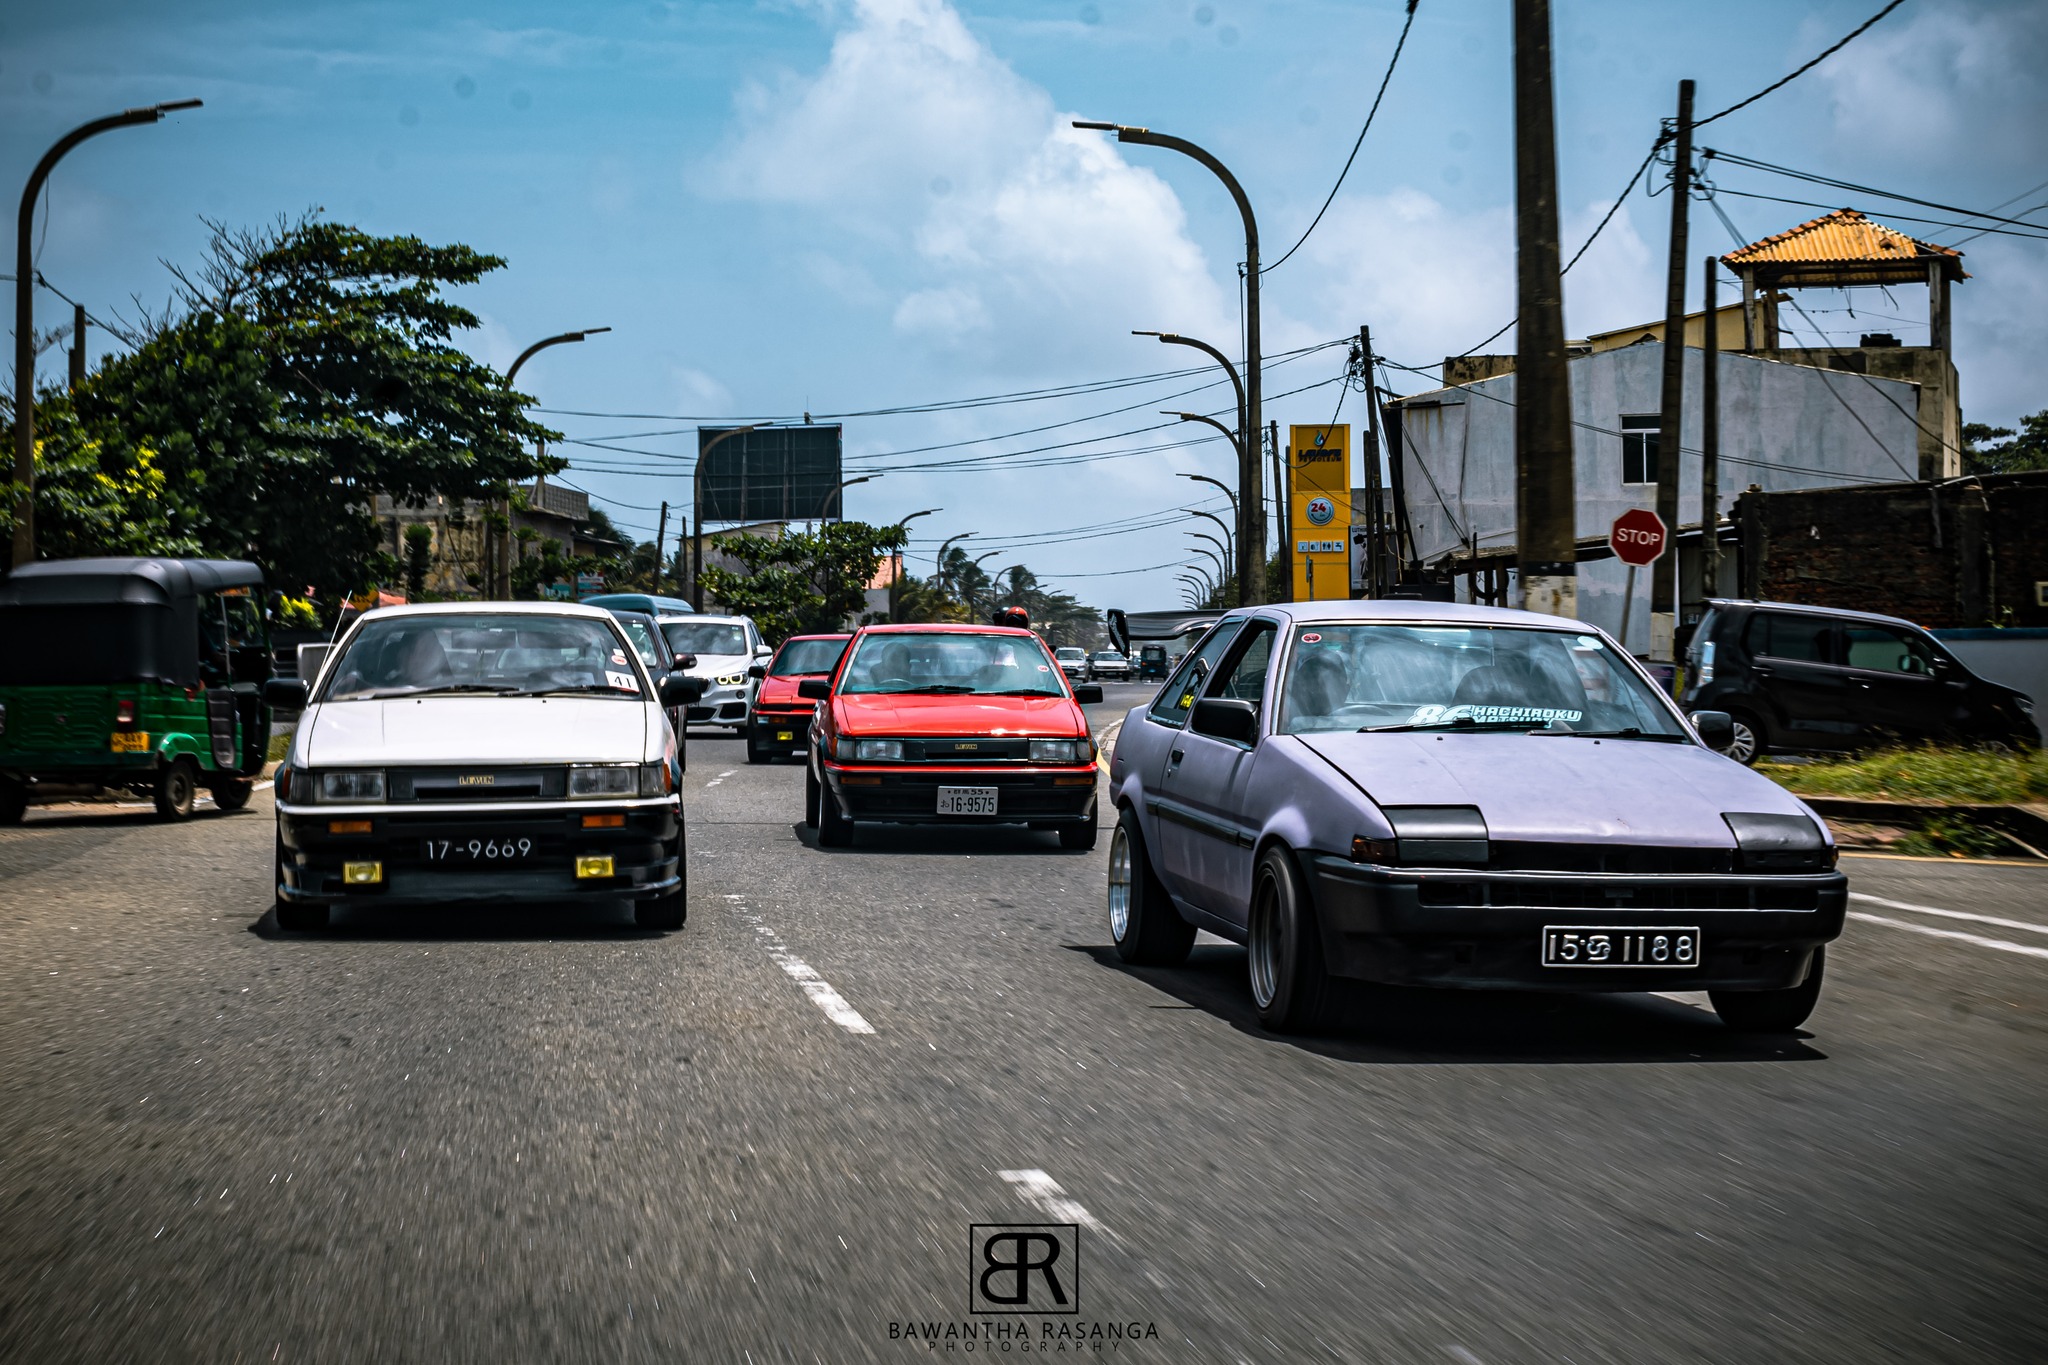
The car turned out to be an old Toyota Corolla Sprinter Trueno — and not just any Trueno. This one was a former hill climb racer, with a bit of local legend attached to it.
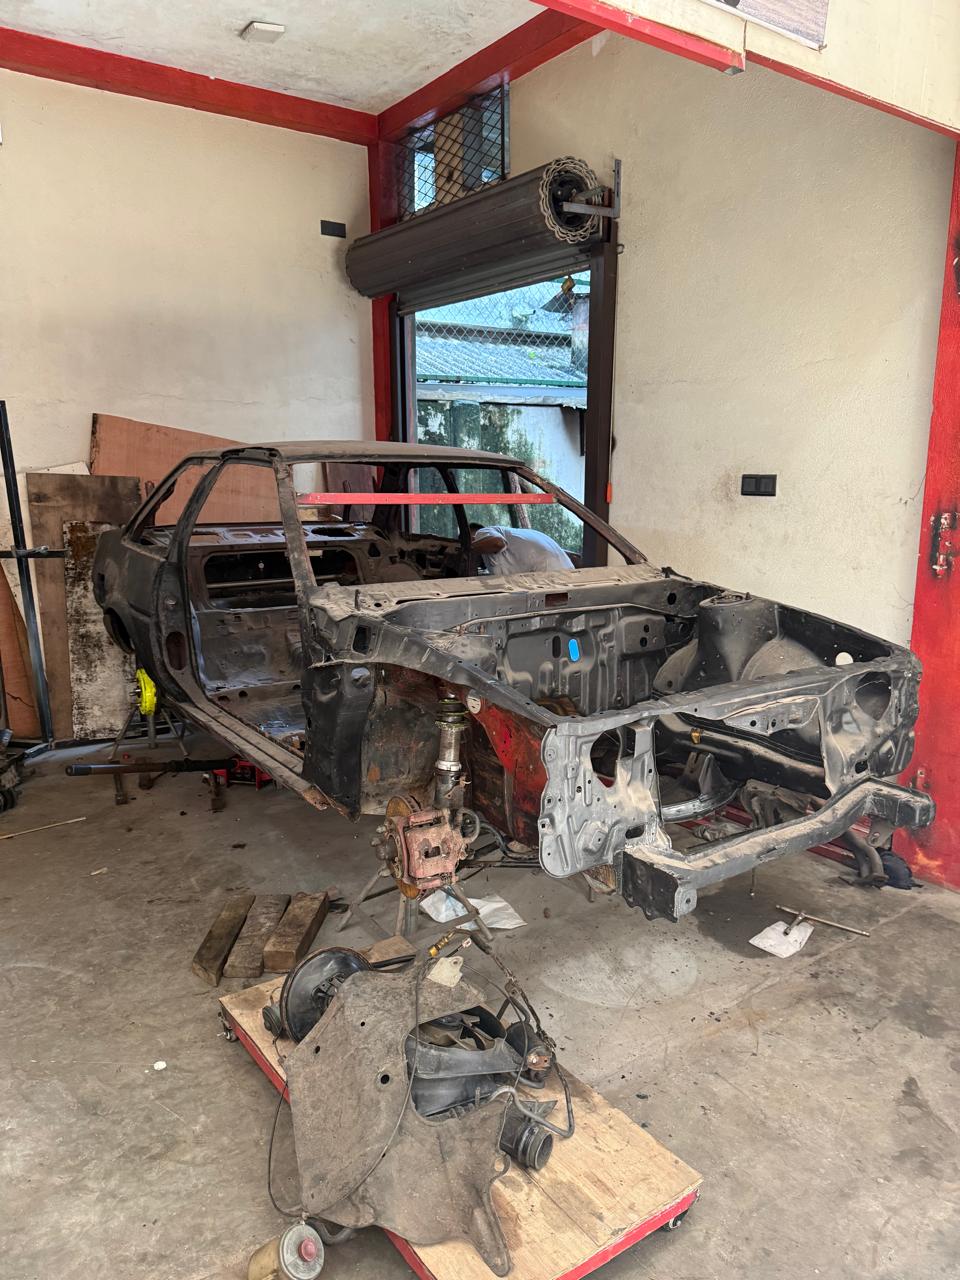
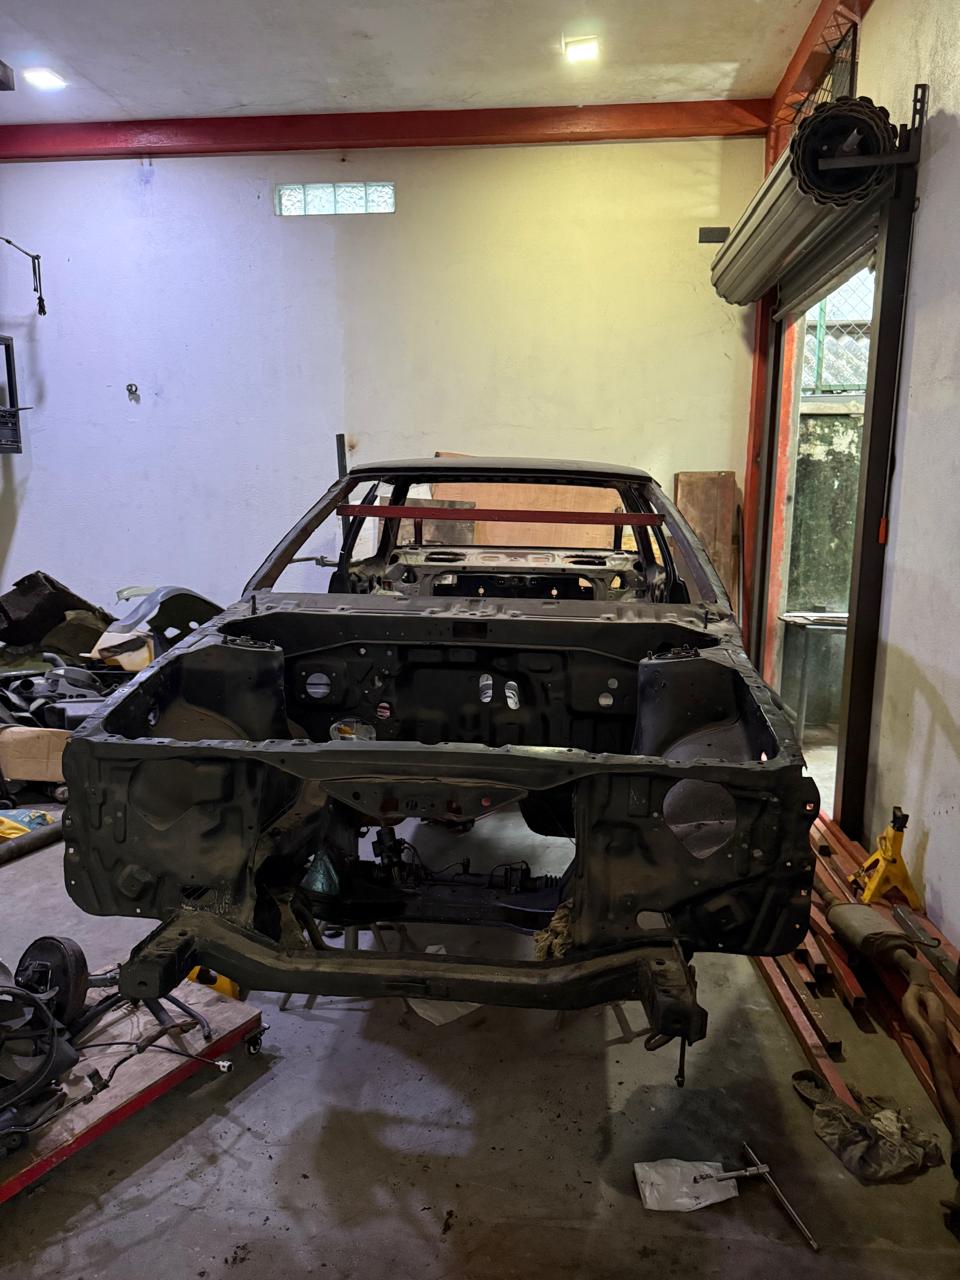
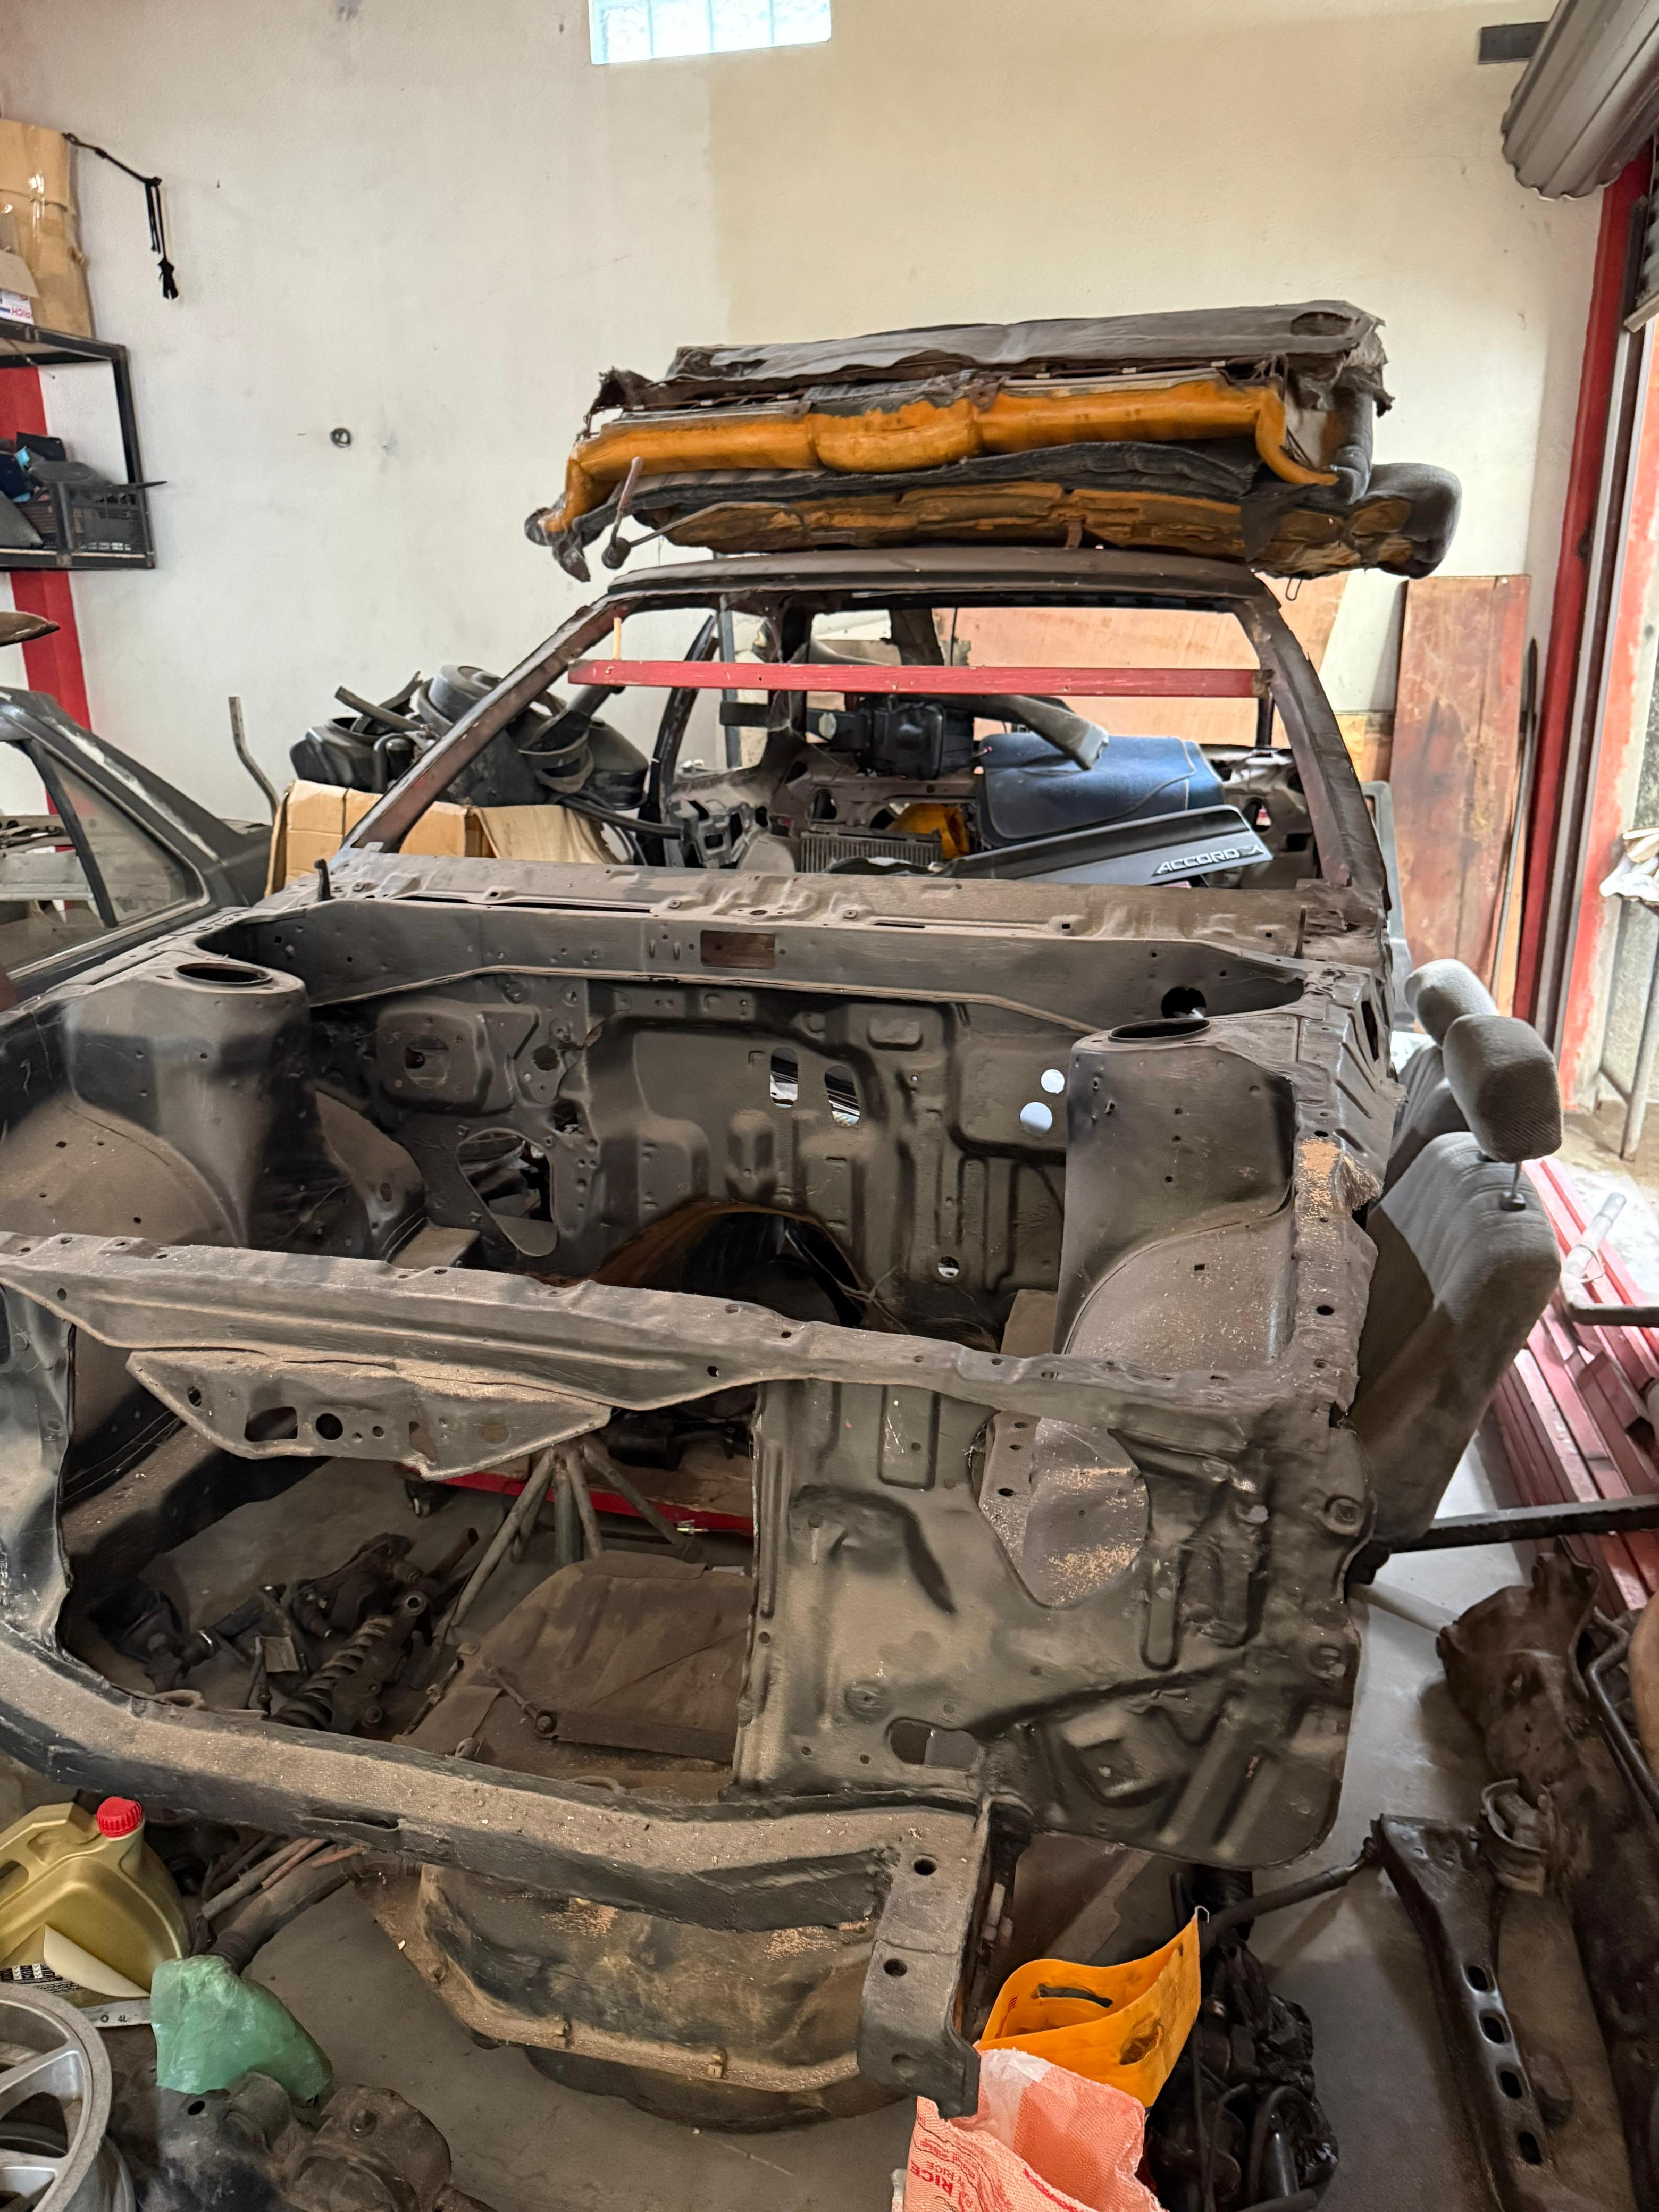
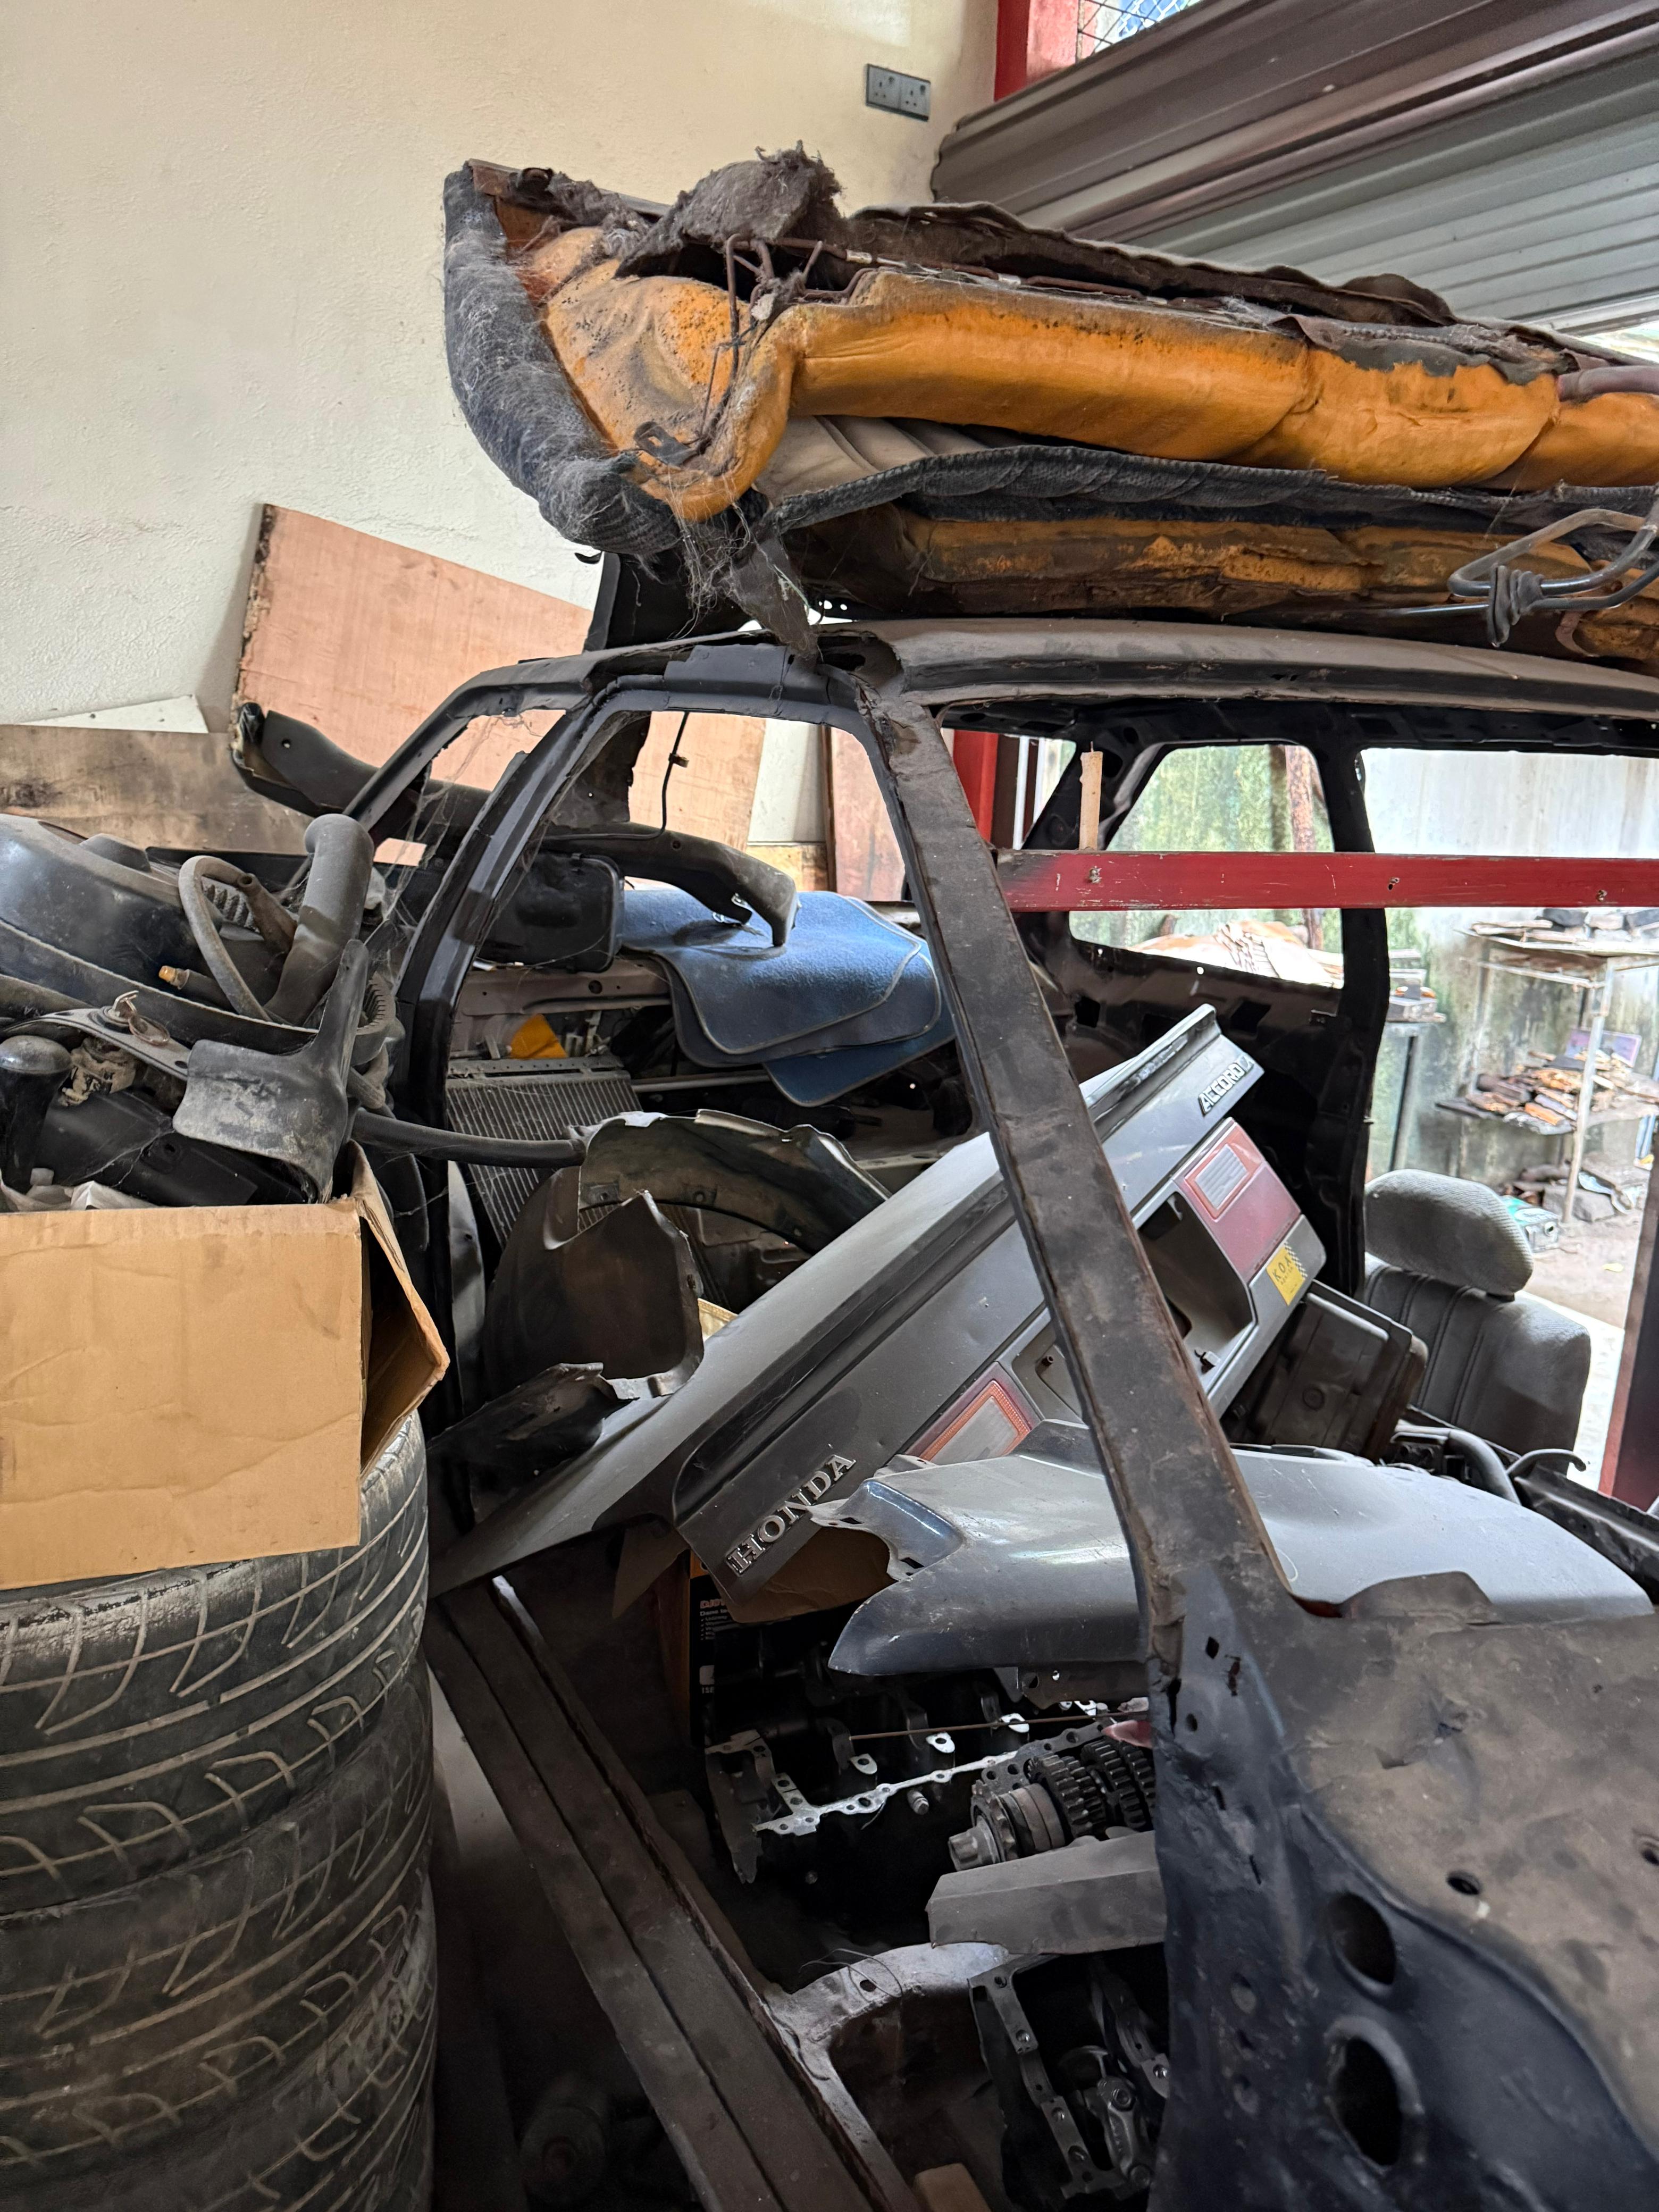
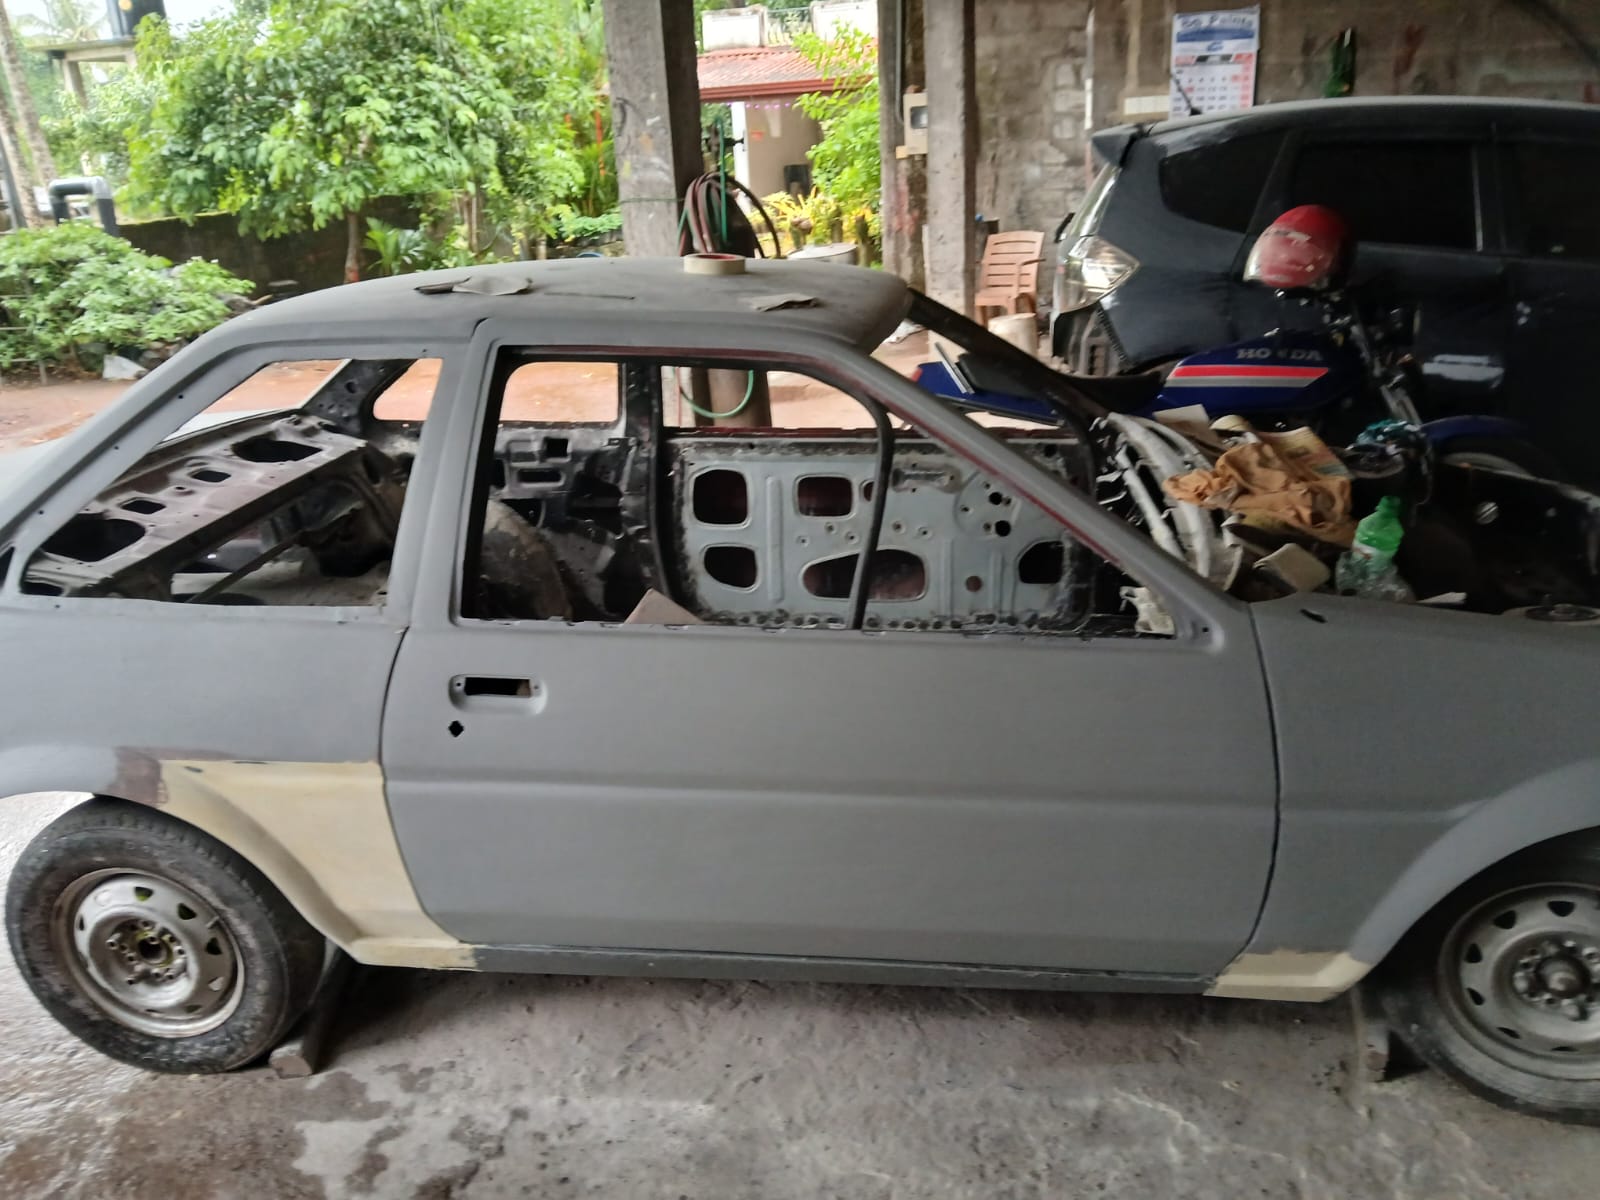
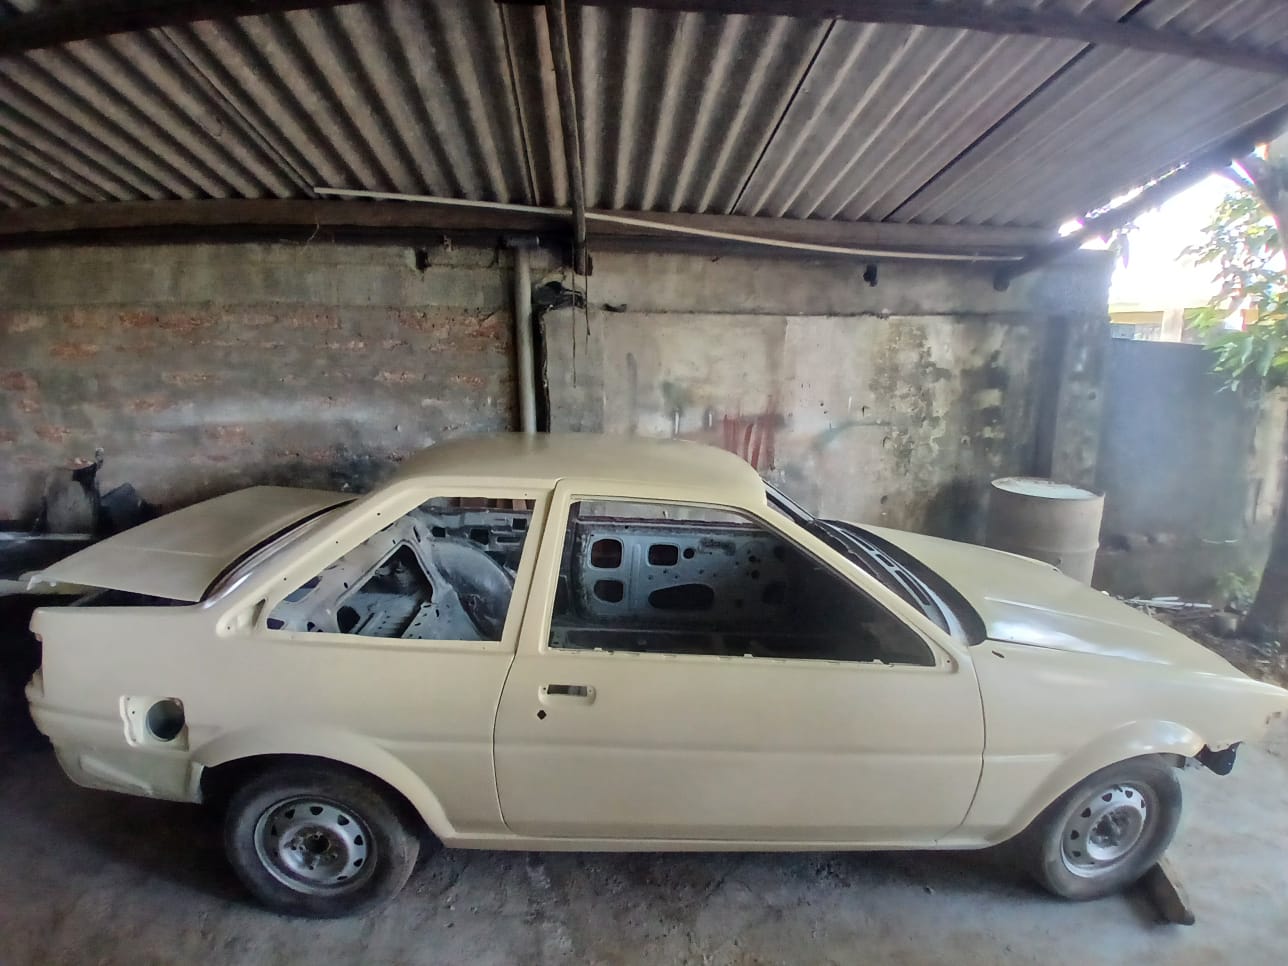
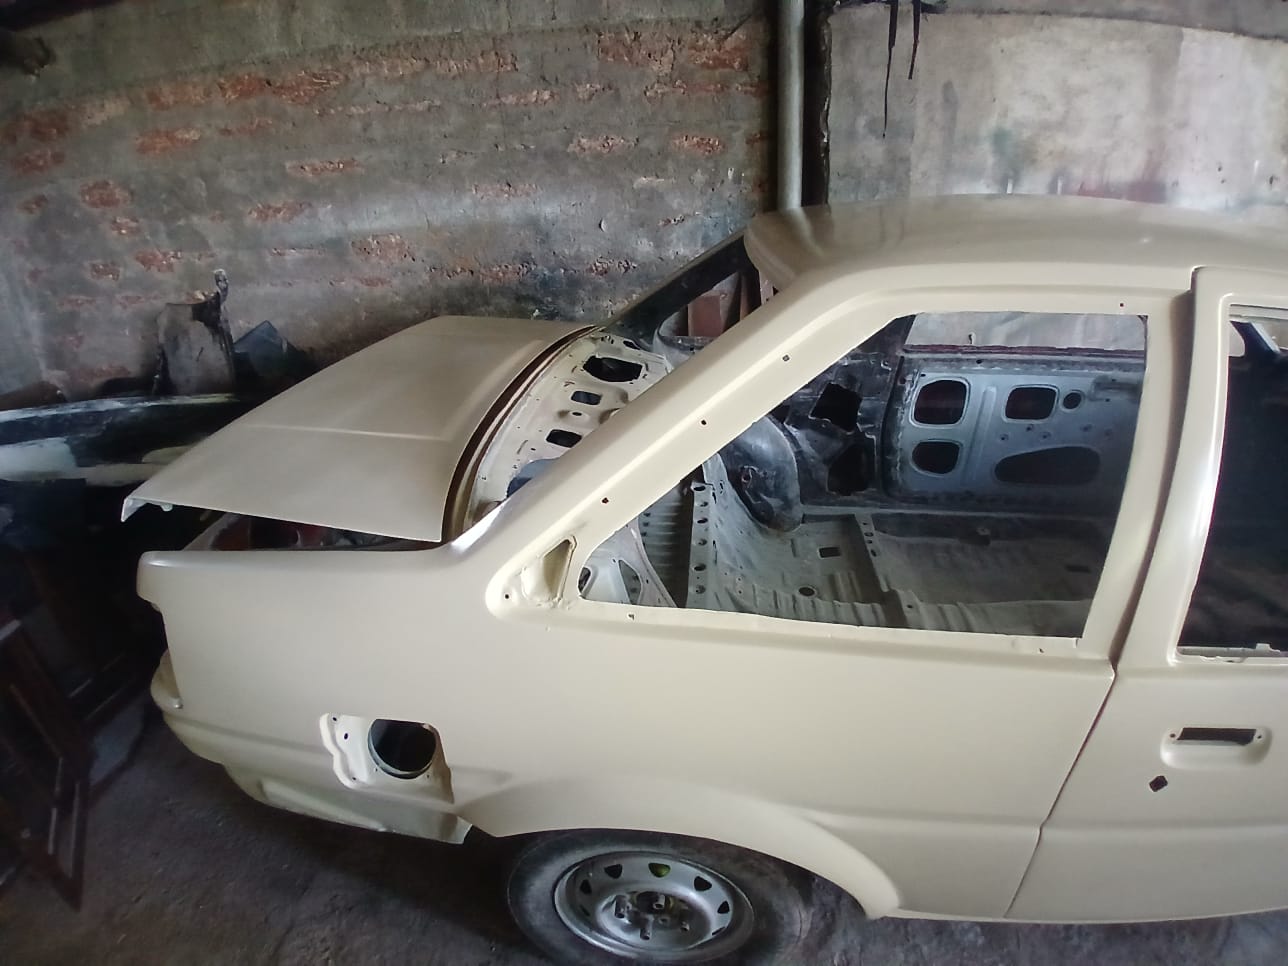
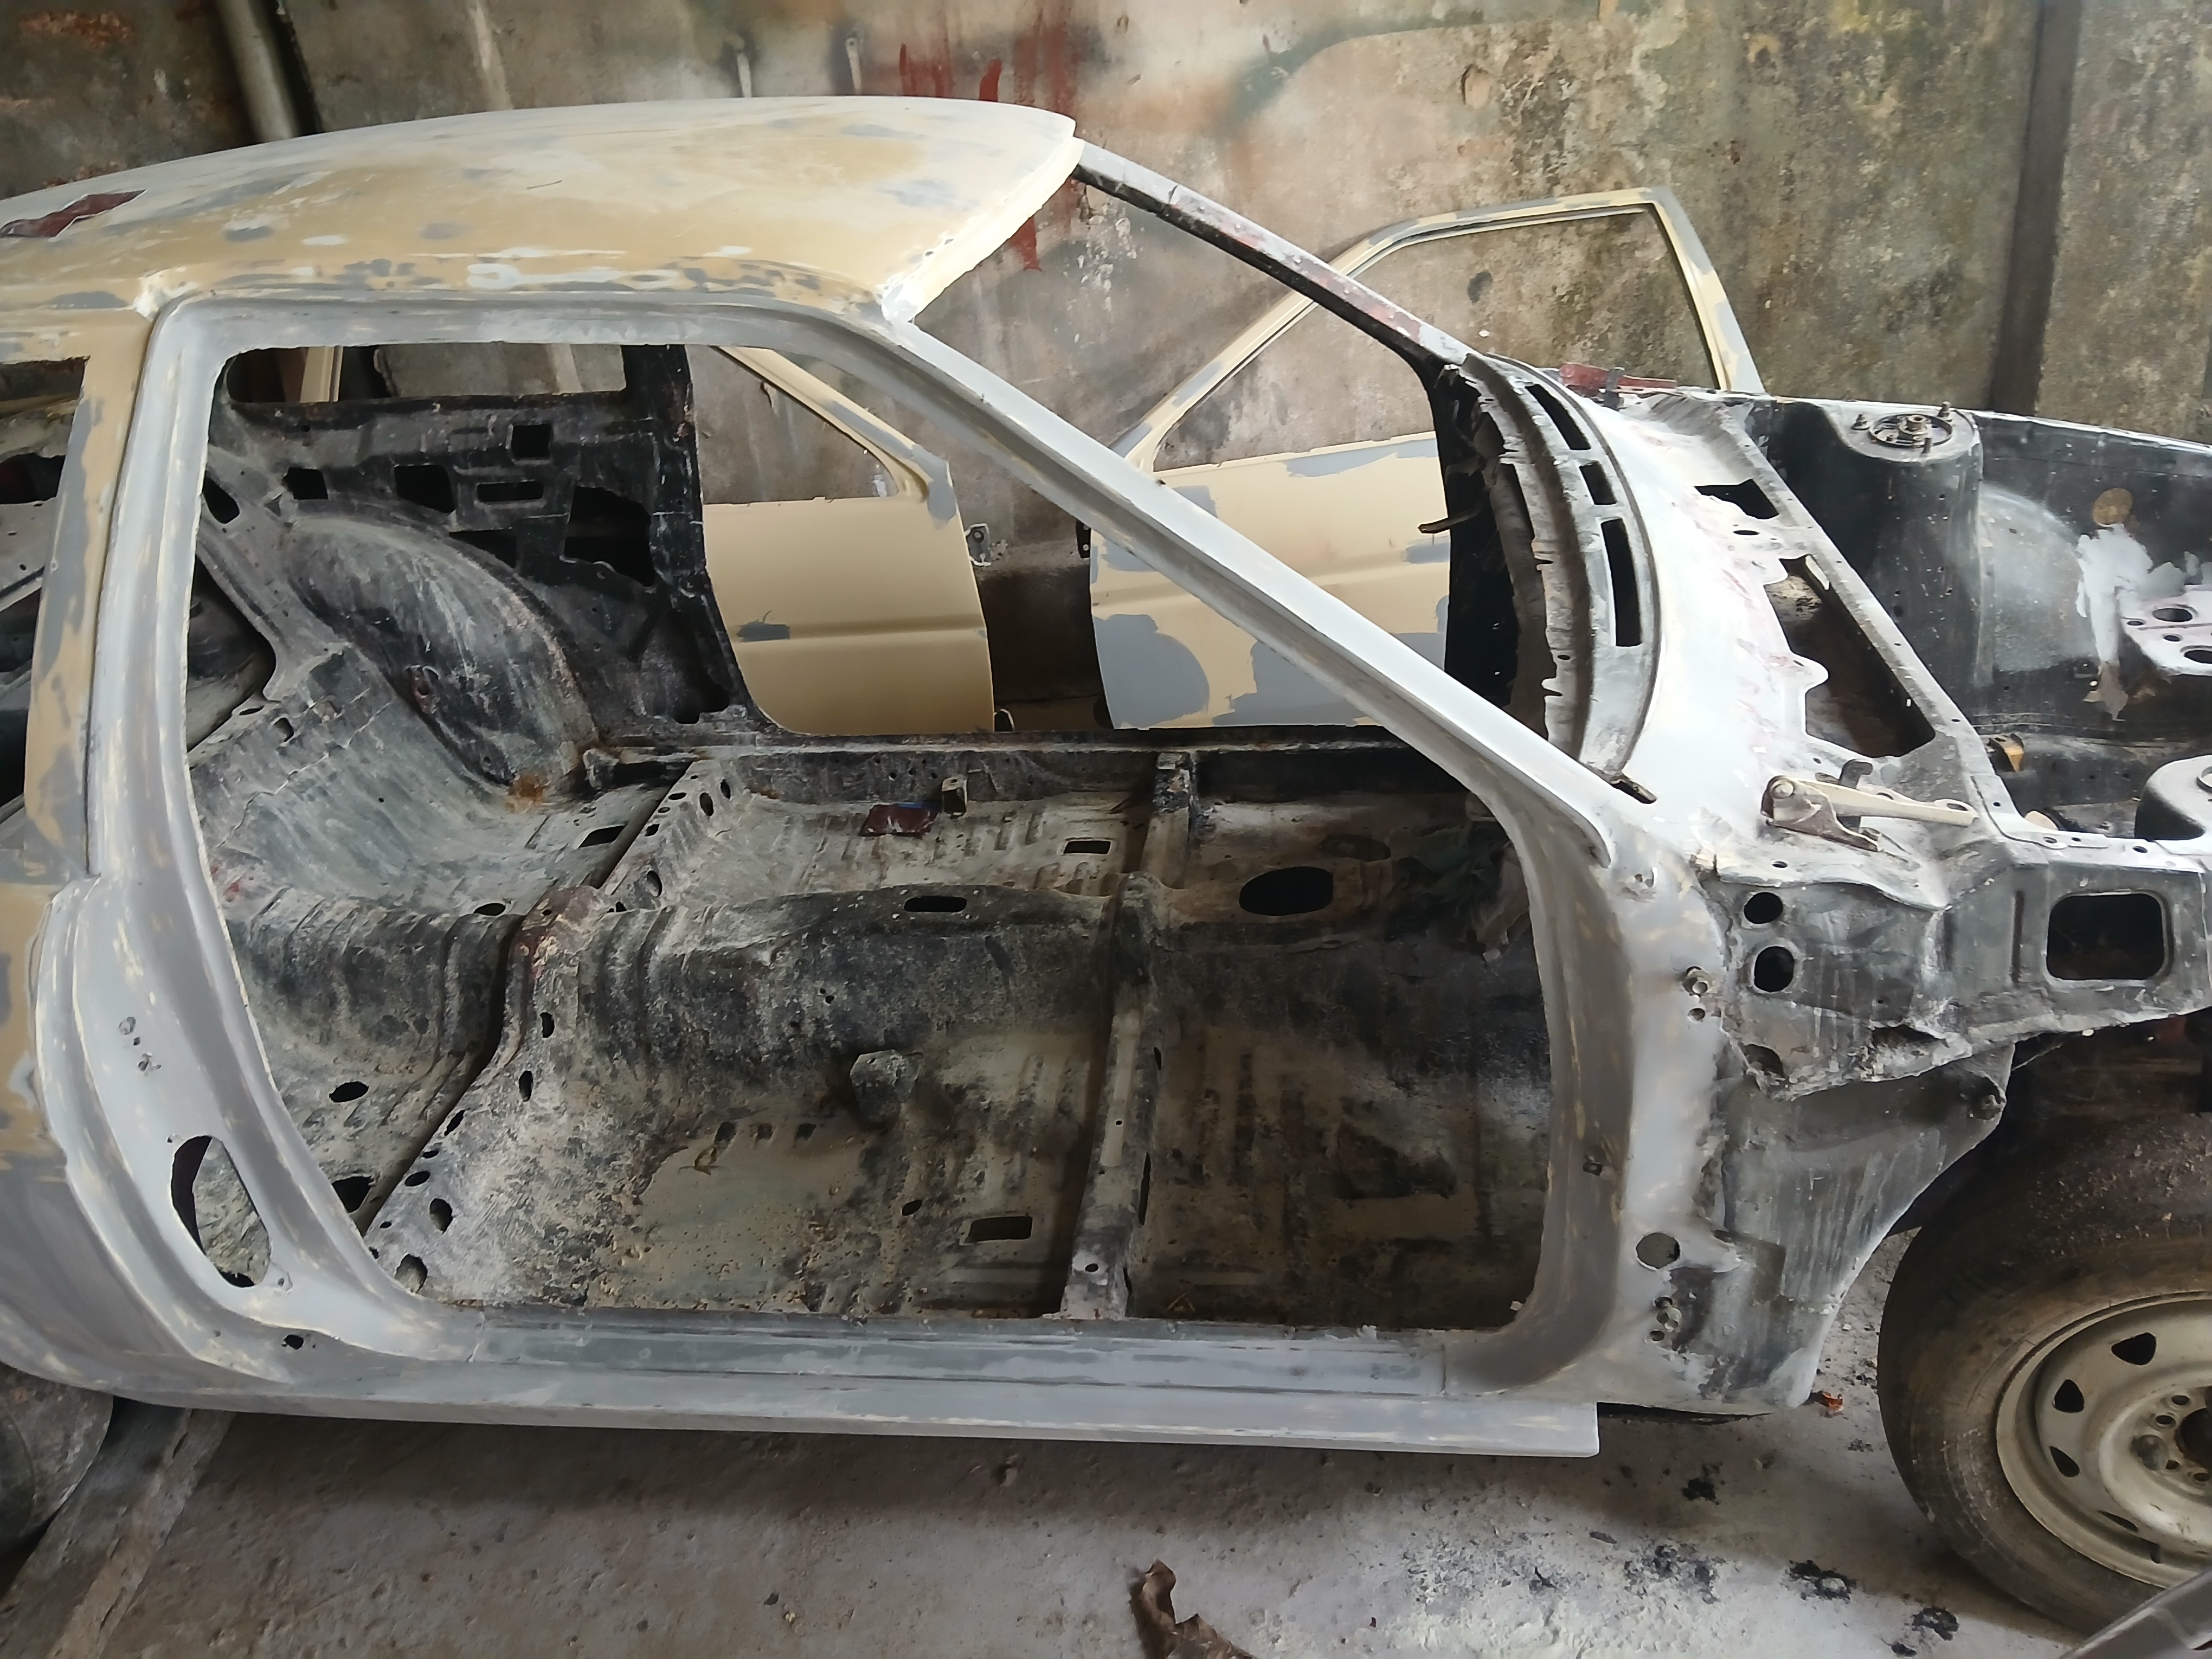
It once roared through the hills of Sri Lanka, but when I found it, it was far from glorious — stripped down, tucked away in a garage, and looking heartbreakingly forgotten.
The previous owner had started a restoration project, but like many ambitious builds, it was left unfinished. For over a year, it had been sitting idle, gathering dust and slowly fading into obscurity.
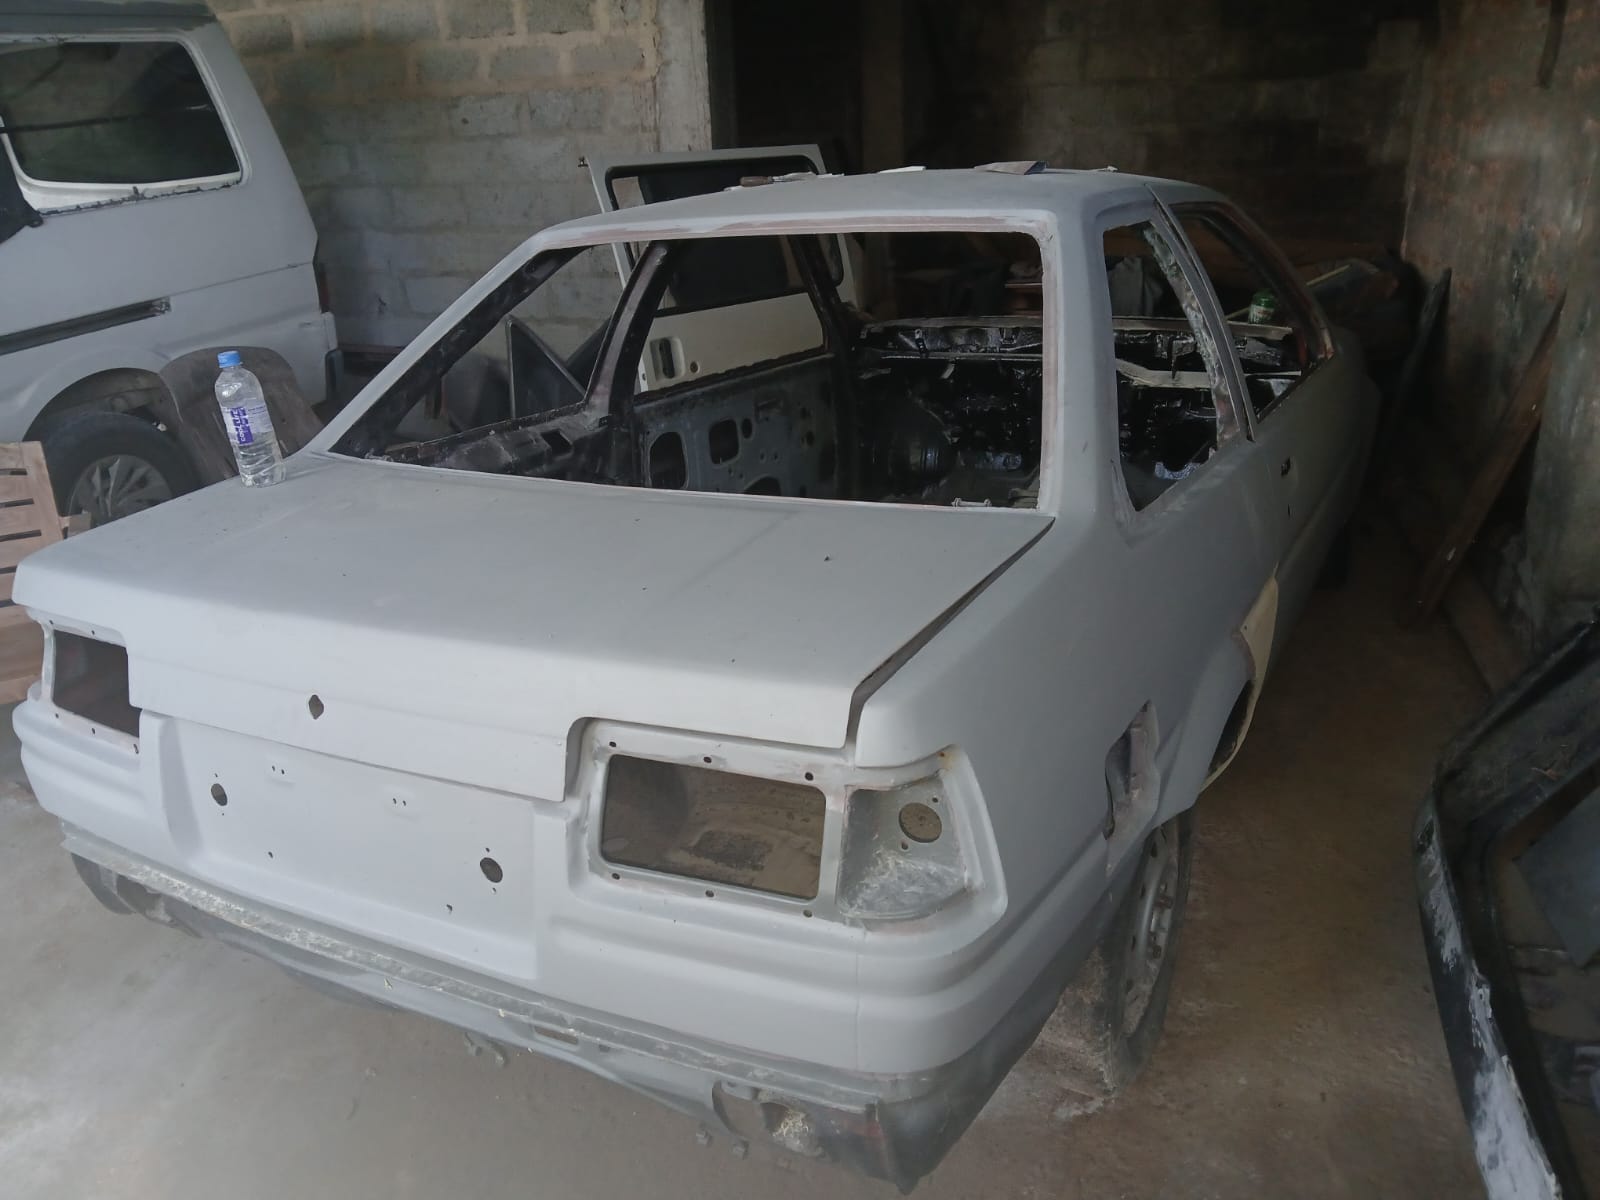
We had a thorough look around, verified what parts were still there (and what wasn’t), and despite a few missing components, the deal wasn’t bad. So we went for it.
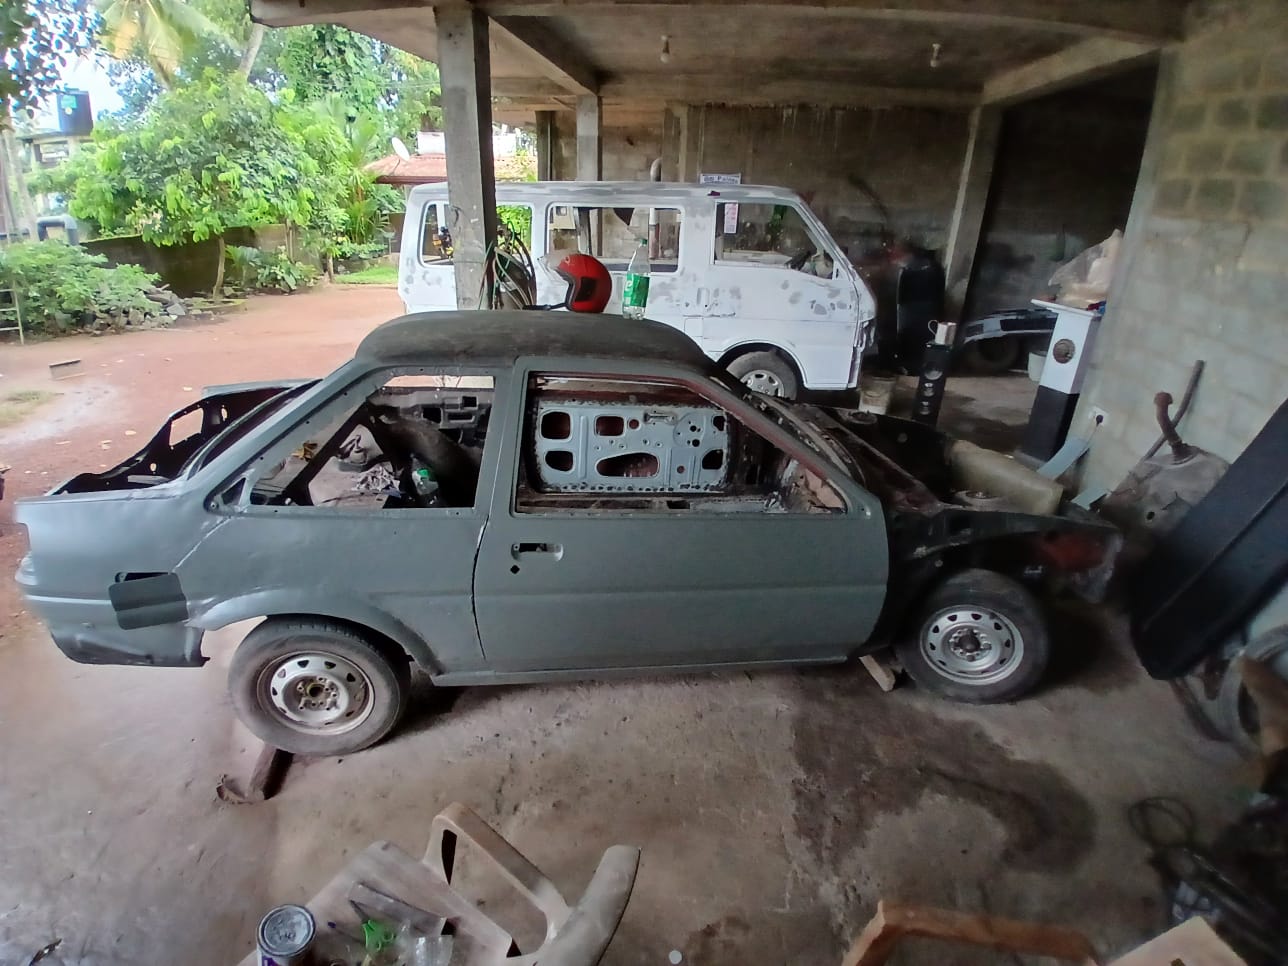
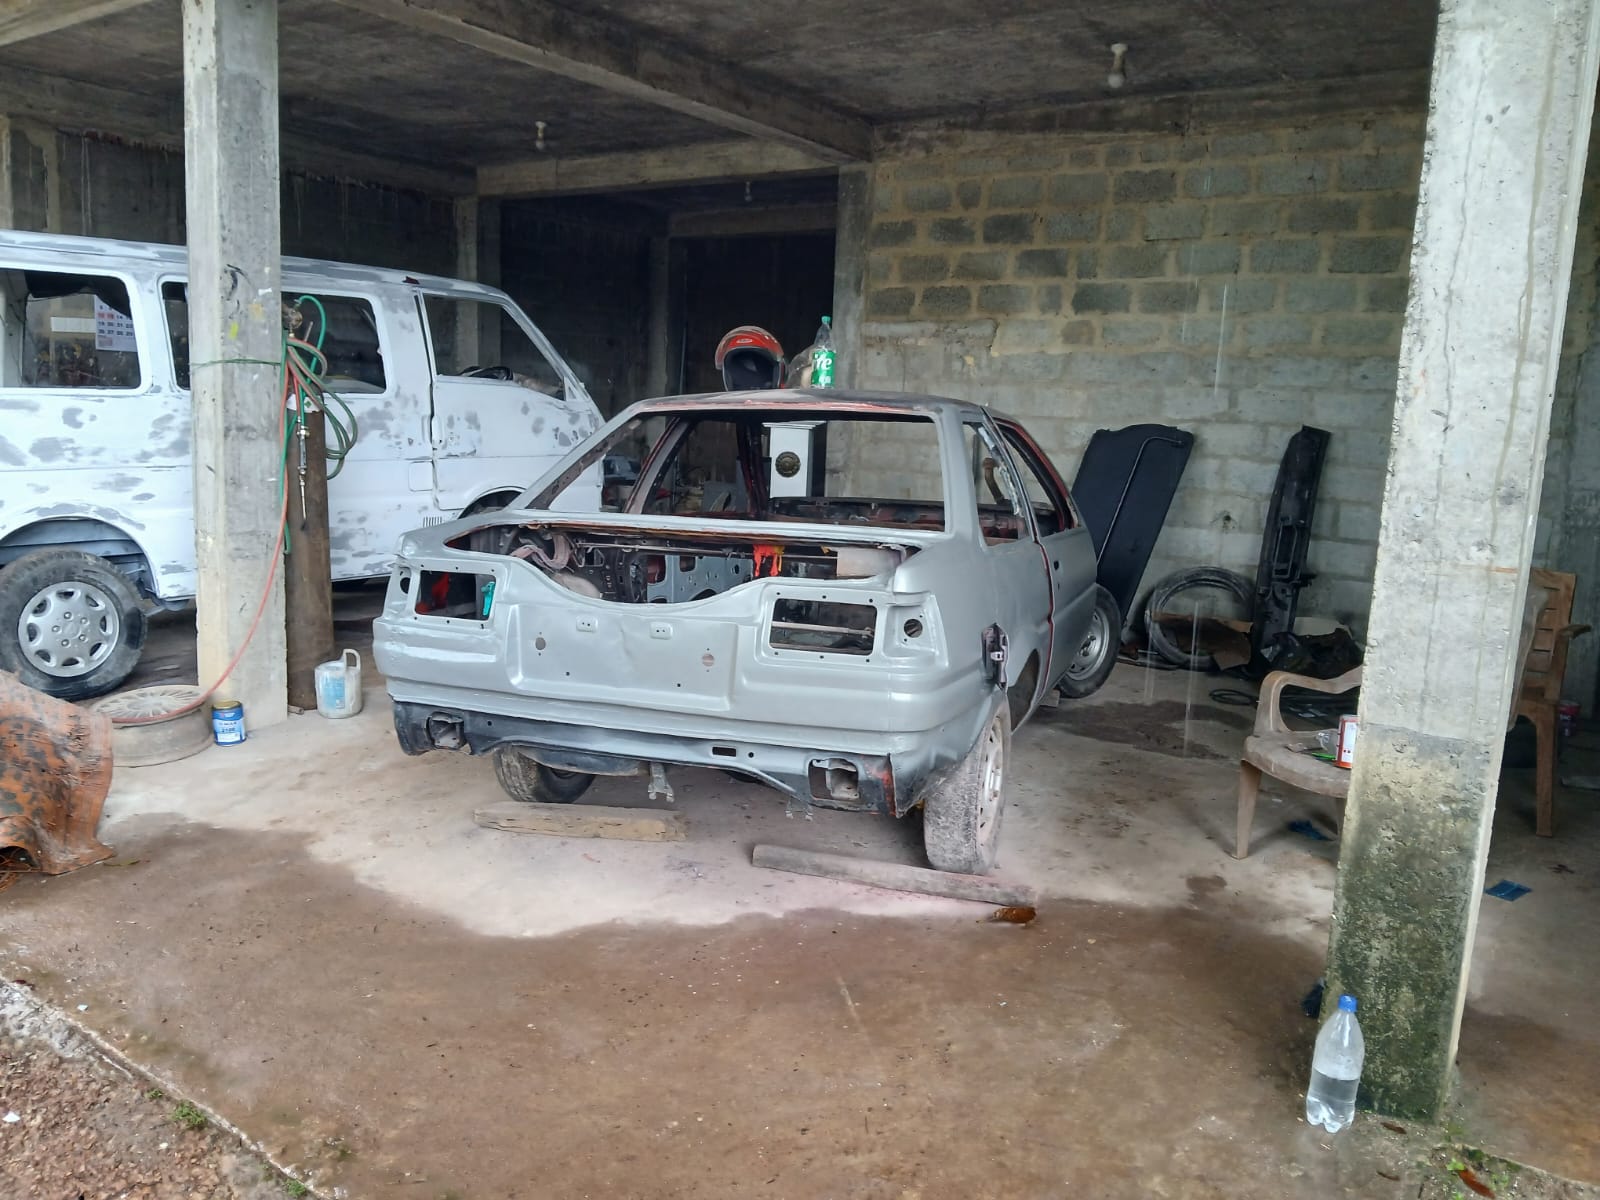
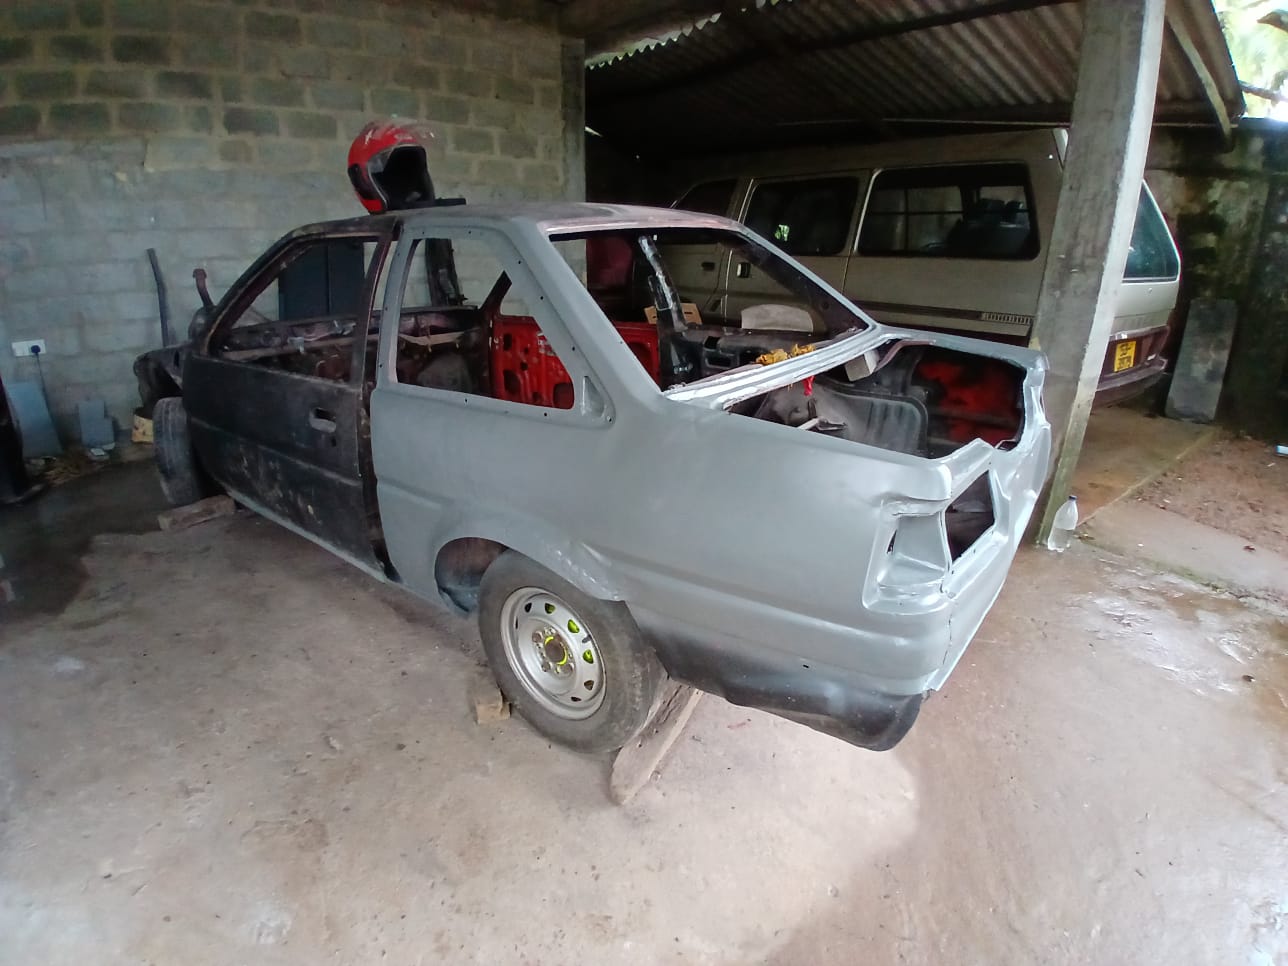
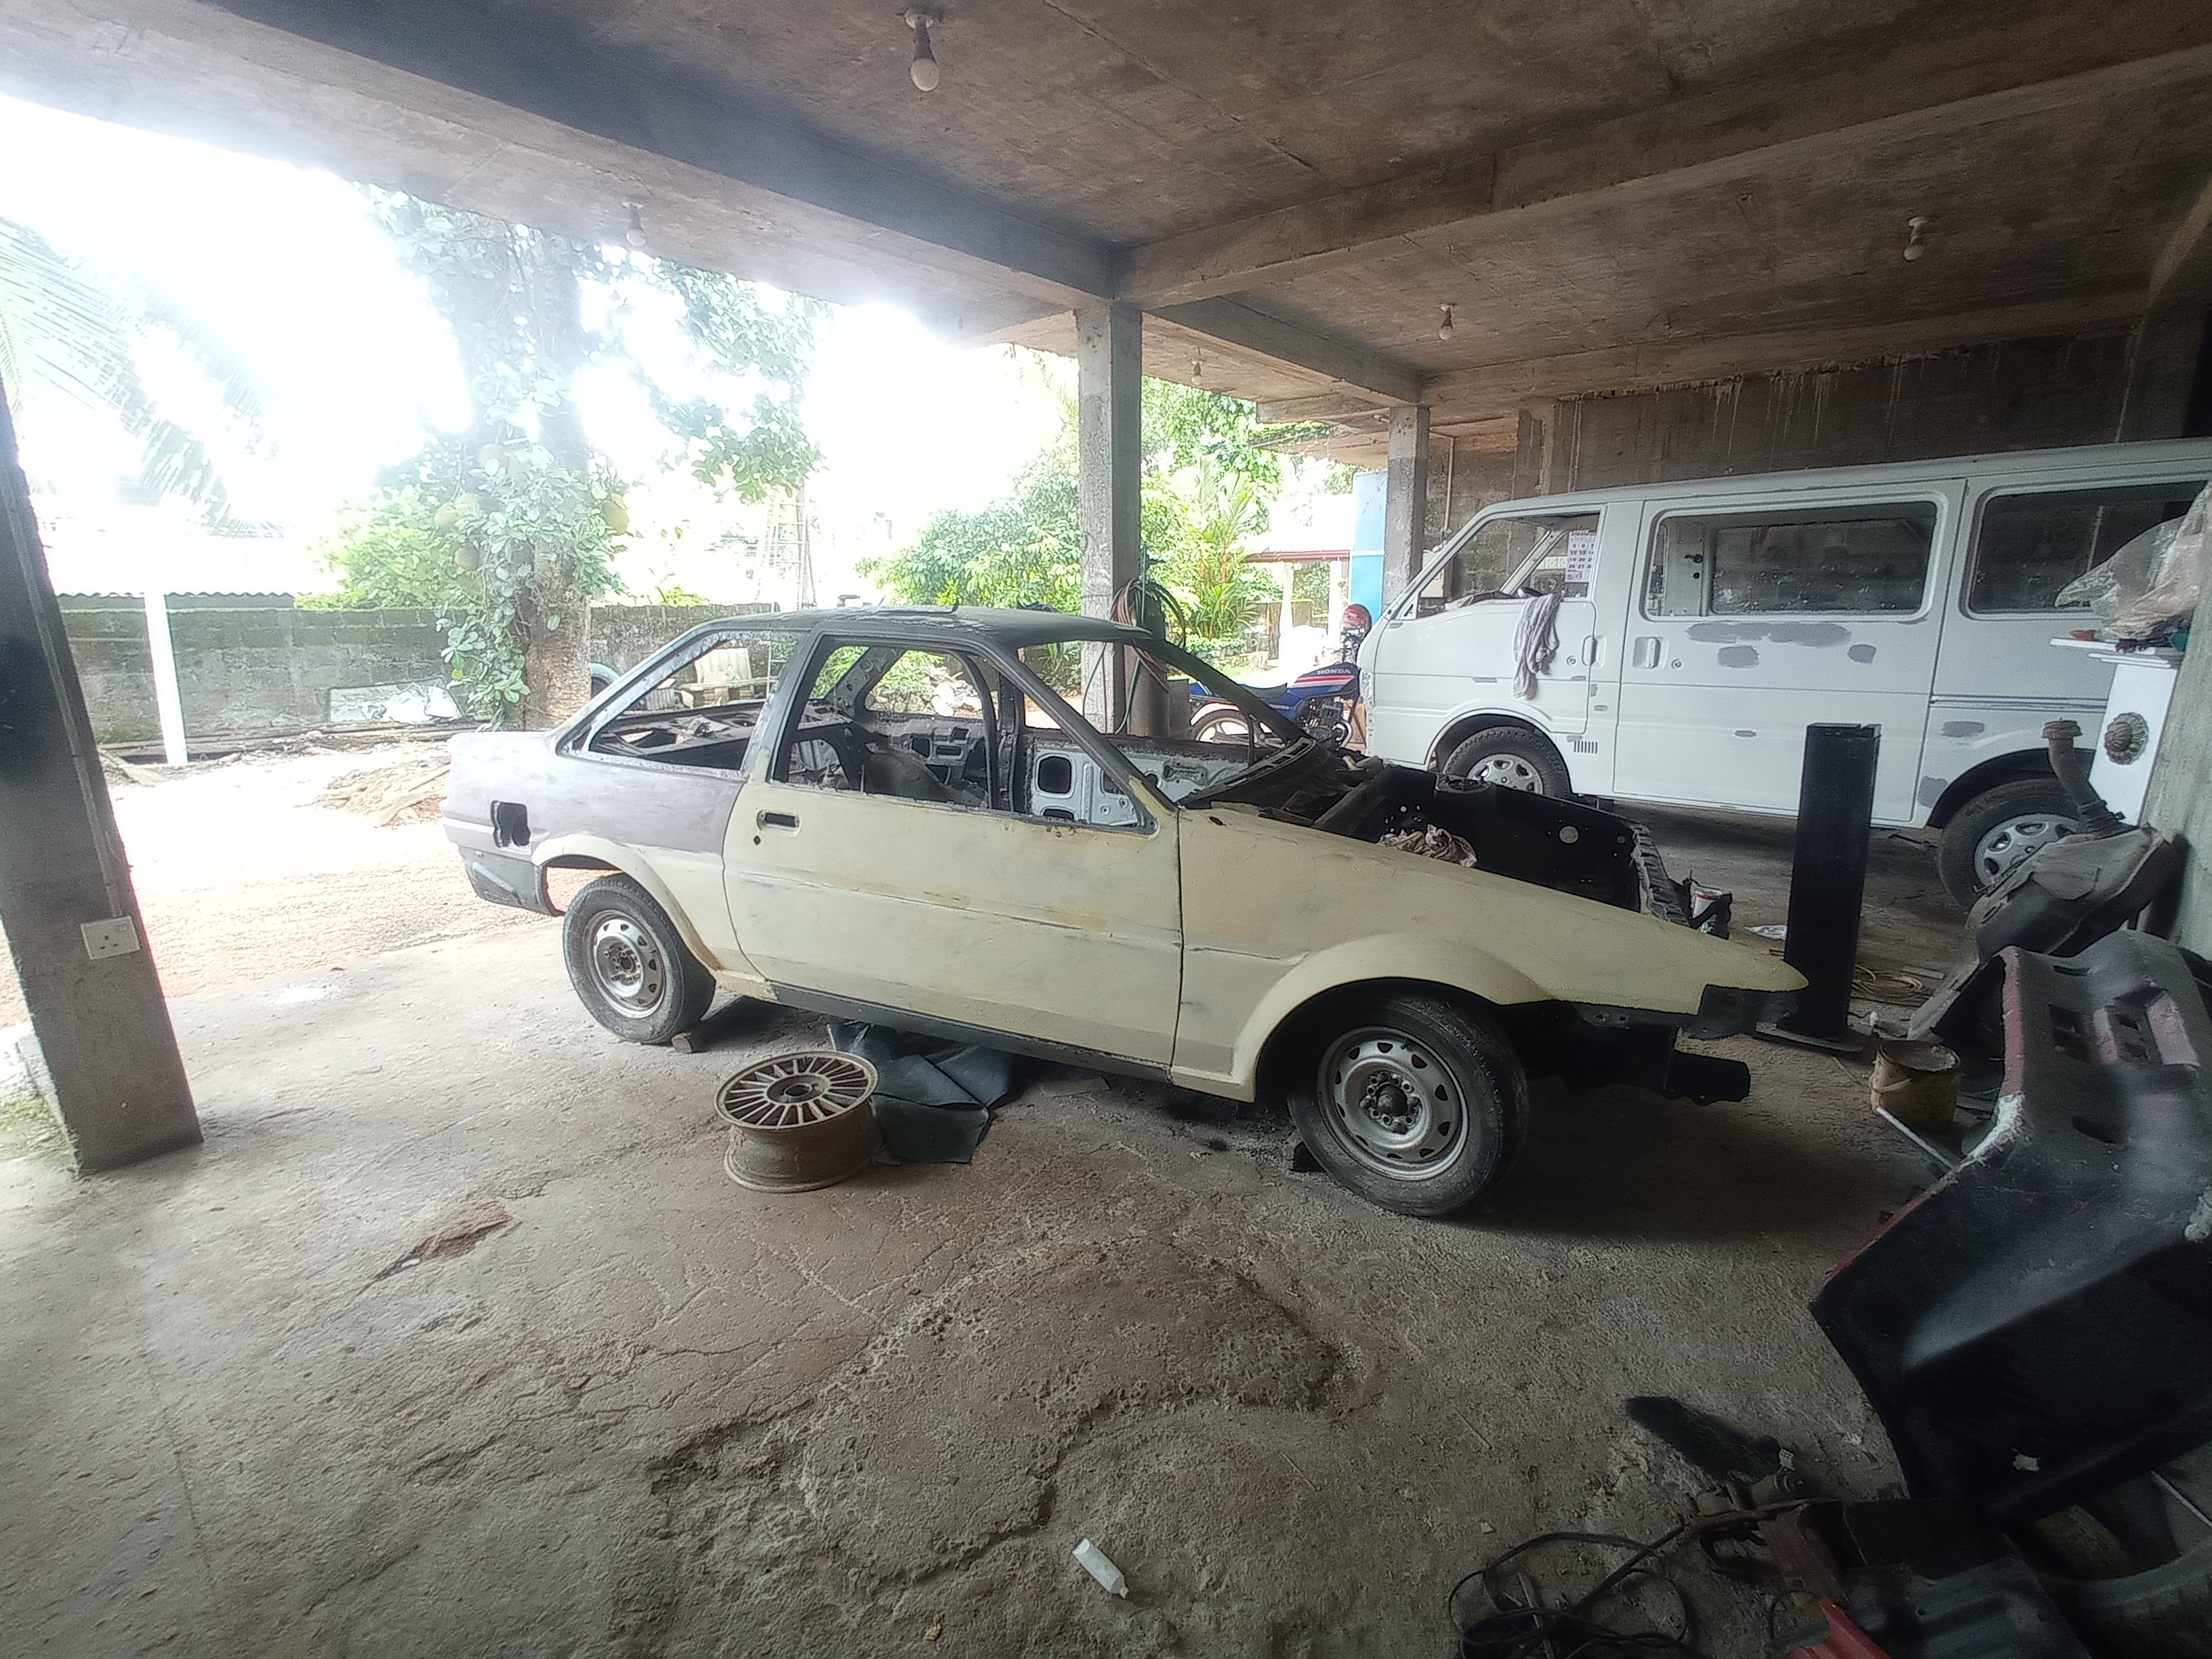
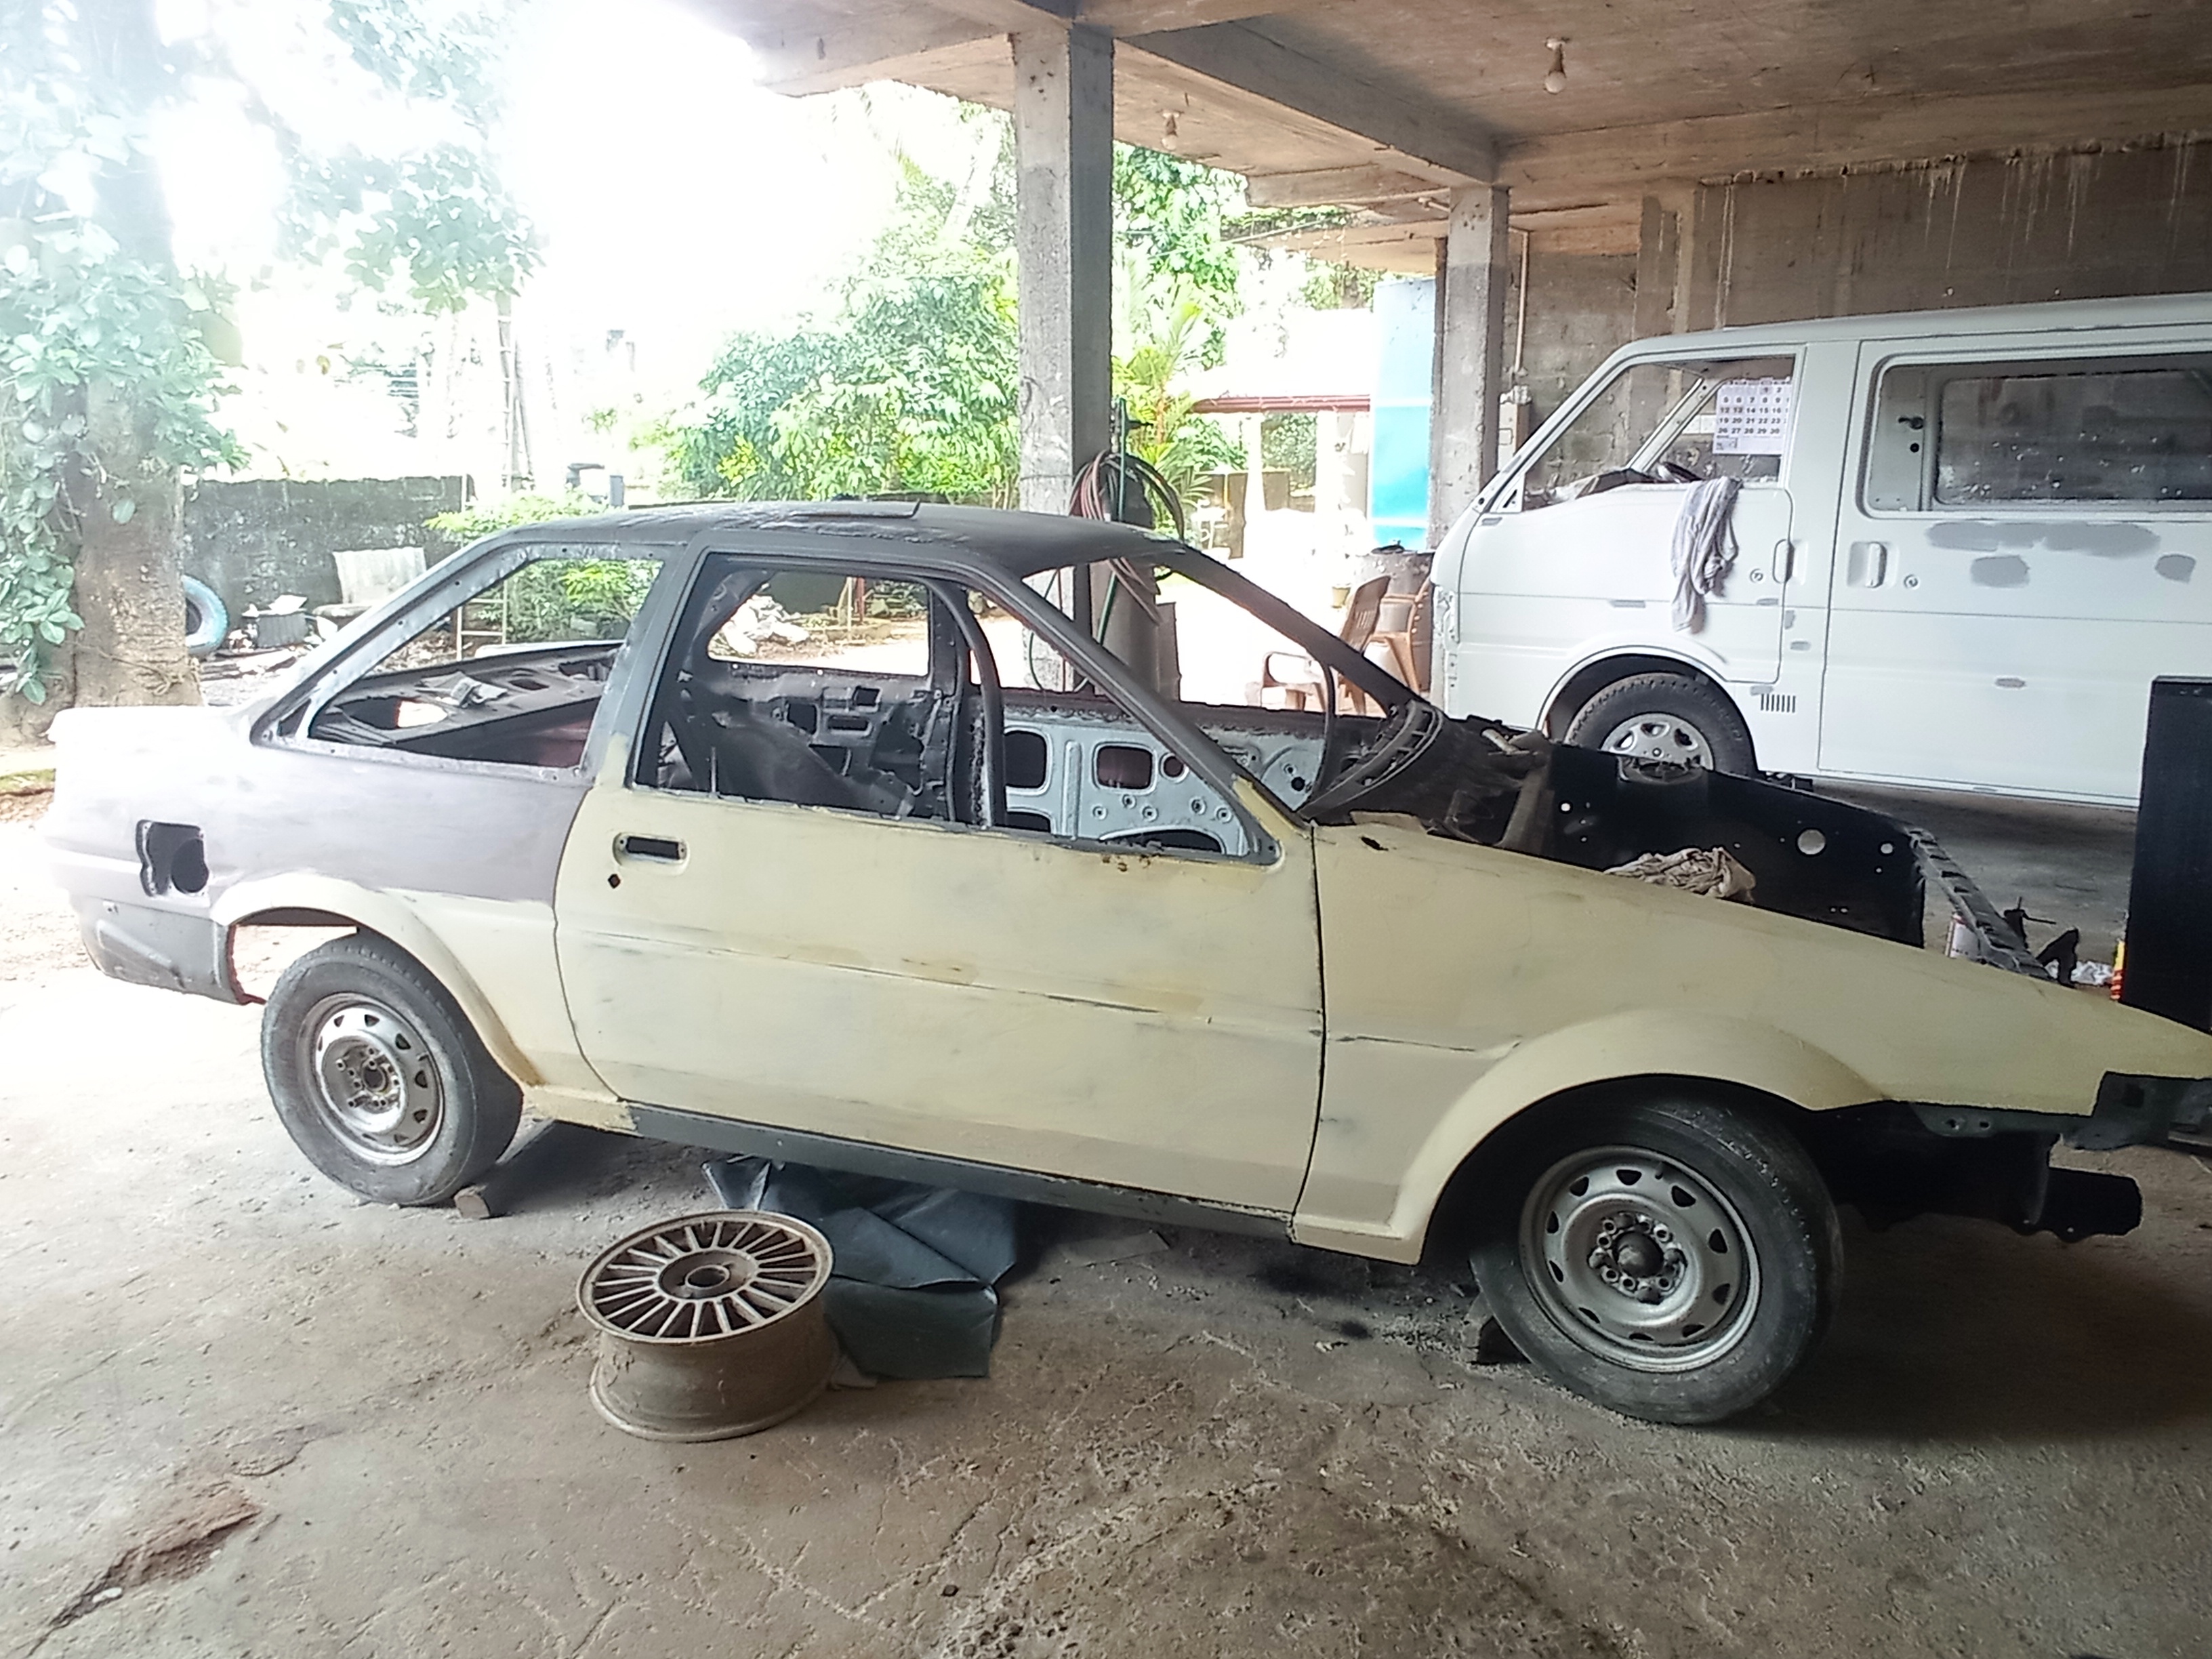
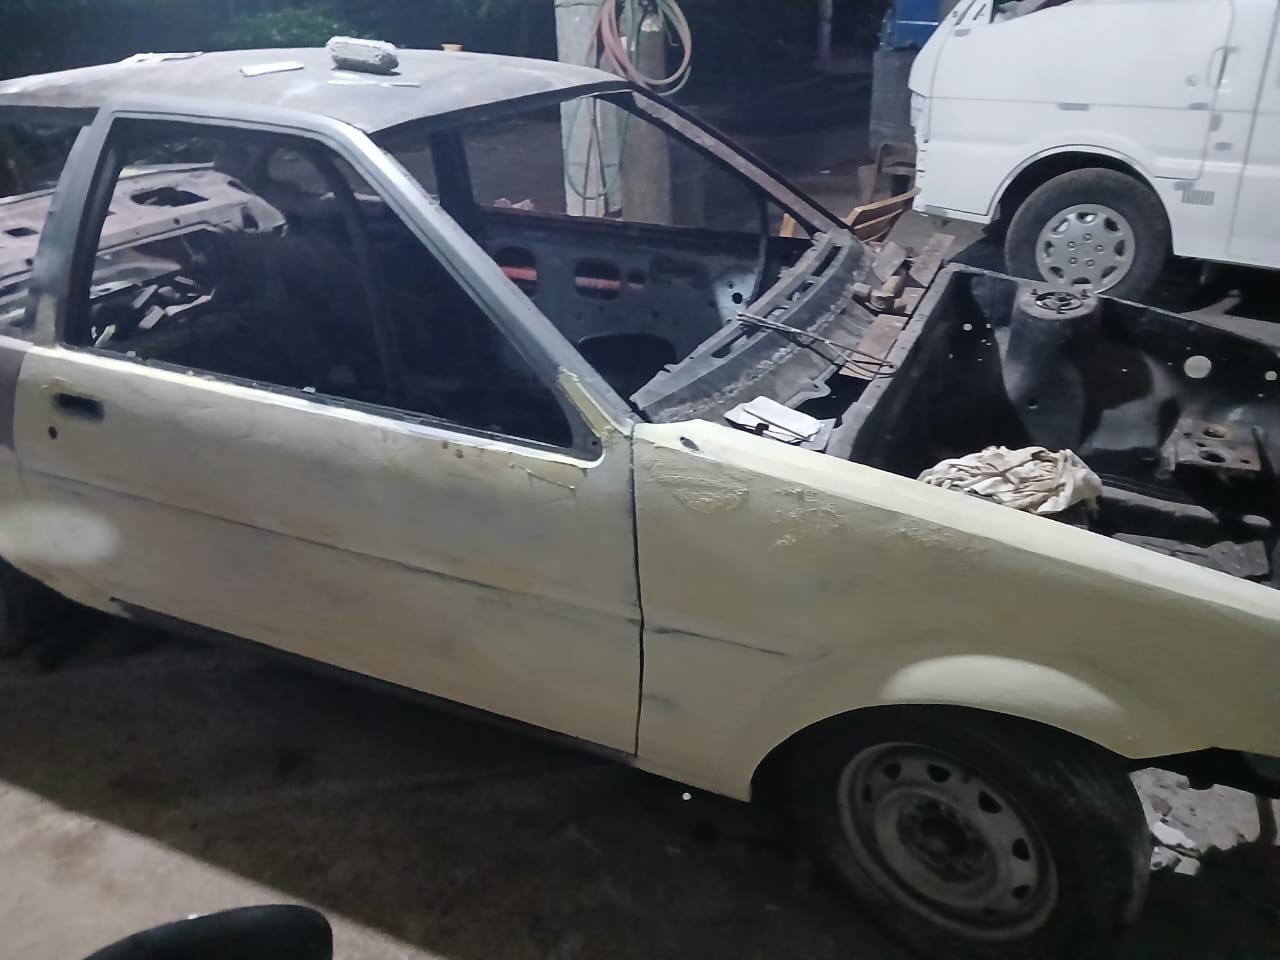
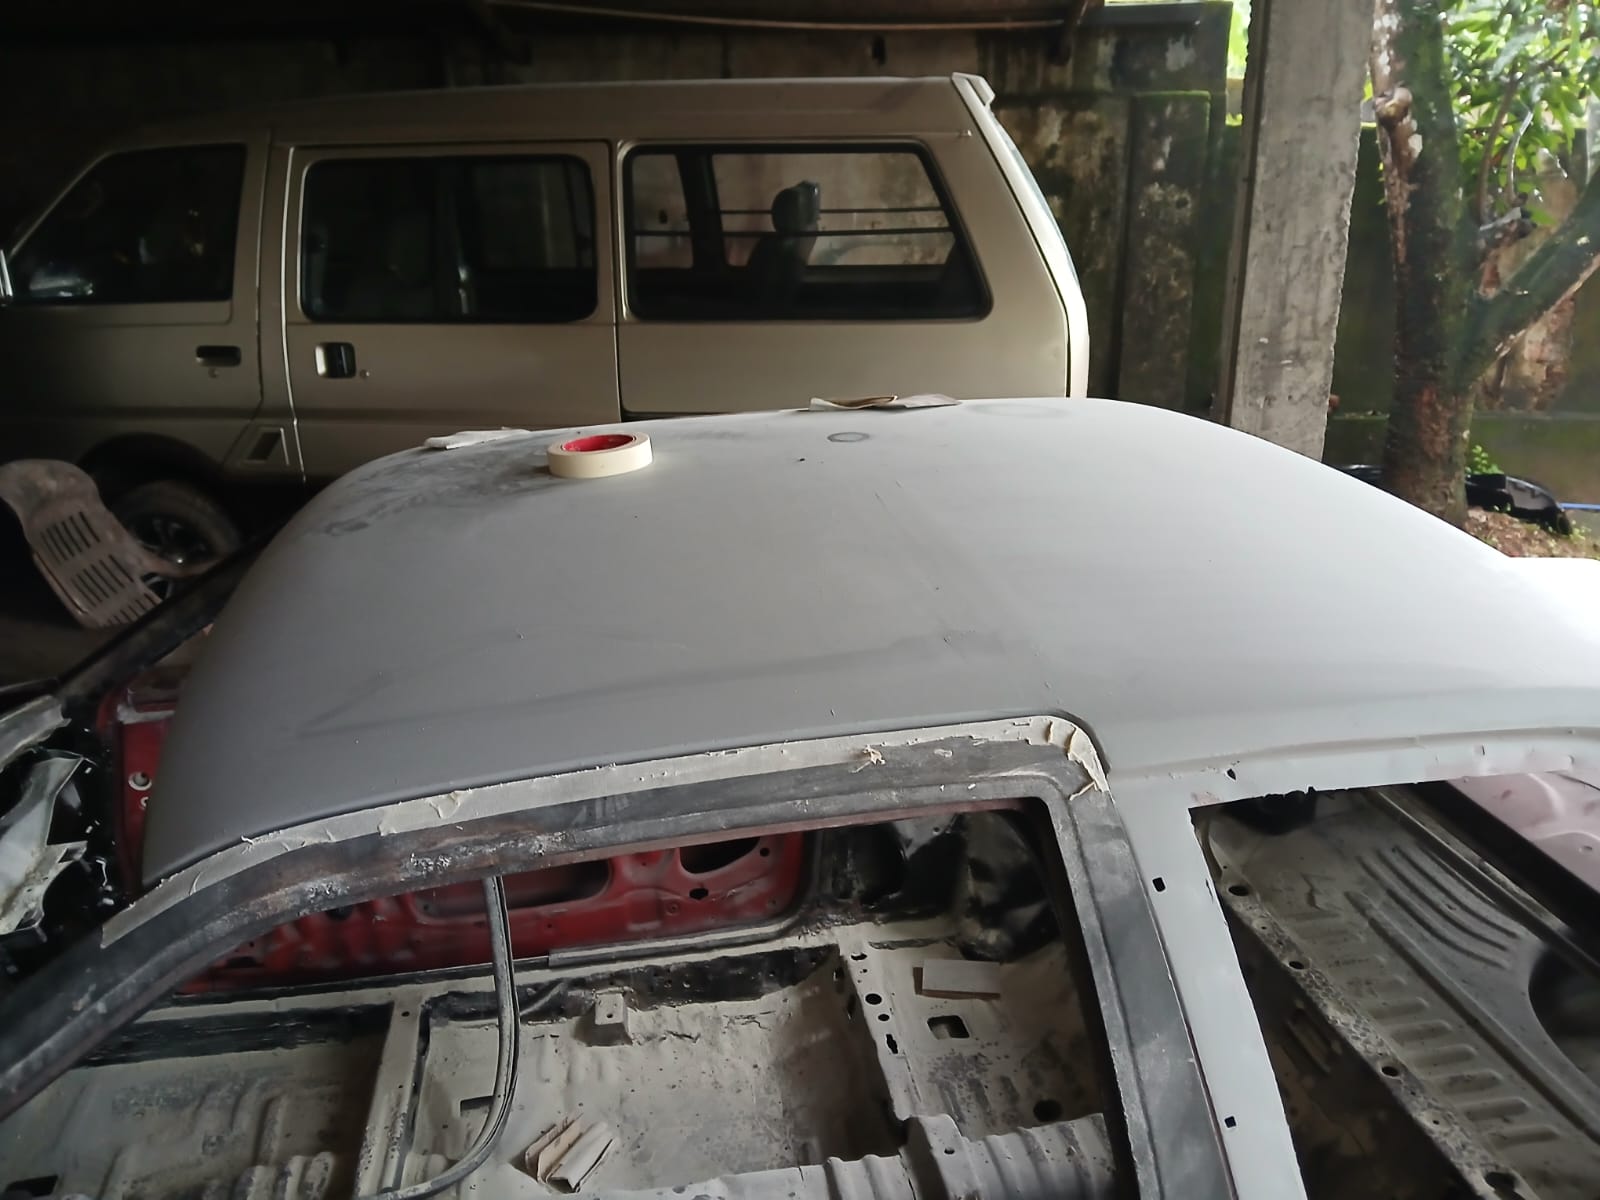
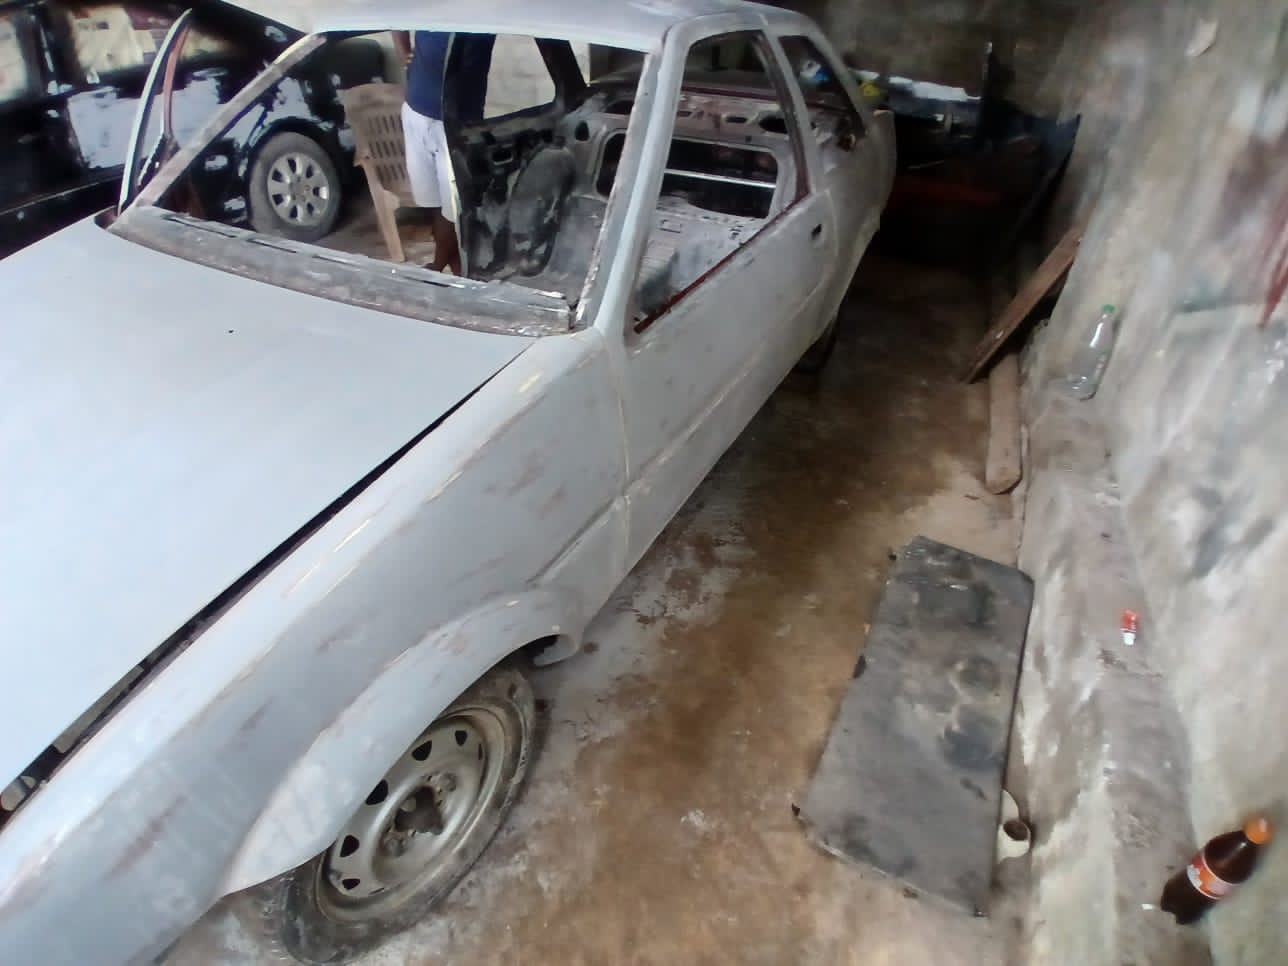
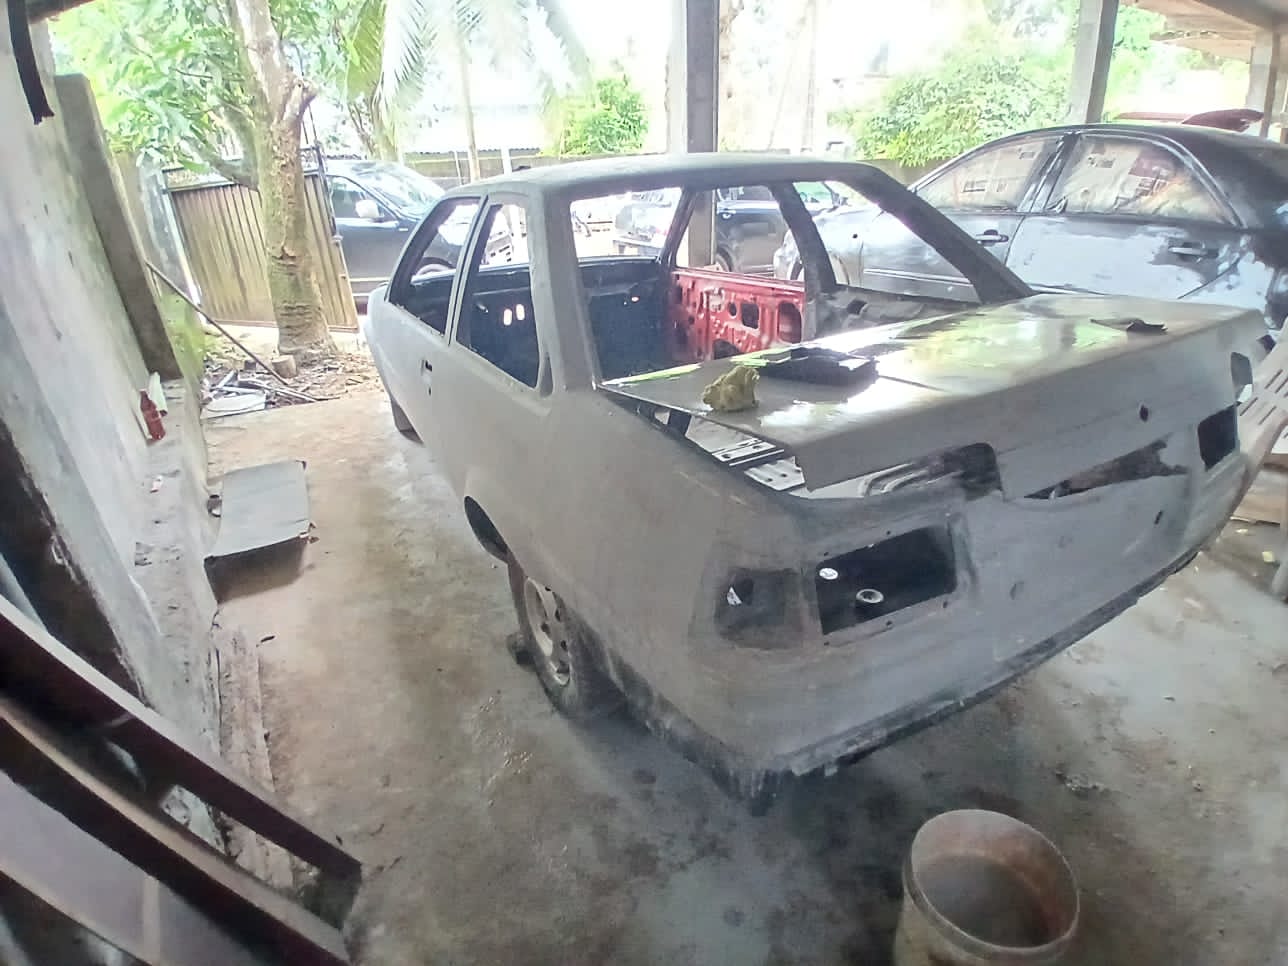
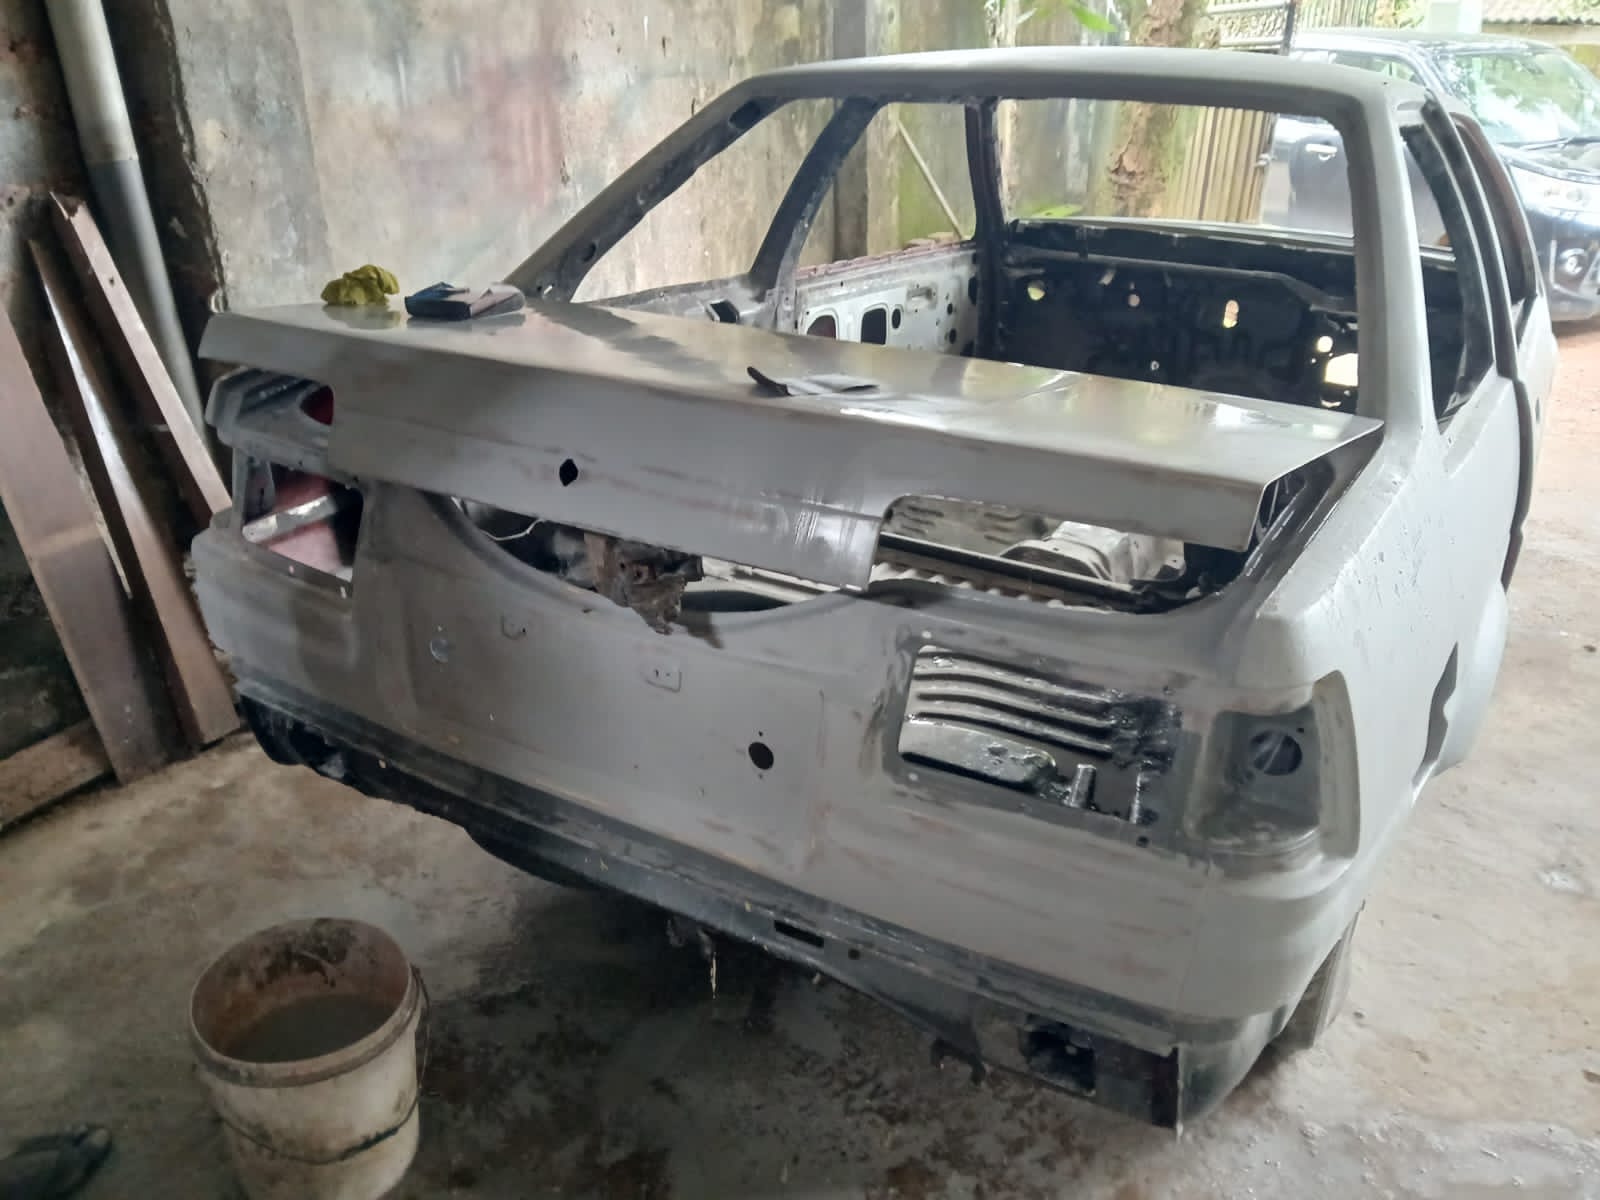
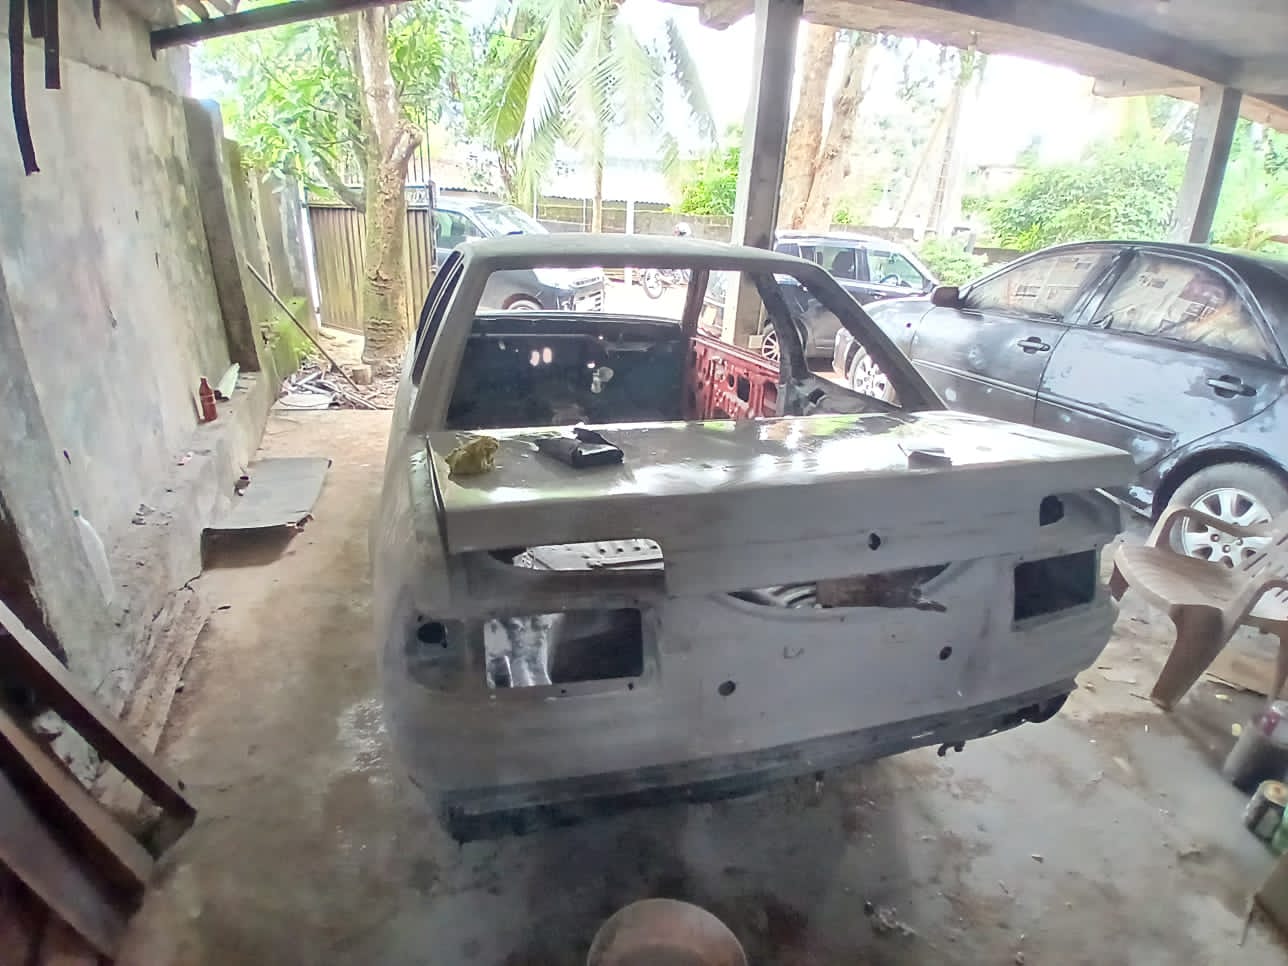
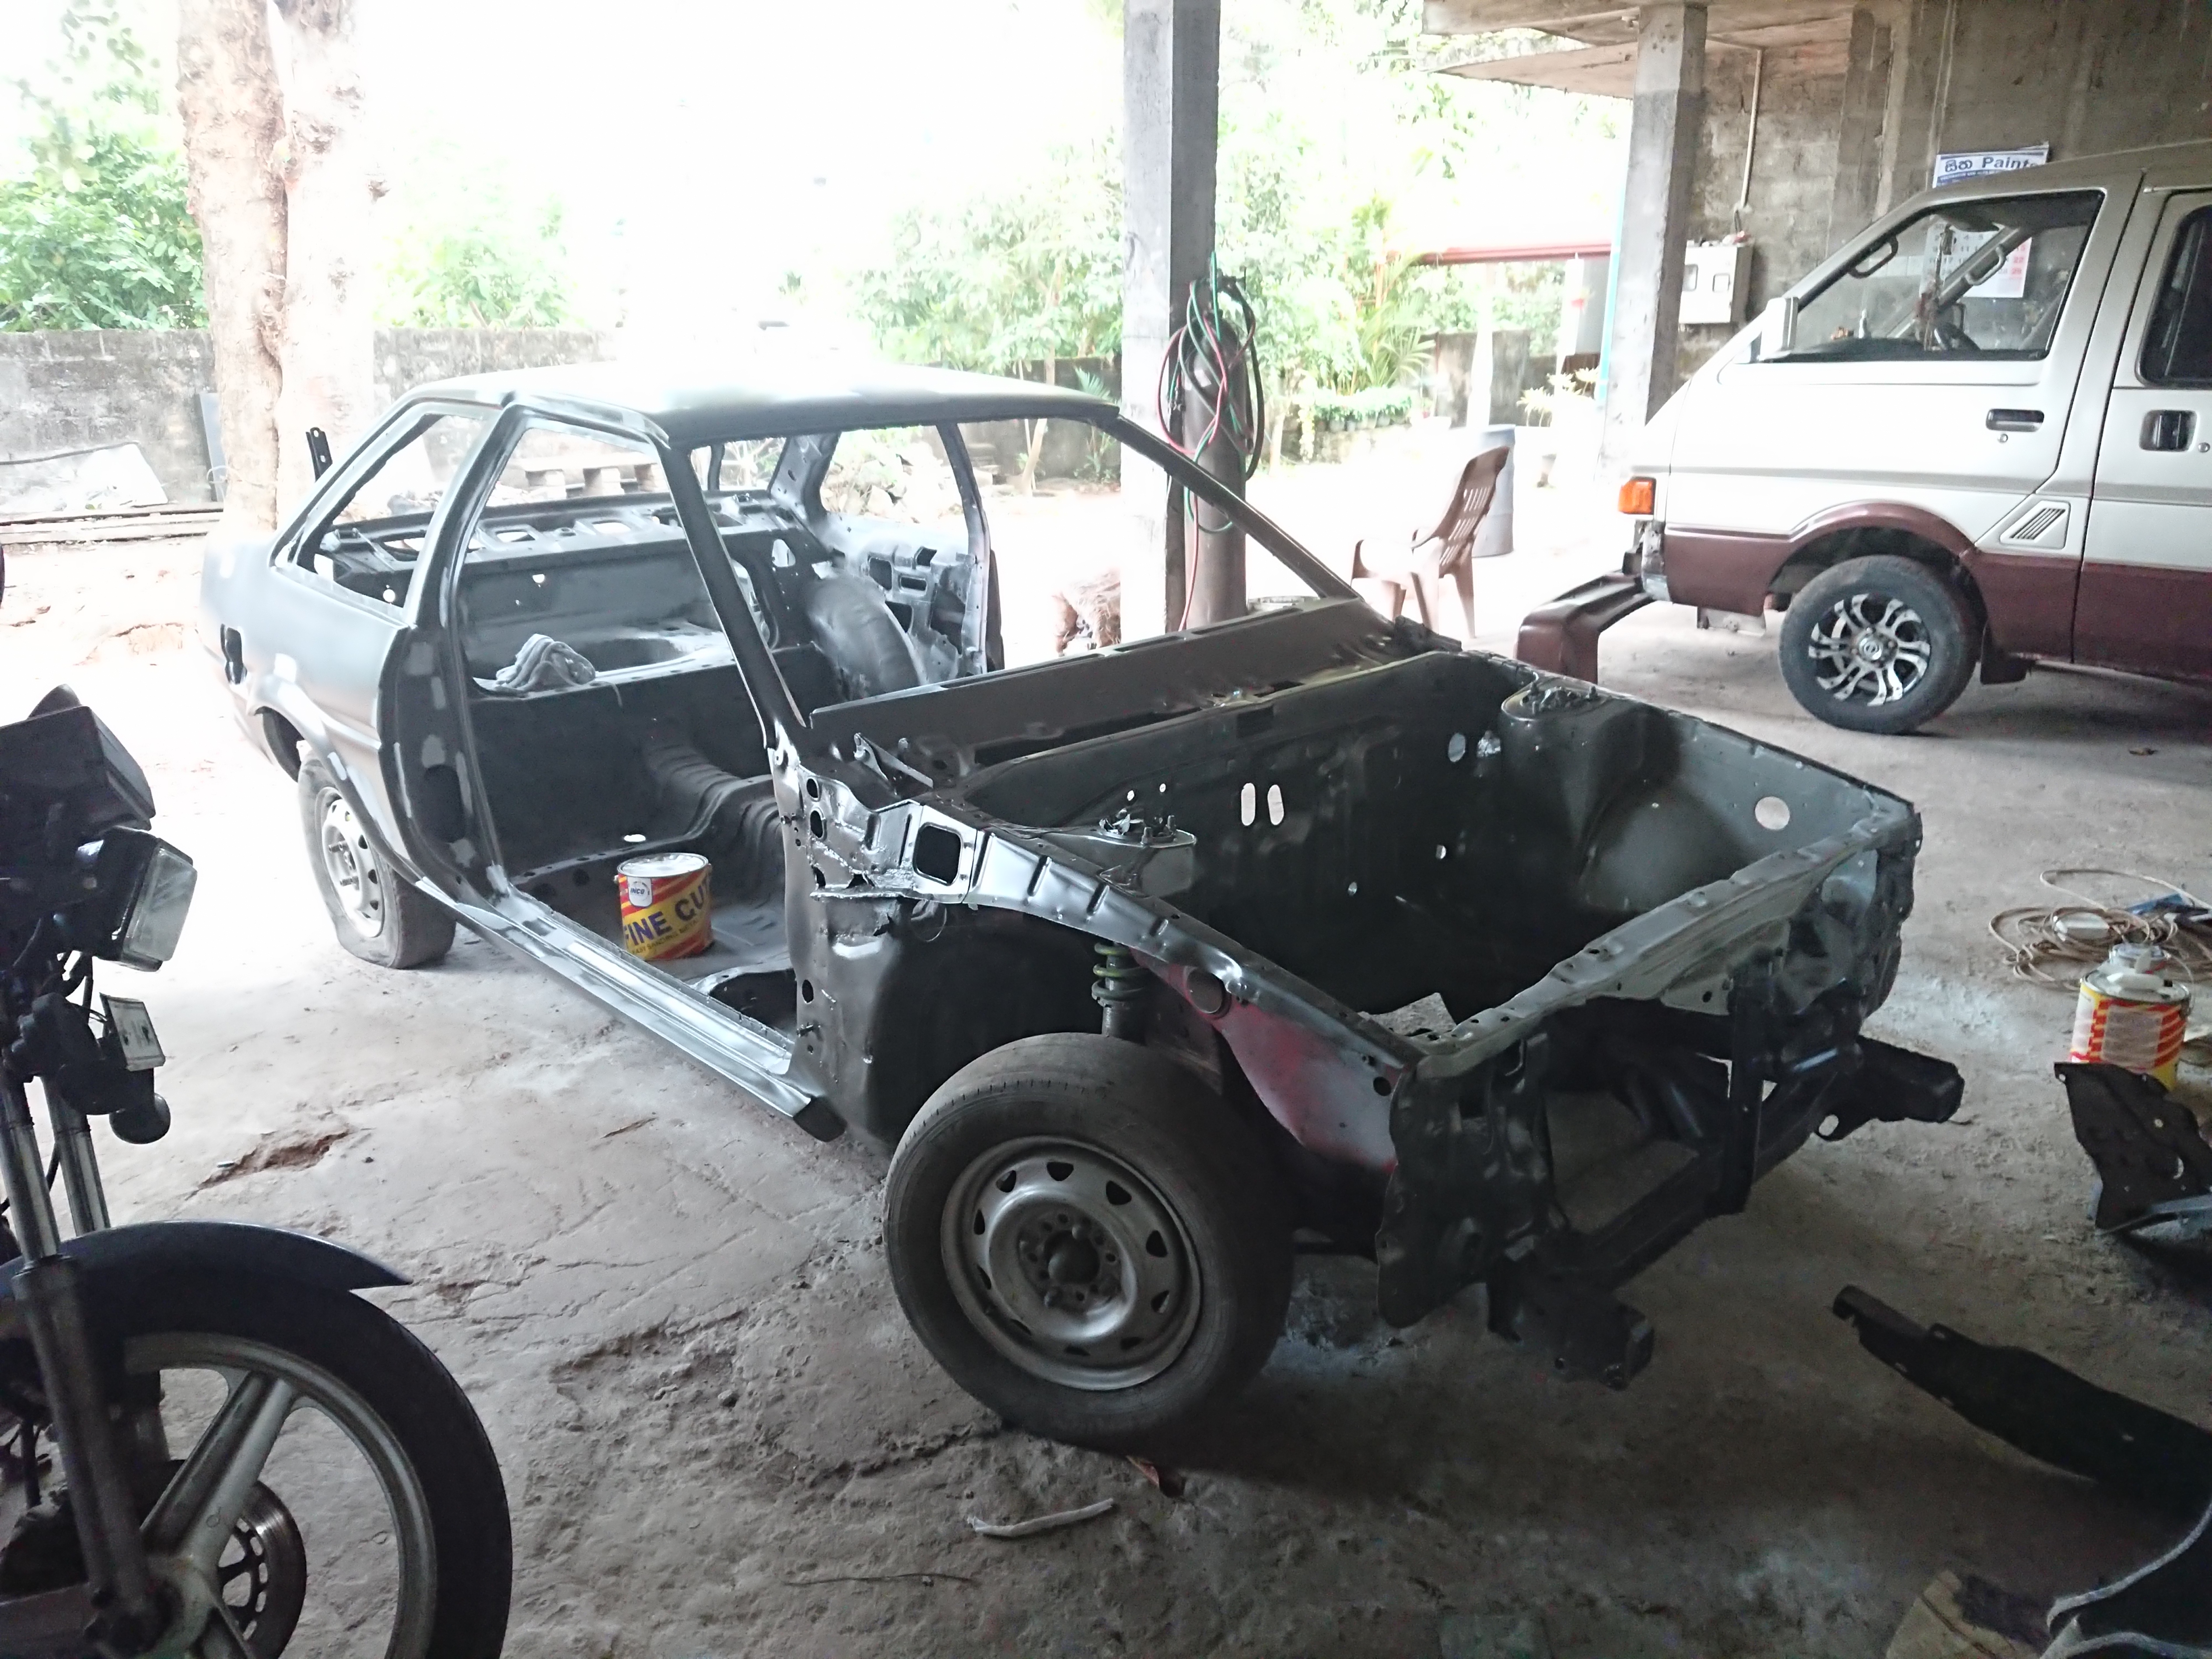
This is what We signed up for — the very first time I saw the car in all its faded glory.
After spending a few days inspecting the shell, sorting through the parts, and digging into the legal side of things, we made our initial payment on 2025-04-10. A week later, on 2025-04-17, the deal was done — and the car was officially ours. We moved it to the tinkering spot, where the real journey begins.
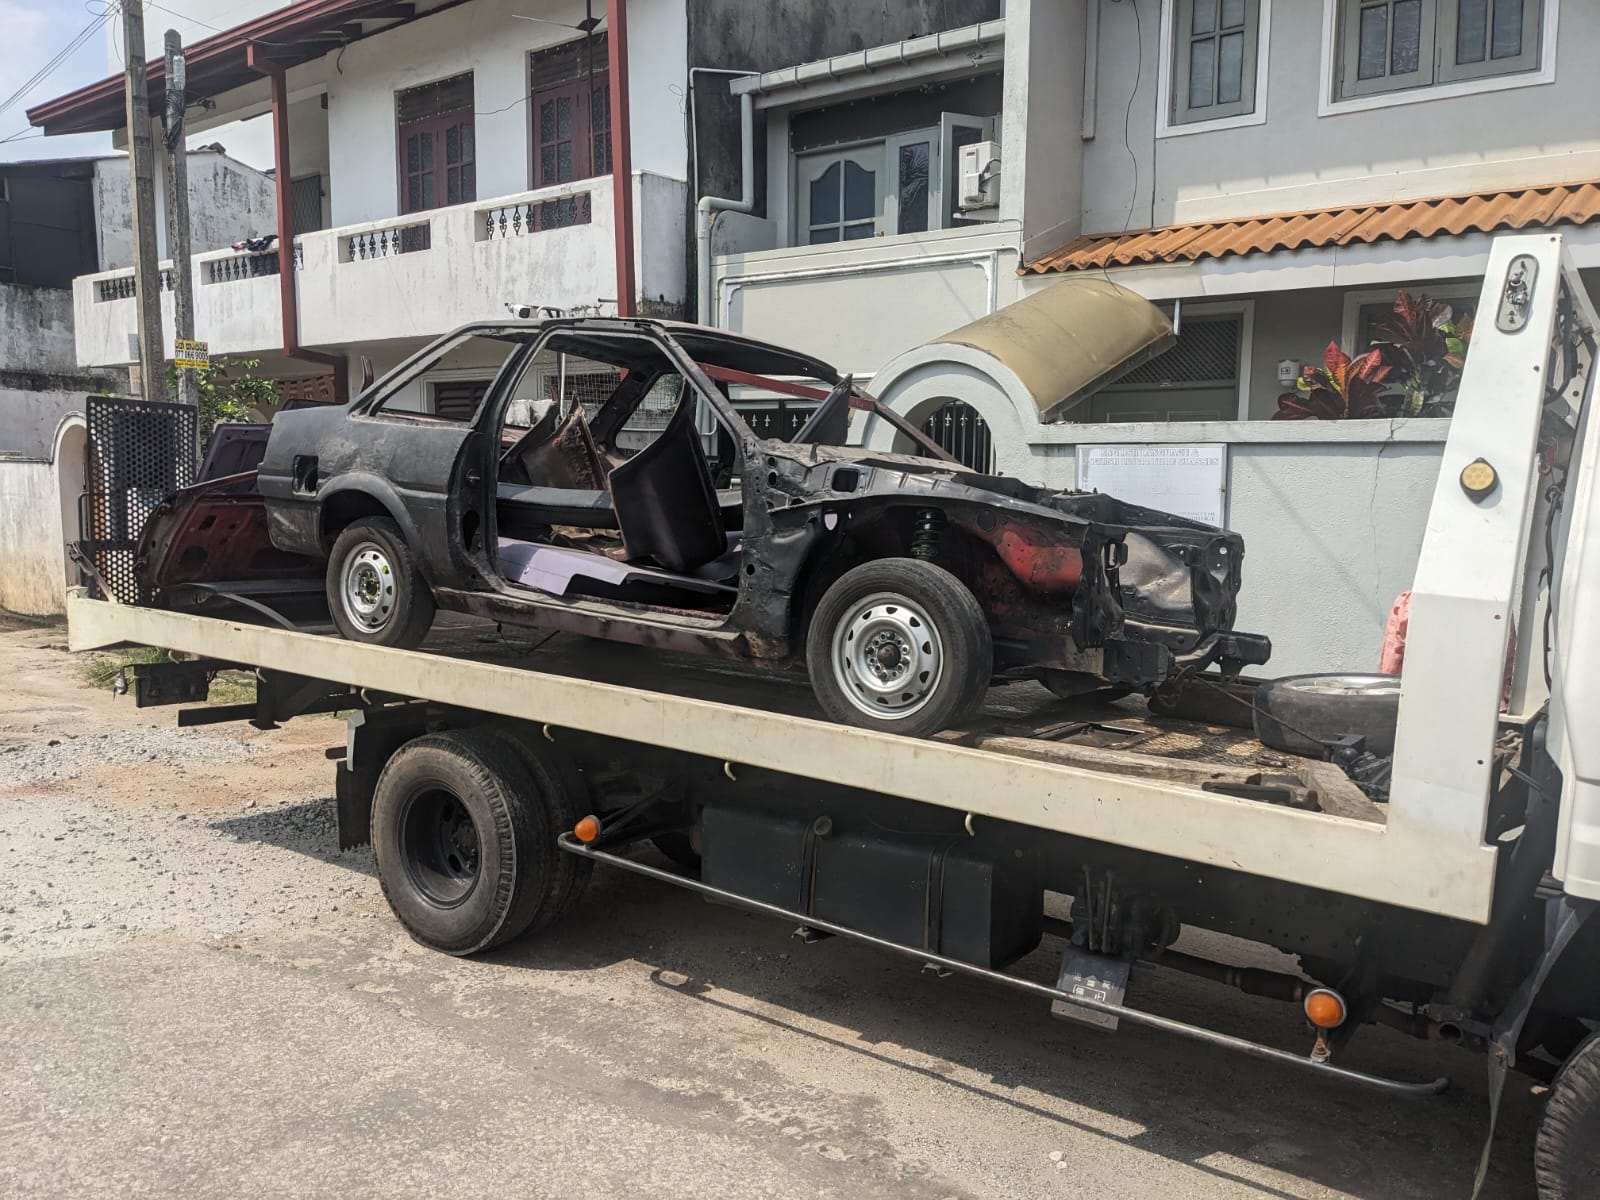
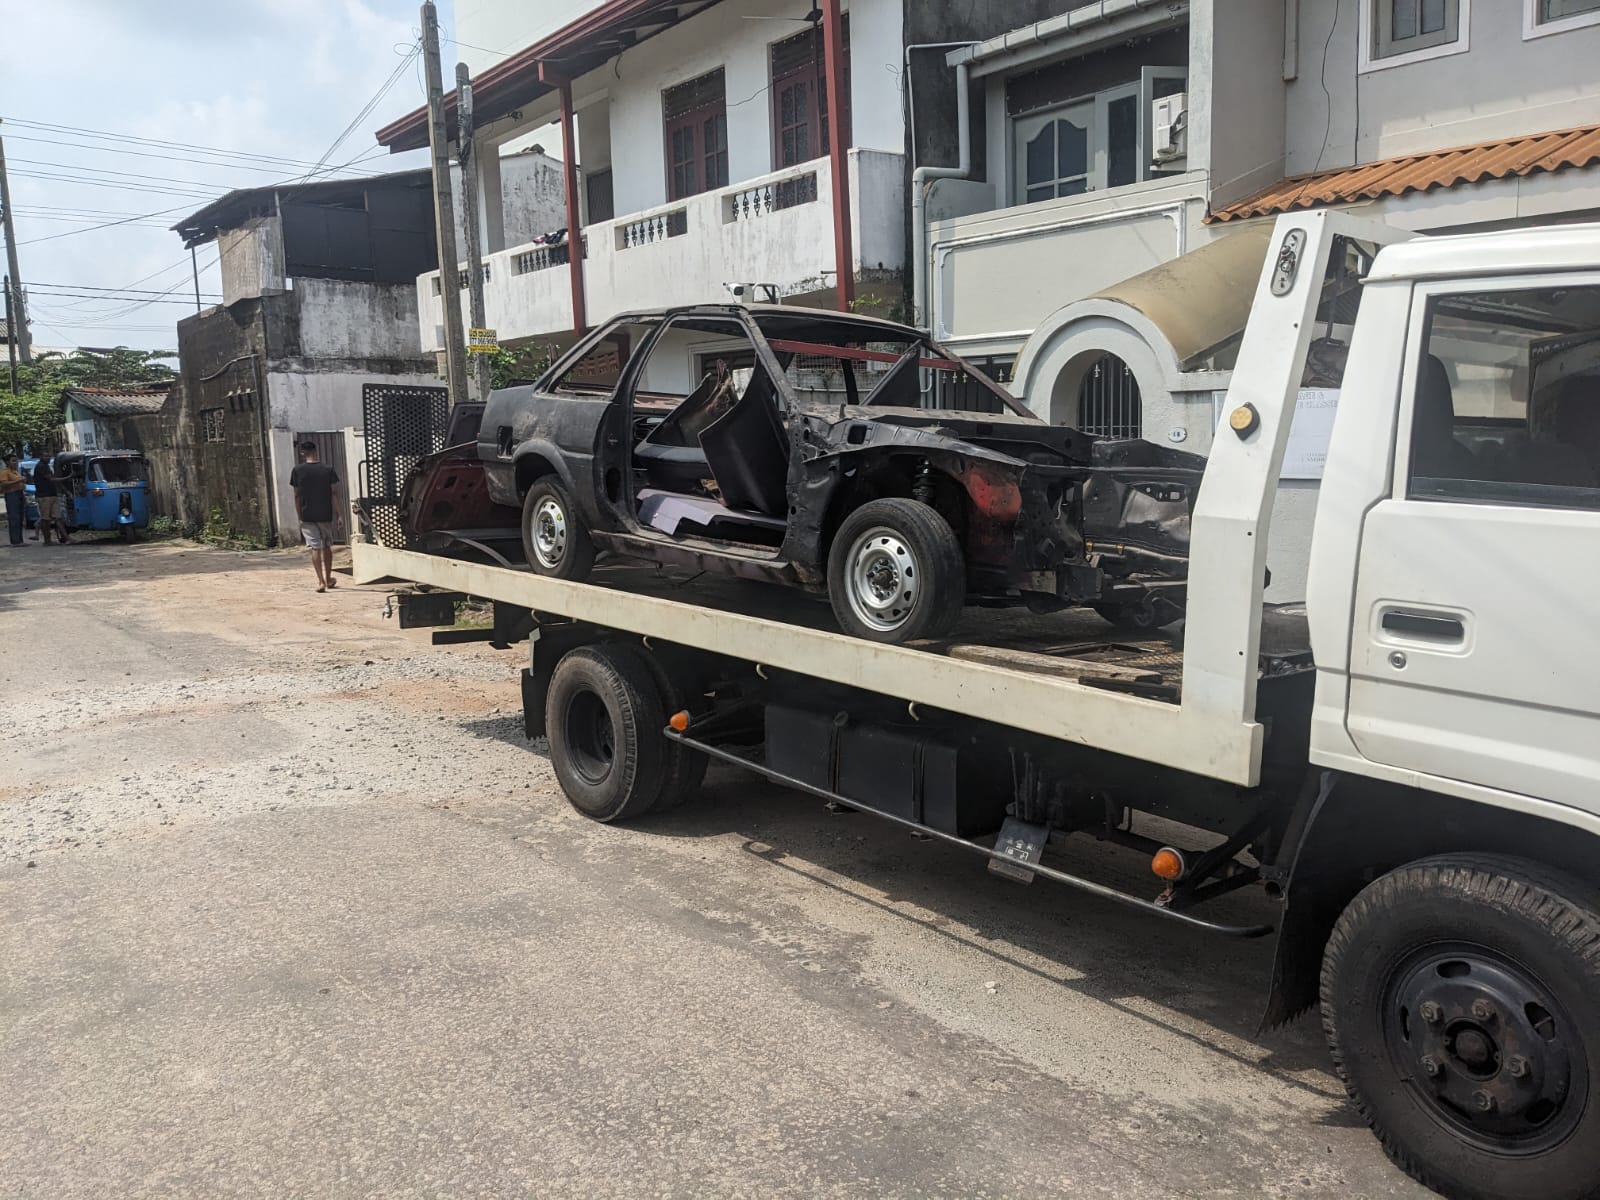
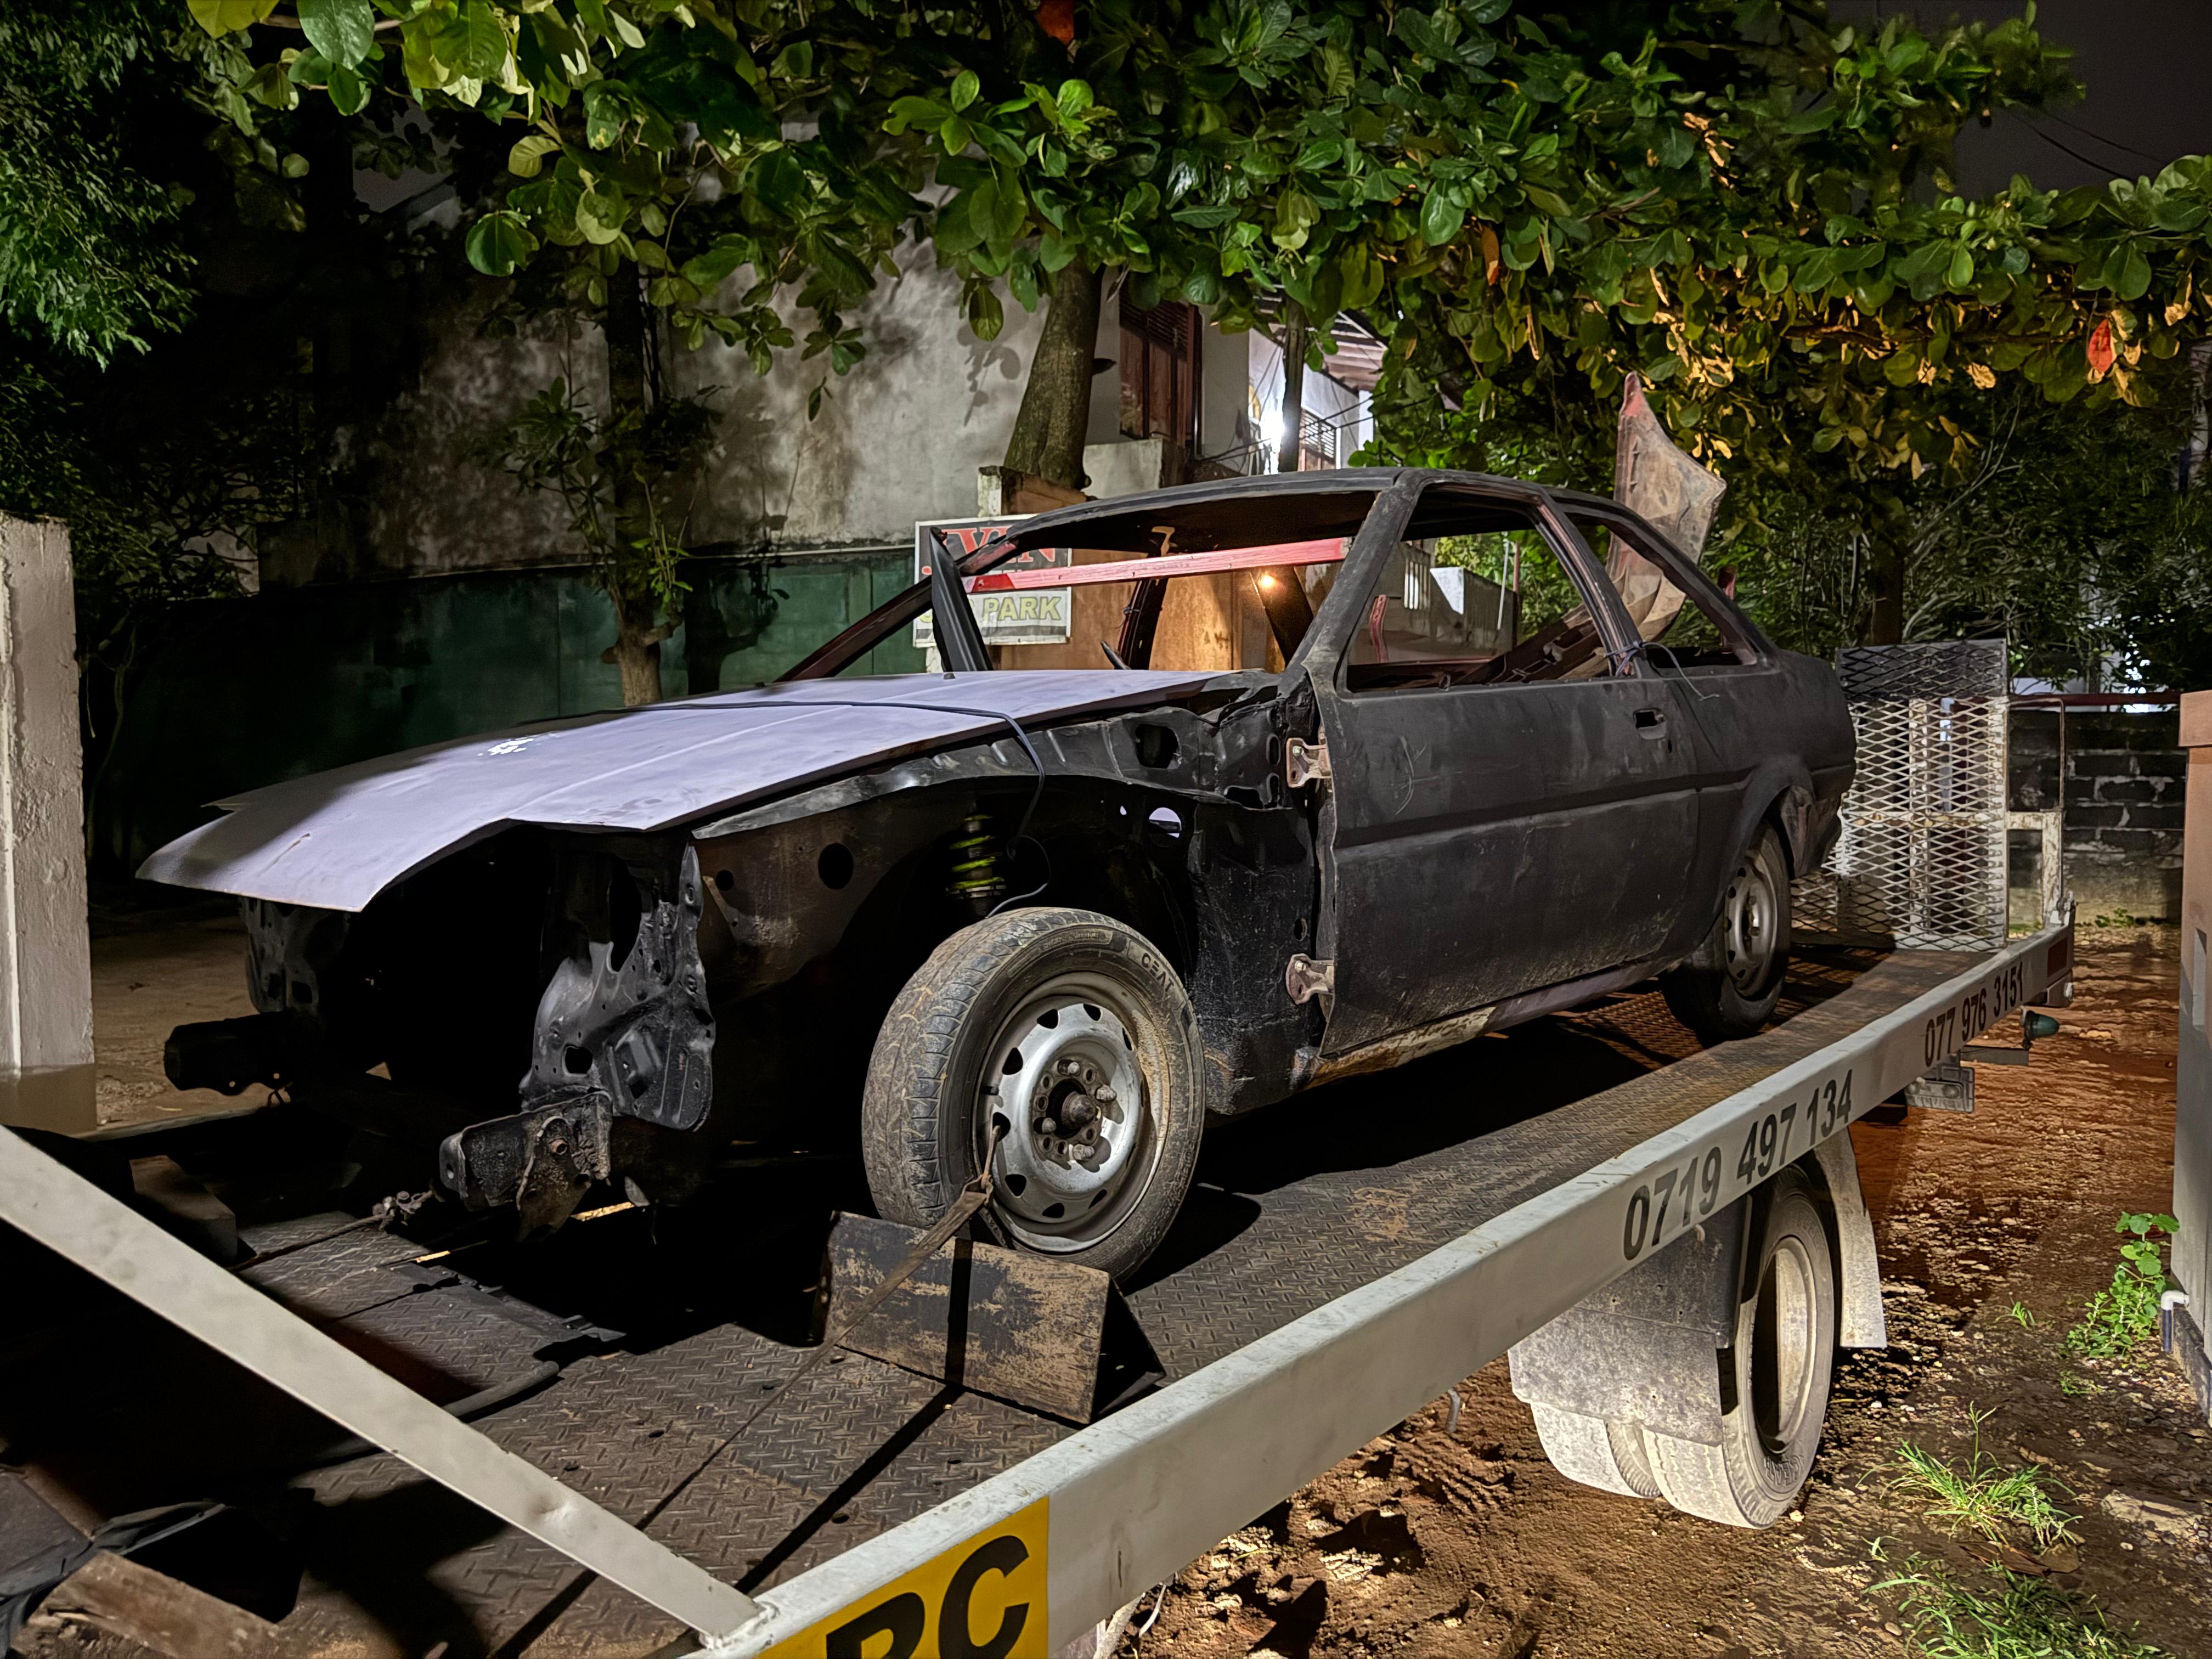
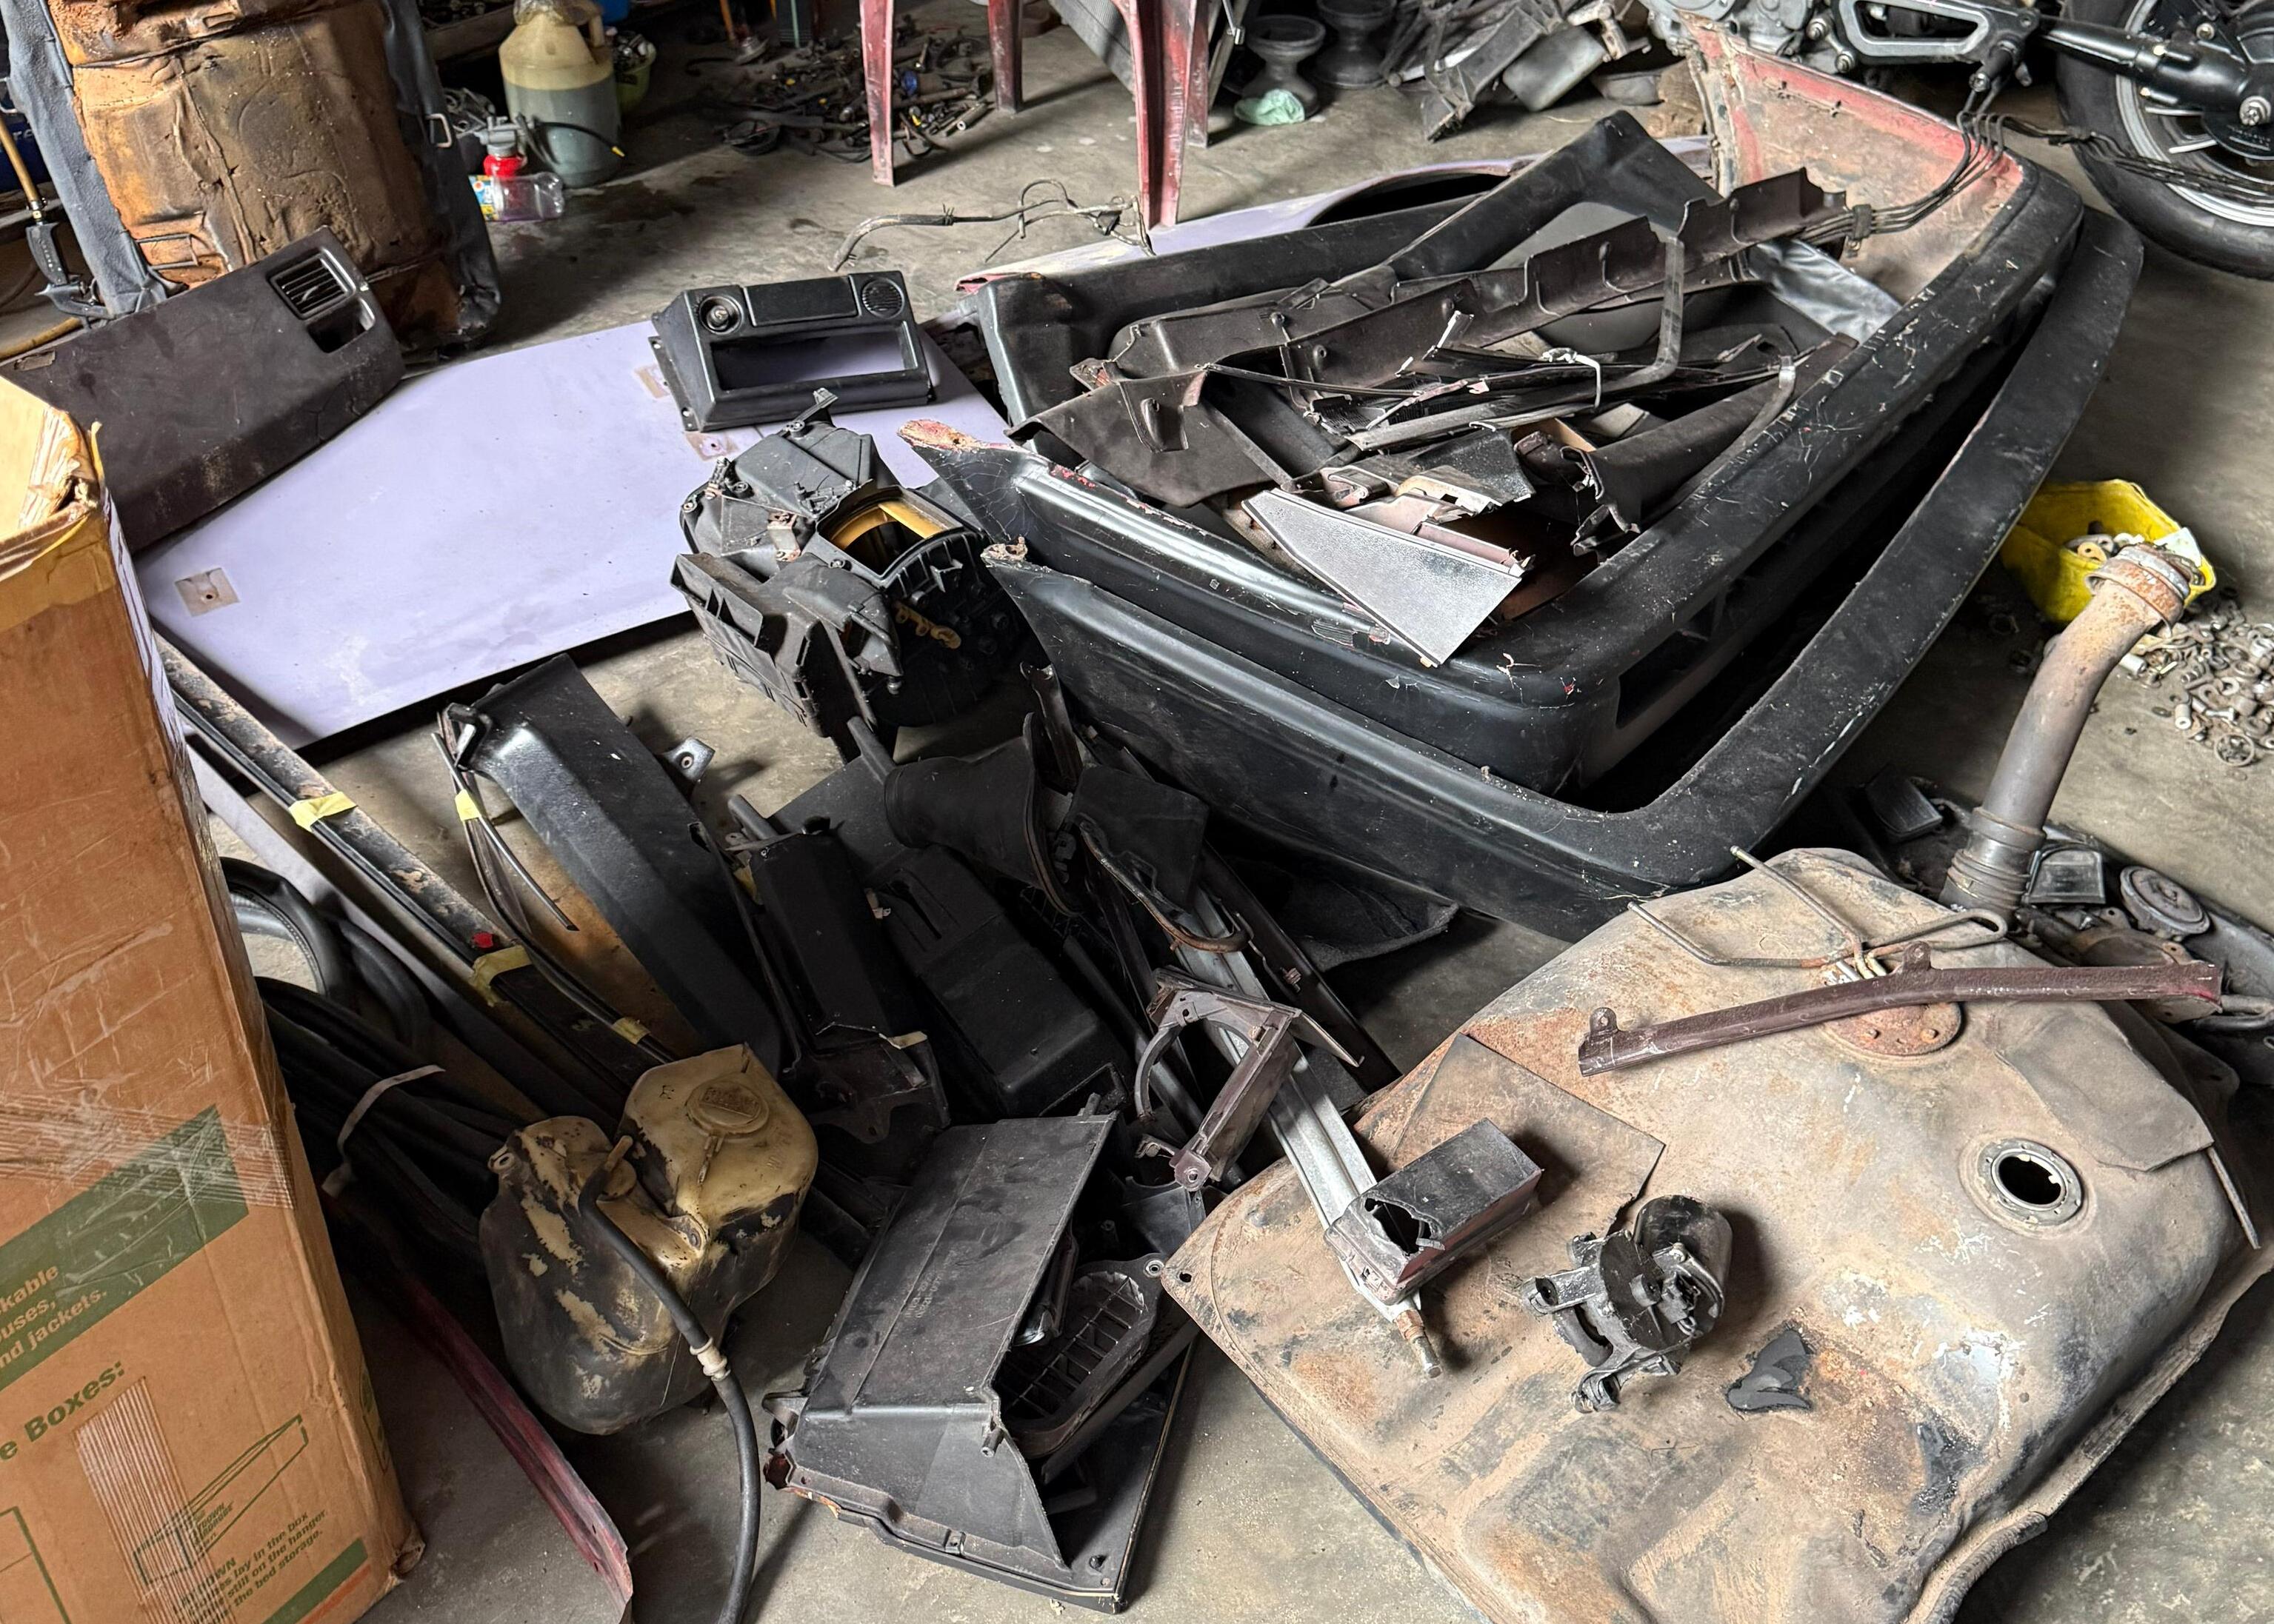
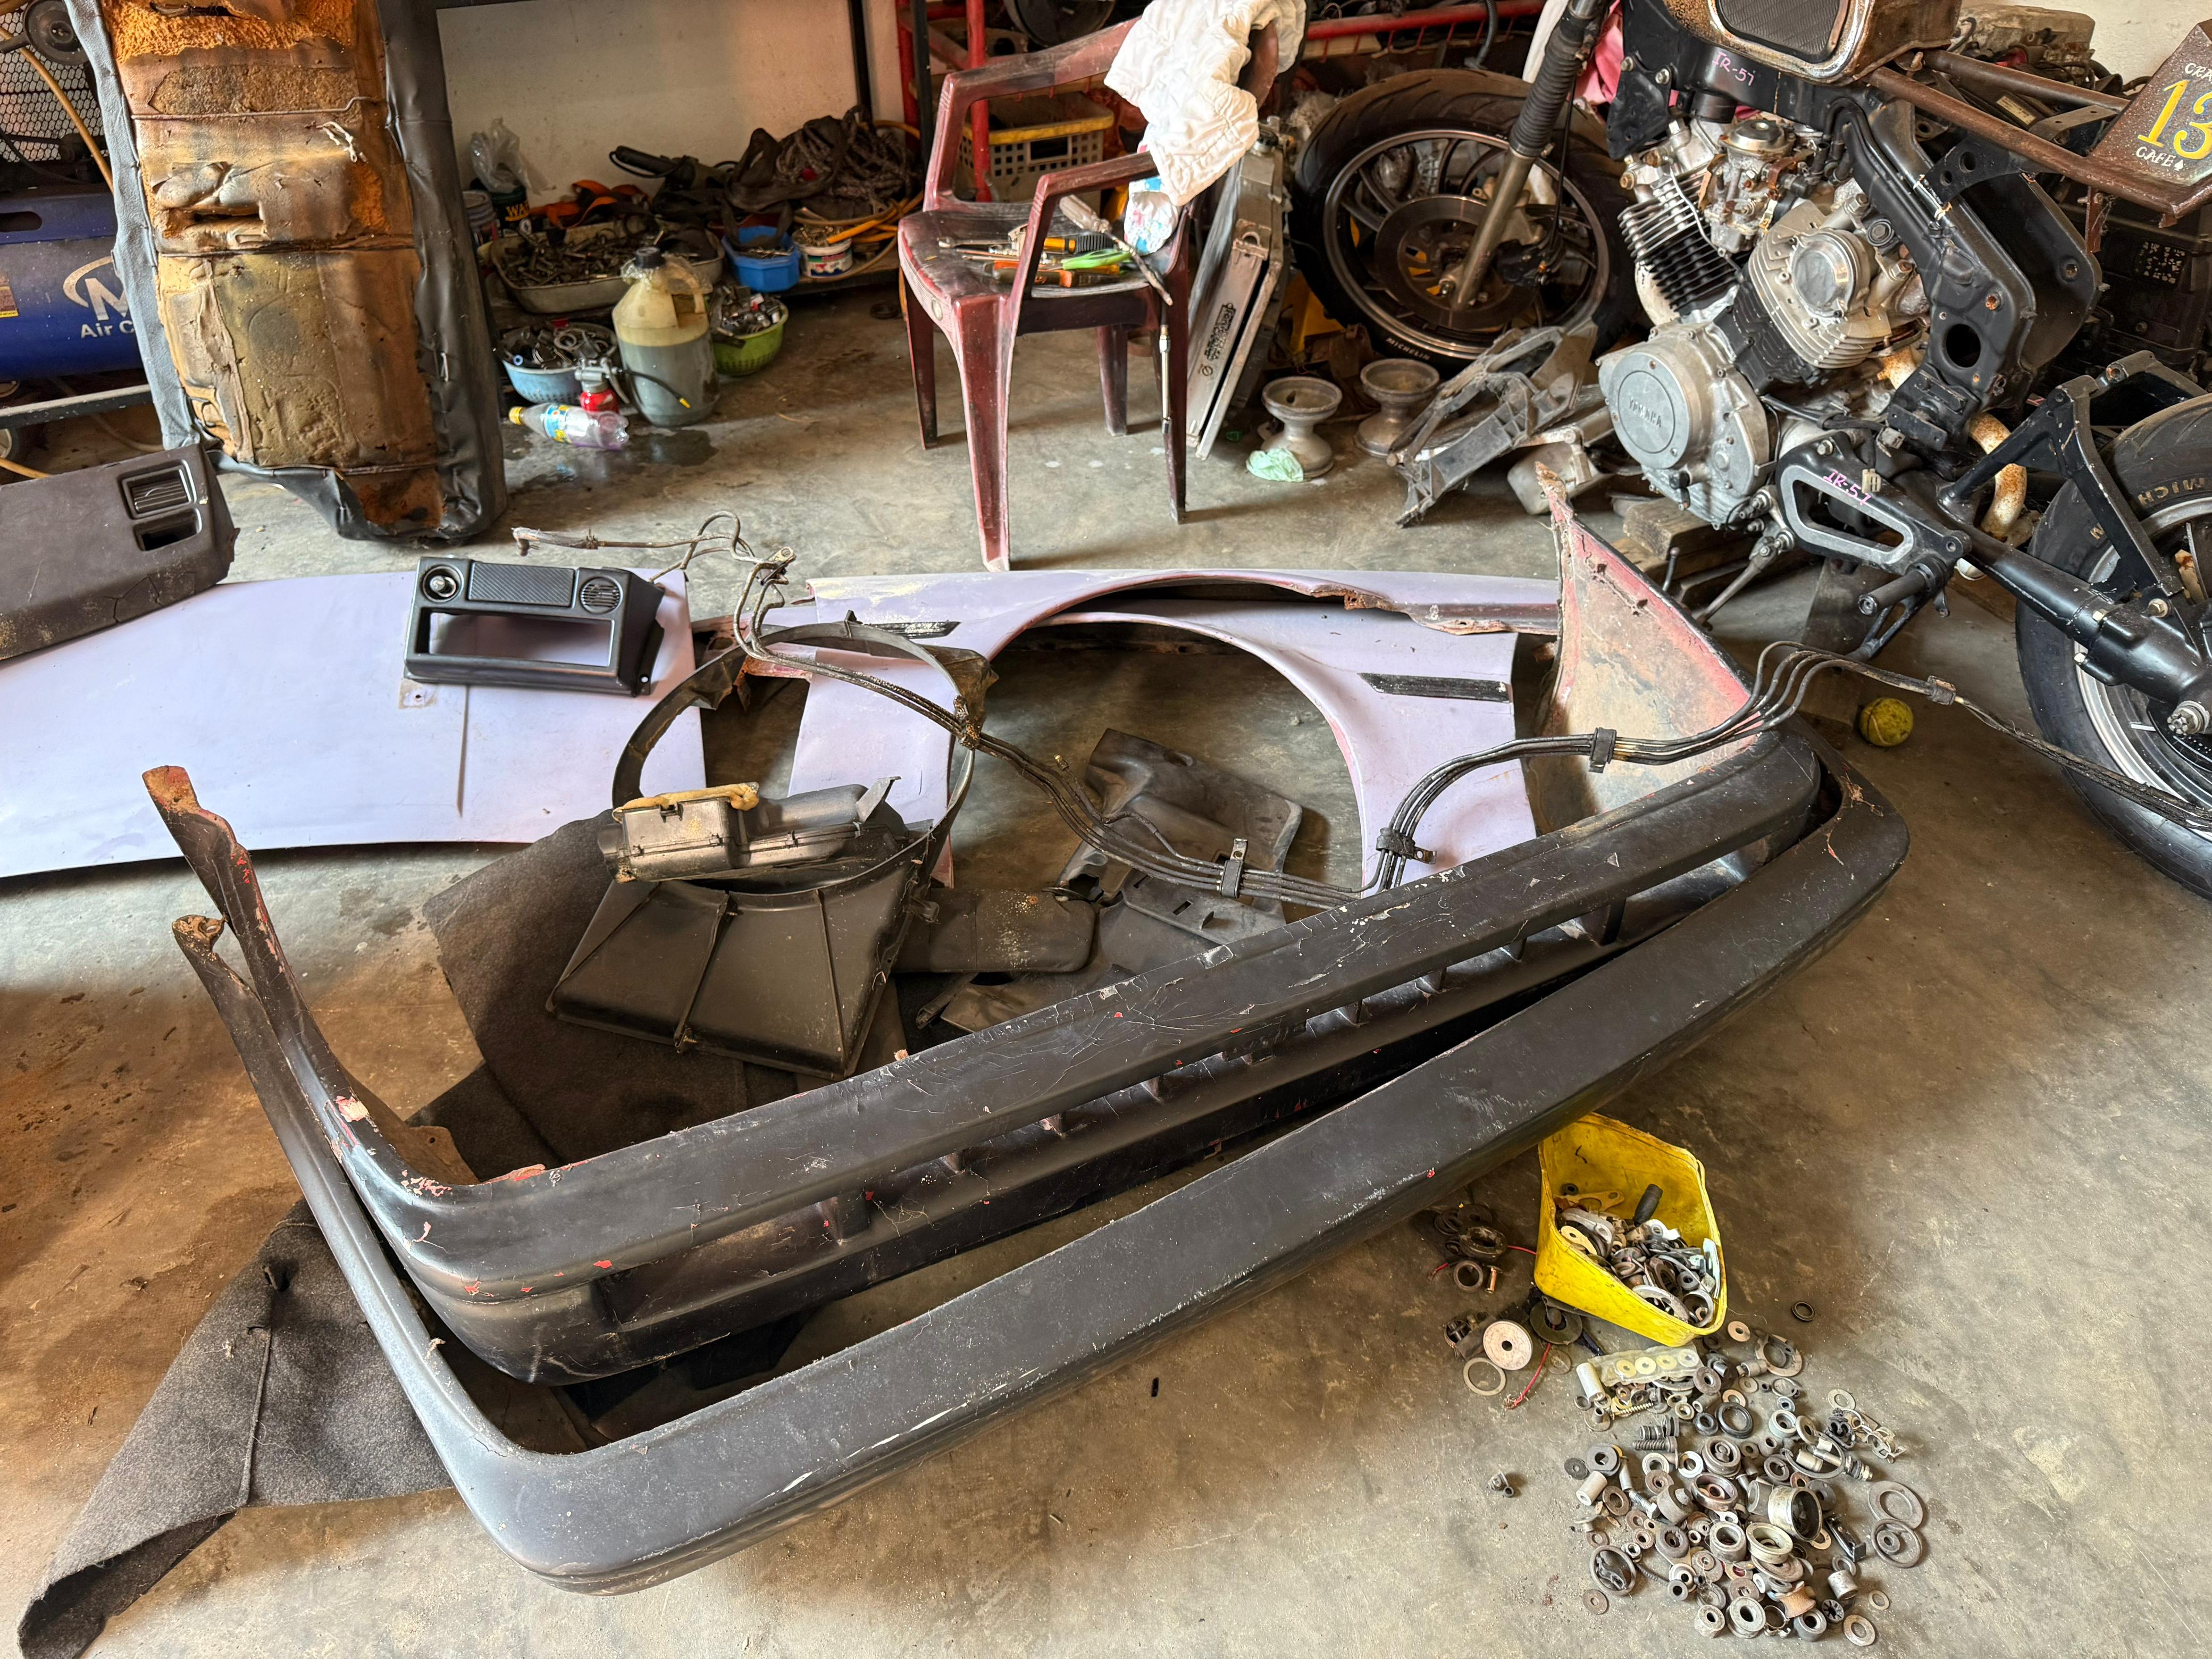
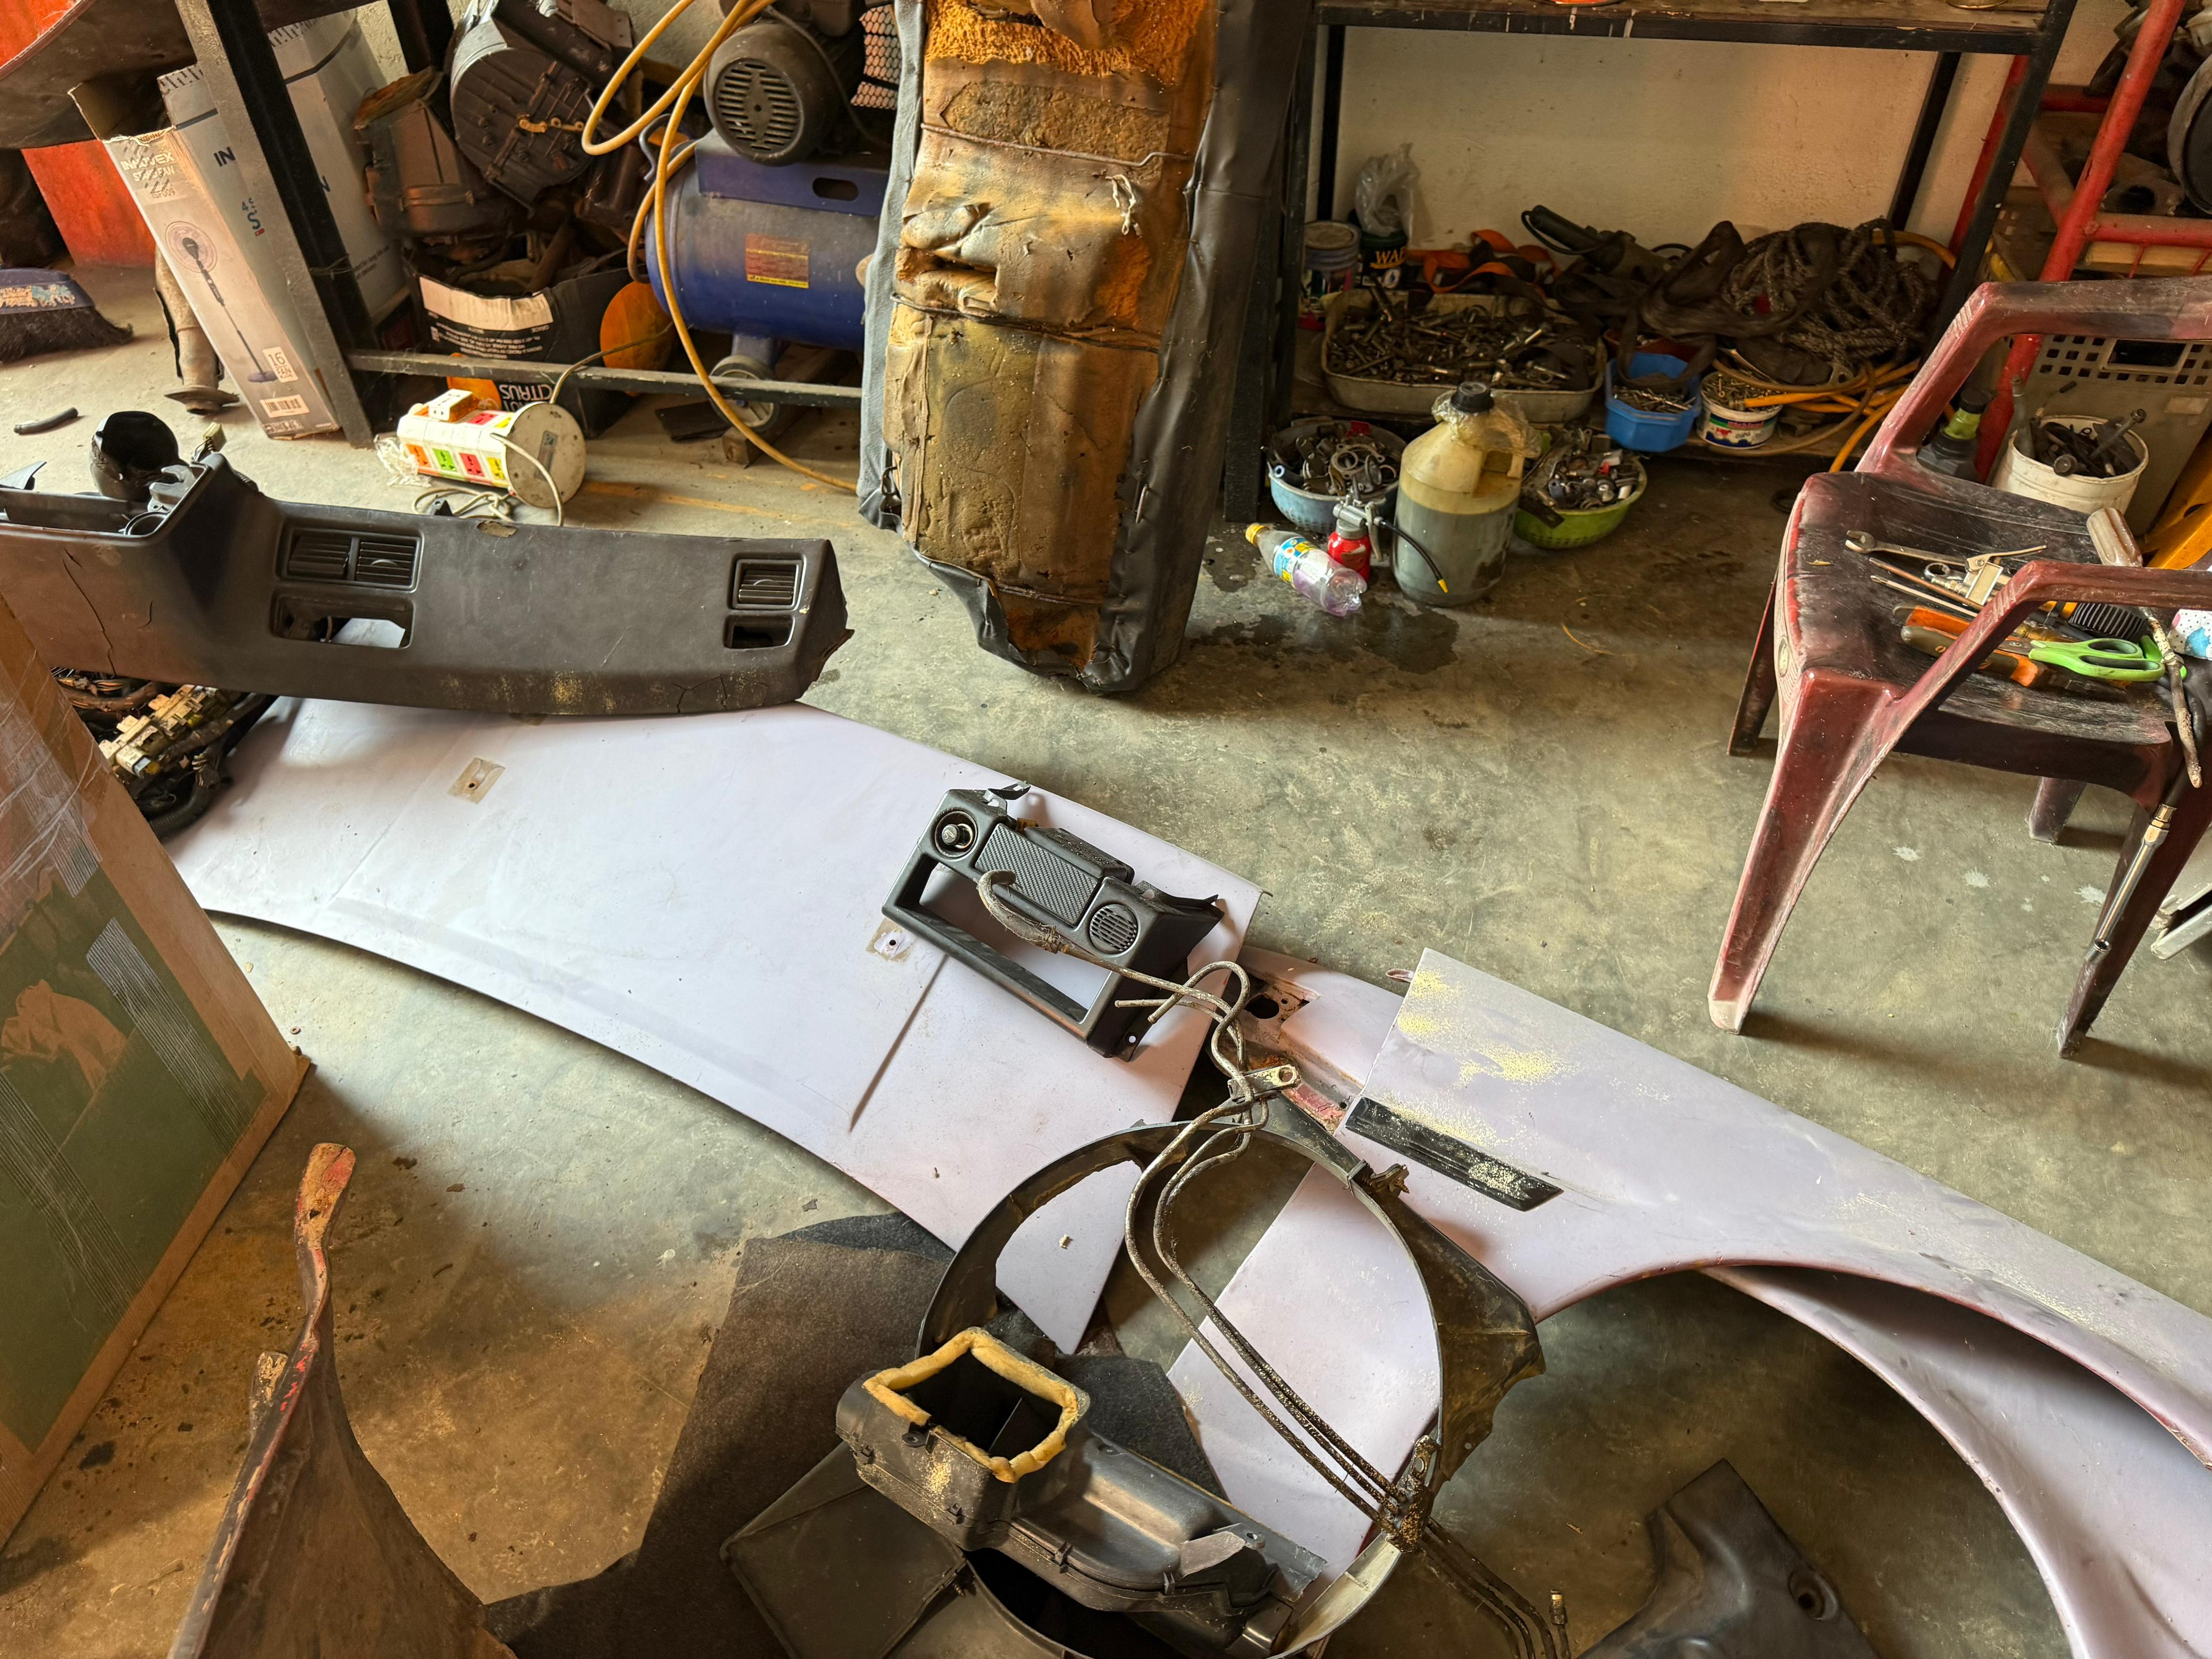
Here are some photos from the day we moved the car — along with shots of the parts we collected, sorted, and organized before the big move.
A big shout-out to RoadSquad for making the move hassle-free. They handled the tow with total professionalism and care, which made a stressful day feel a lot smoother.
Once all the purchasing and paperwork were wrapped up, we moved the car to the paint shop around 2025-04-18. Unfortunately, due to a few delays, we couldn't get started right away and had to wait a few more days before work could begin.
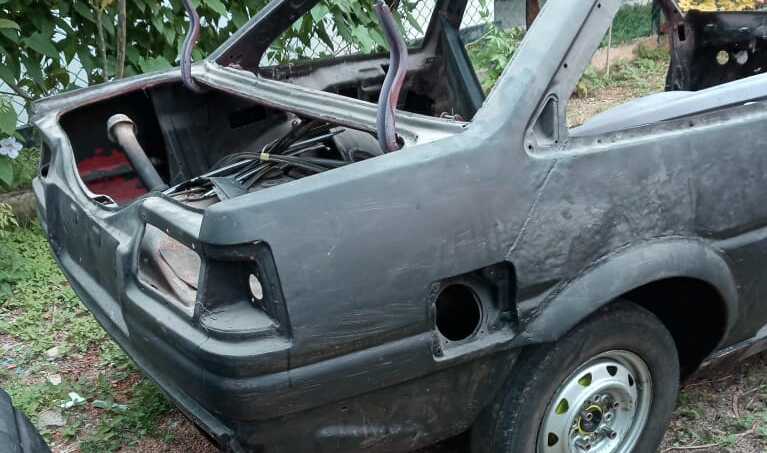
Before the Strip-Down: A Glimpse Into the Past
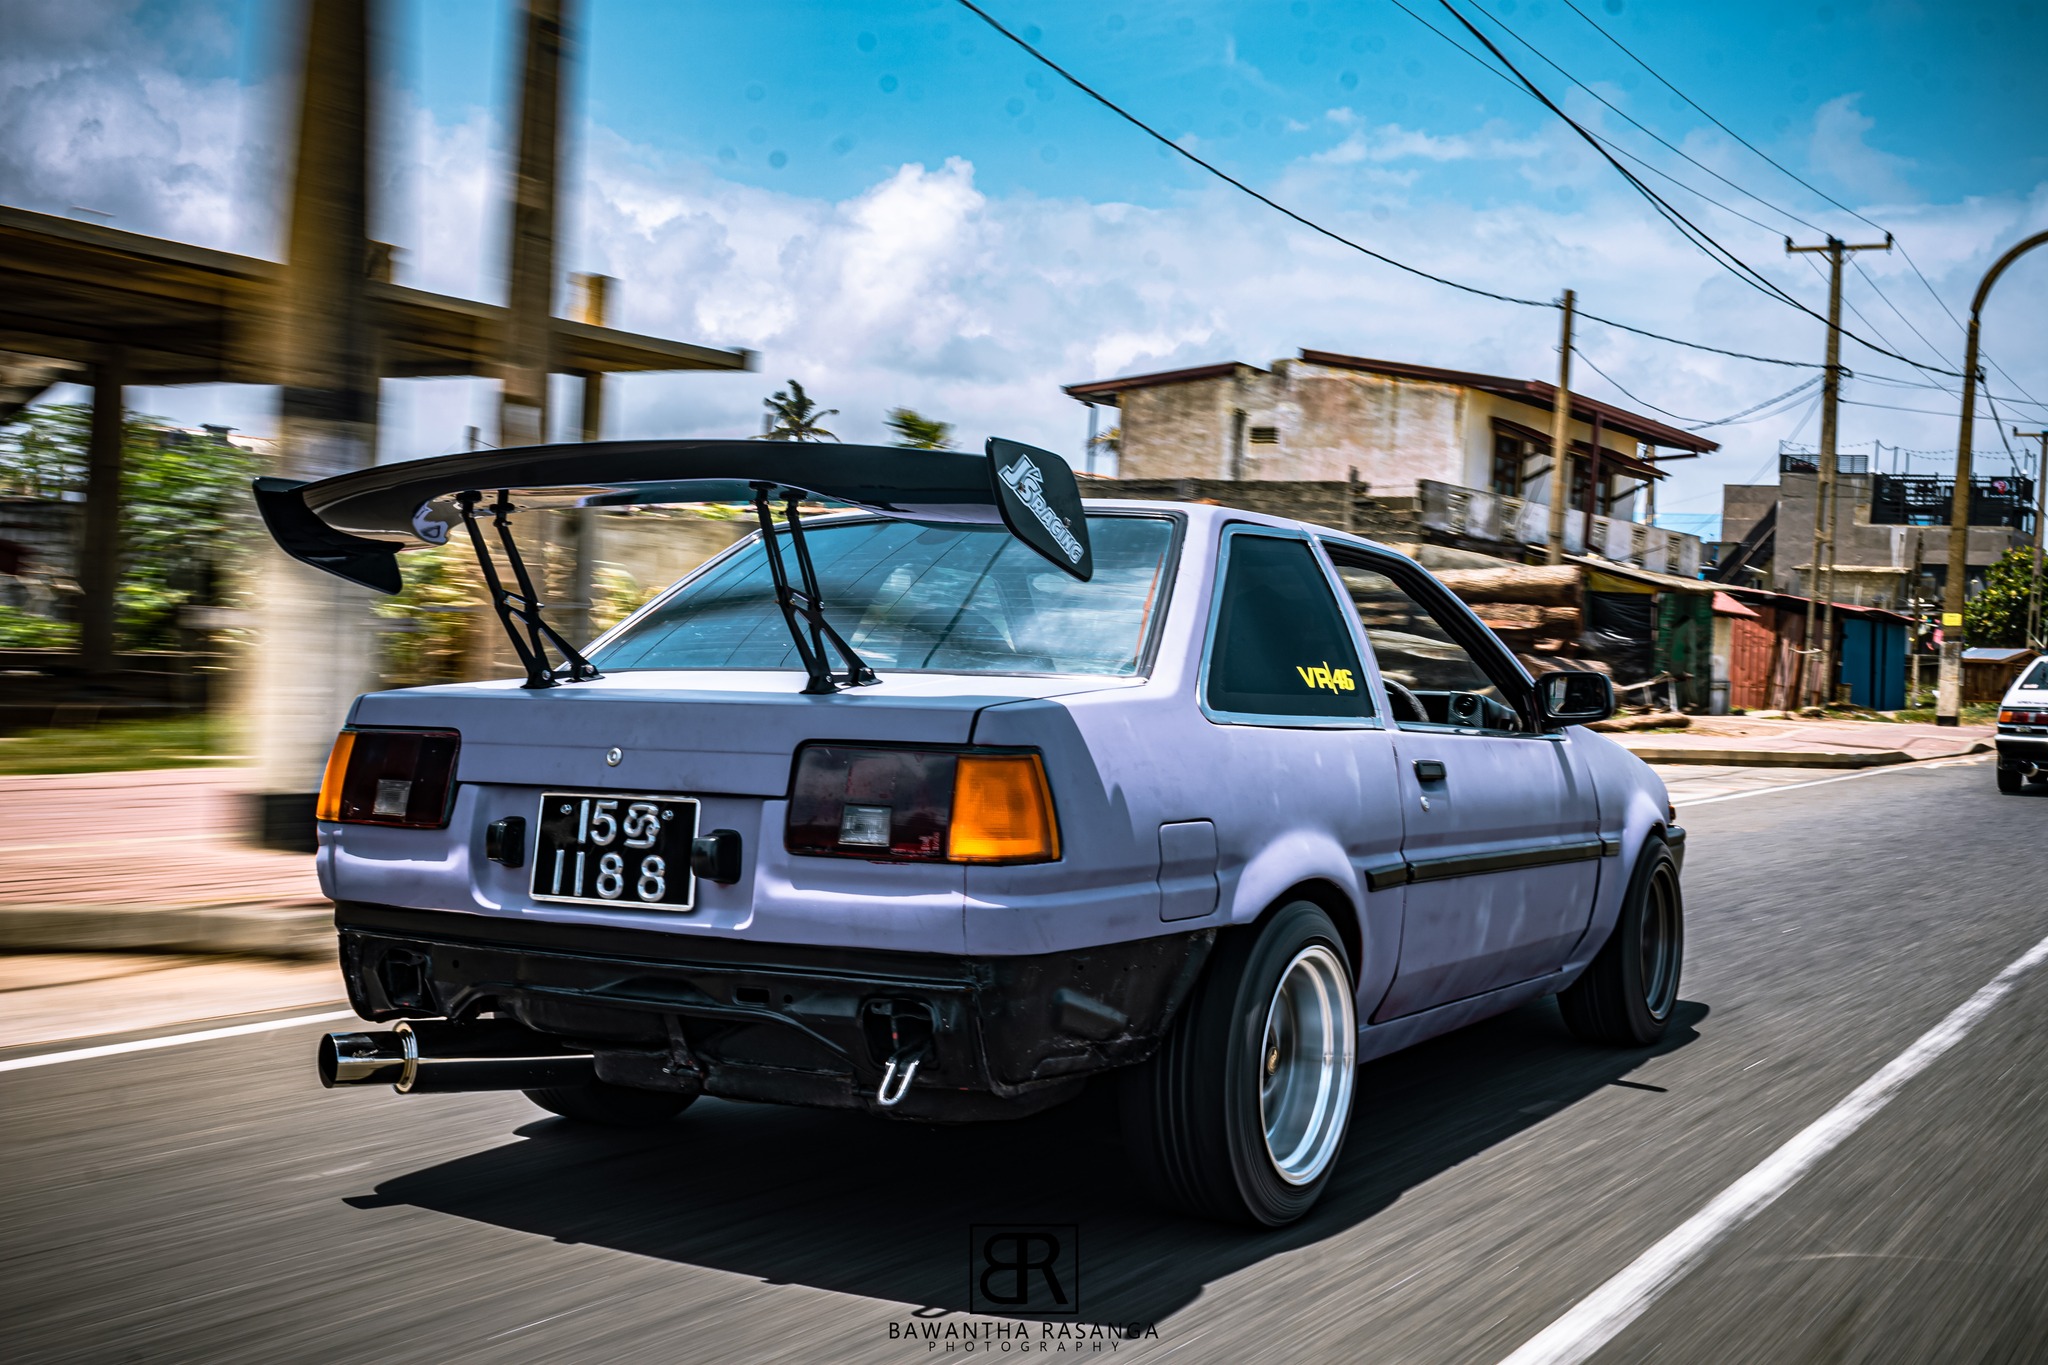
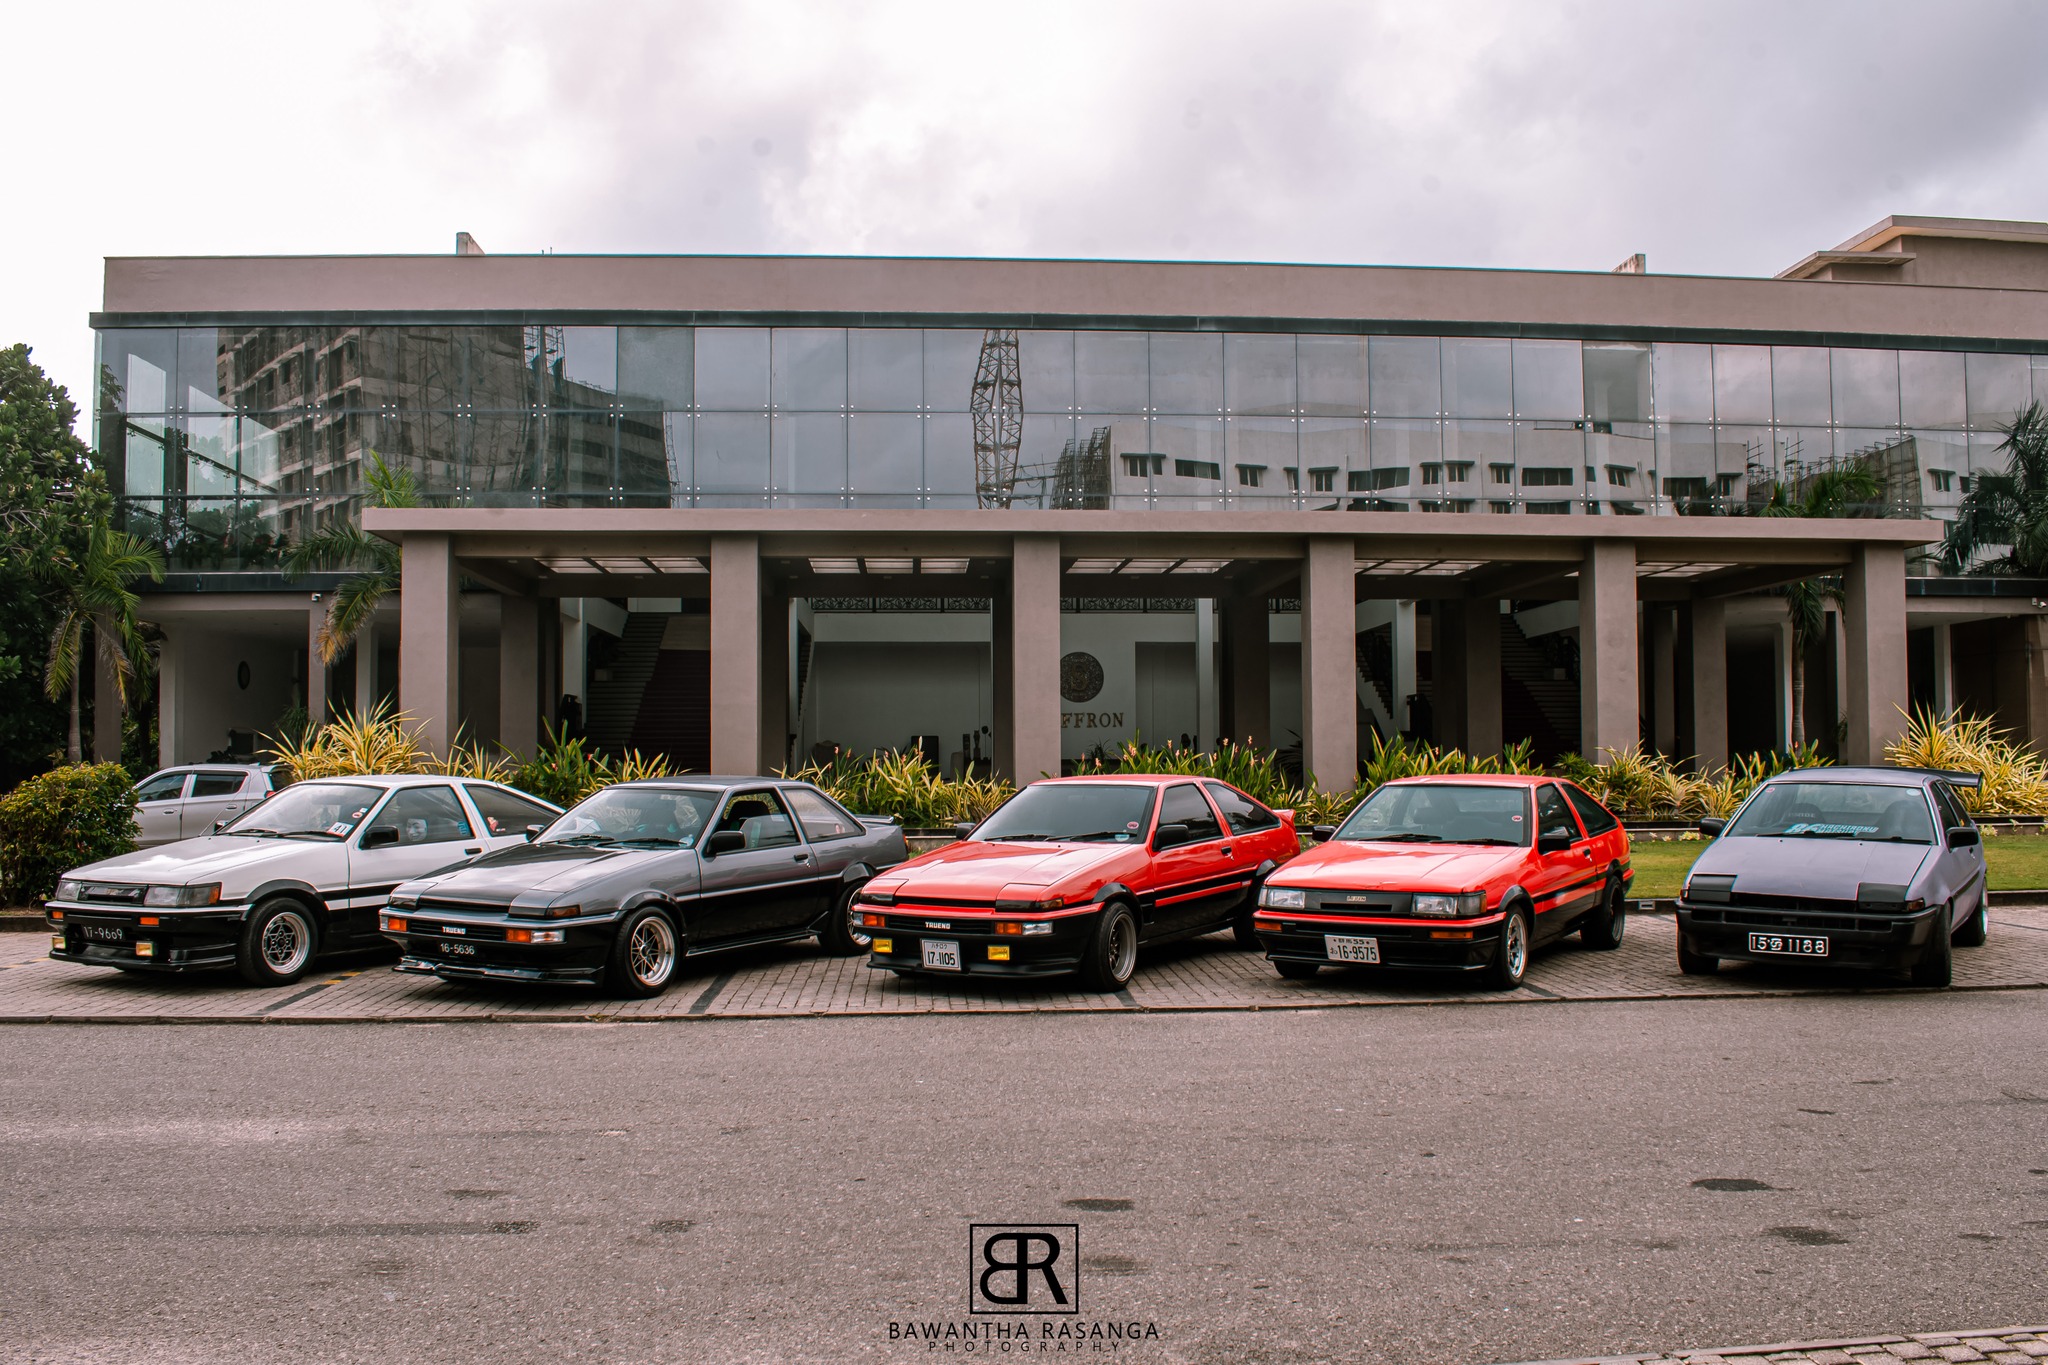
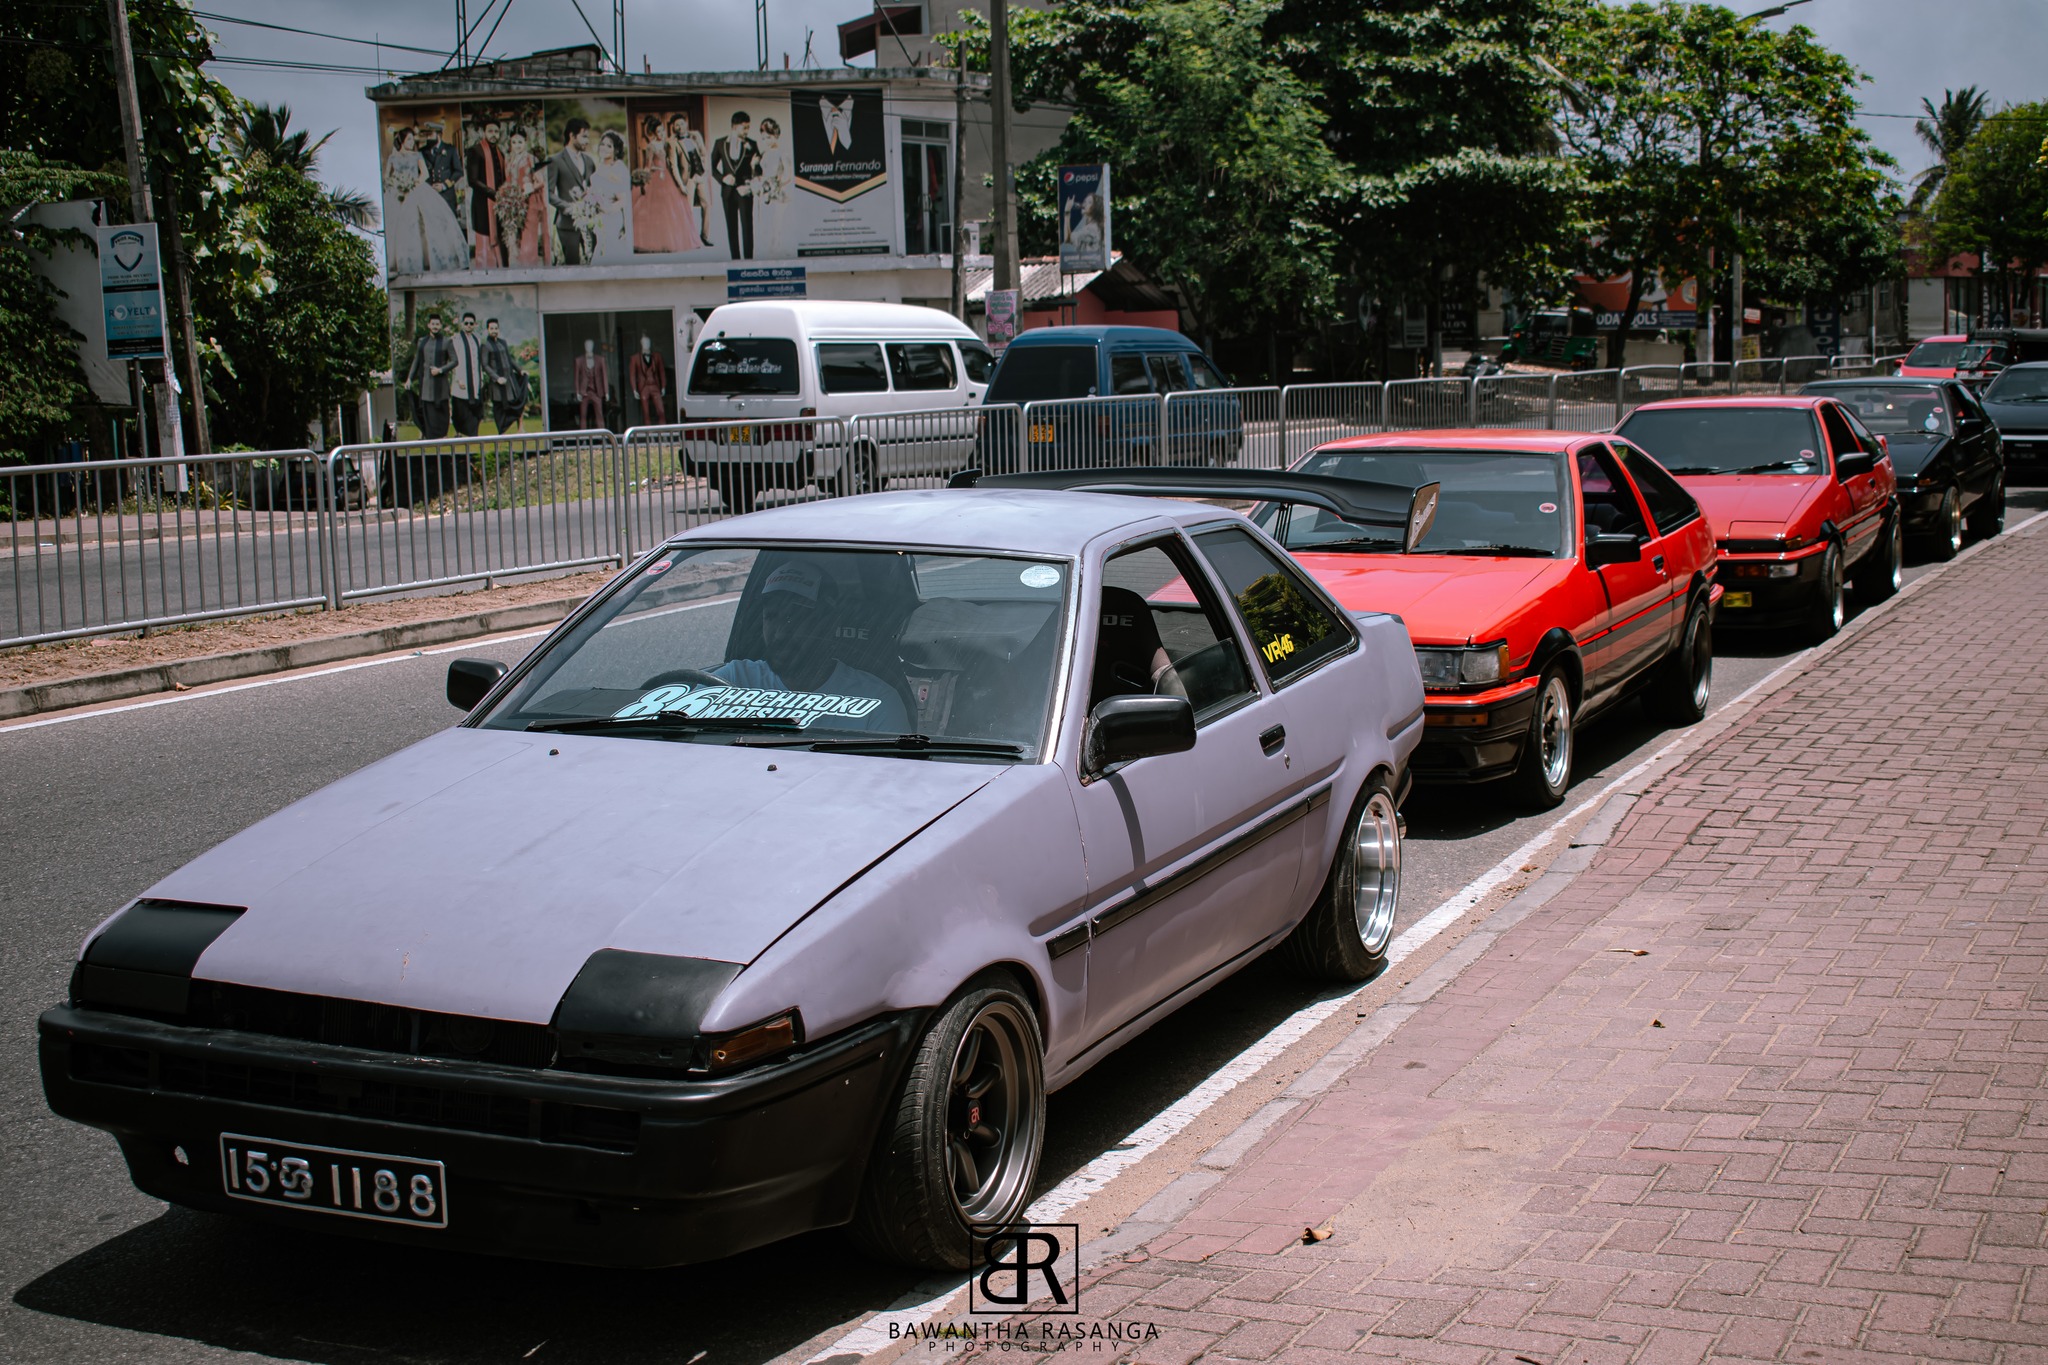
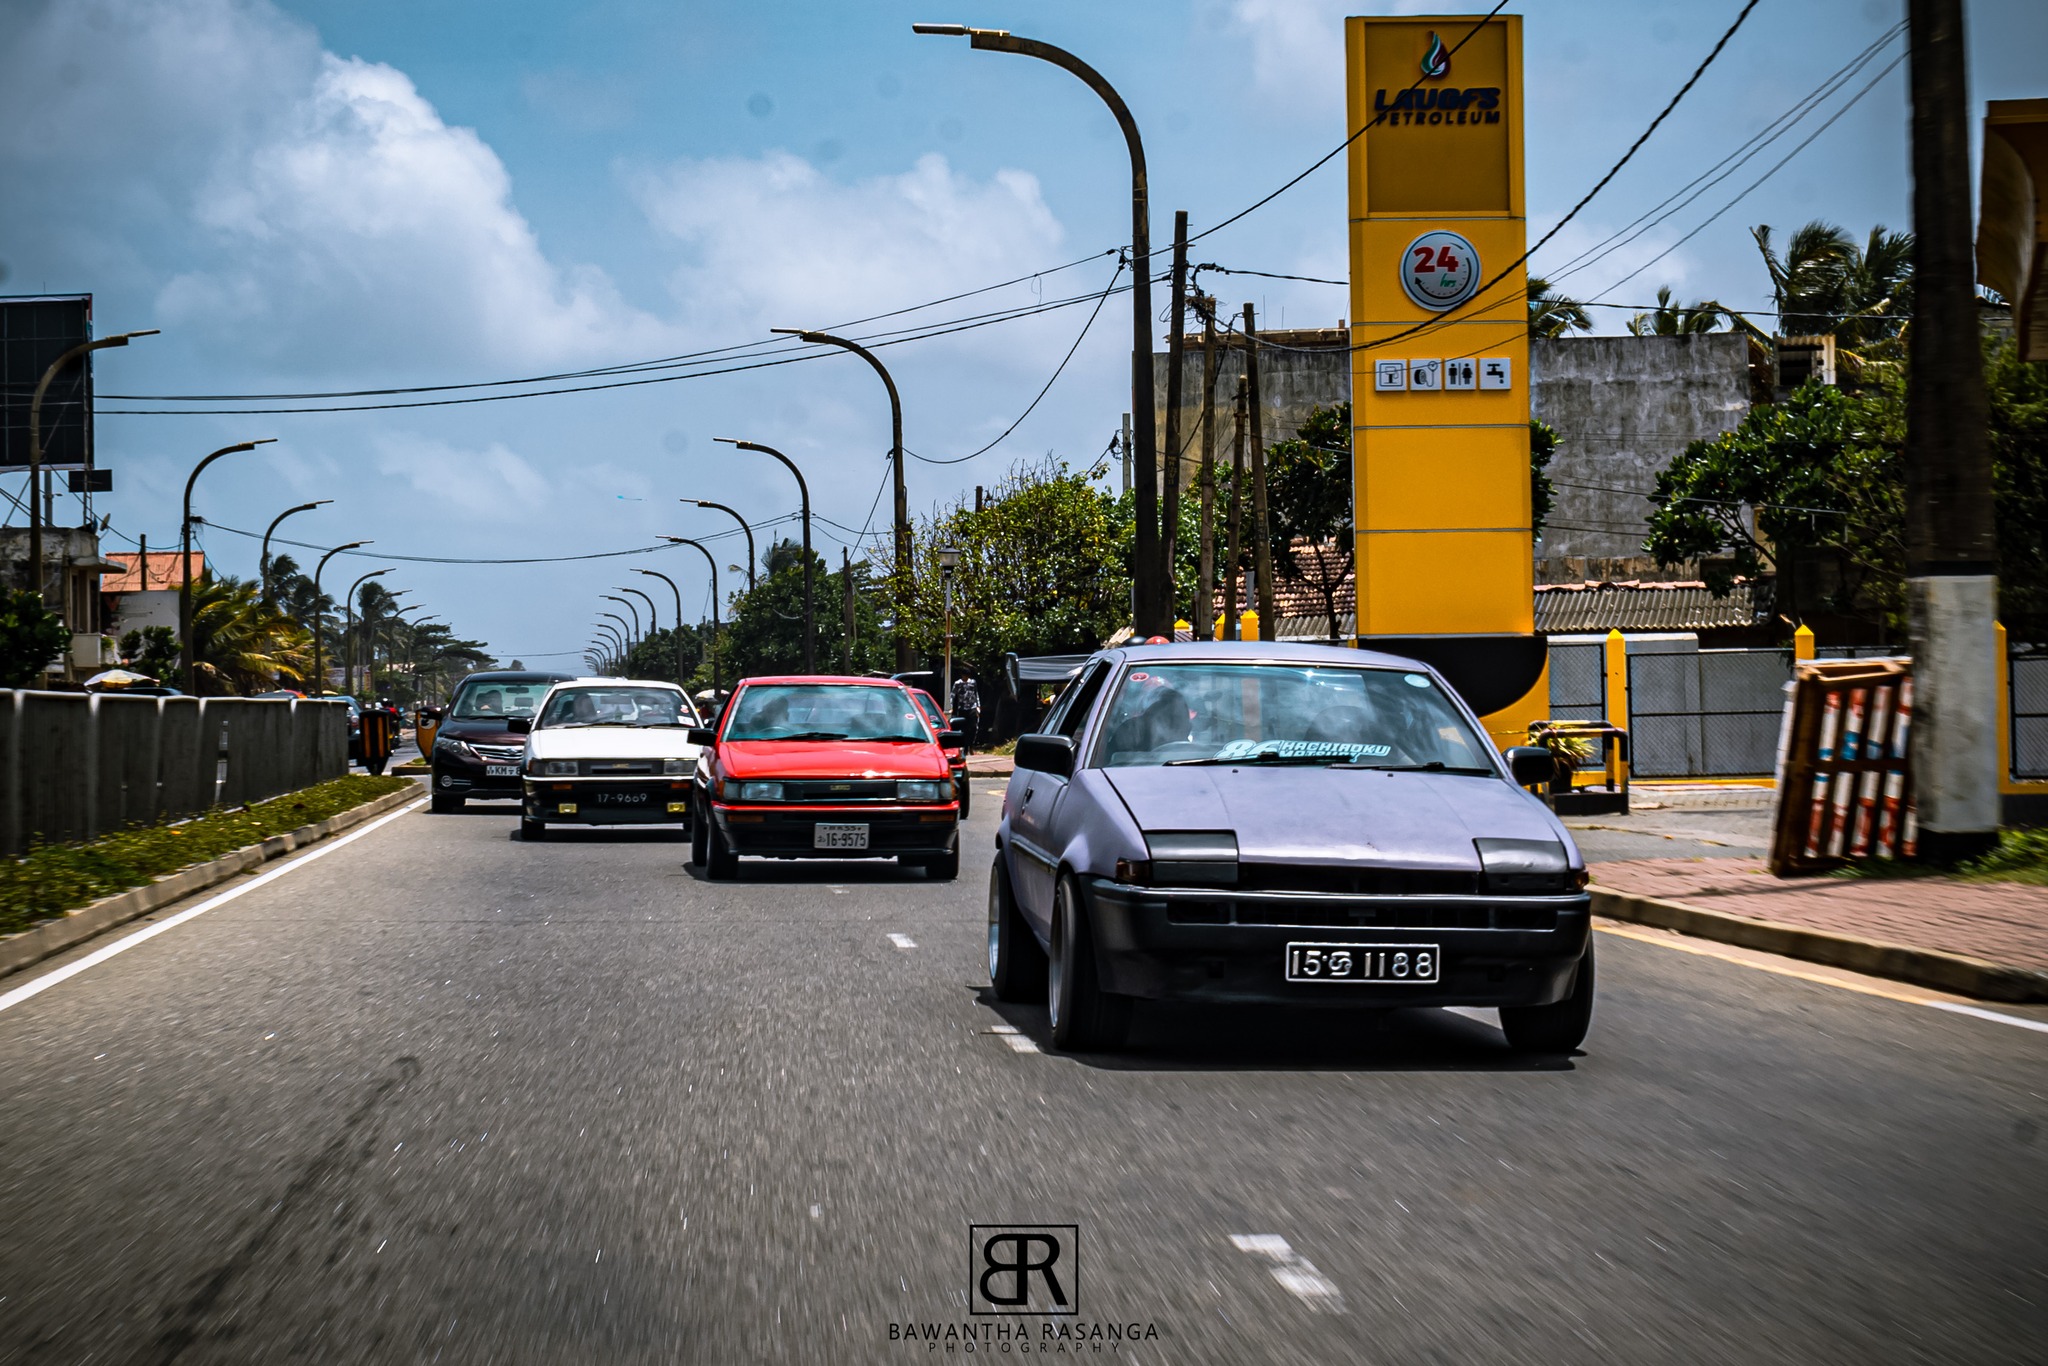
You might be wondering what the car looked like before it was stripped to a bare shell. Luckily, after a bit of light OSINT digging, we managed to find a few photos from the previous owner — showing the car before the restoration journey began.
Turns out, it used to wear a bold shade of purple before any of the paint removal or bodywork started.
Here are some of those early shots:


So... Where's the Rust?
Haha, like any old car, this one had a few surprises waiting for us. We found several rust spots that needed attention — no shock there. Thankfully, since the car was already stripped to a bare shell with the paint removed down to the metal, spotting the problem areas was pretty straightforward.
Here are the main rust spots we identified.
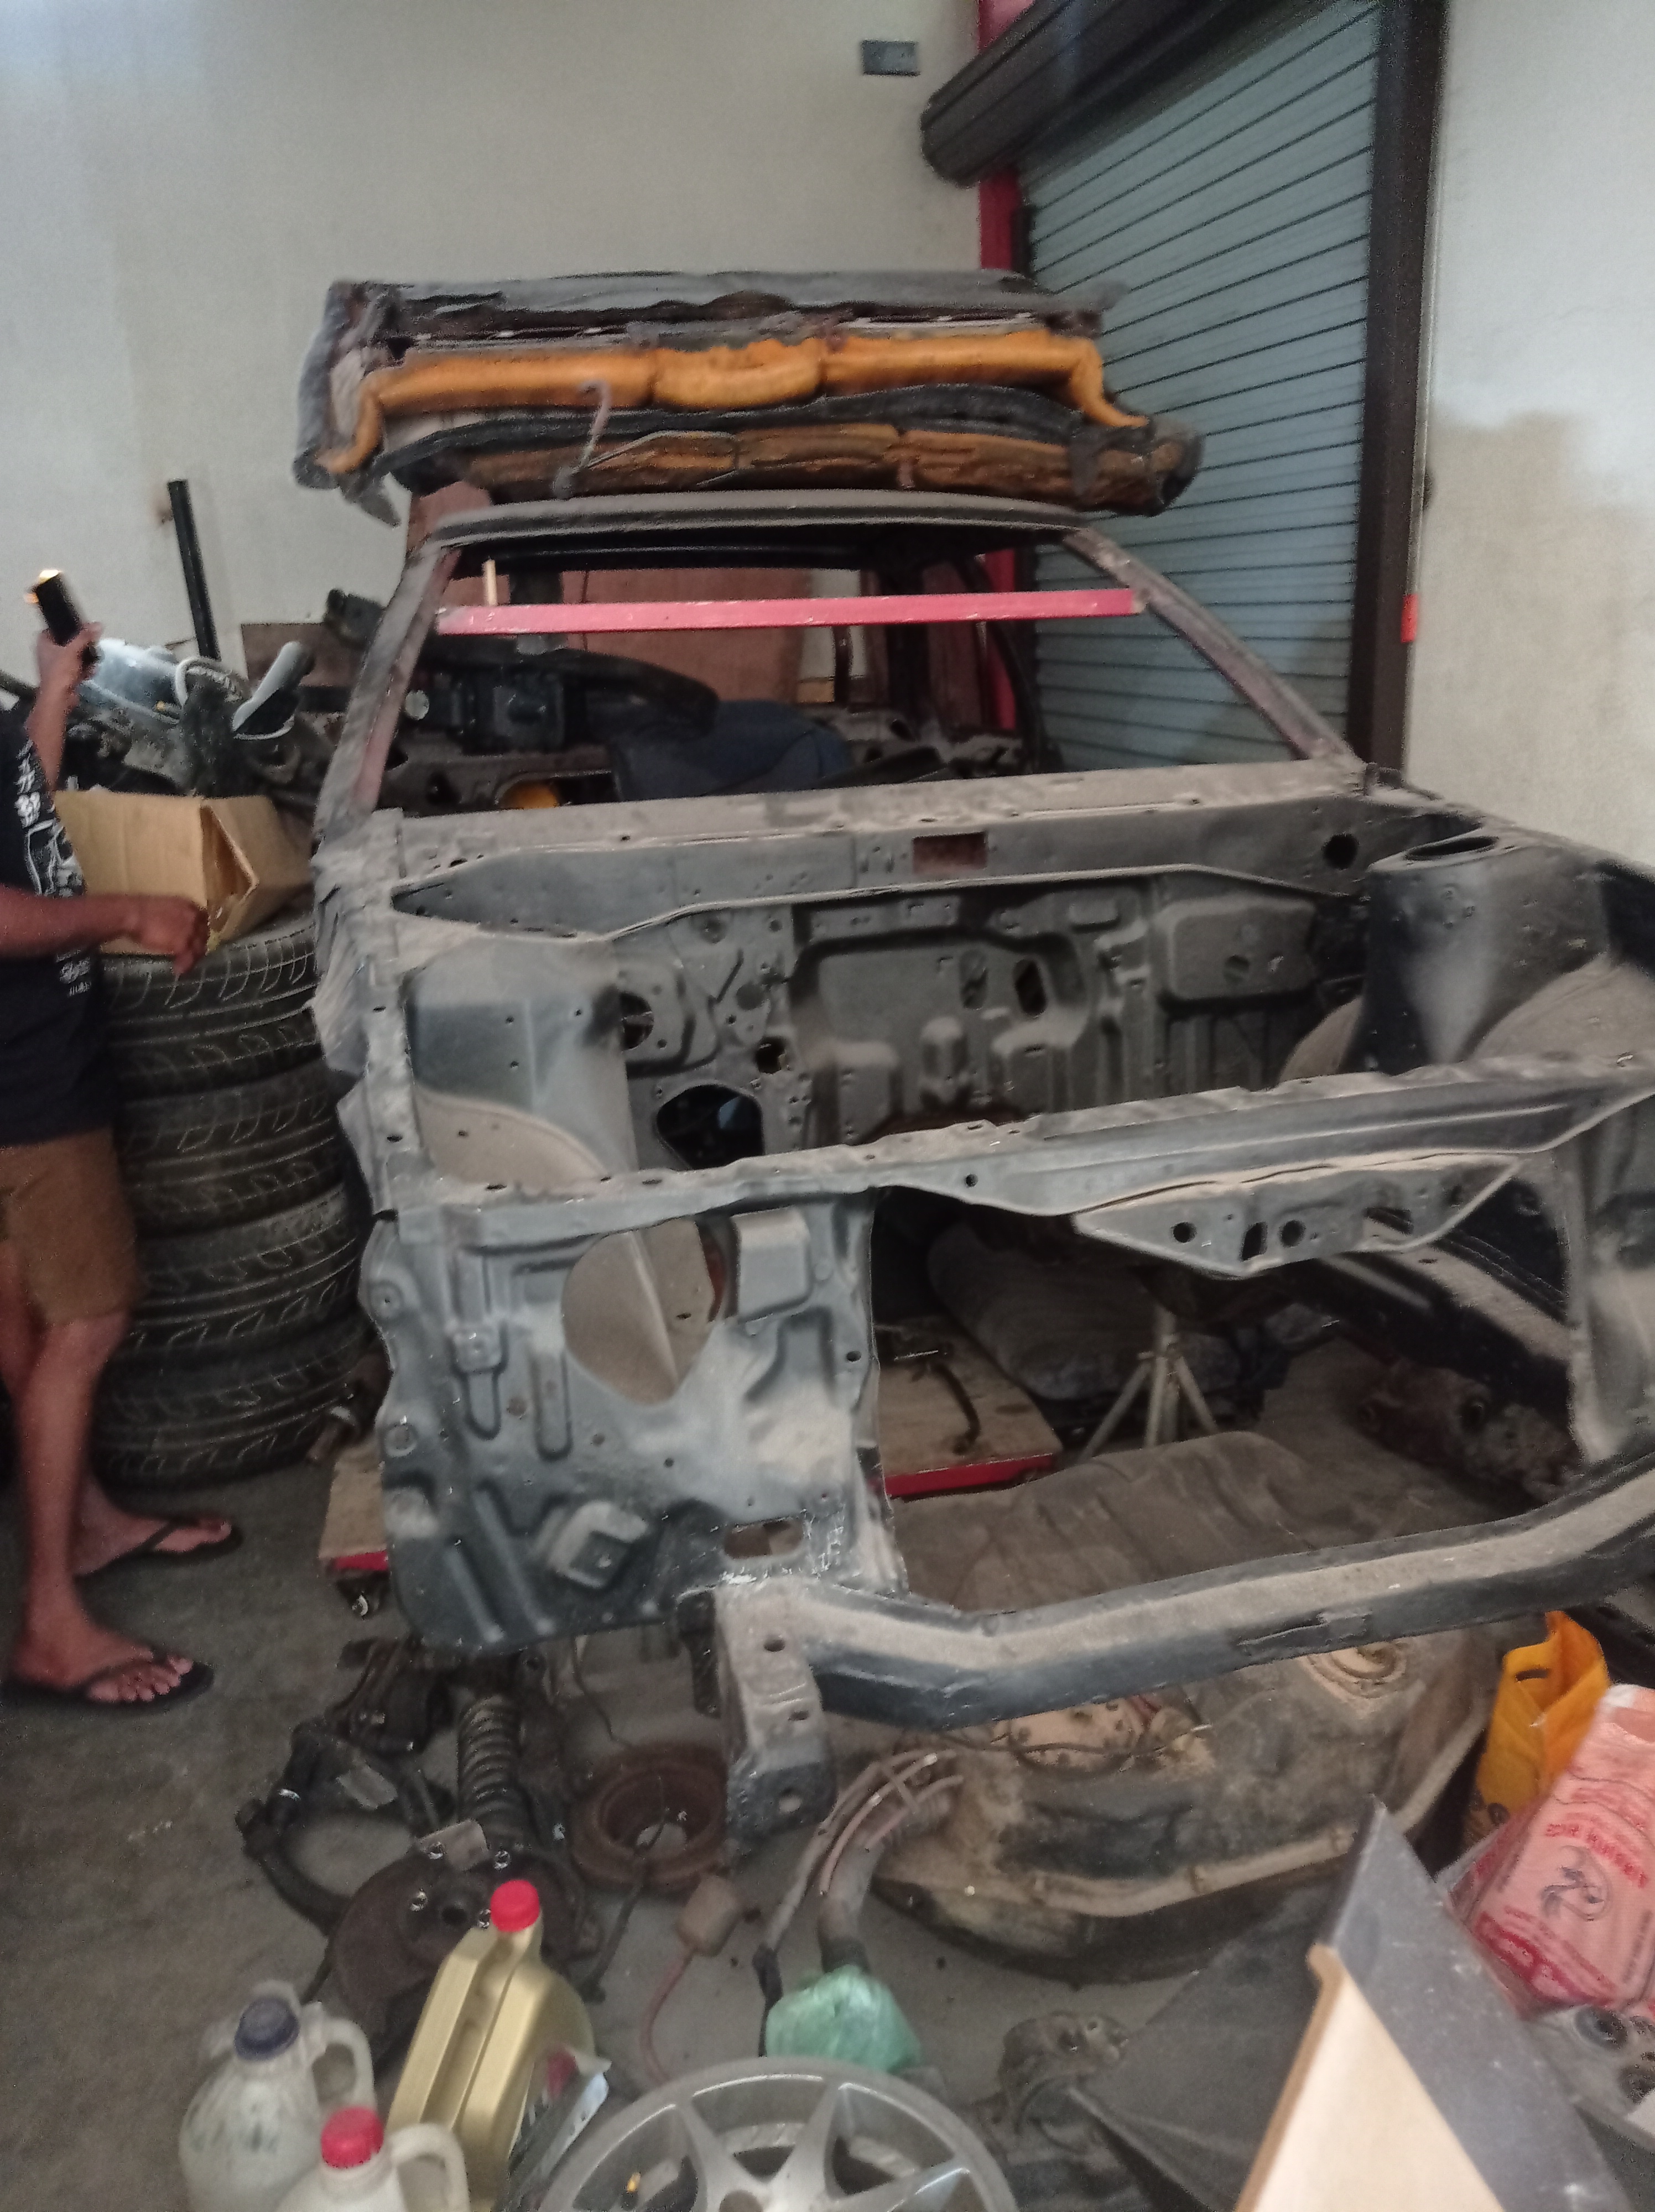
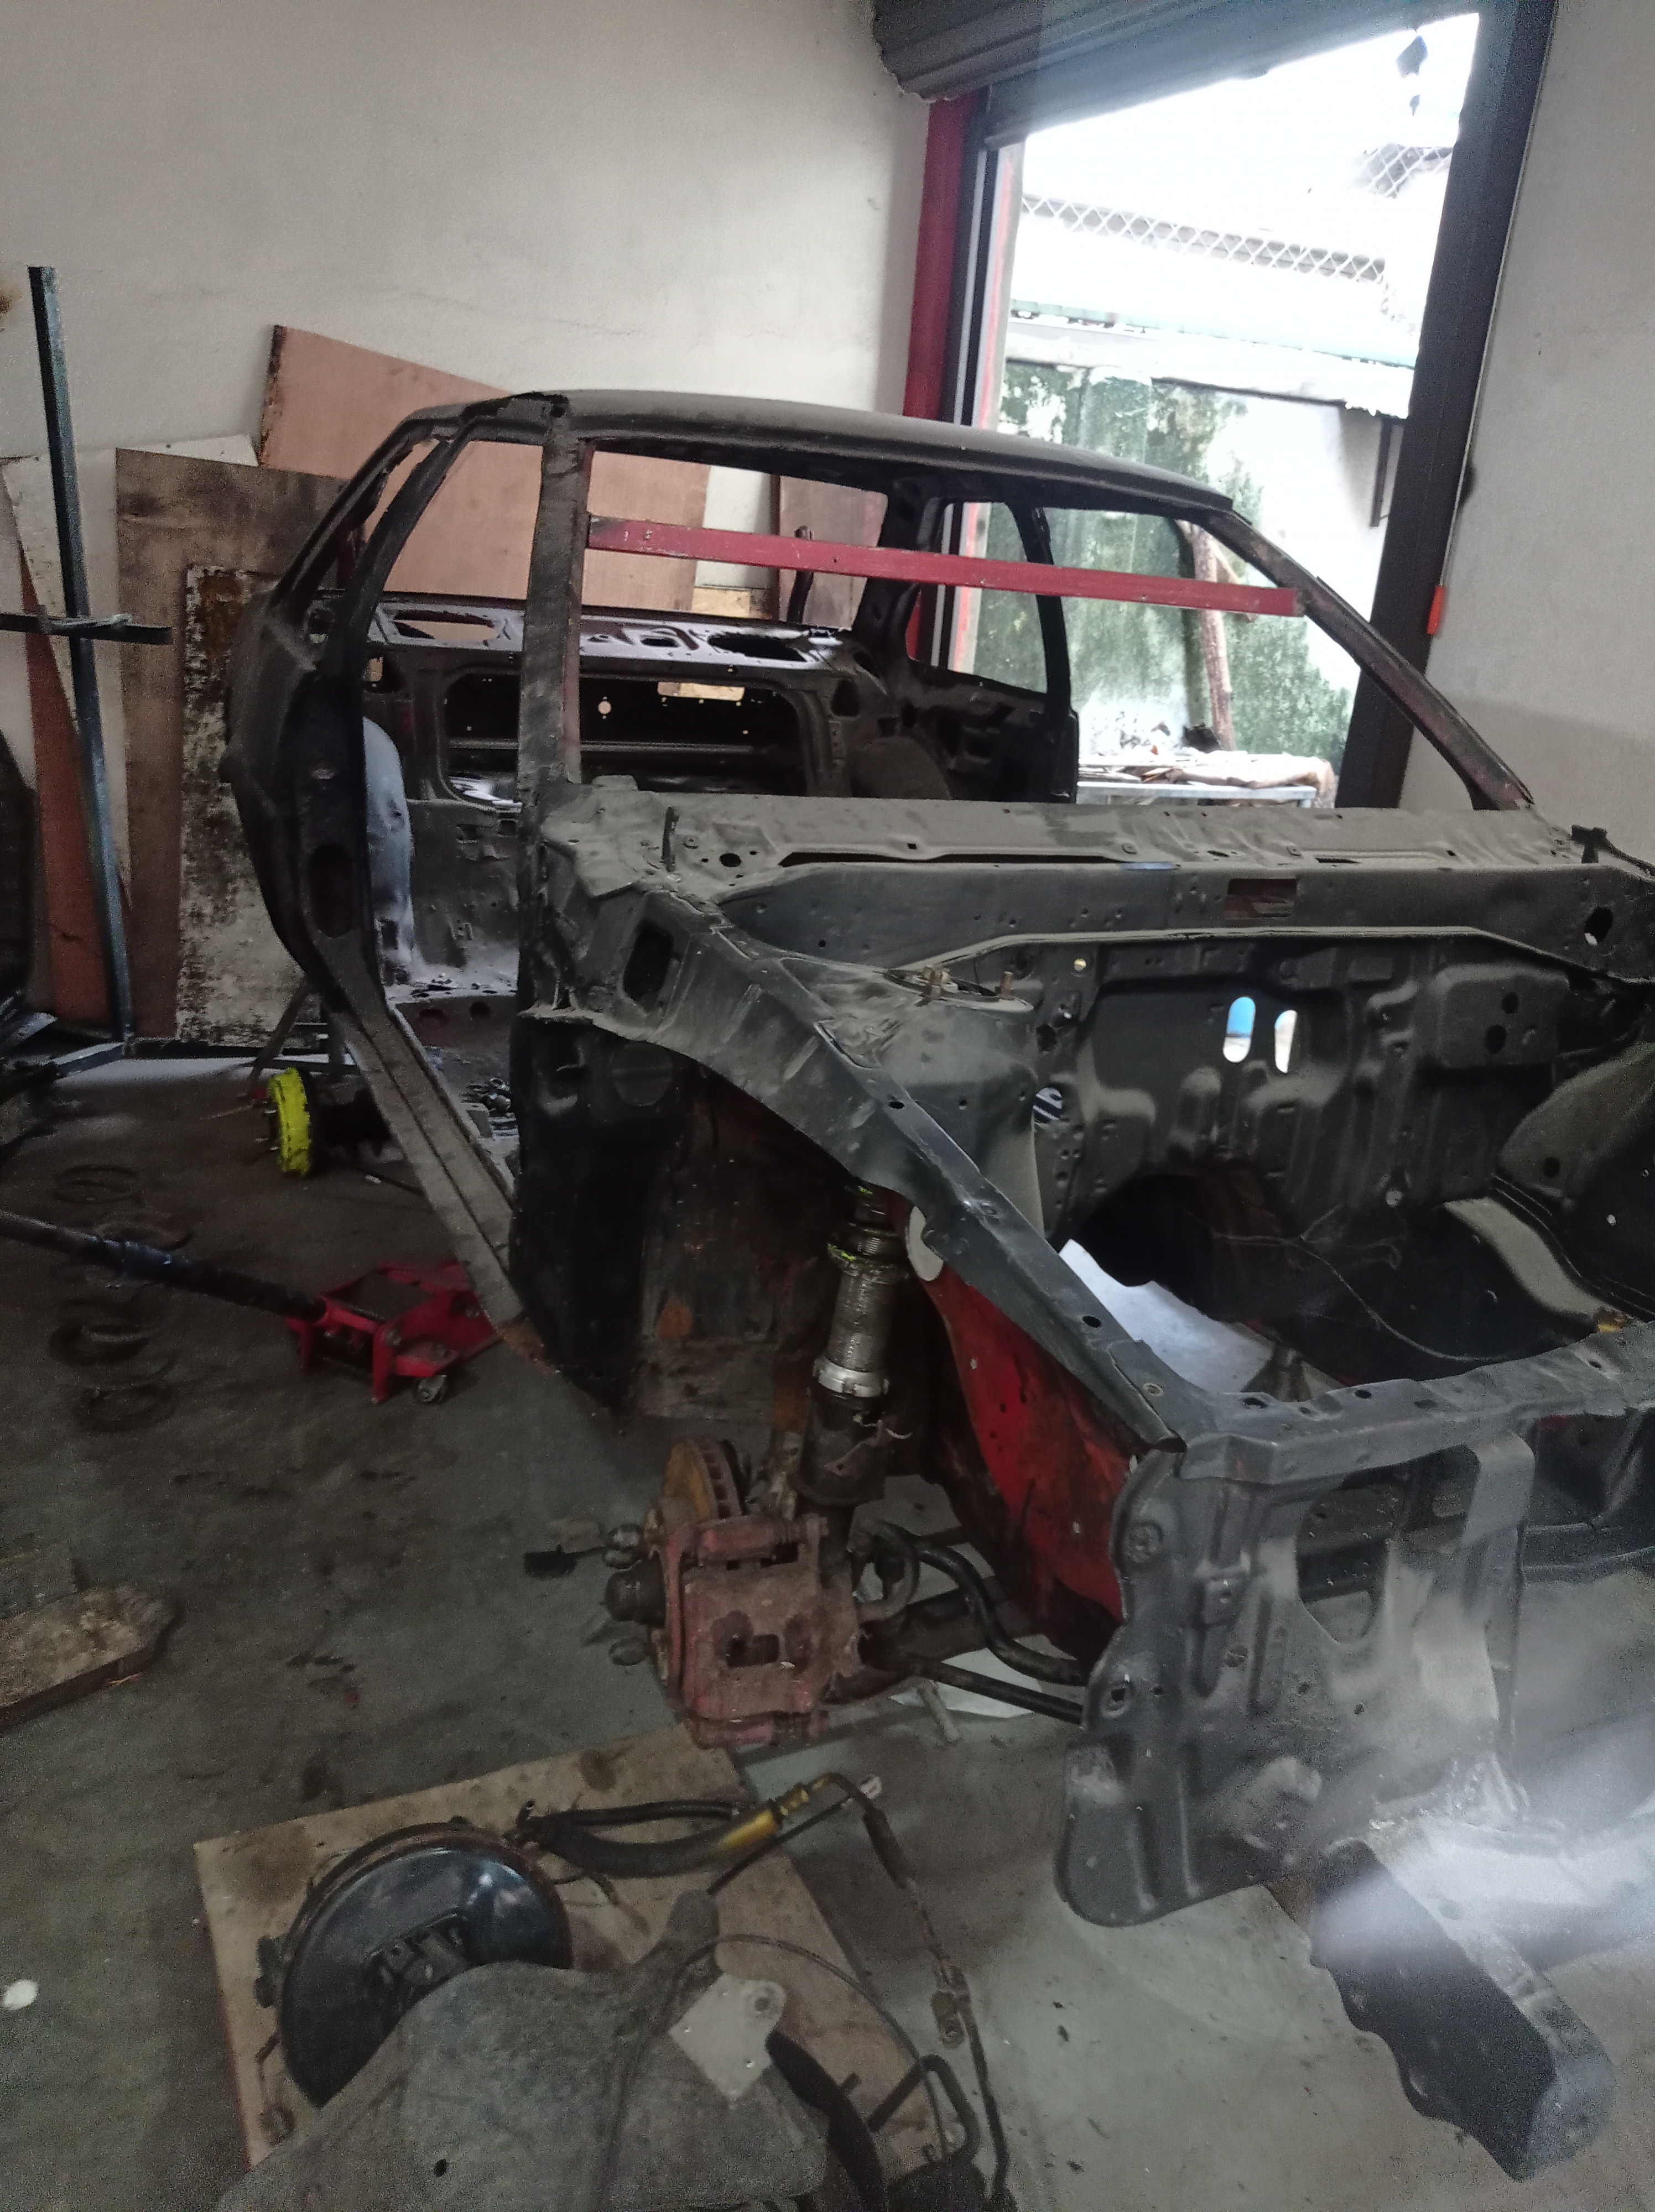
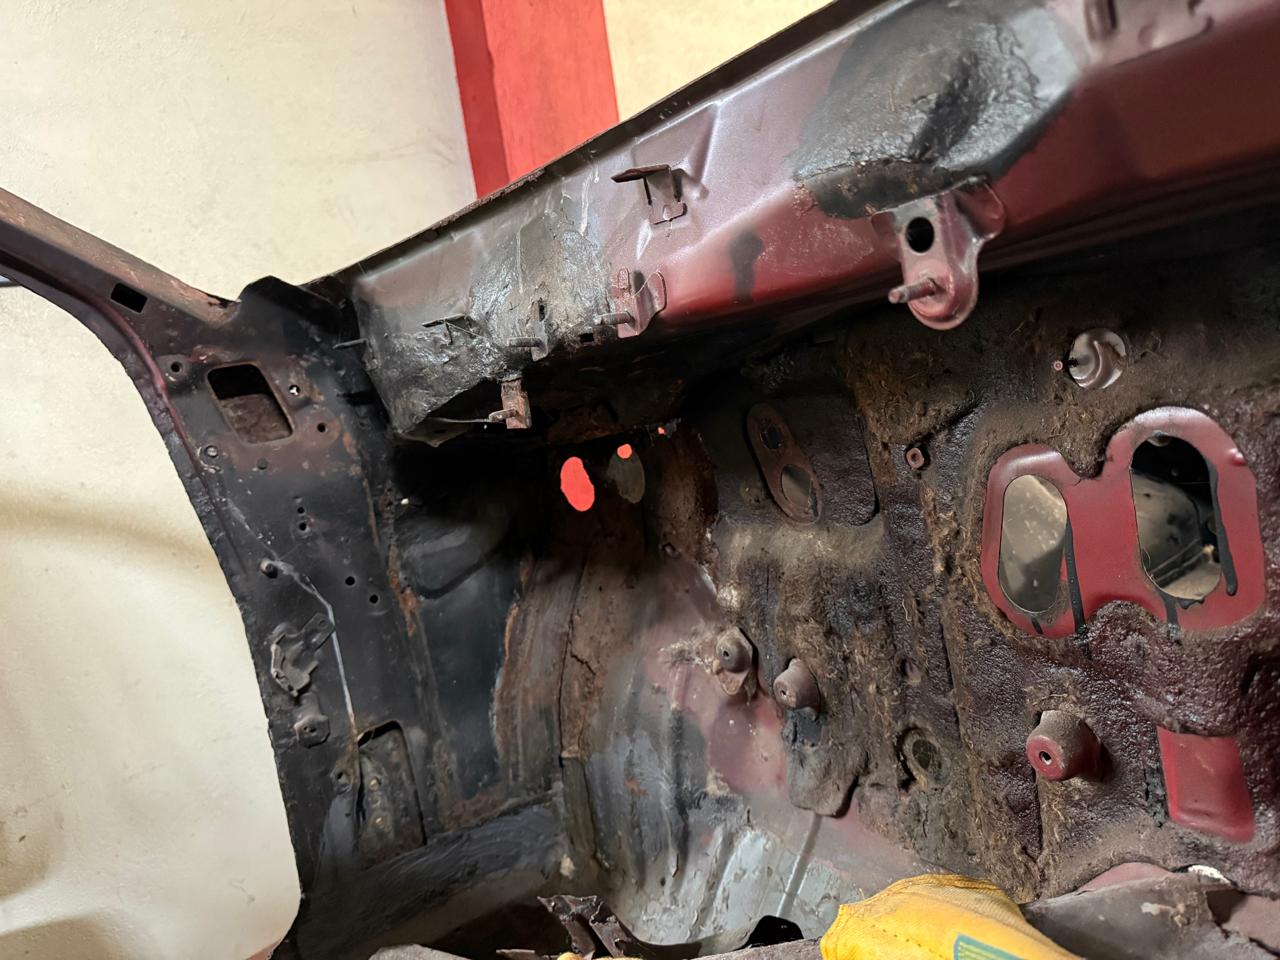
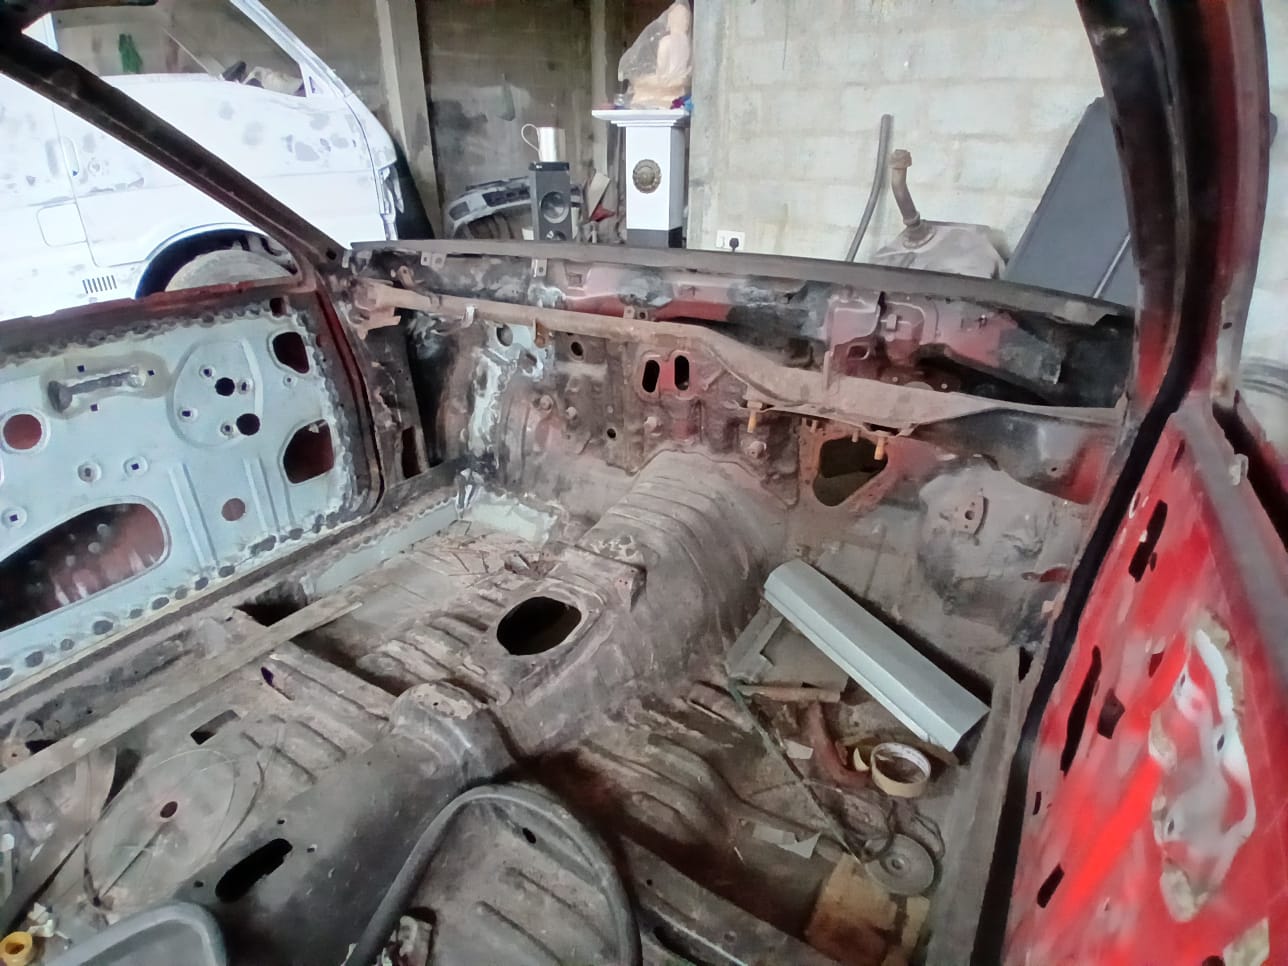
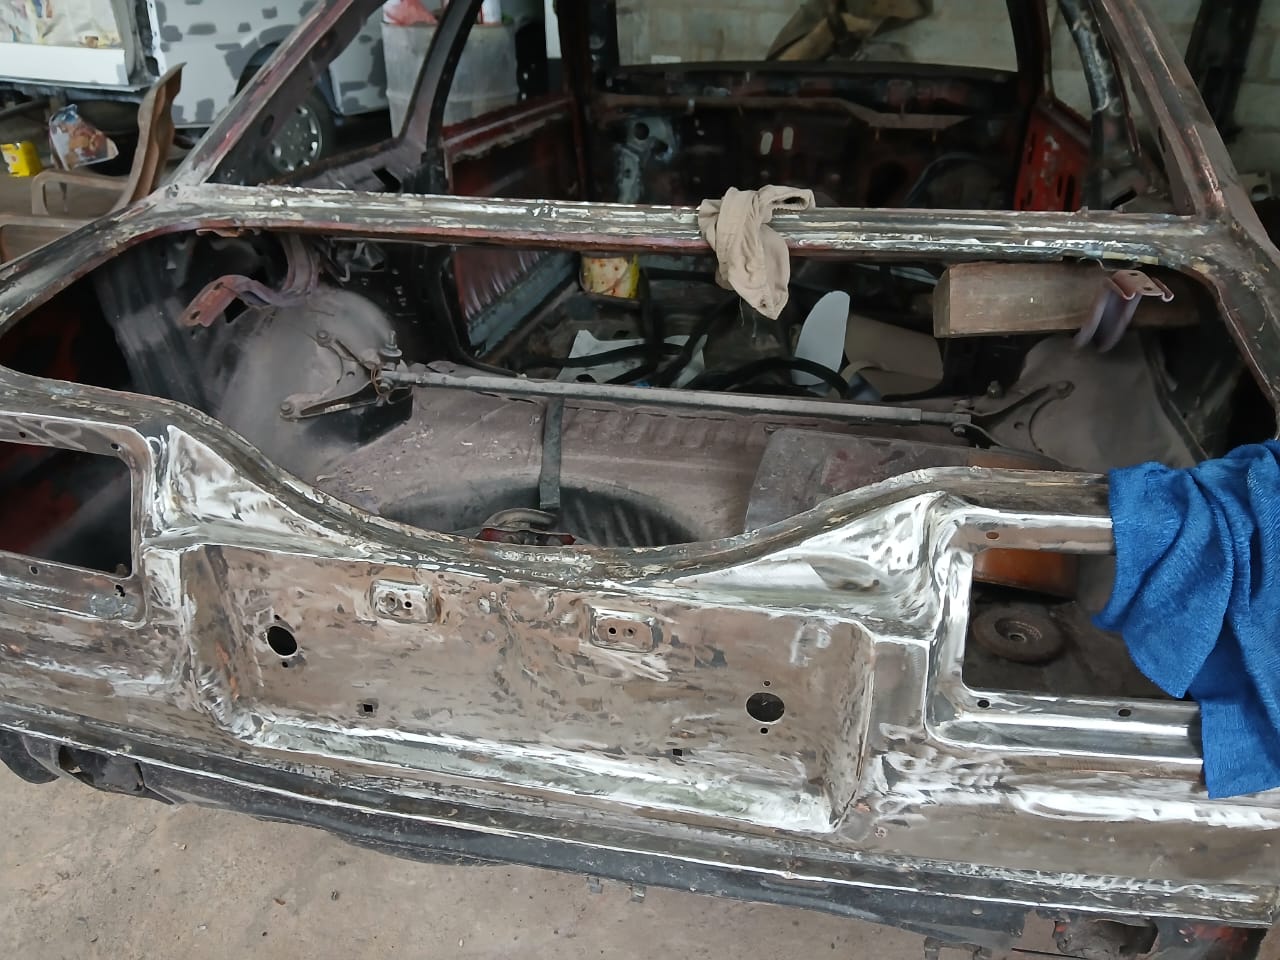
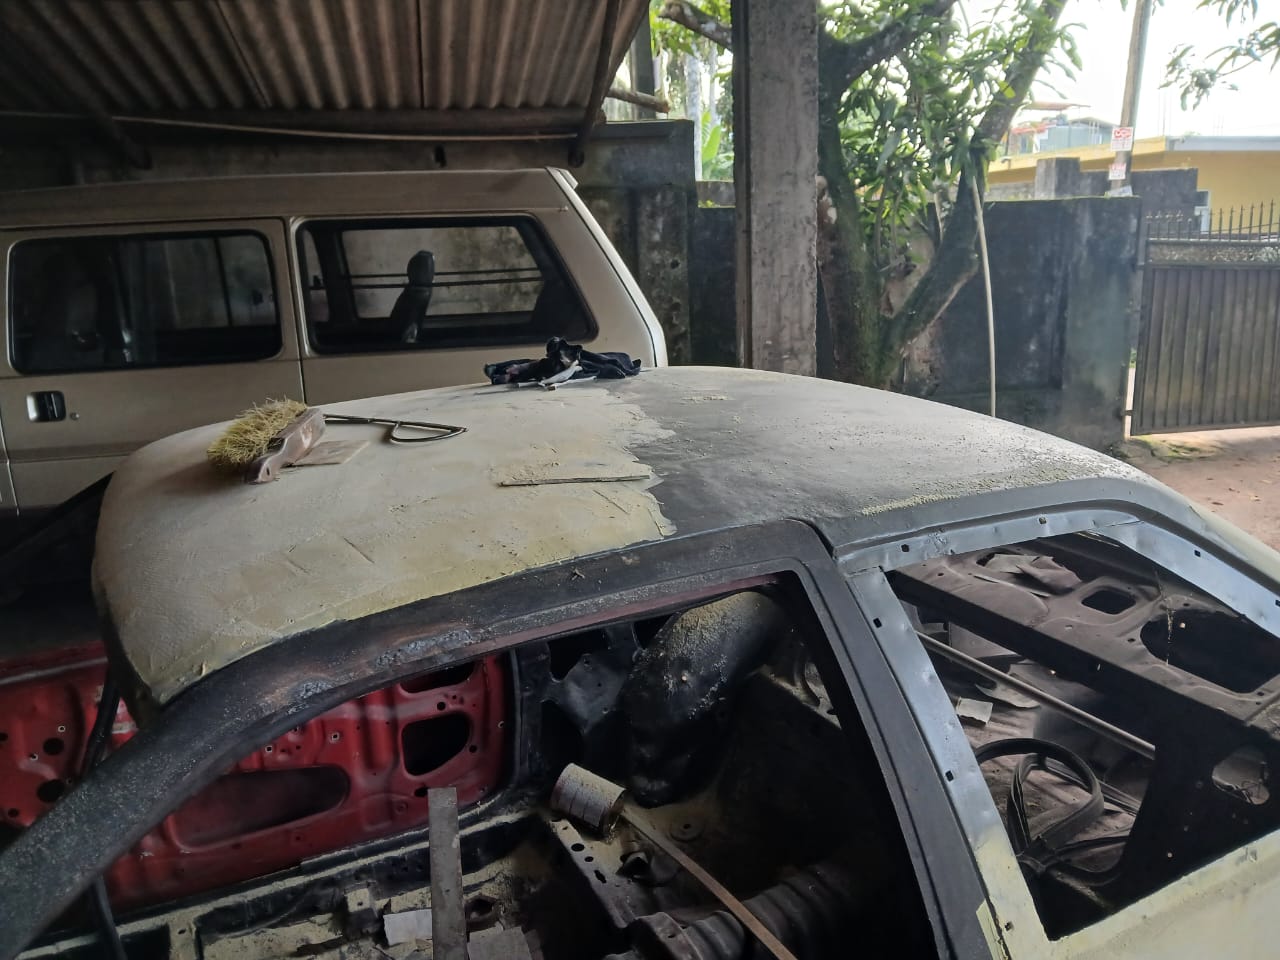
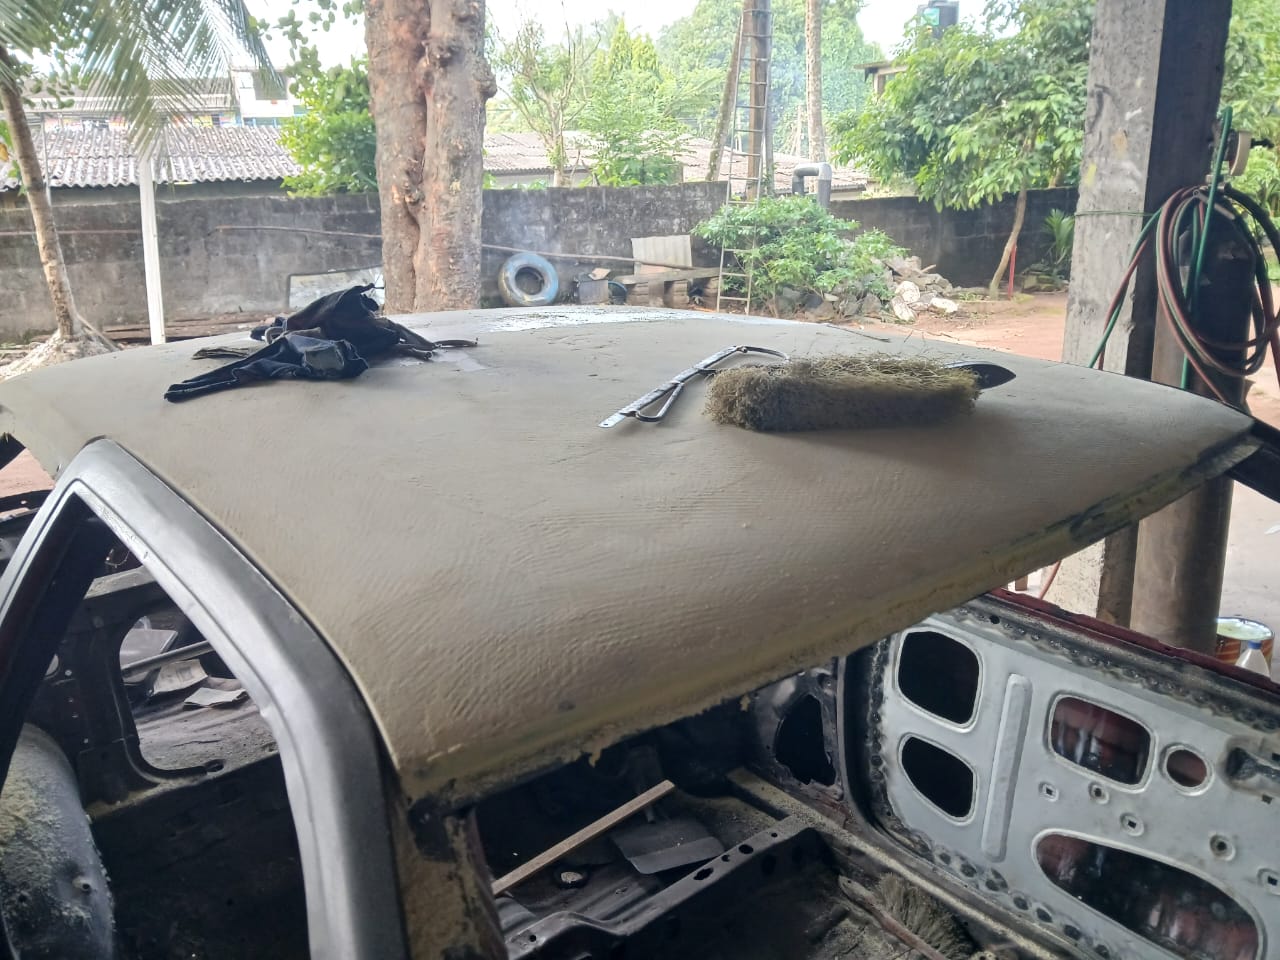
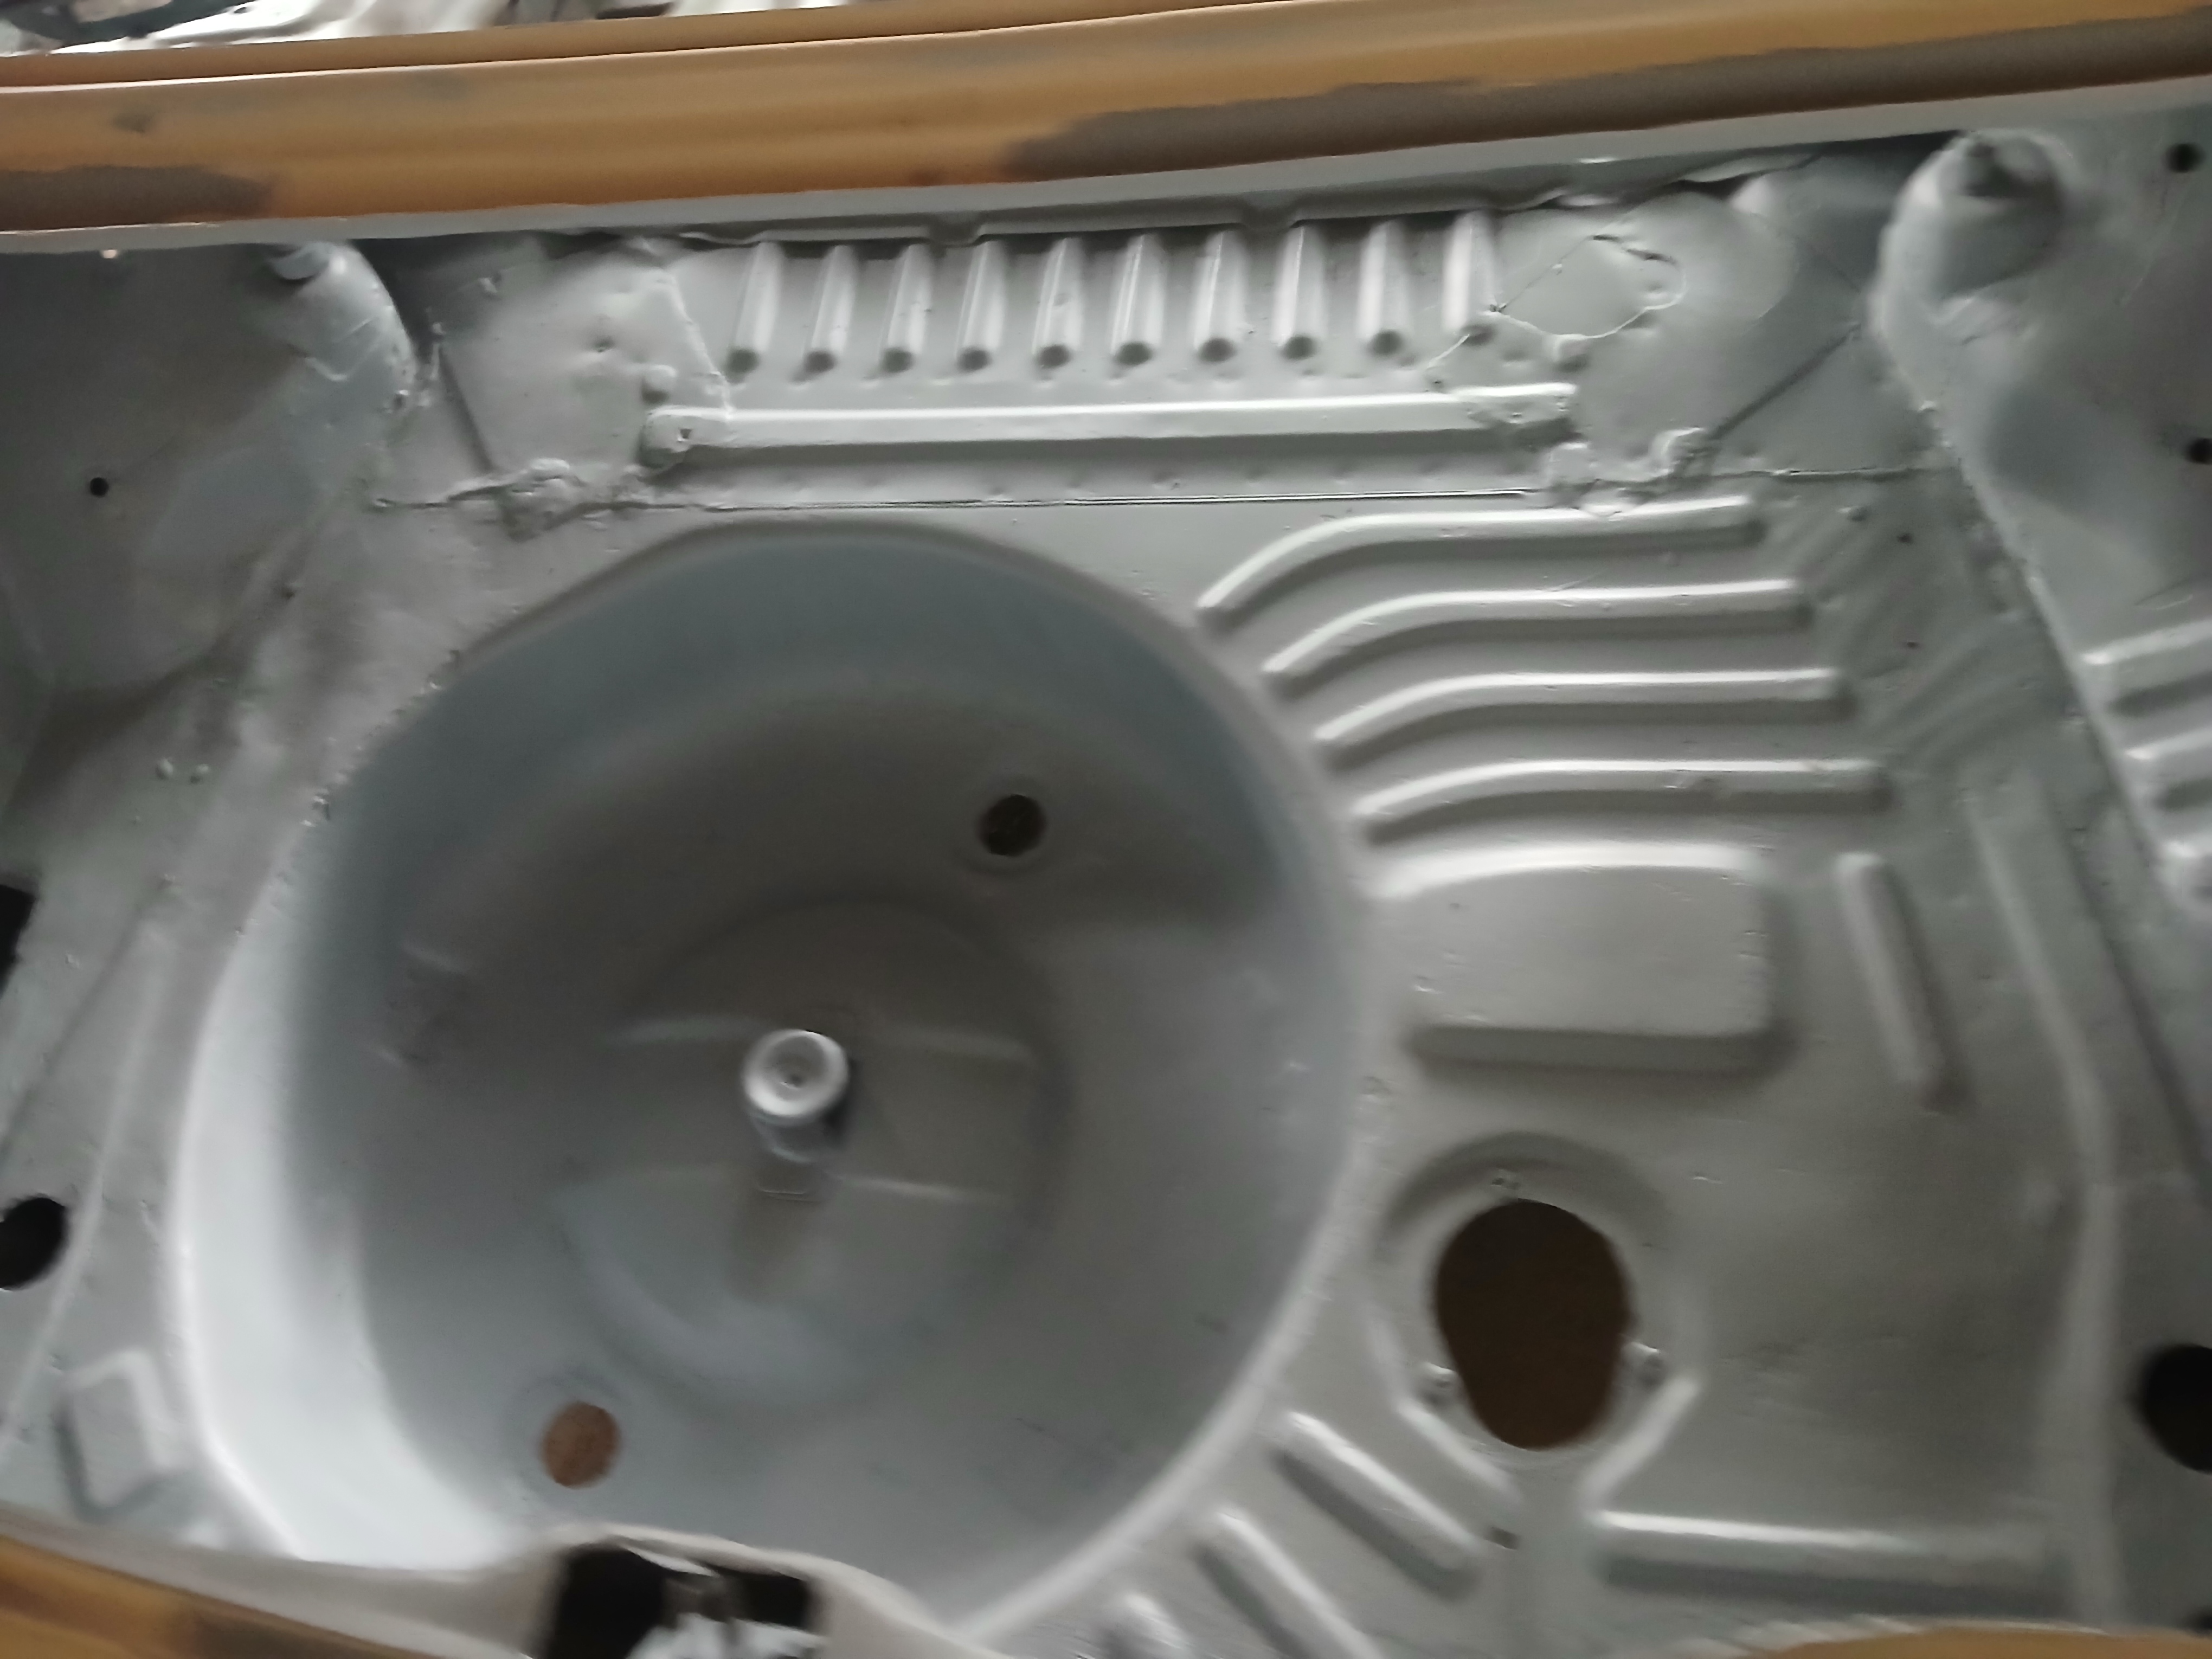
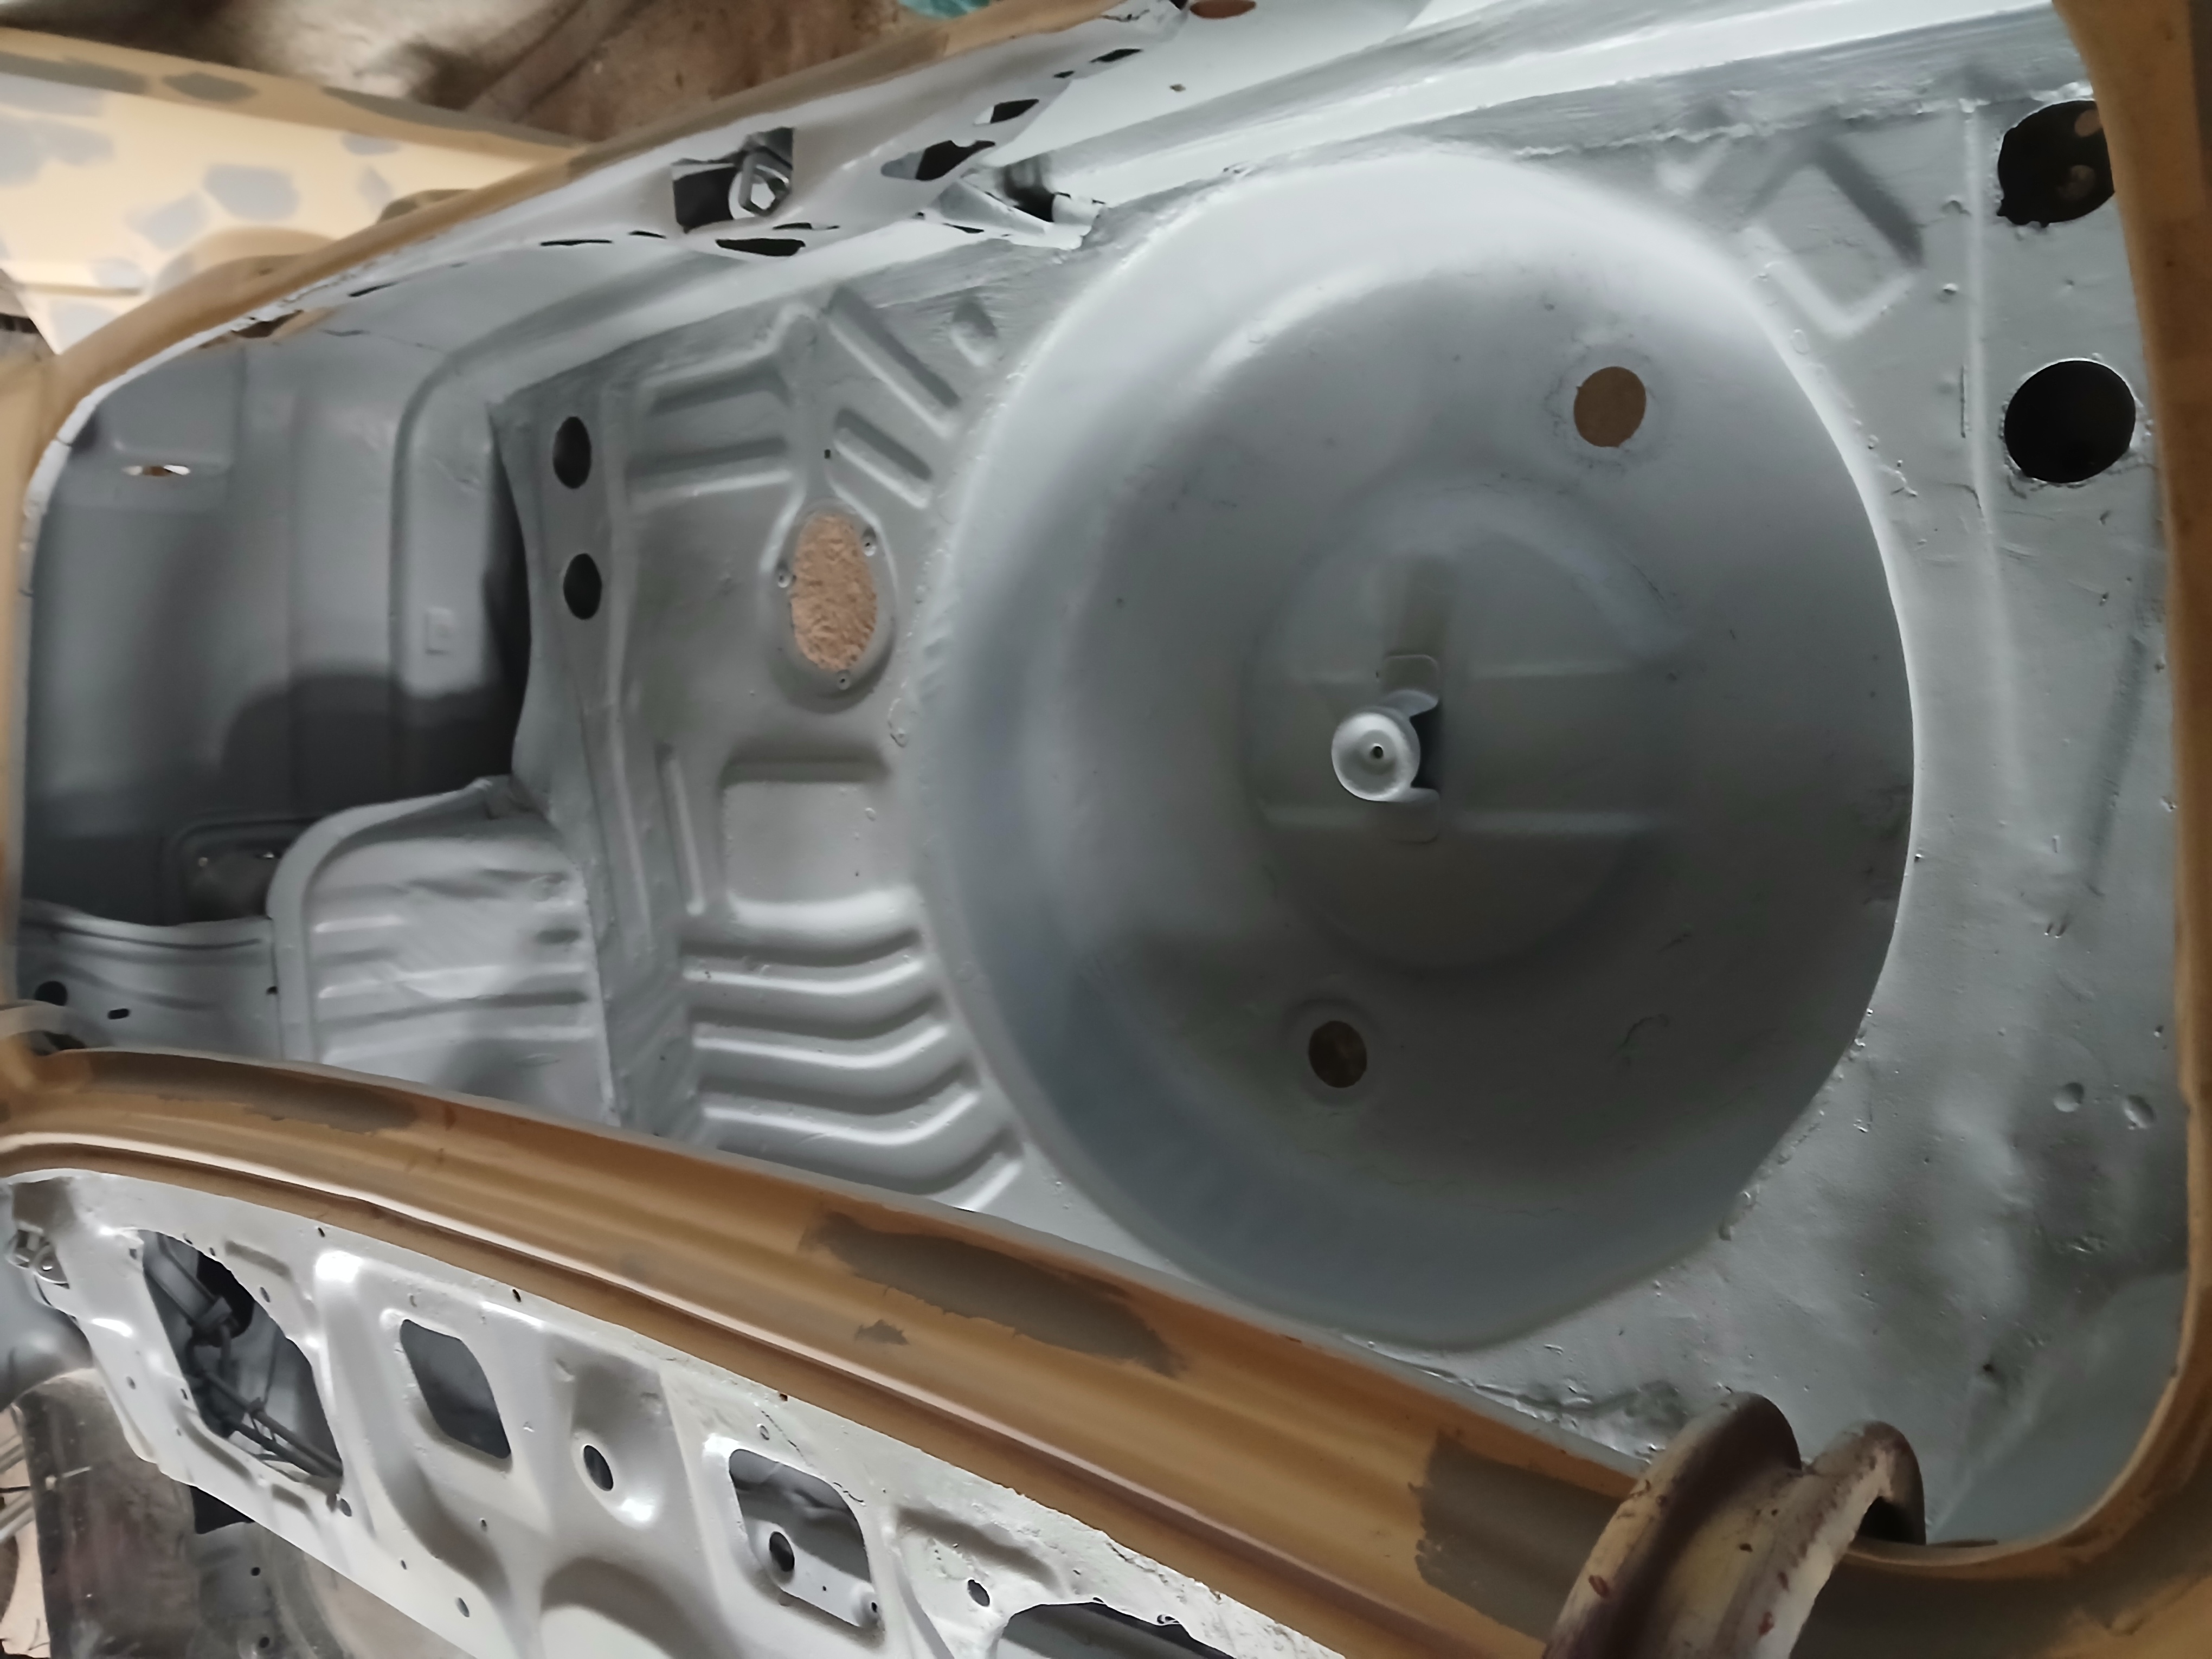
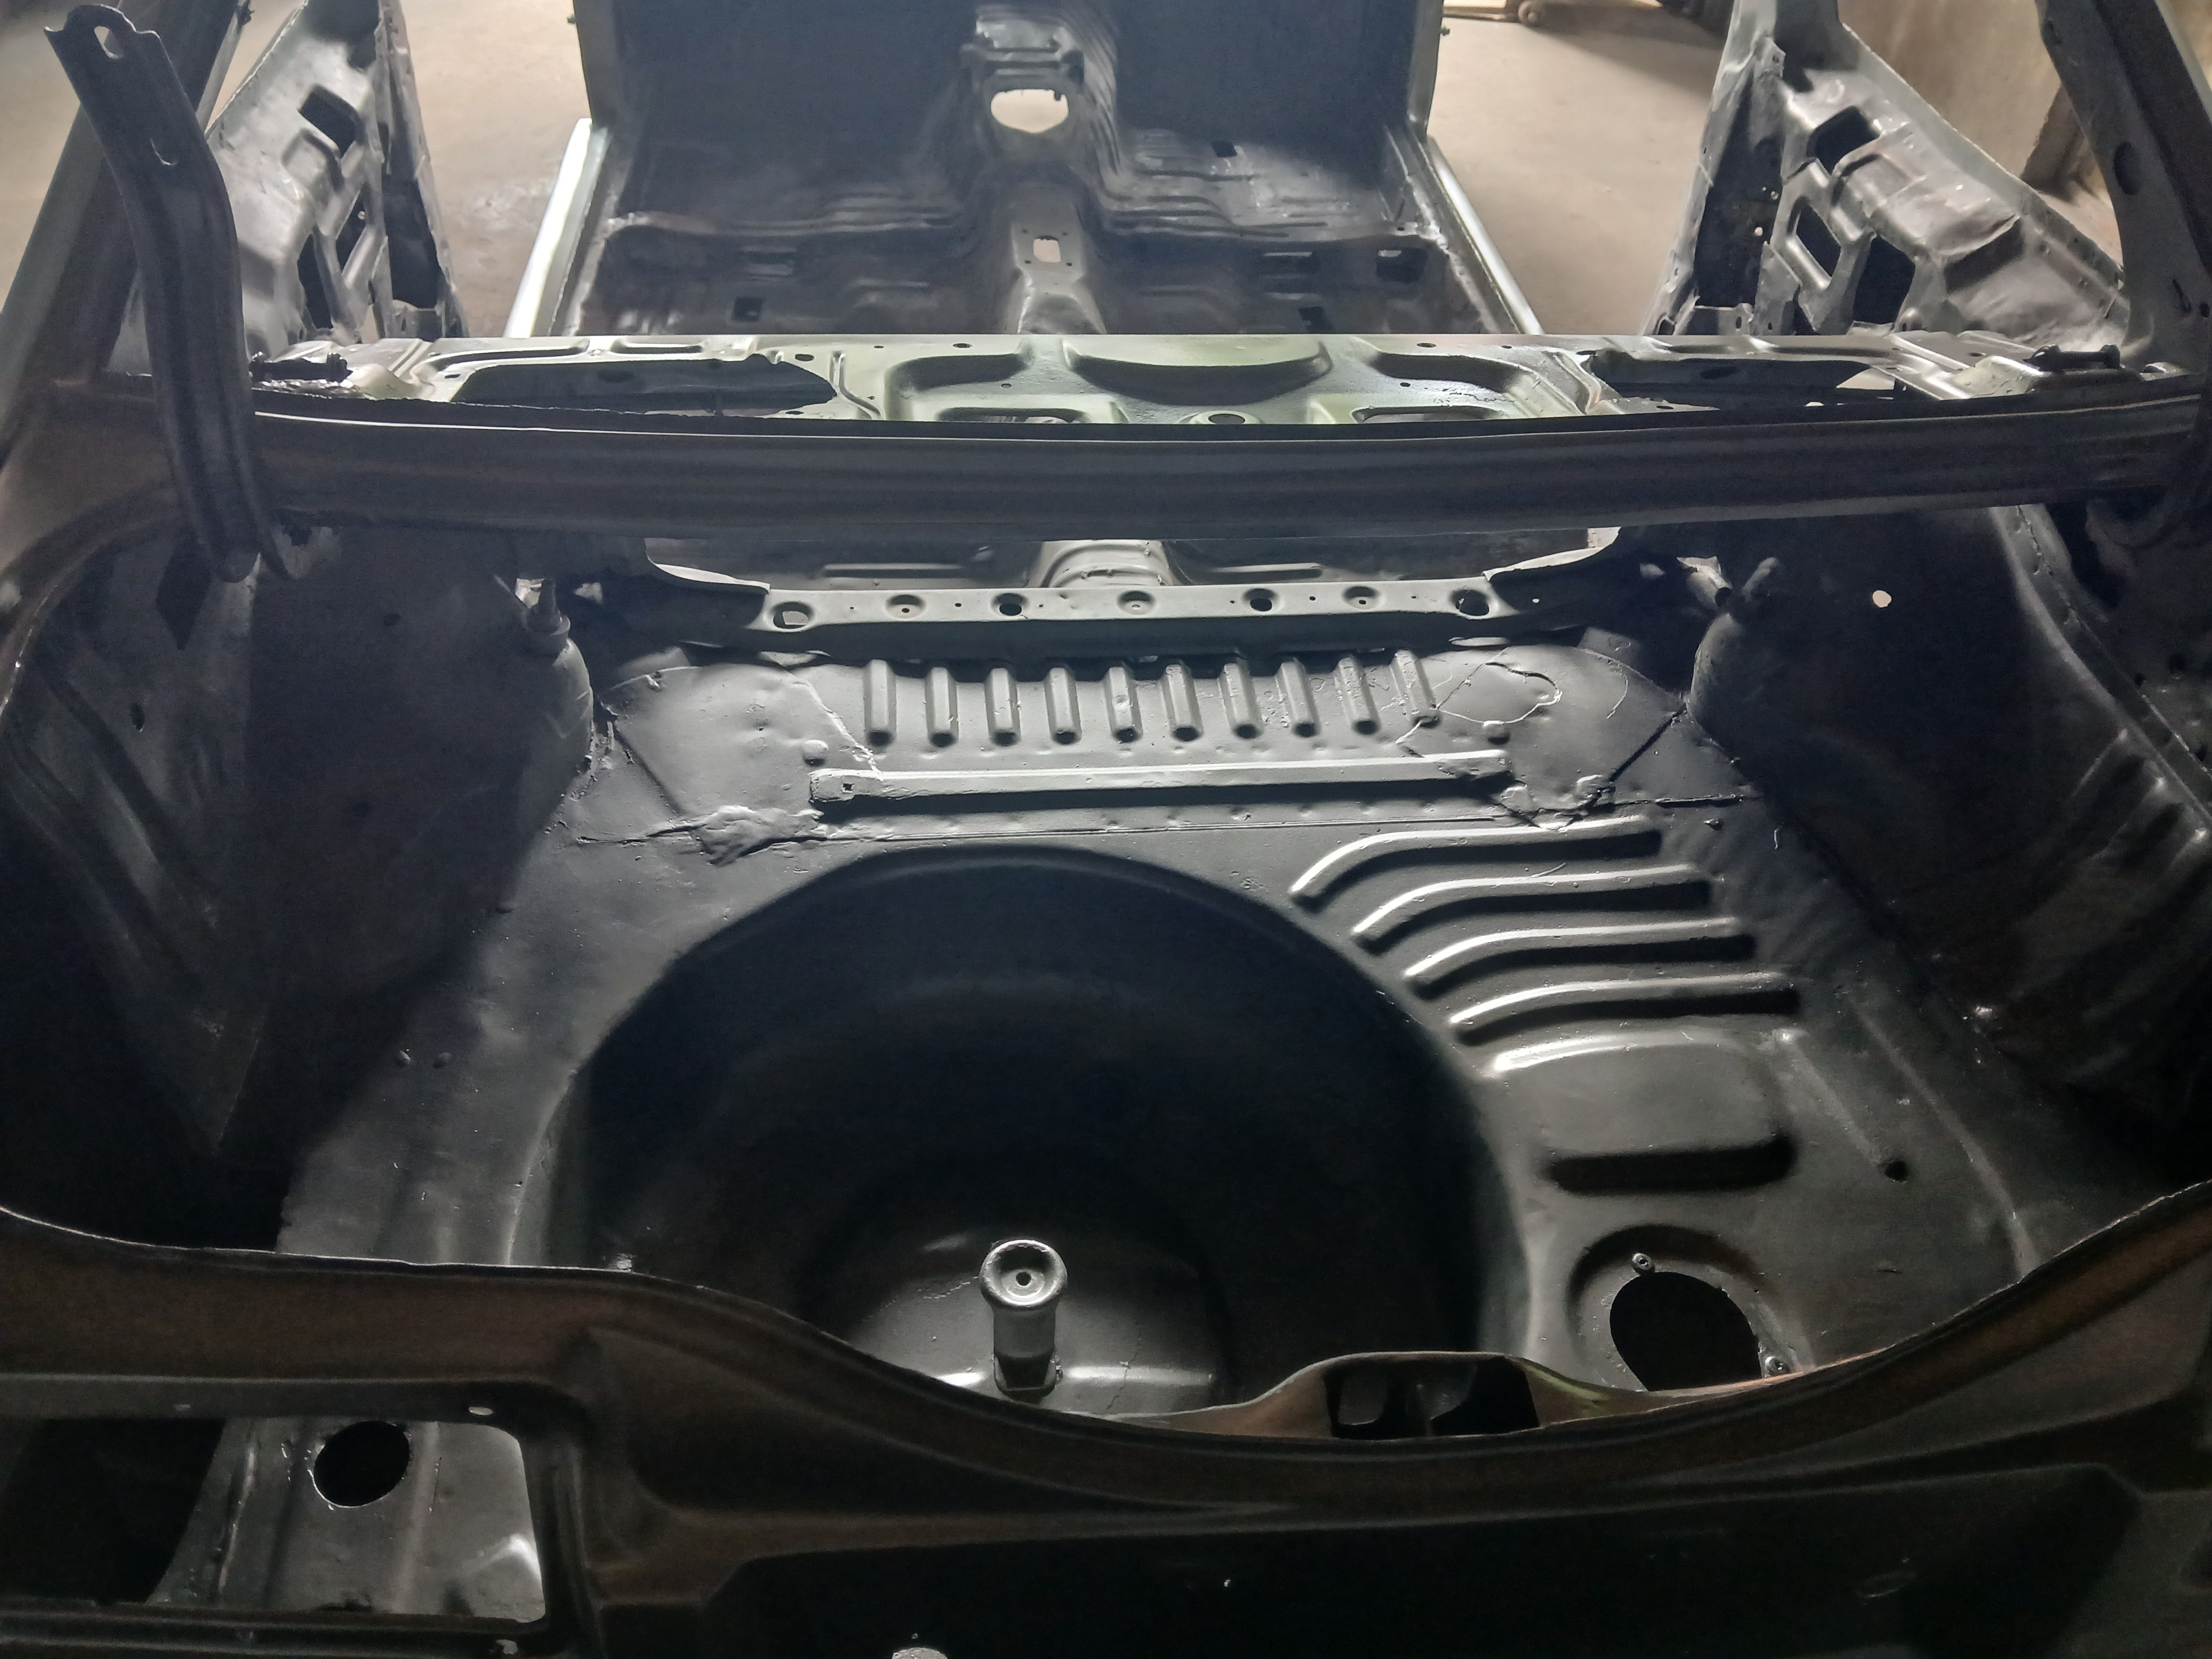
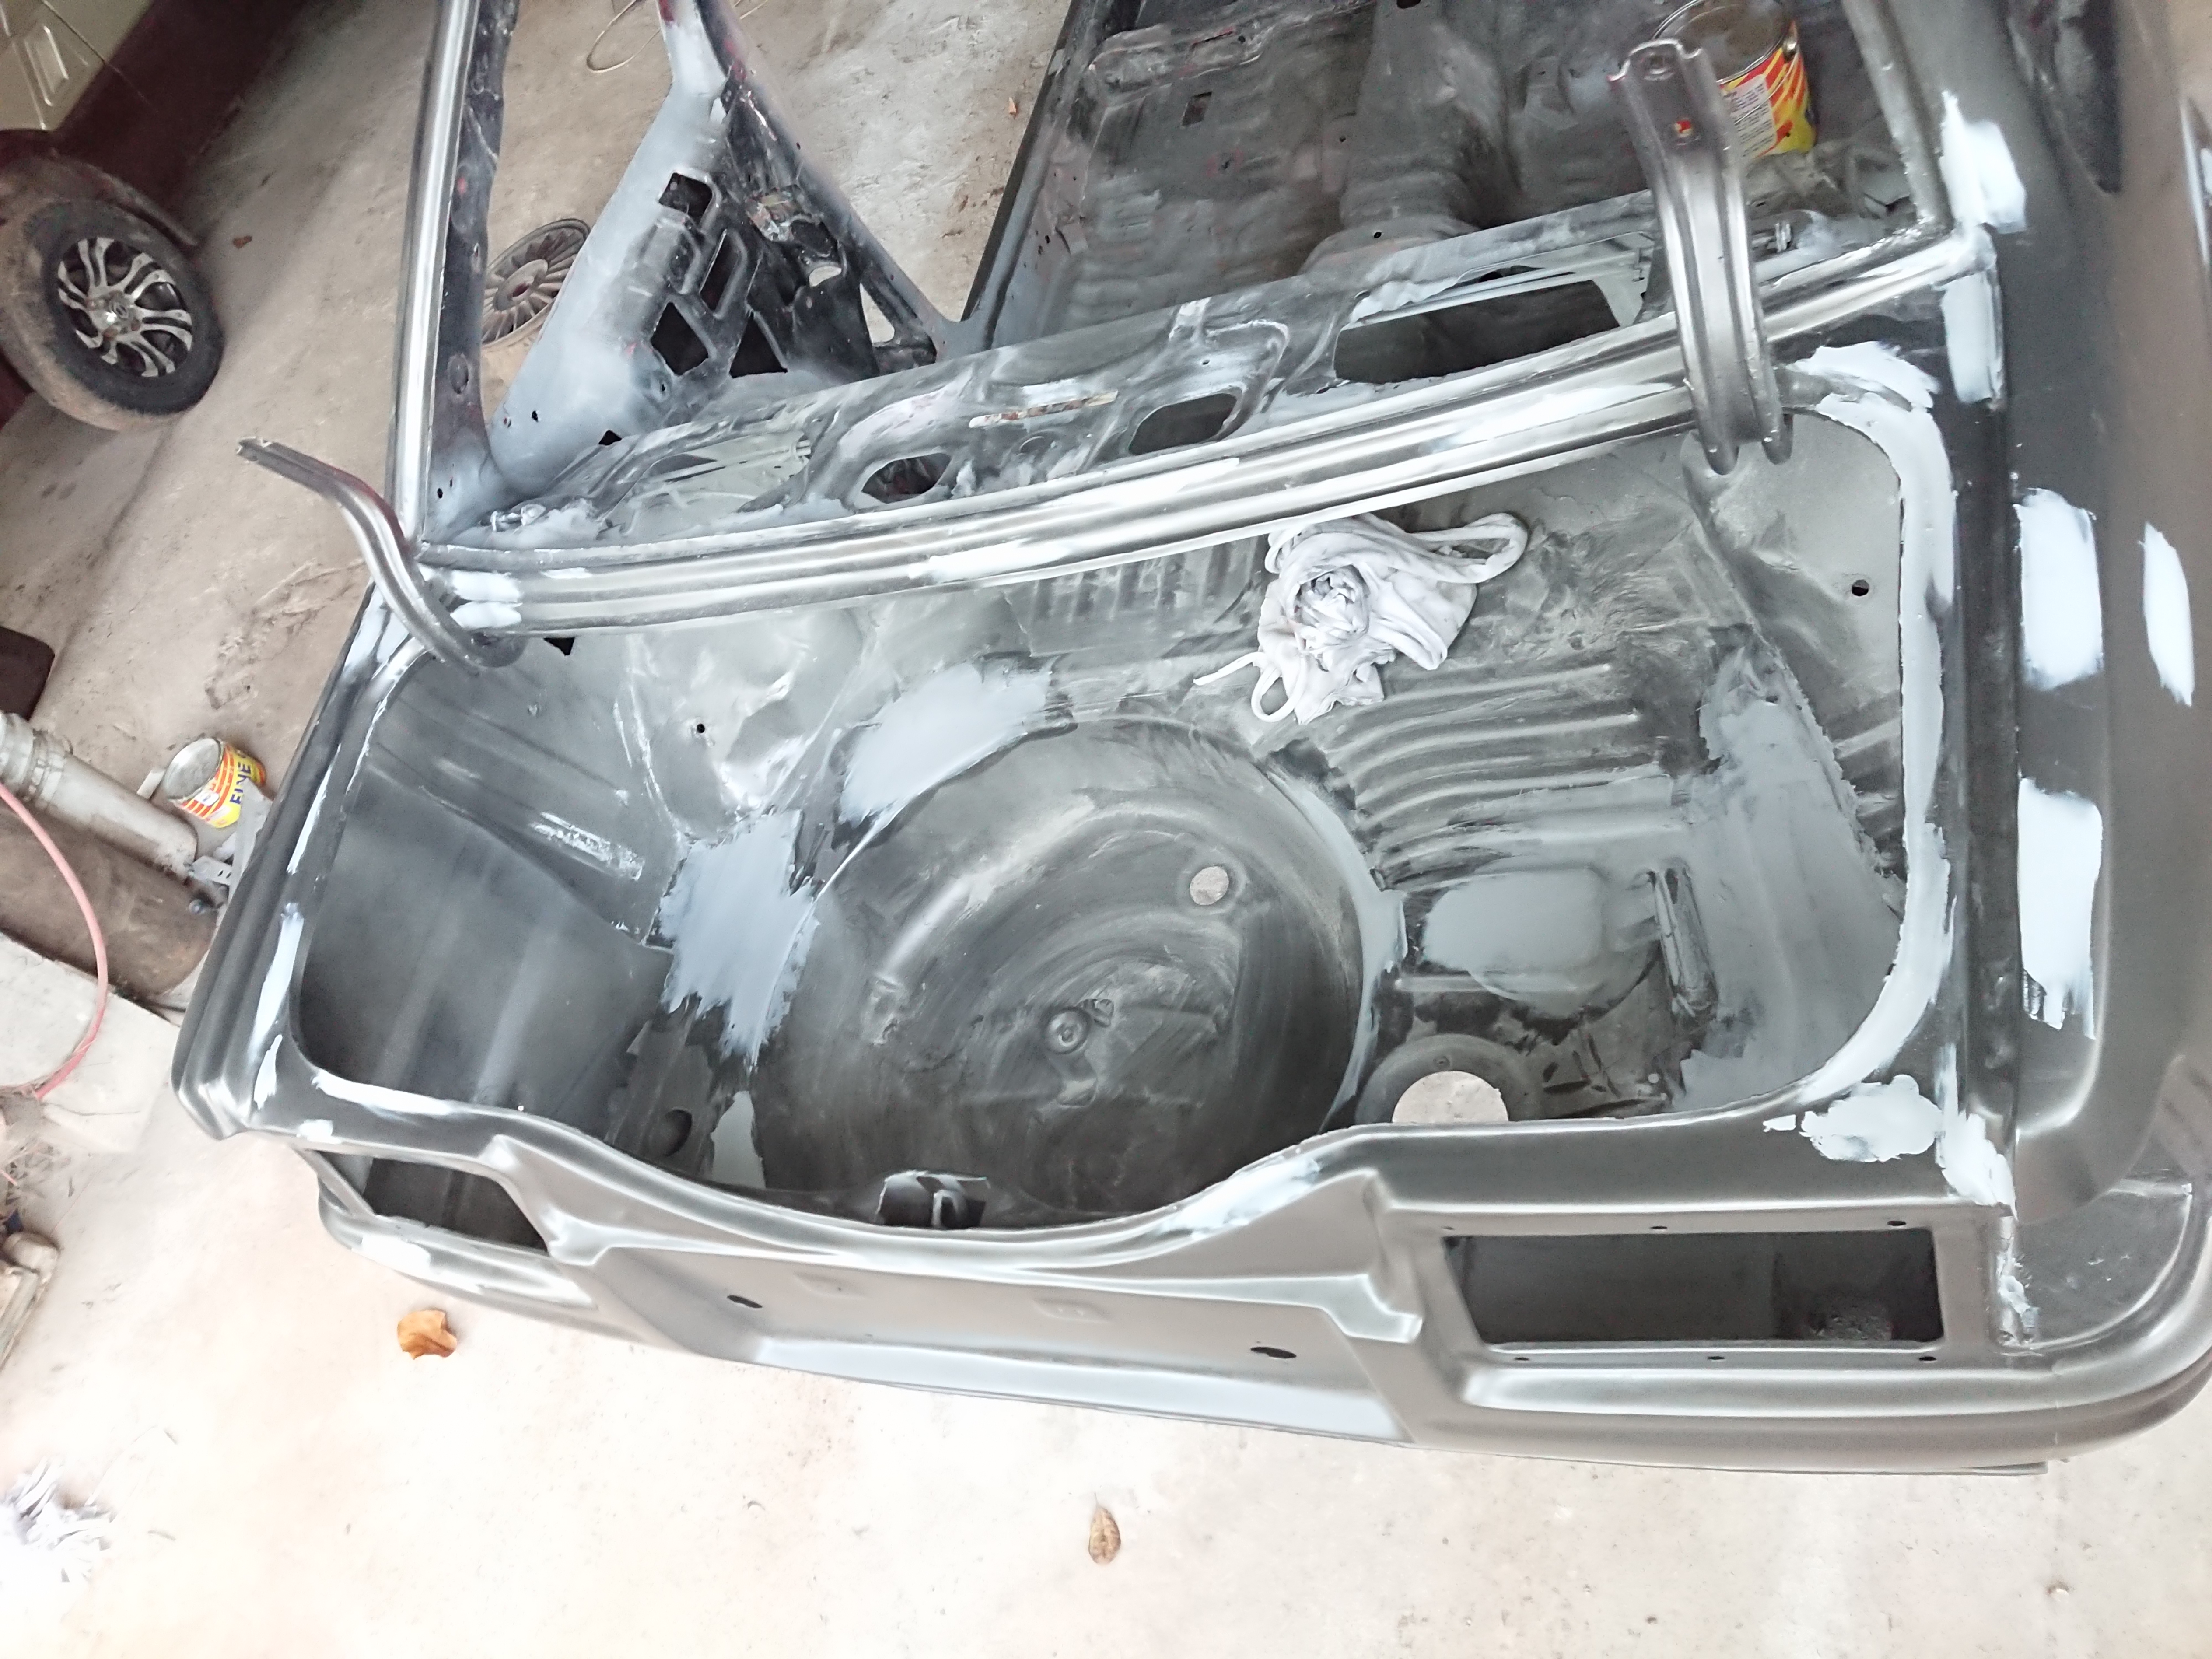
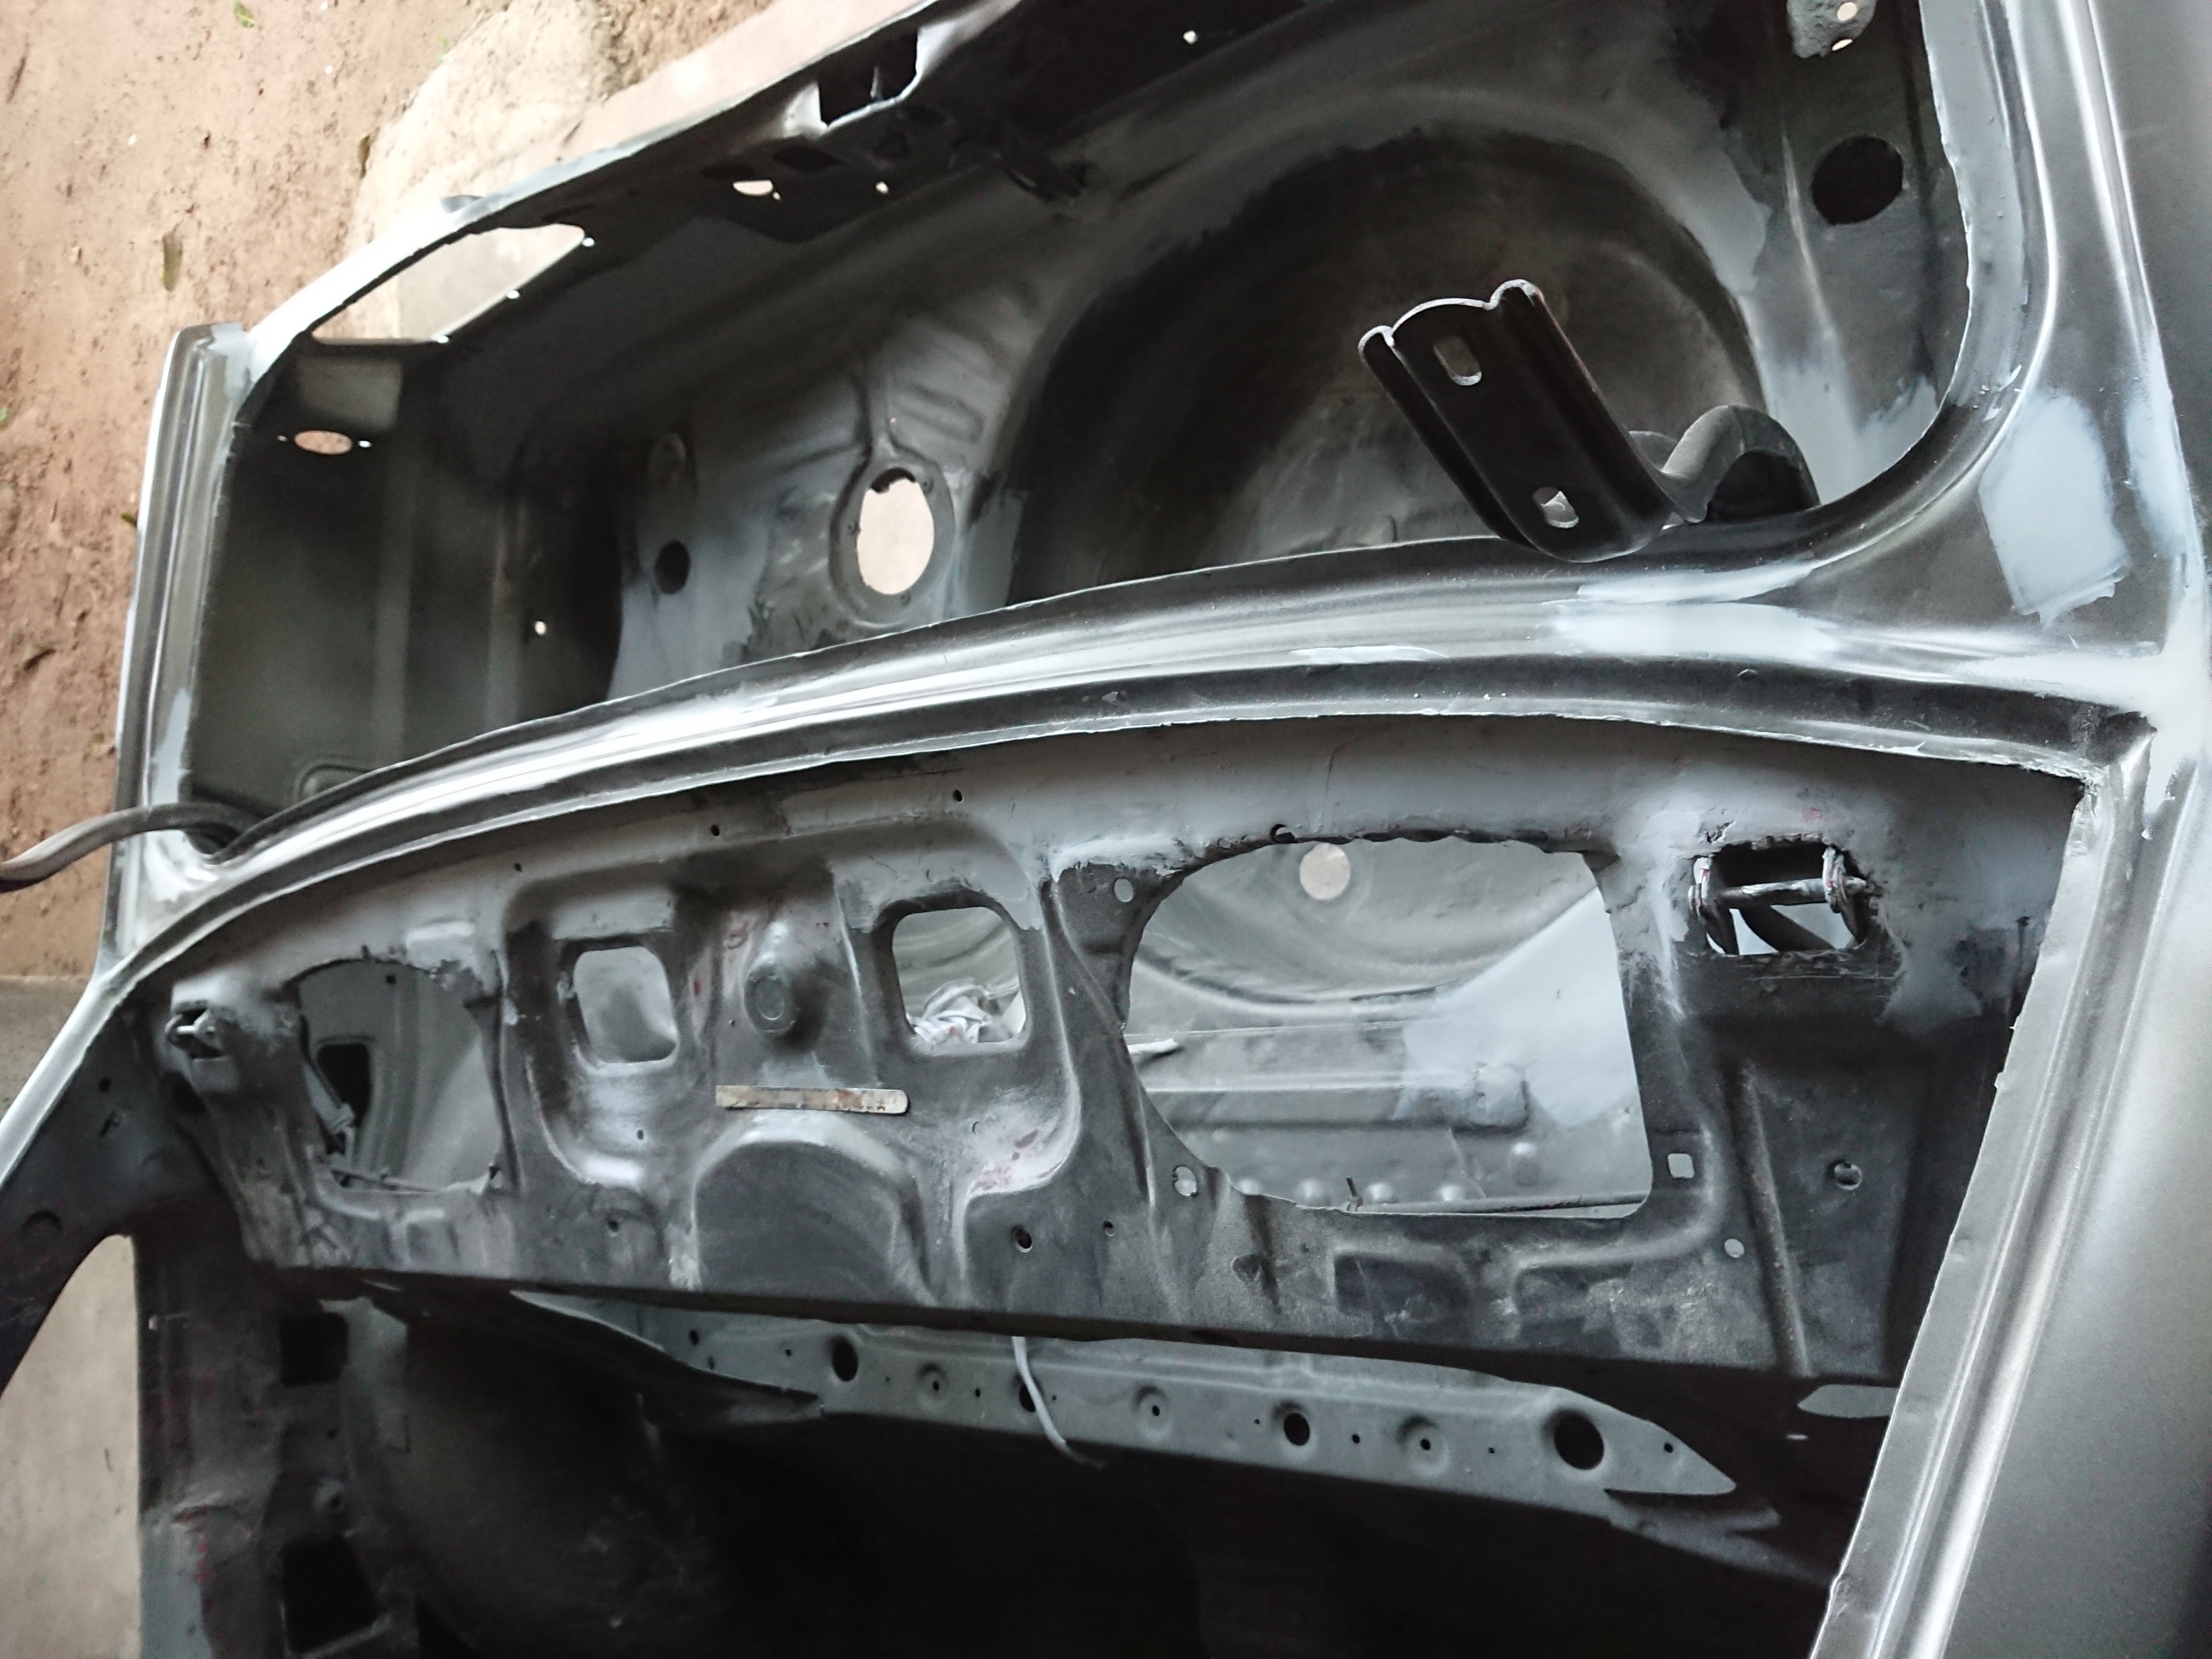
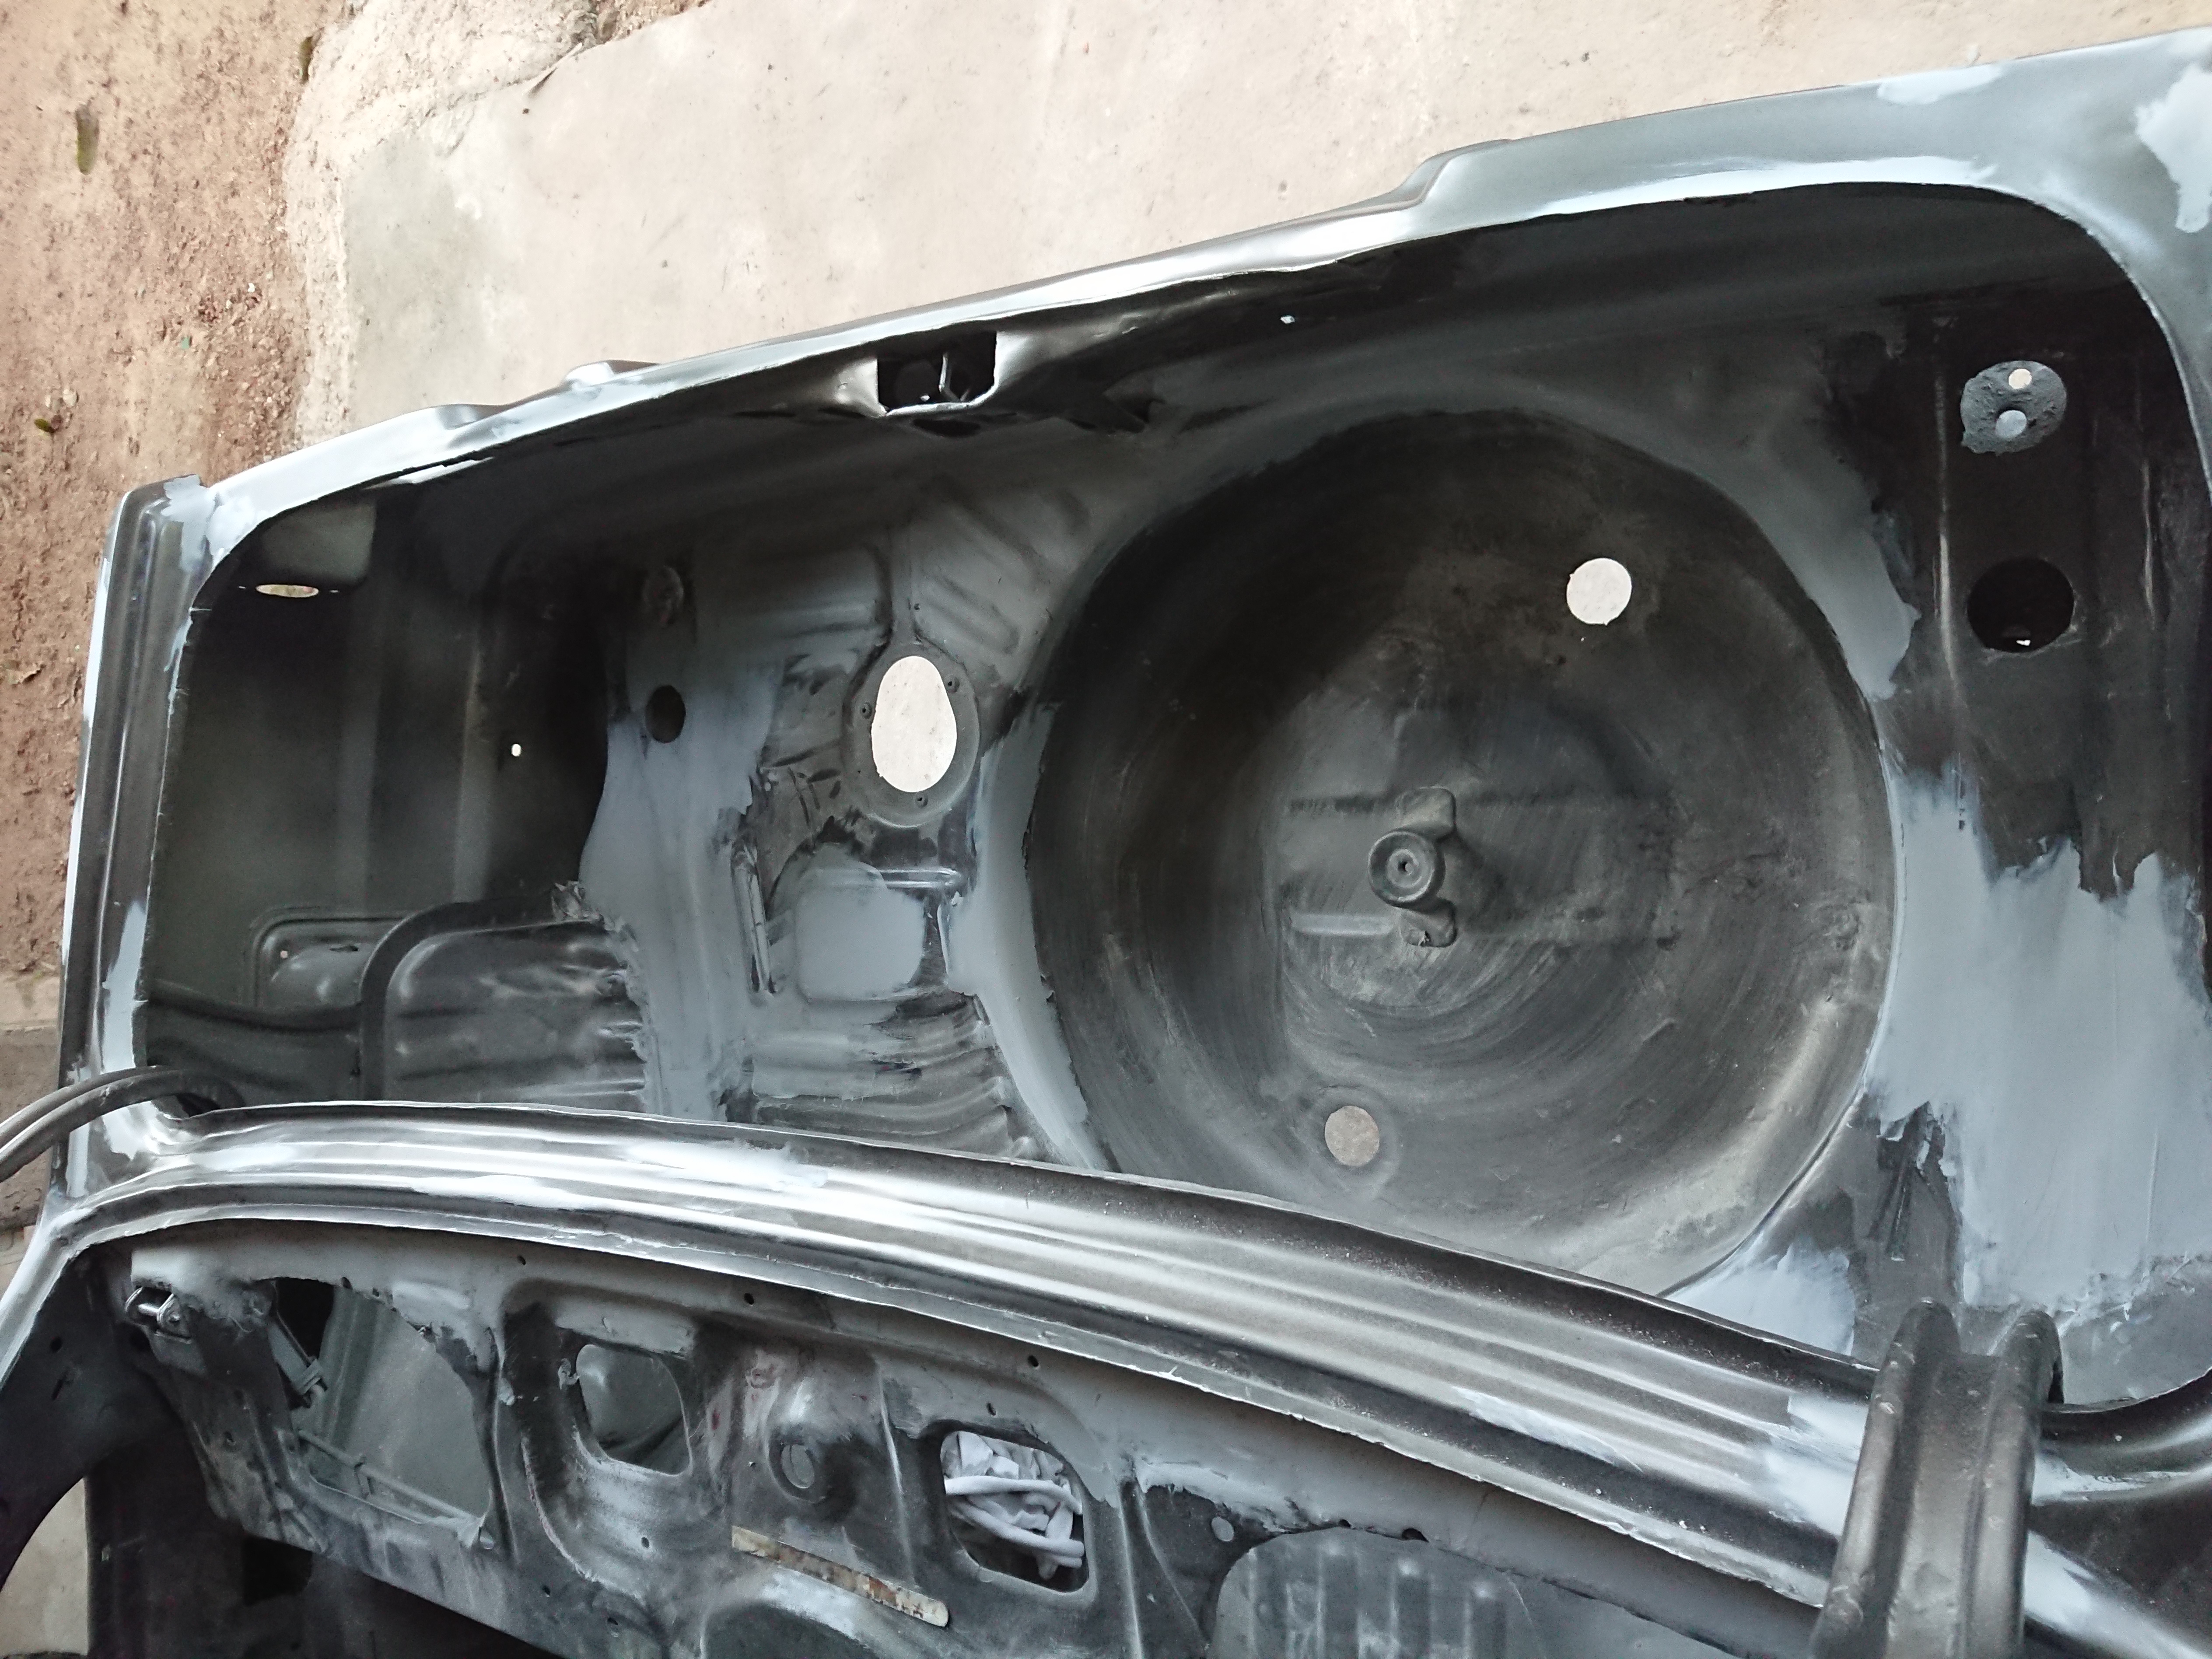
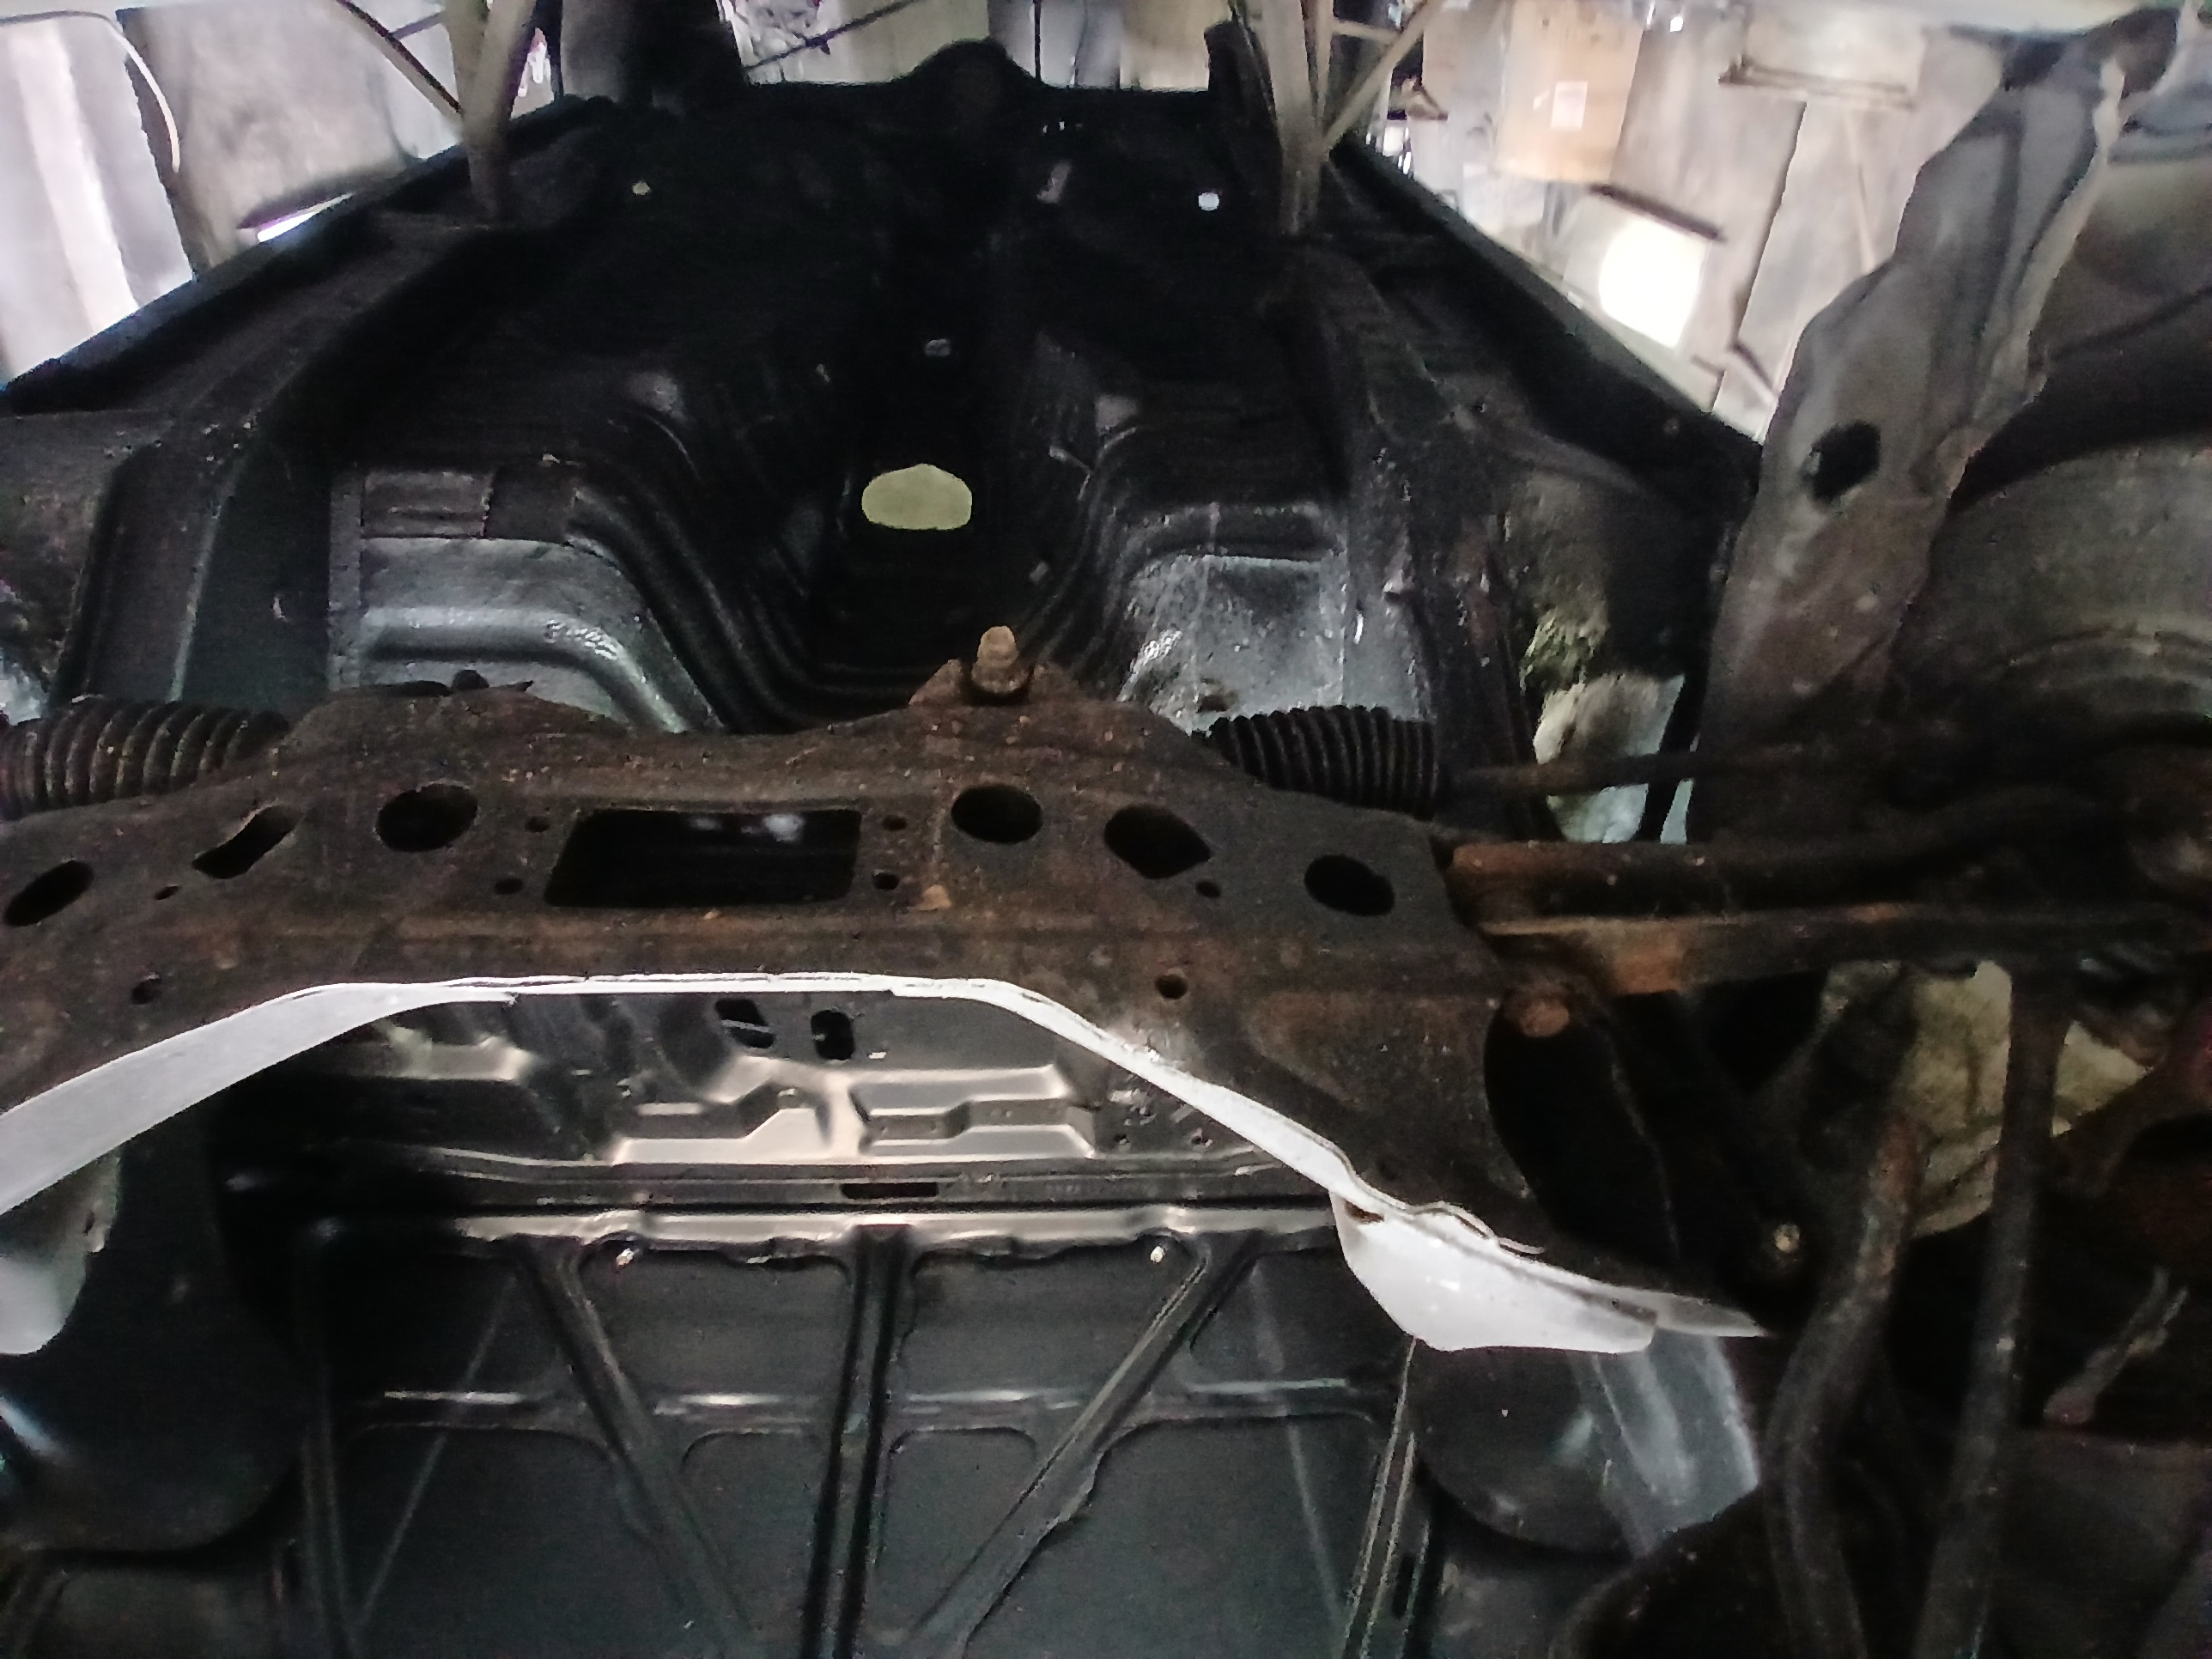
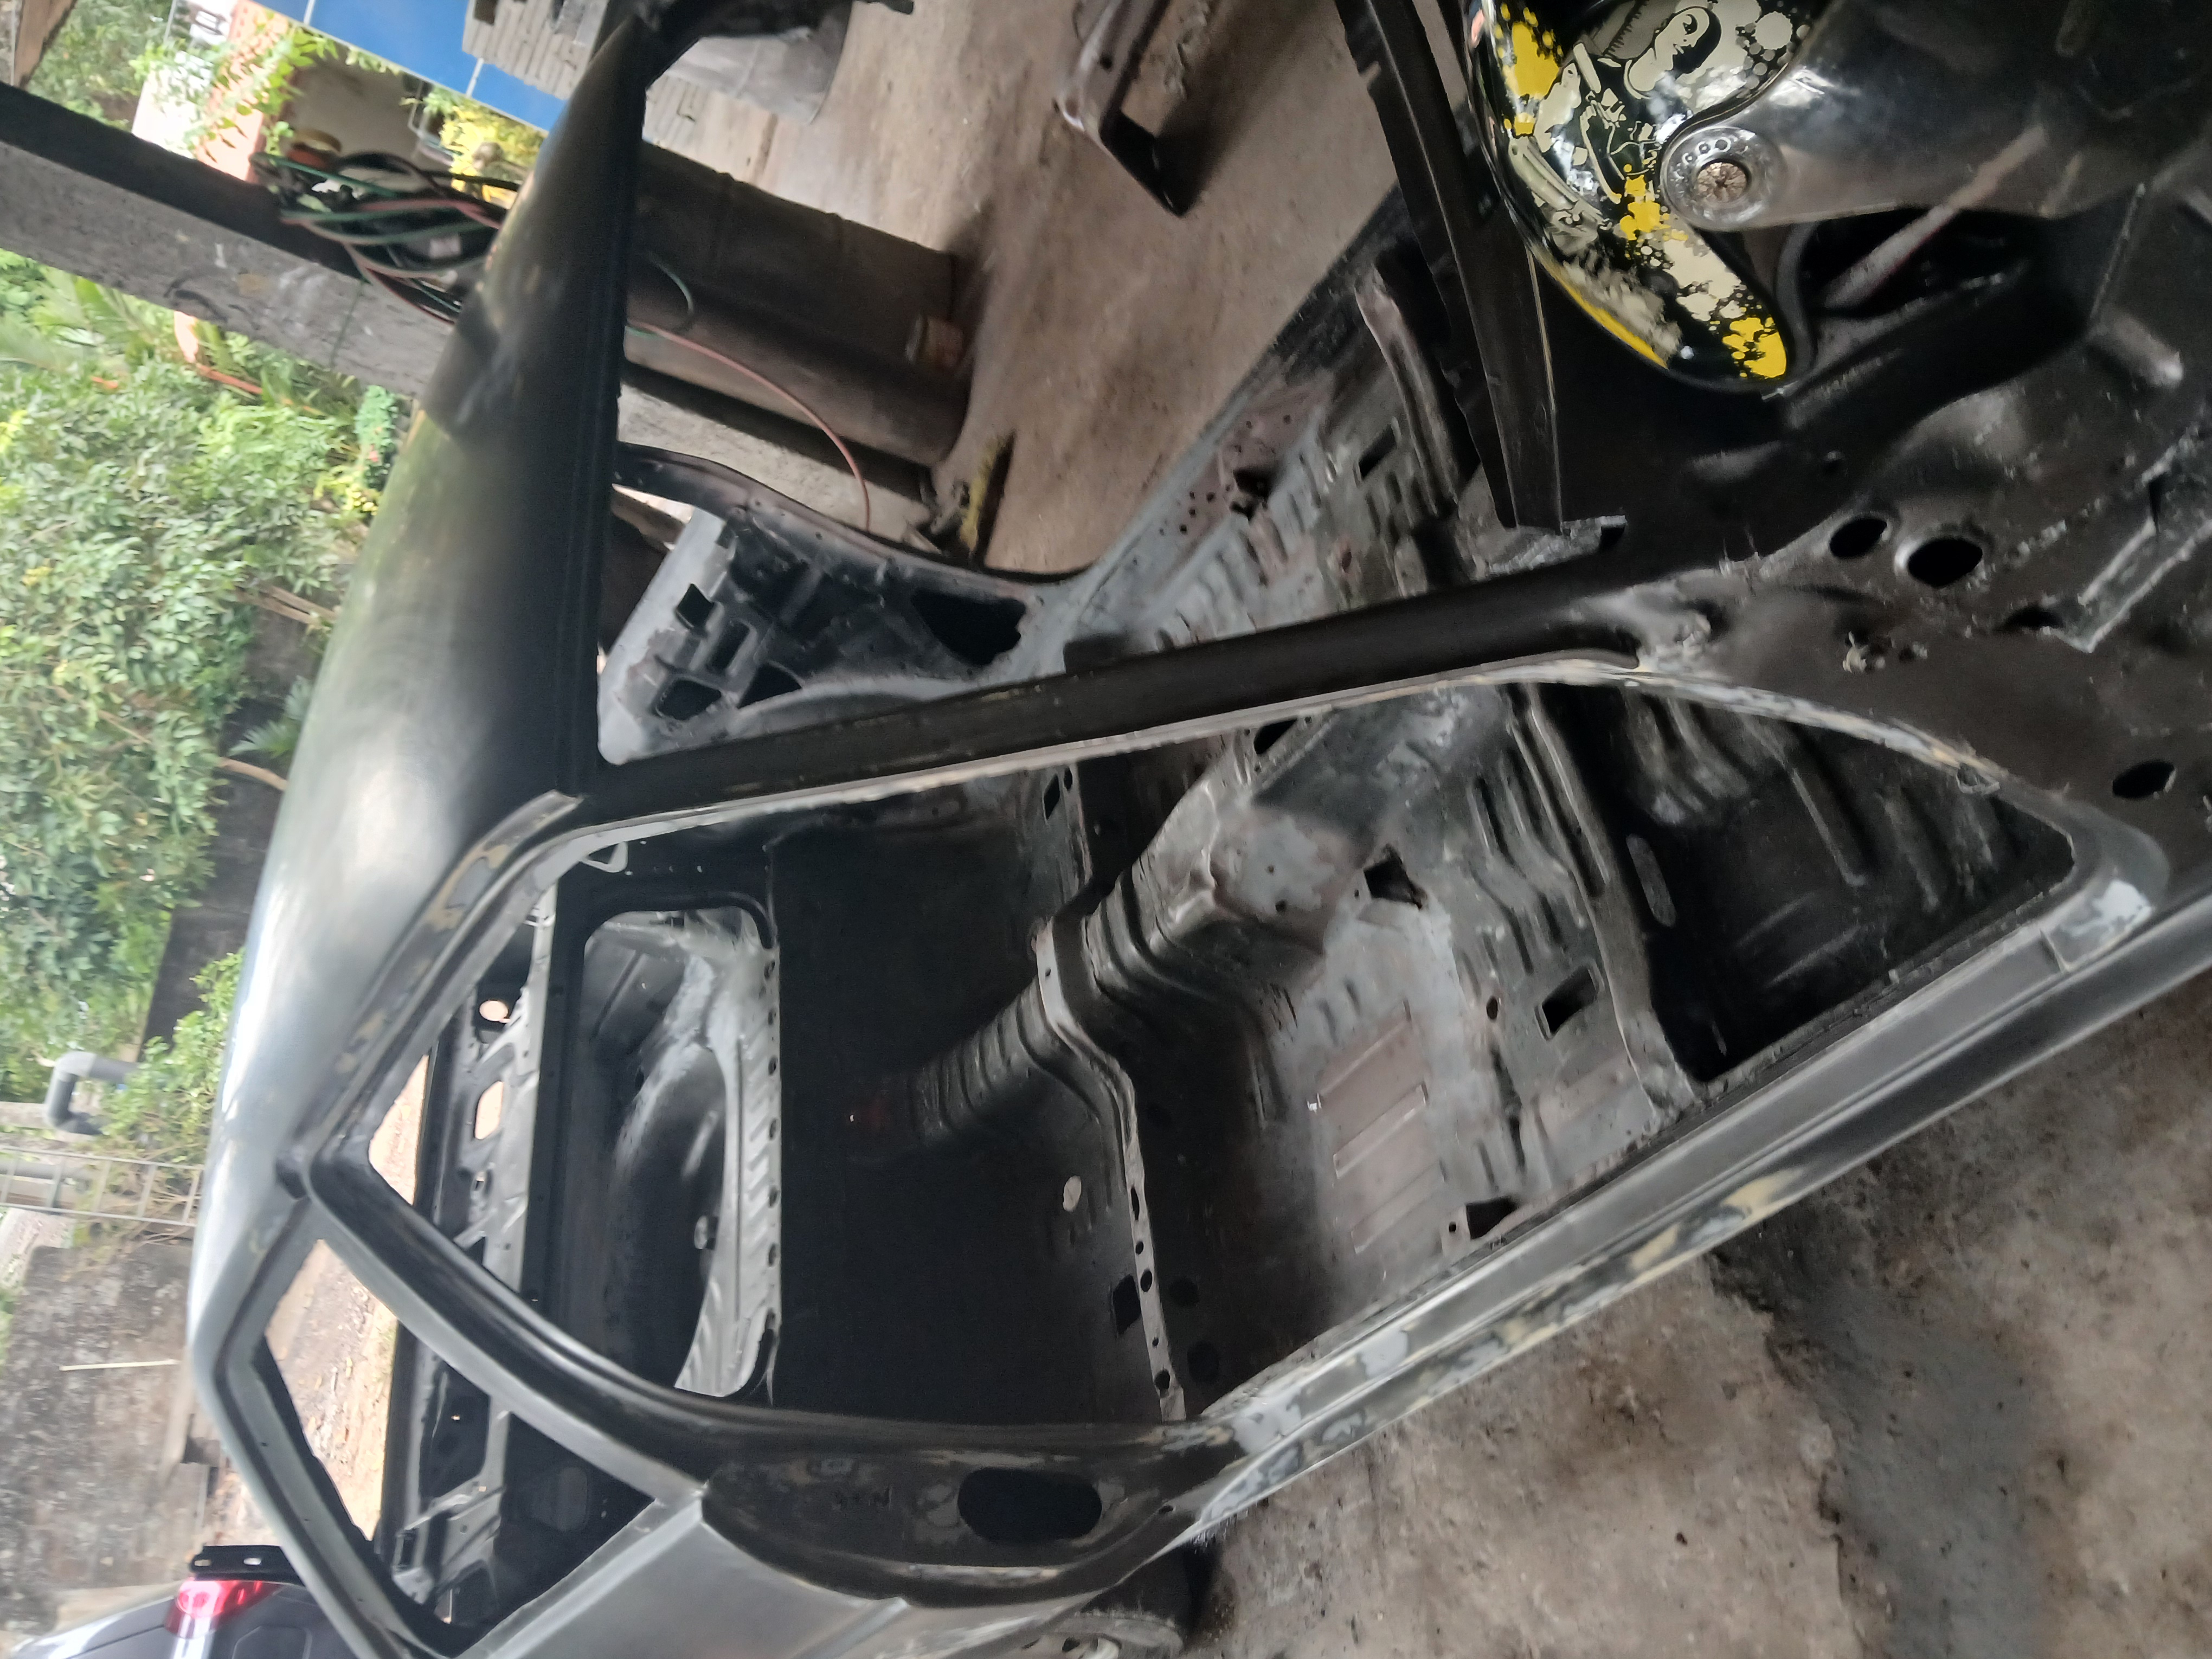
Inside the Shell: Surprisingly Solid
Thankfully, the inner shell was in pretty decent shape. Aside from some rust on the firewall, most of it held up remarkably well — even the trunk area was clean, with no major corrosion in sight. The firewall rust, while present, wasn’t anything unfixable.
Here’s a quick video showing how it looked.
Unfortunately, the firewall didn’t fare as well — there was noticeable rust damage that will need some serious attention.
Rocker Panel: A Tough Spot
The rocker panel was in rough shape — mostly rusted through. We decided it was best to completely re-fabricate this part due to the extensive damage.
Here’s how it looked:
Floor Boards: Minor Repairs Needed
We found a few small rust spots on the floor boards — around 2-3 cm holes here and there. Thankfully, these are easy fixes and nothing too serious.
Here’s a look at the floor board after the fabrication work so far:
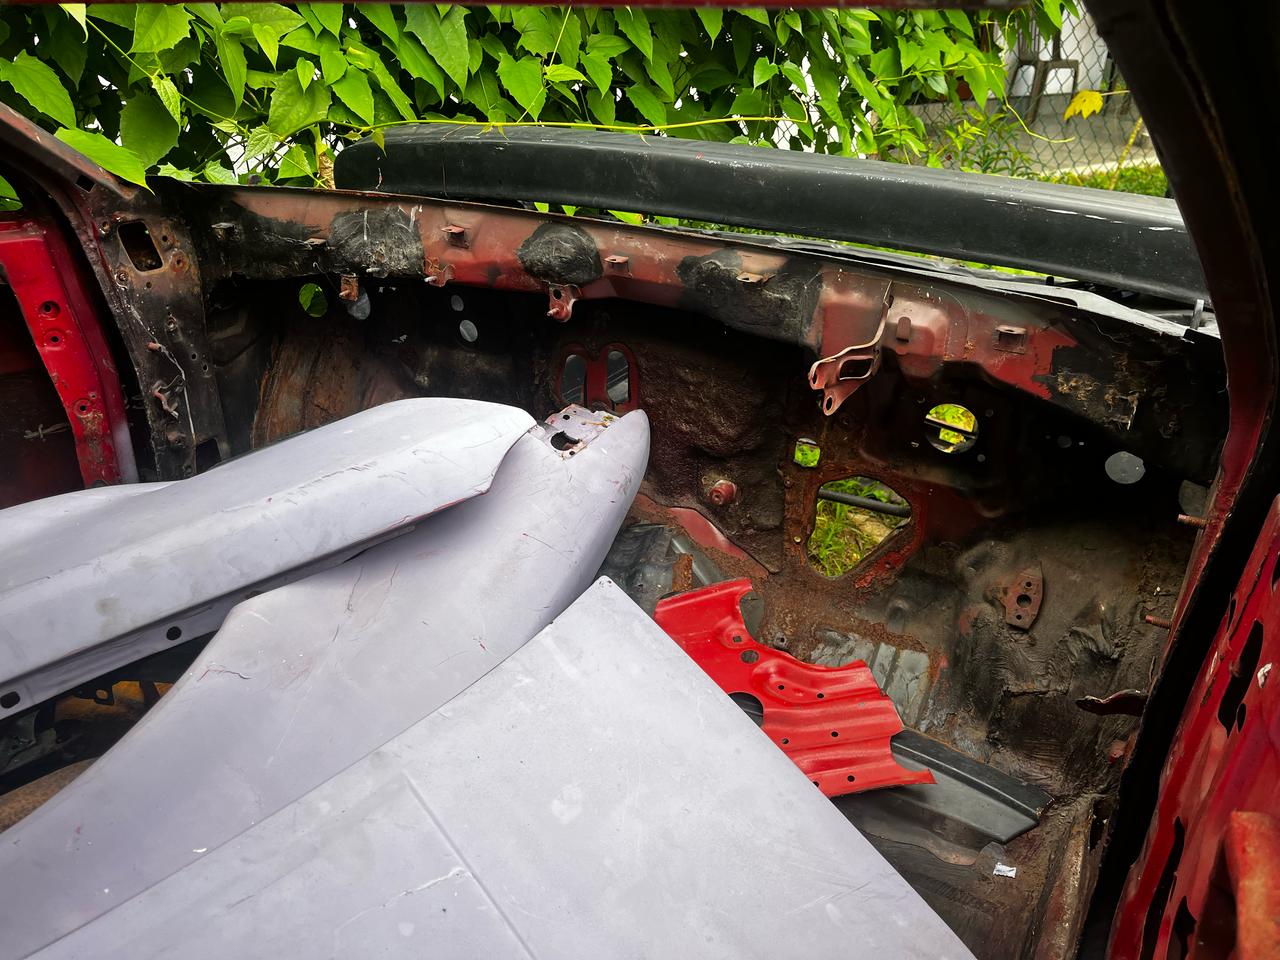
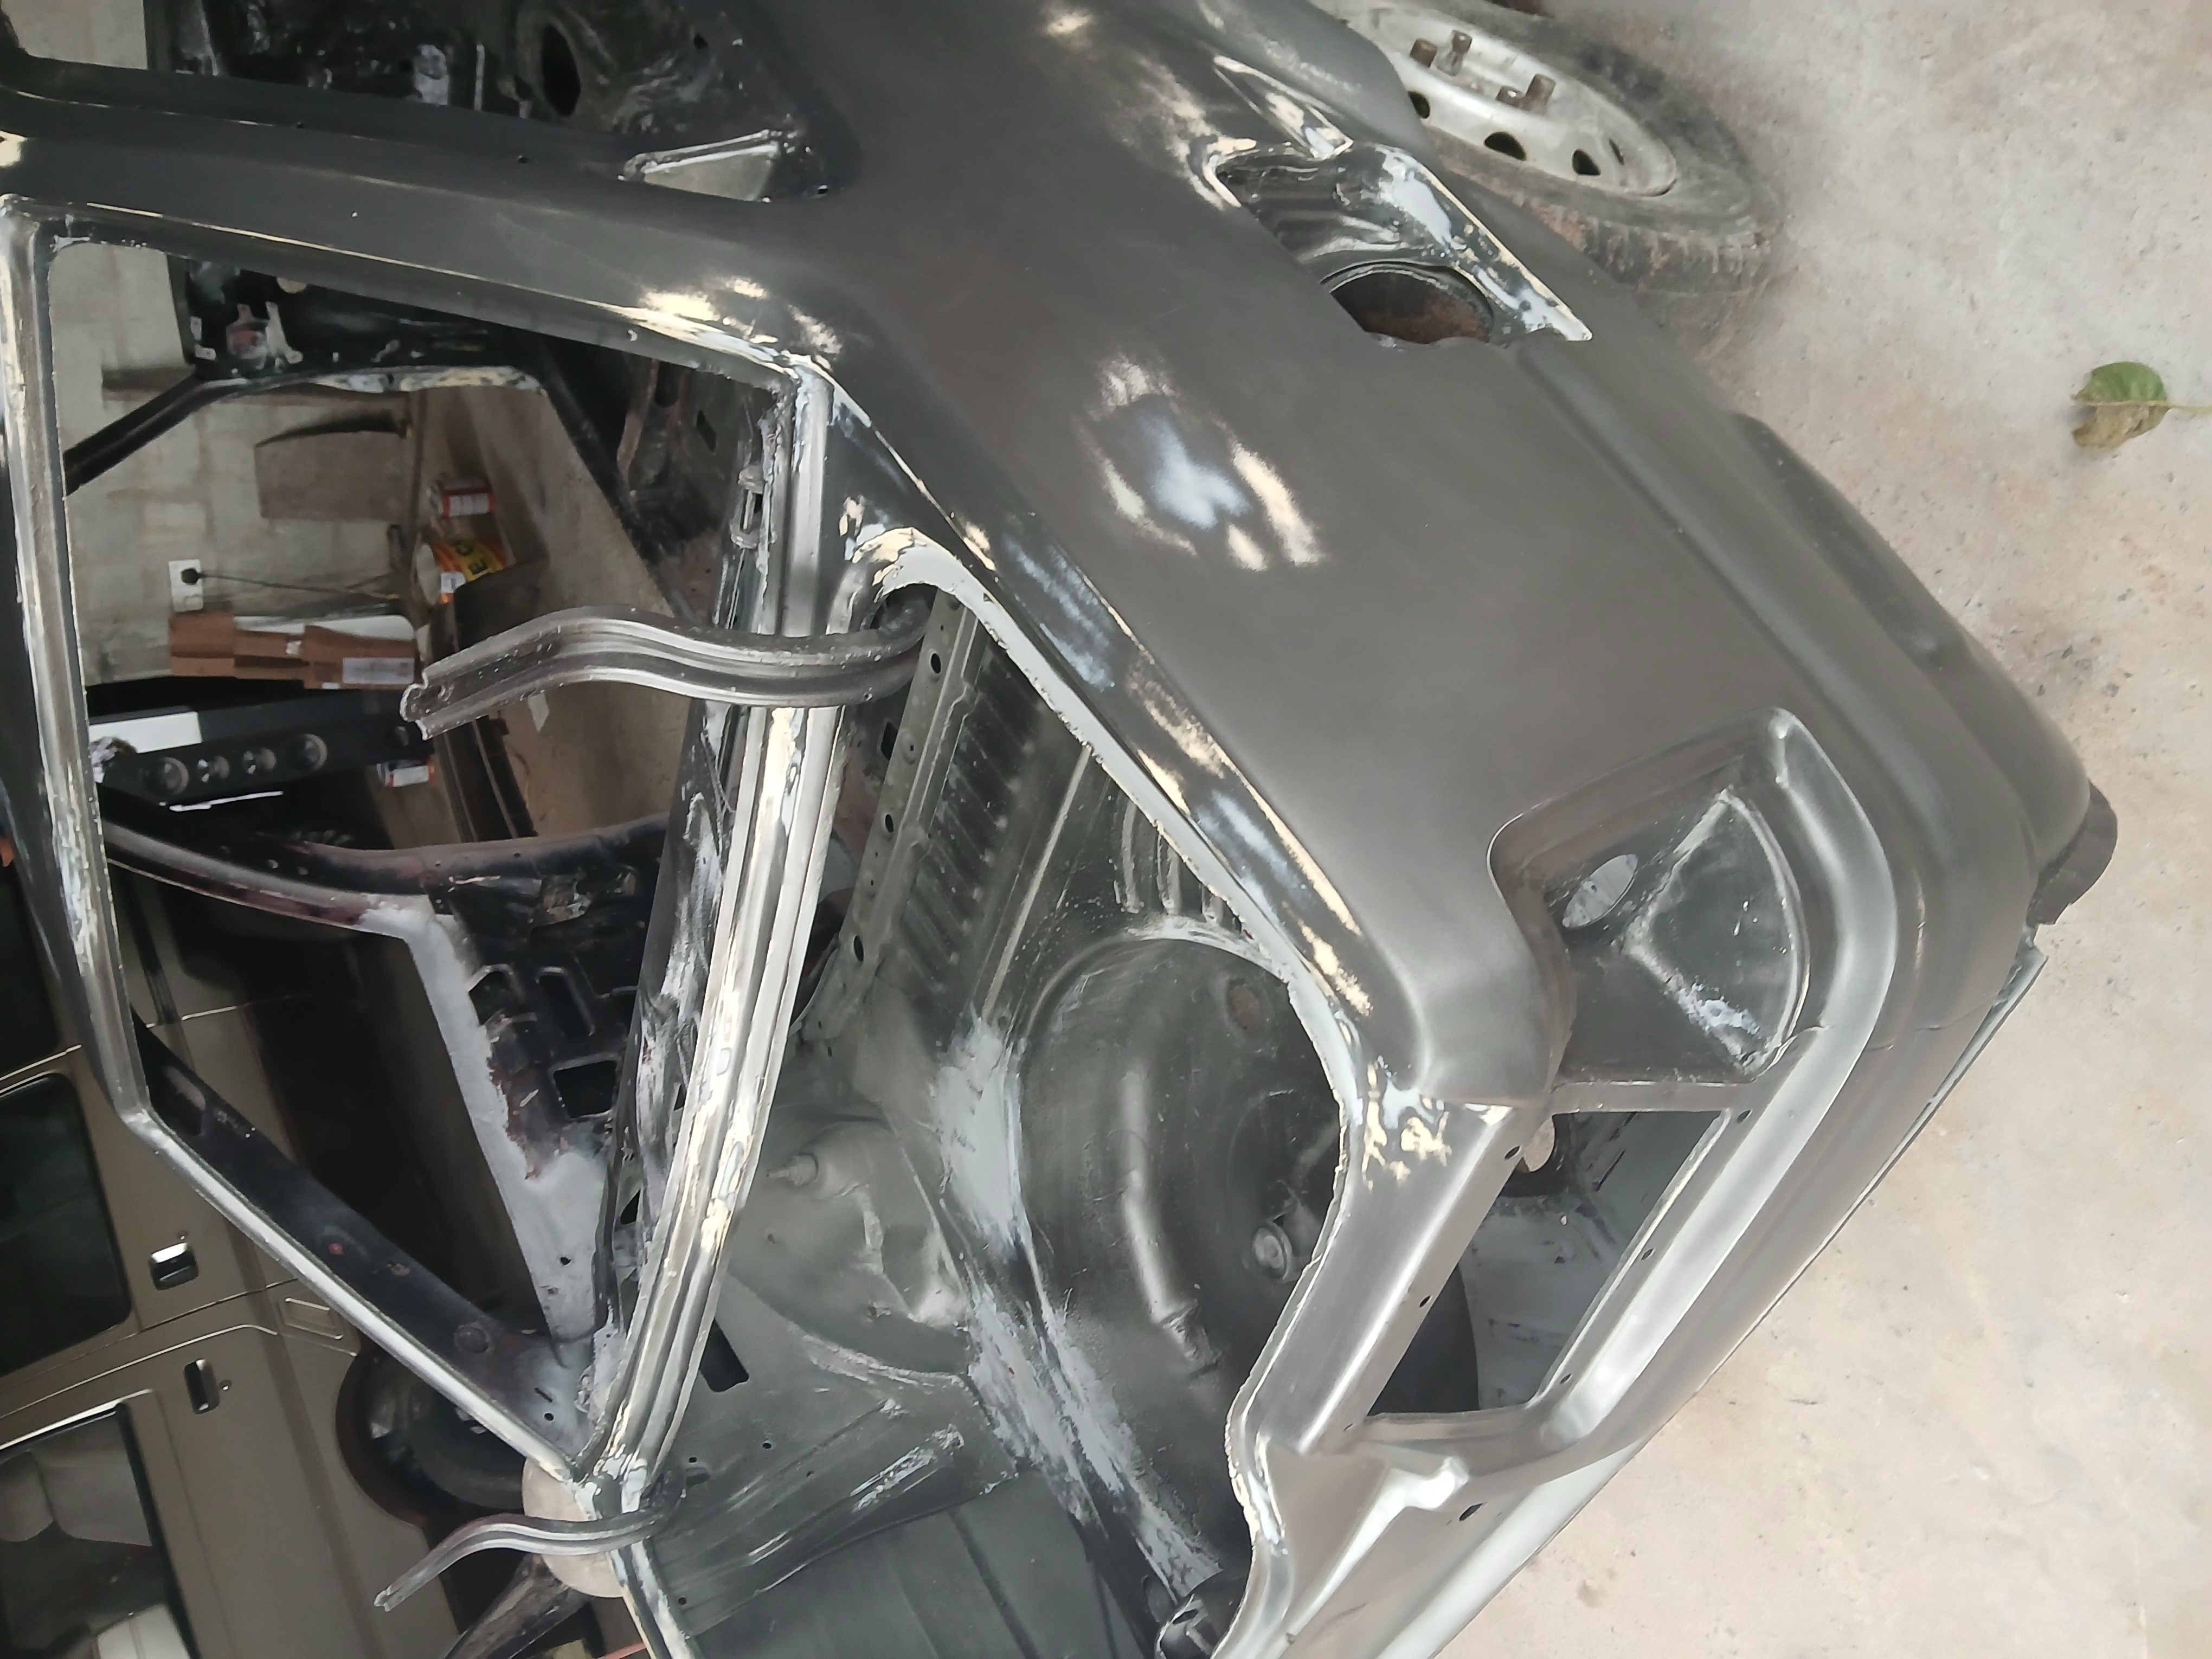
Other Major Damage
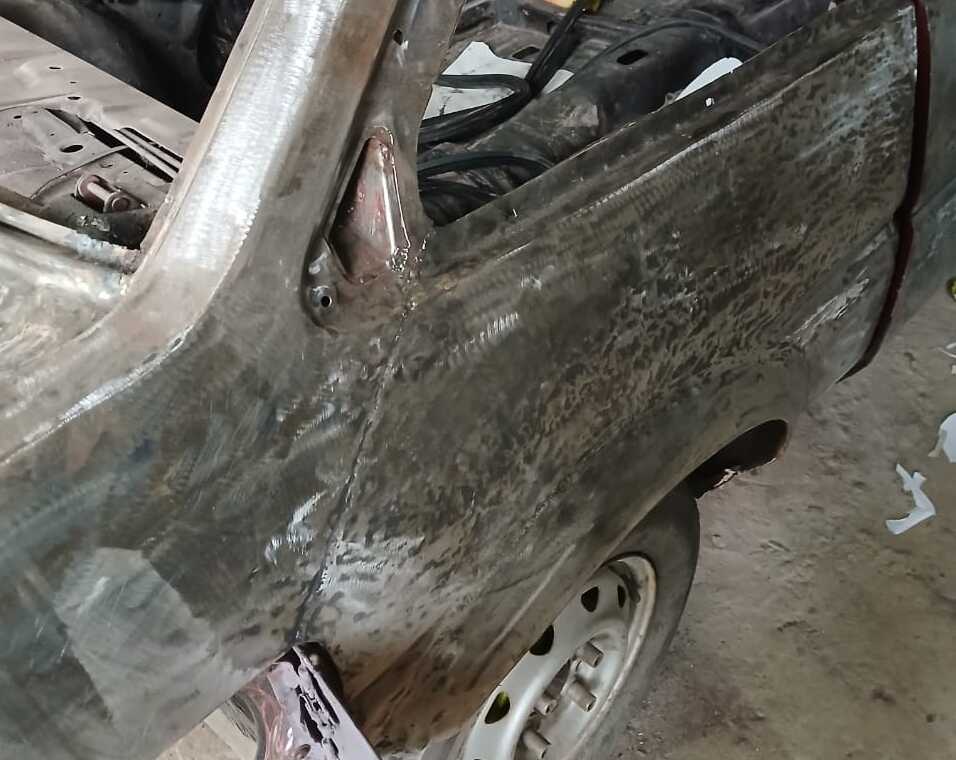
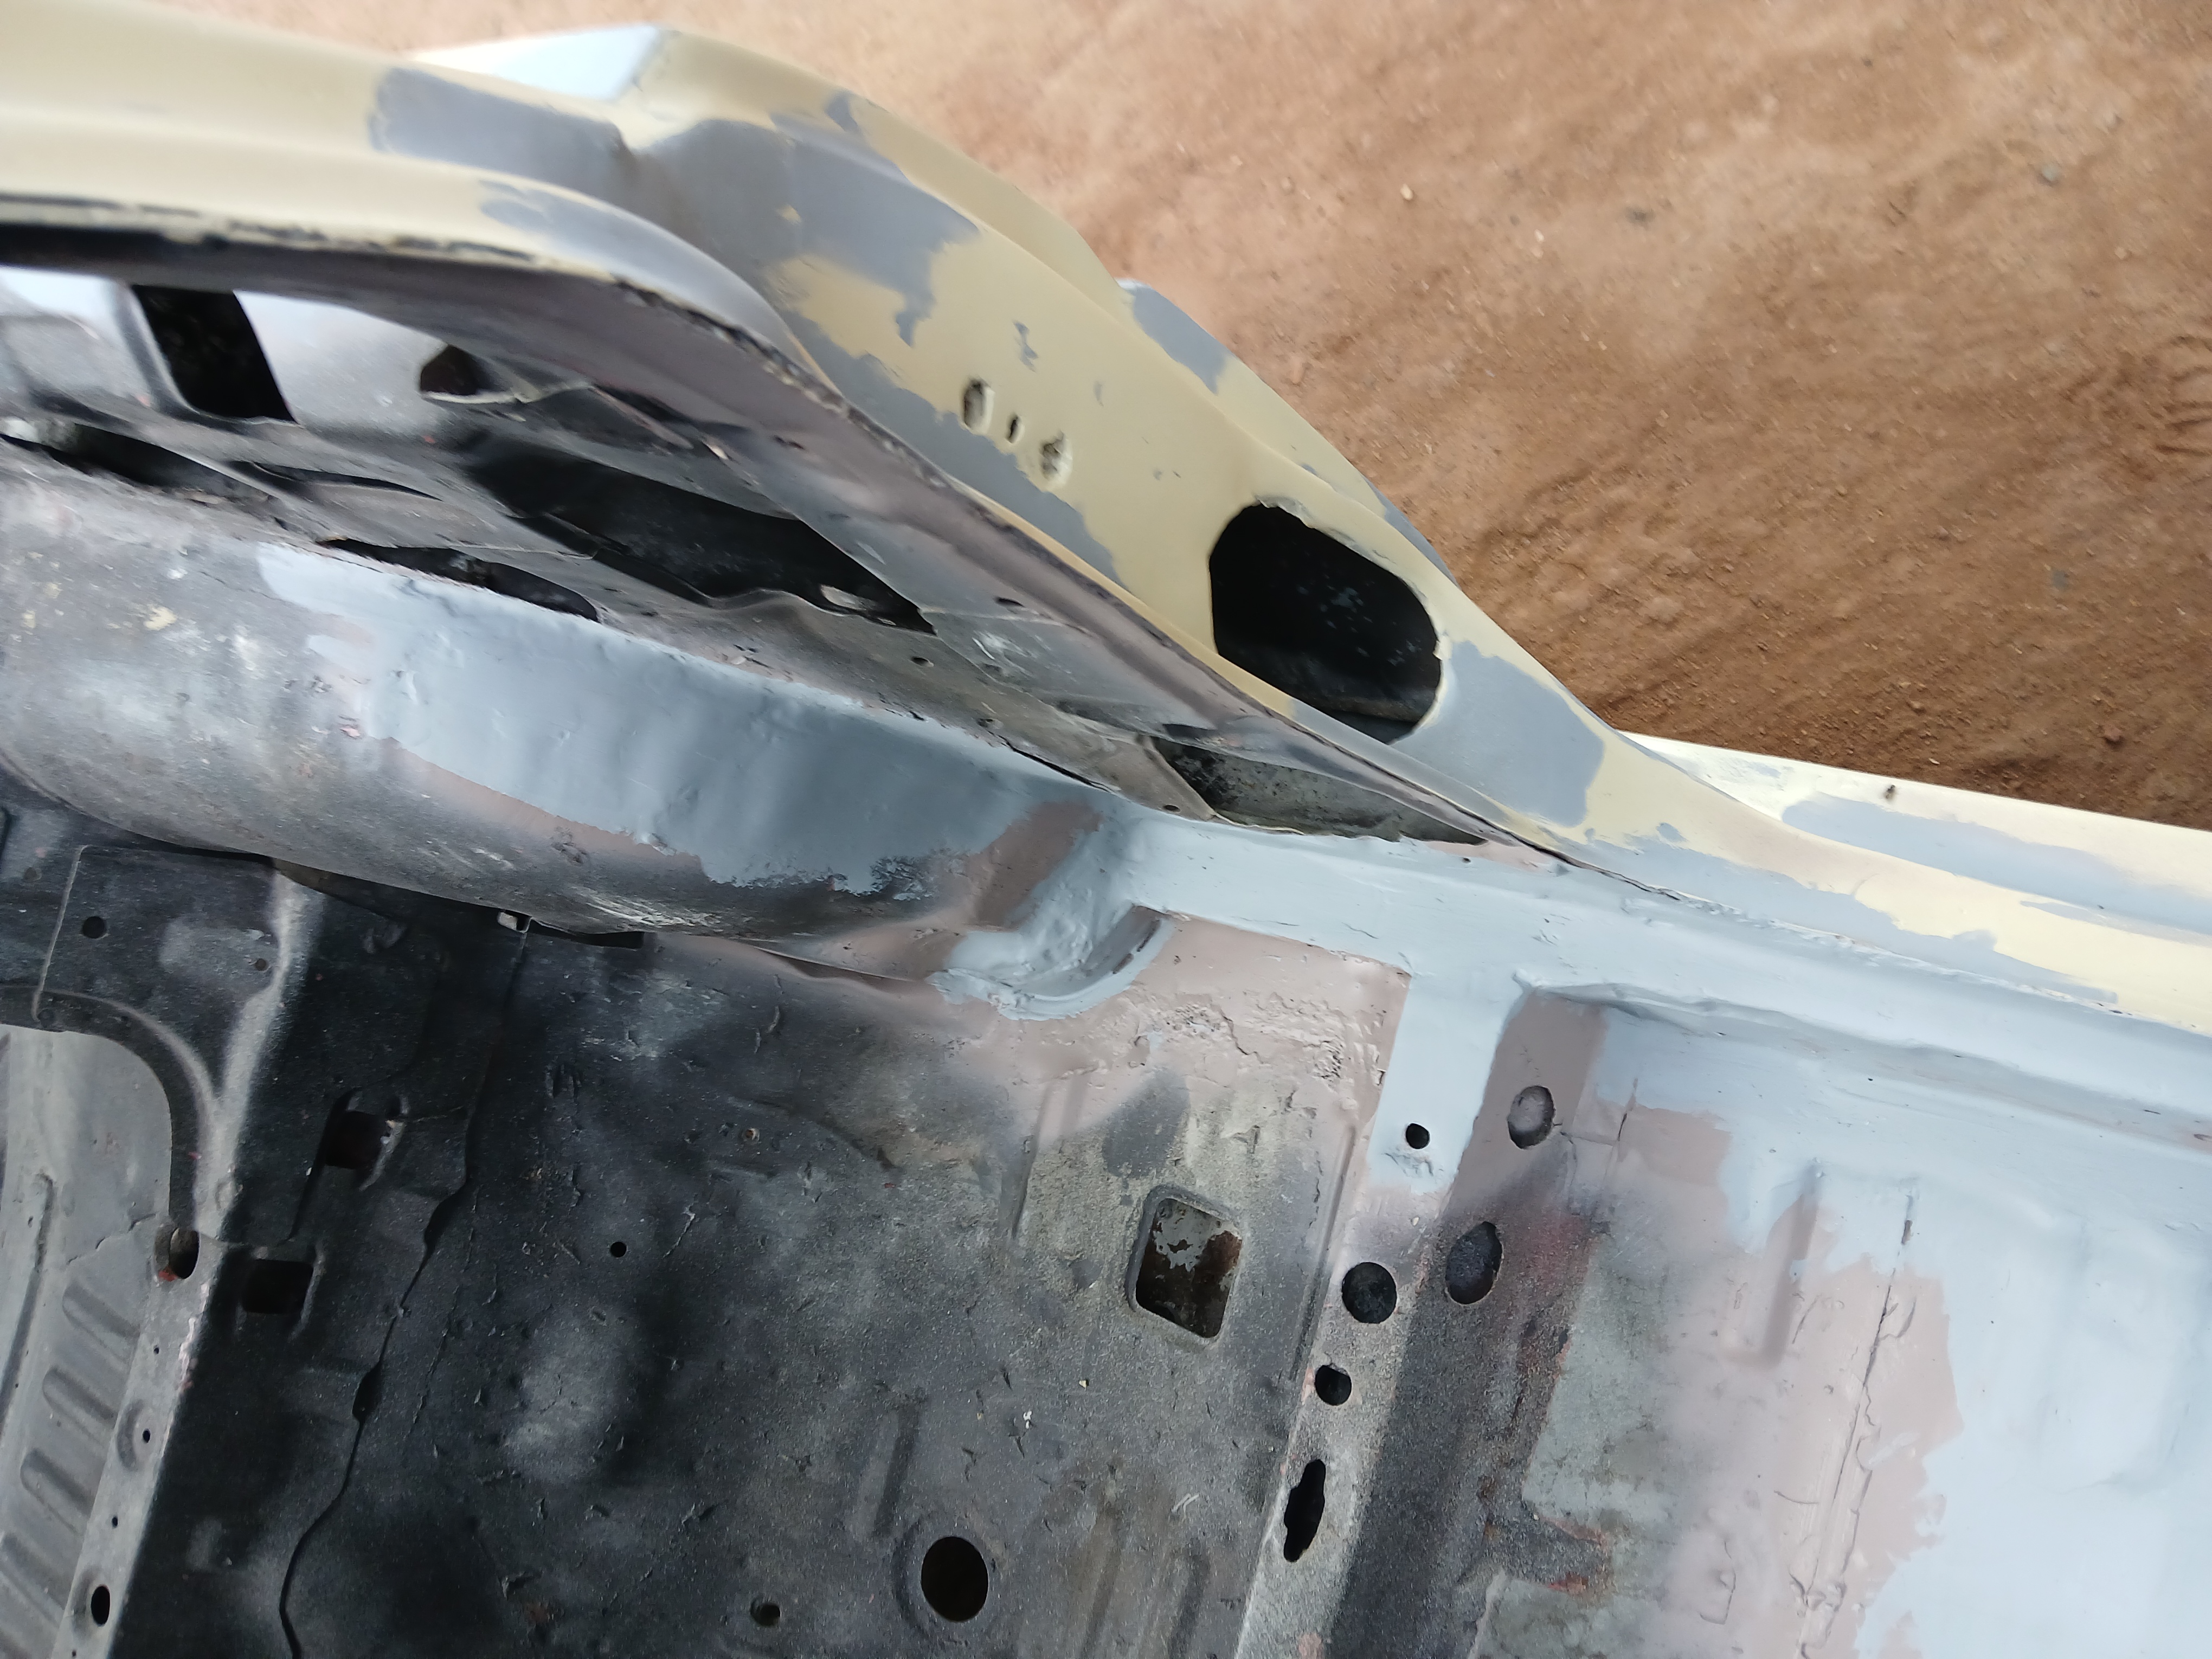
There were a few other areas that needed serious attention — one of the biggest was the door pillar. Apparently, someone had attempted to repair rust there in the past but stopped halfway, leaving a large cut in the pillar. We definitely wanted to fix this properly.
Thankfully, we’re able to fabricate a replacement and sort it out, so it’s not too big of a deal in the end.
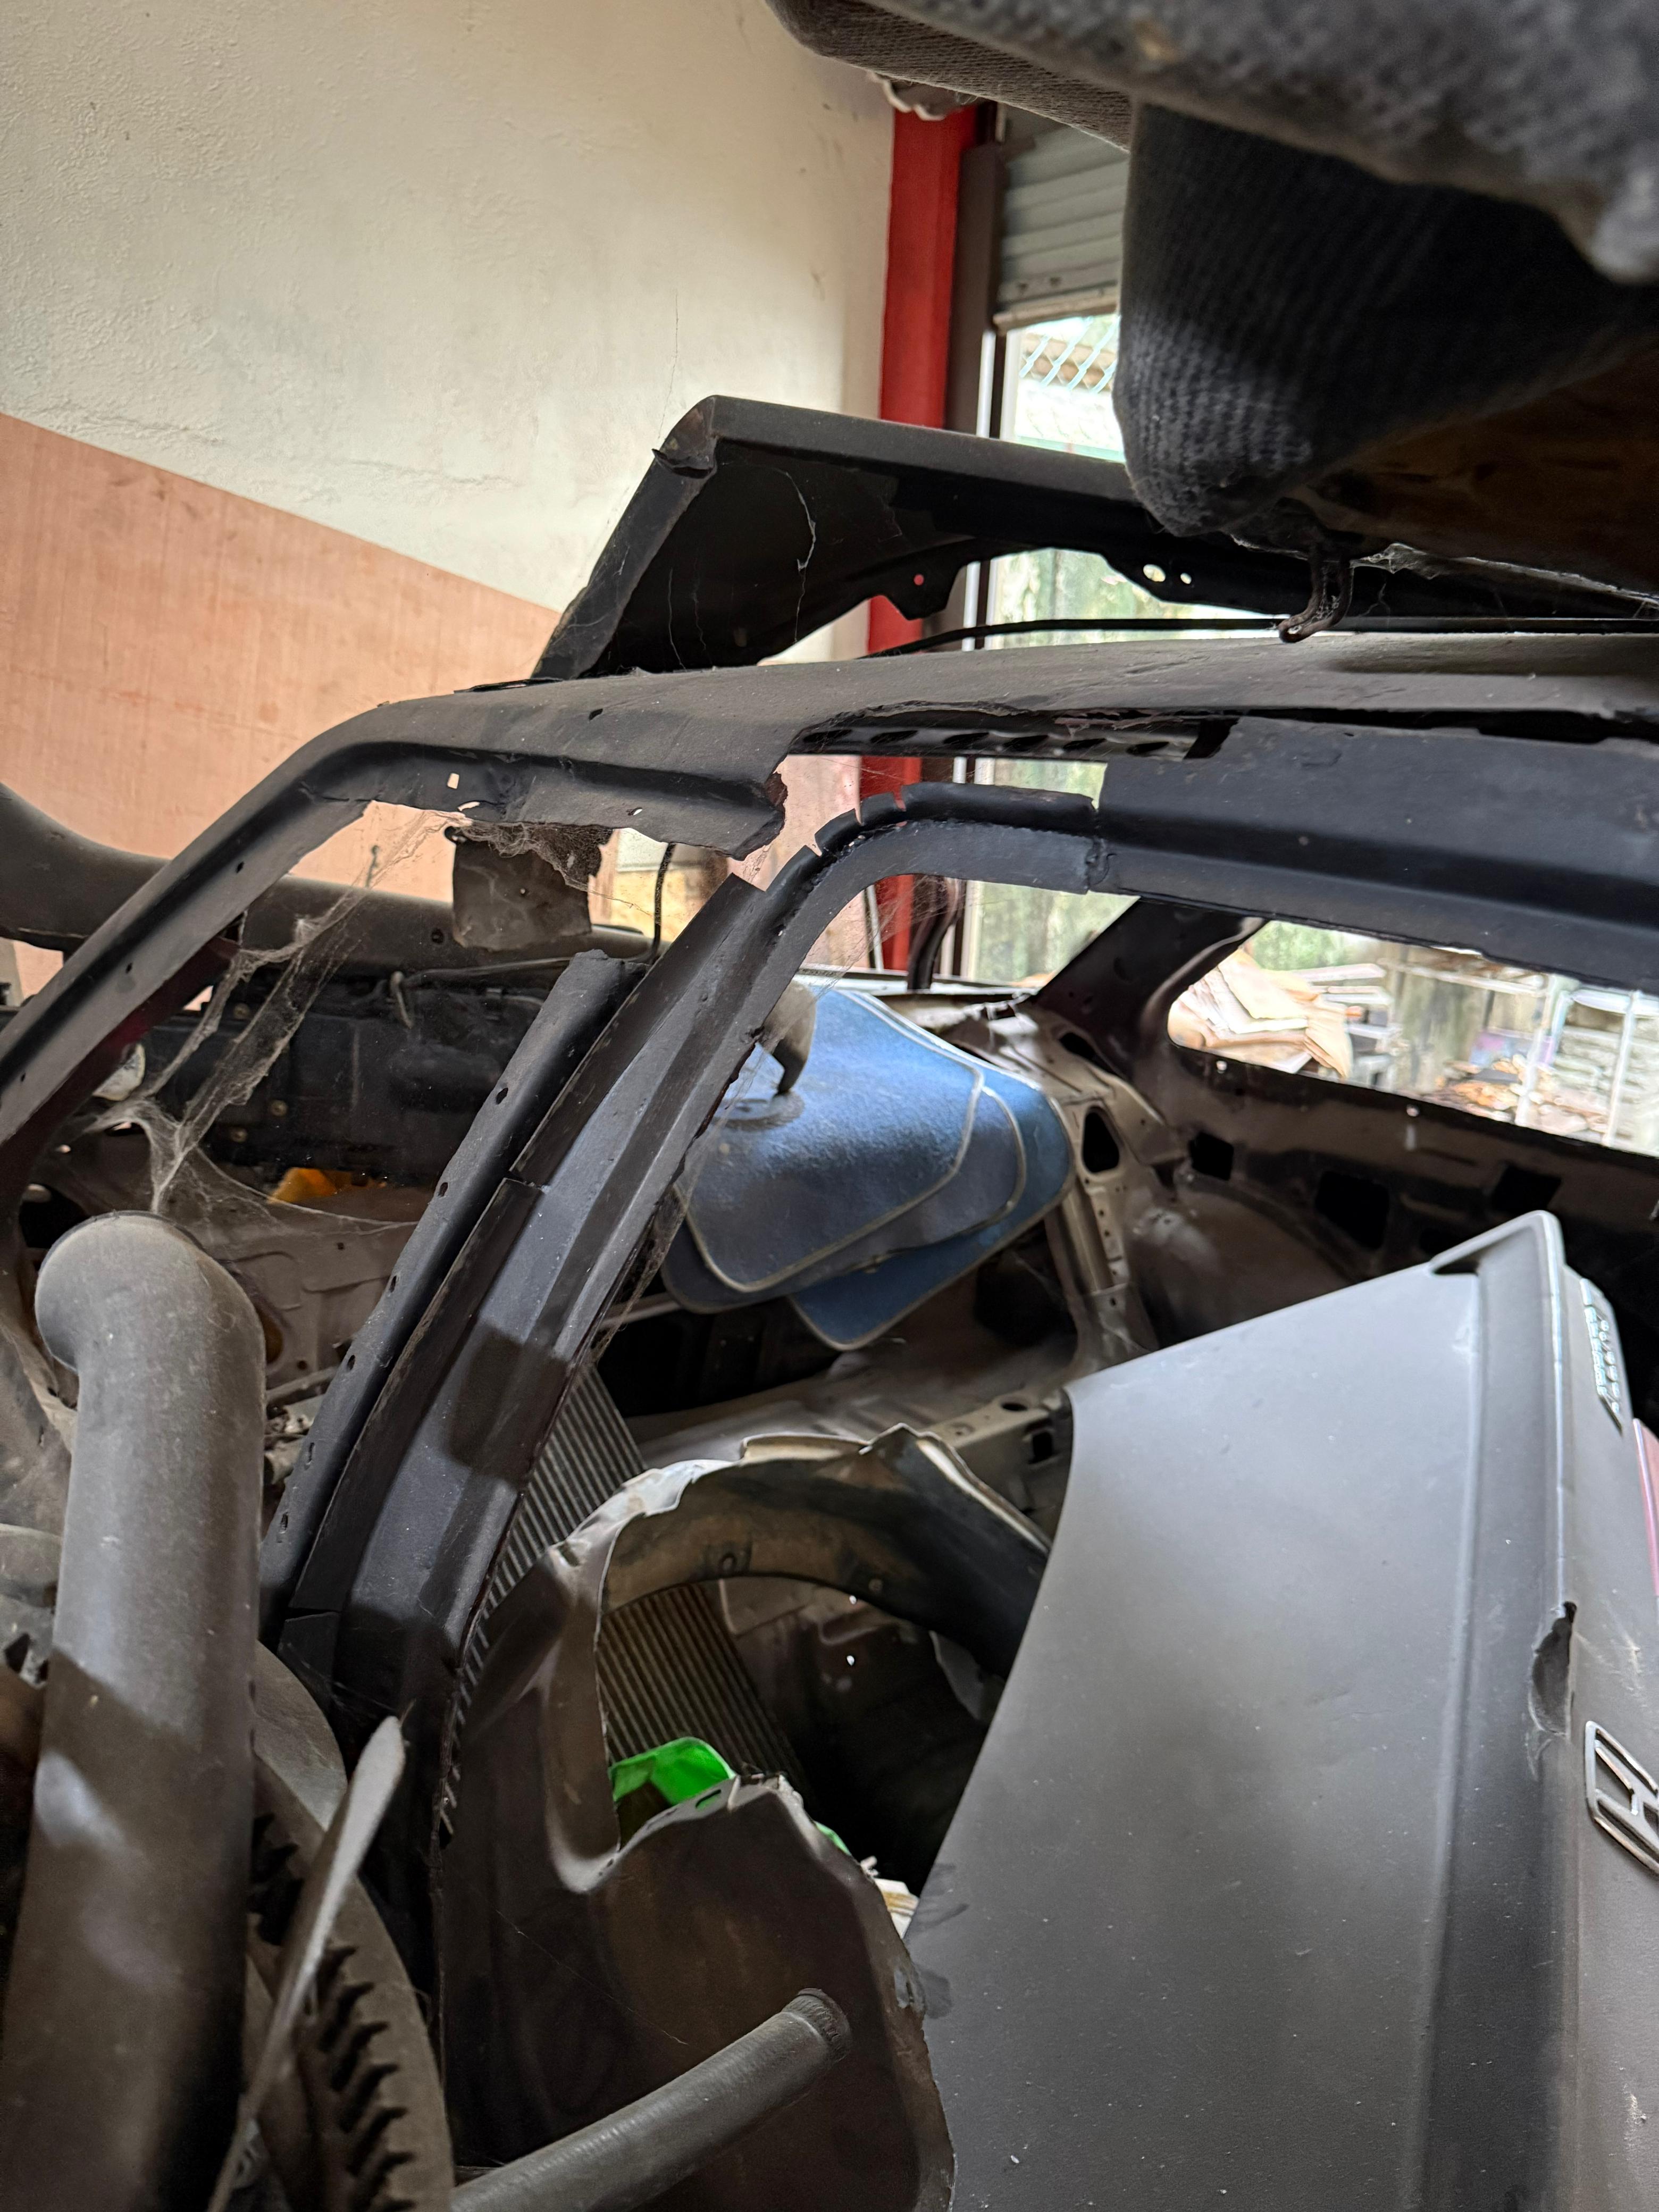
Here’s how the door pillar looked after the repair:
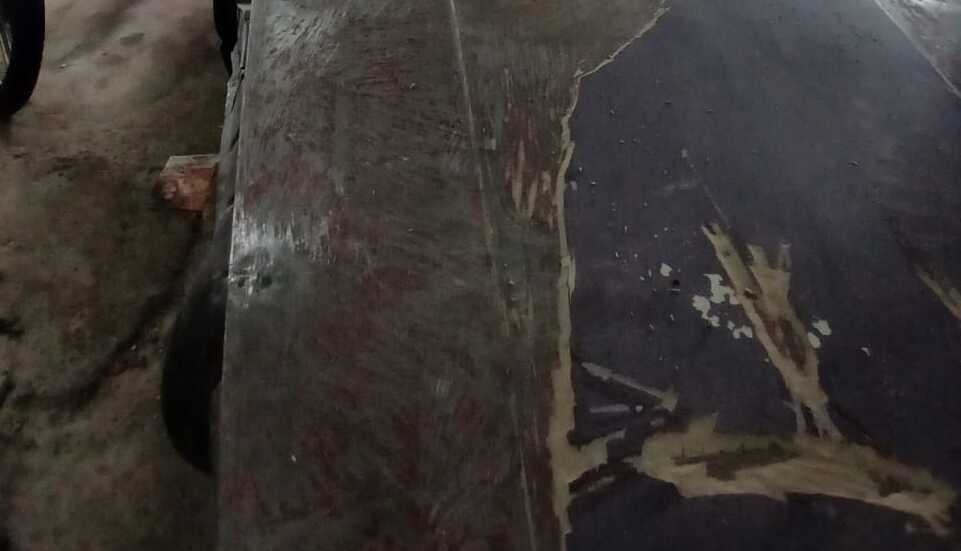
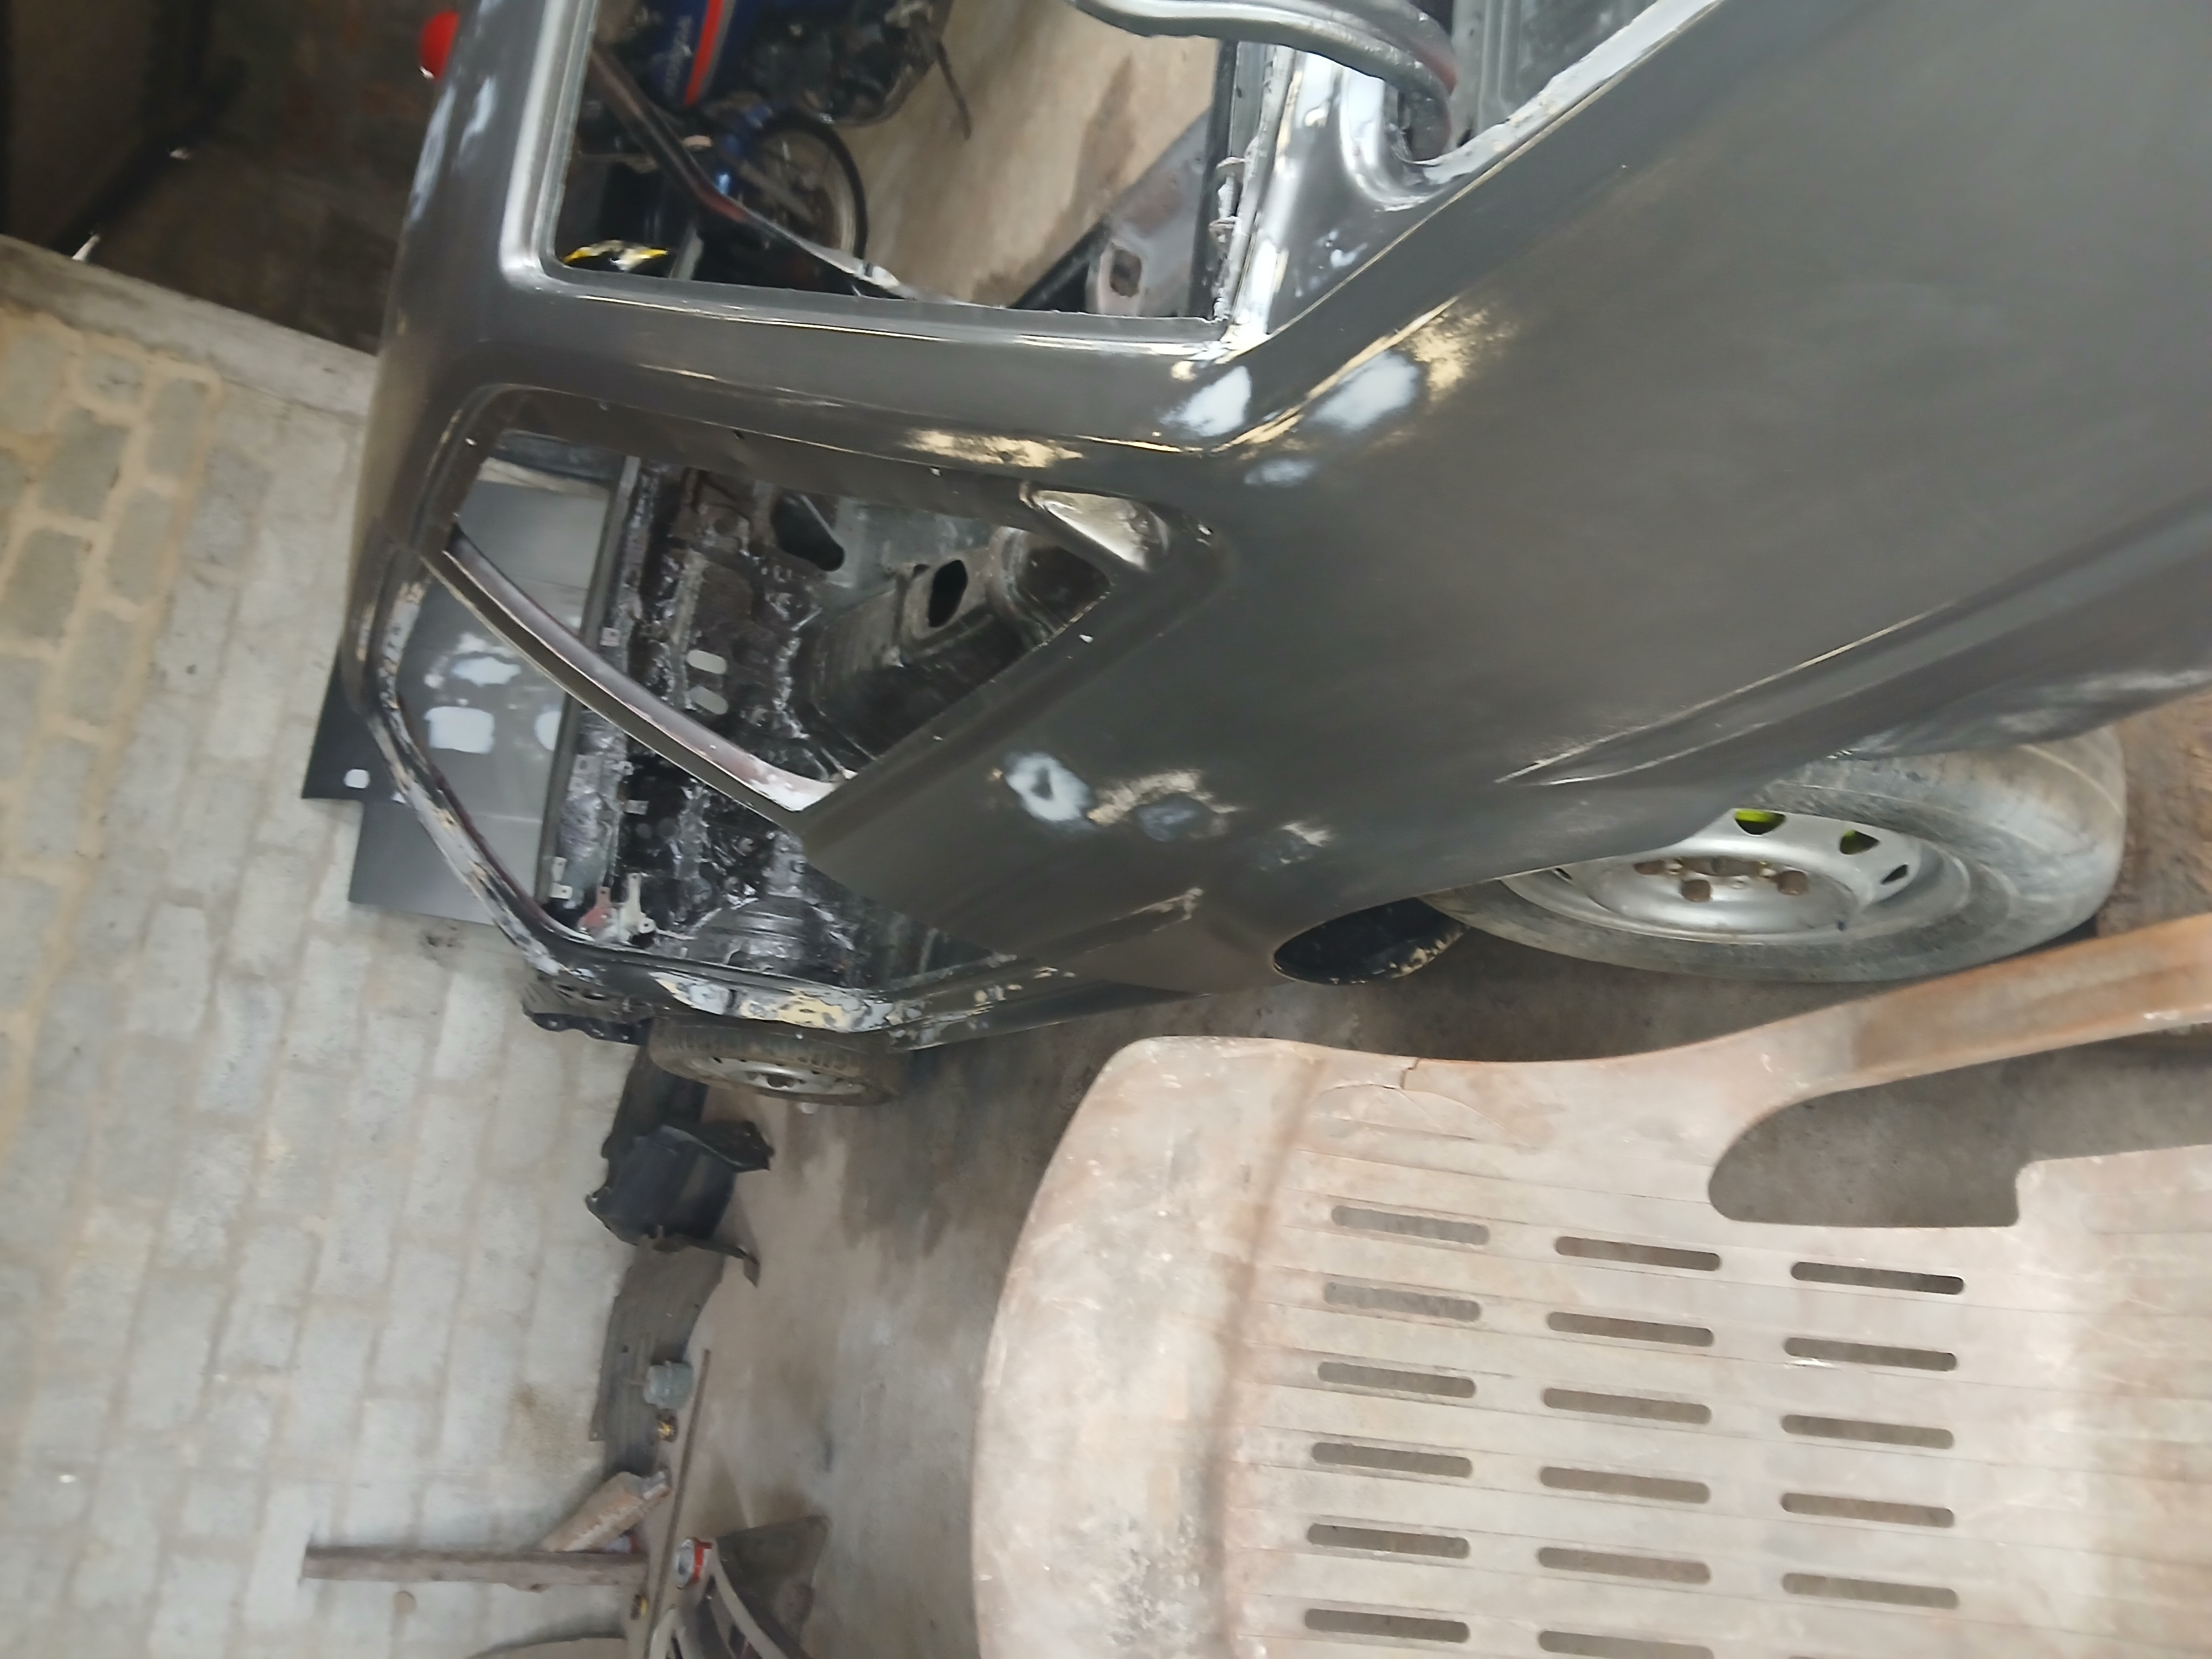
The Battle Scar
We also found signs of old accident damage — probably from a drift gone wrong. Someone had repaired it in the past, but the job wasn’t exactly top-tier. At first, we considered redoing the fix properly, but after evaluating it closely, we decided it wasn’t worth the risk.
Repairing it would have meant a major body cut, something we wanted to avoid to preserve the structural integrity of the car. While it won’t be visible after paint and finishing, the mark will always be there.
Maybe we can just call it a battle scar.
After stripping off the black paint, this is how the damage looked.
And here’s how it looked after applying the initial coat of paint on the pillars:
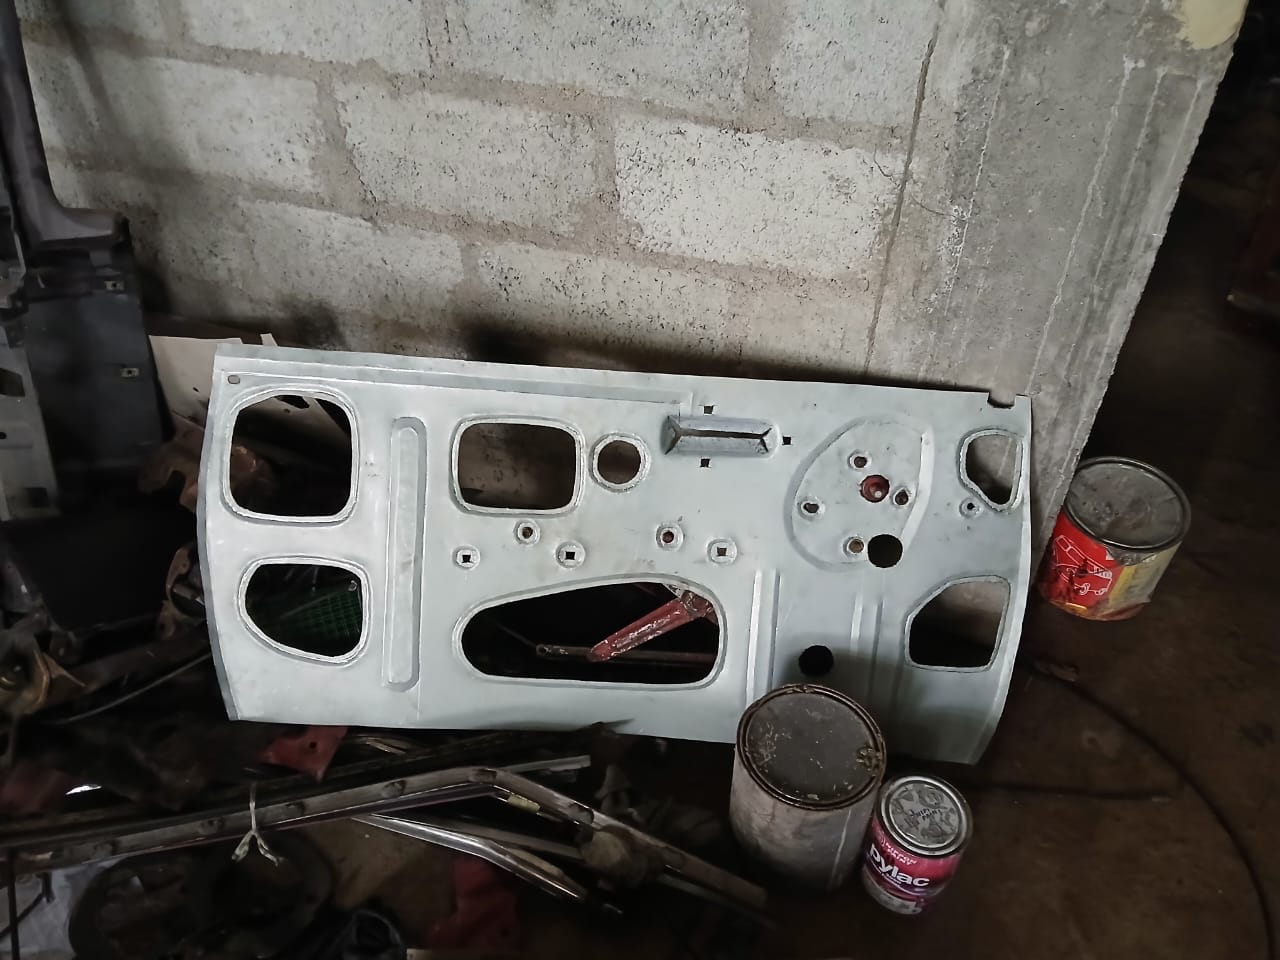
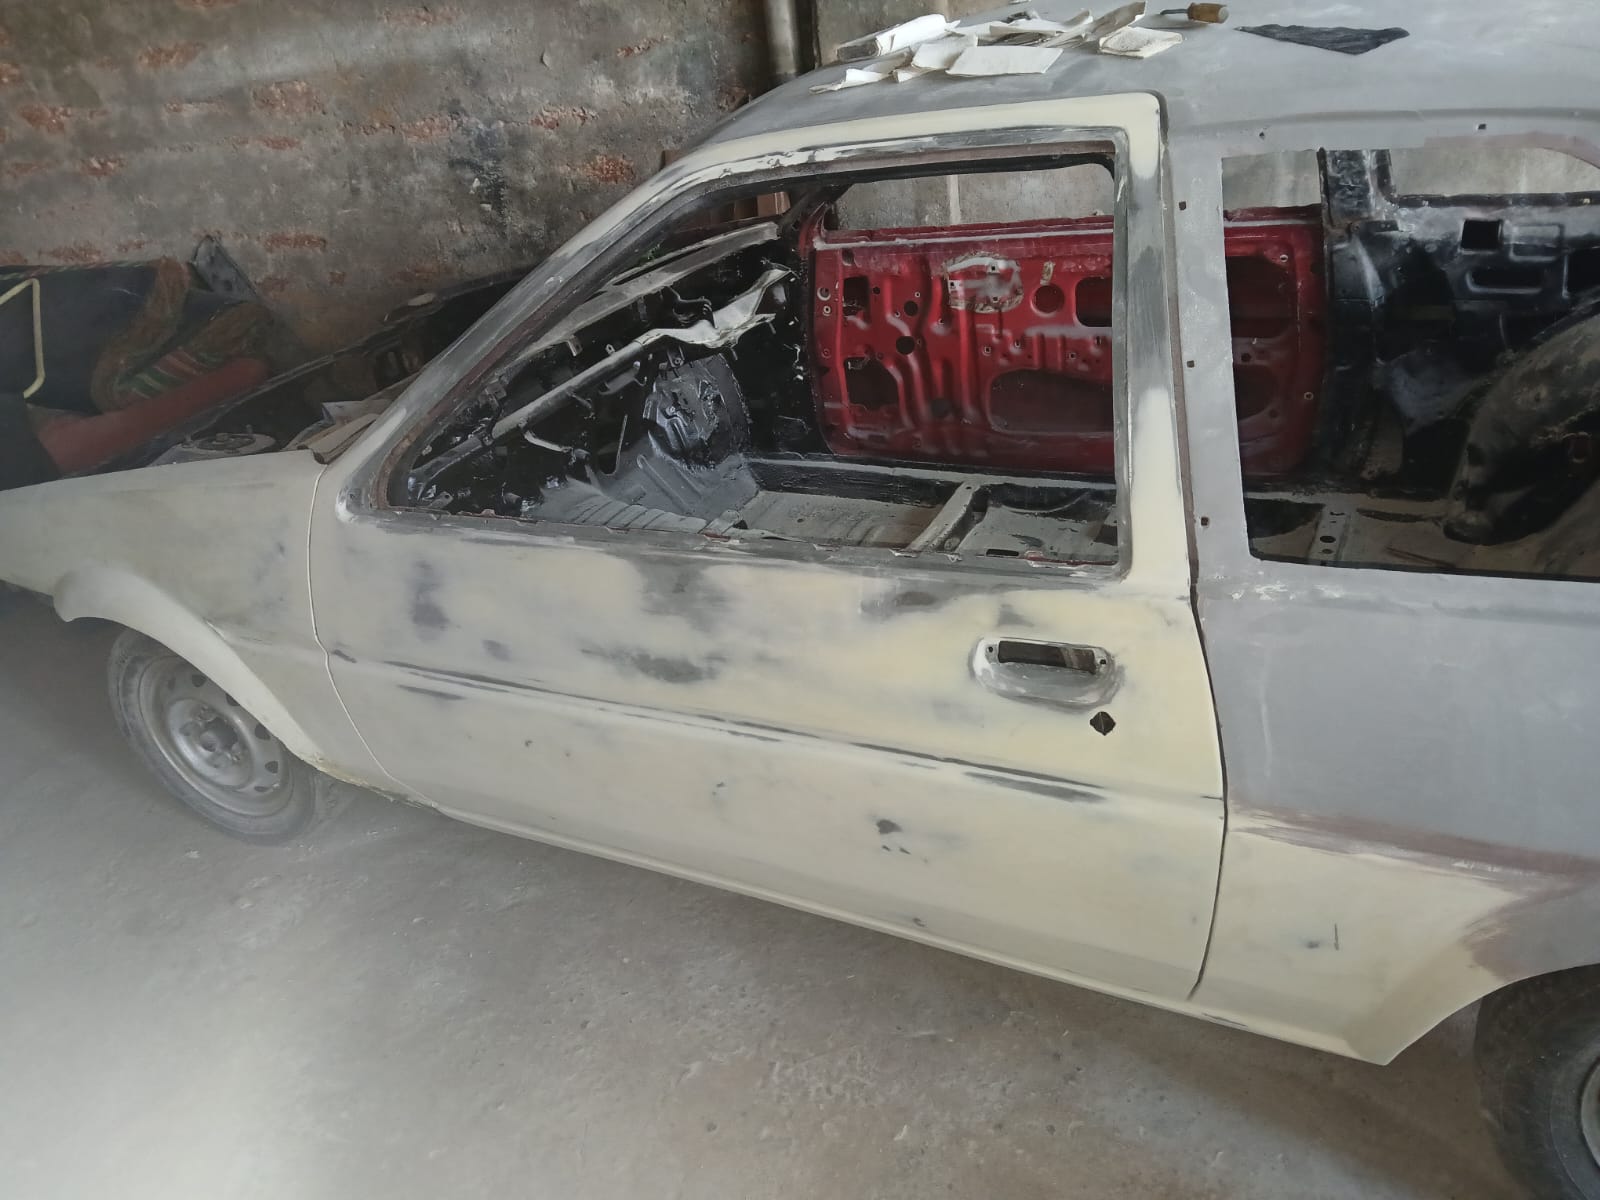
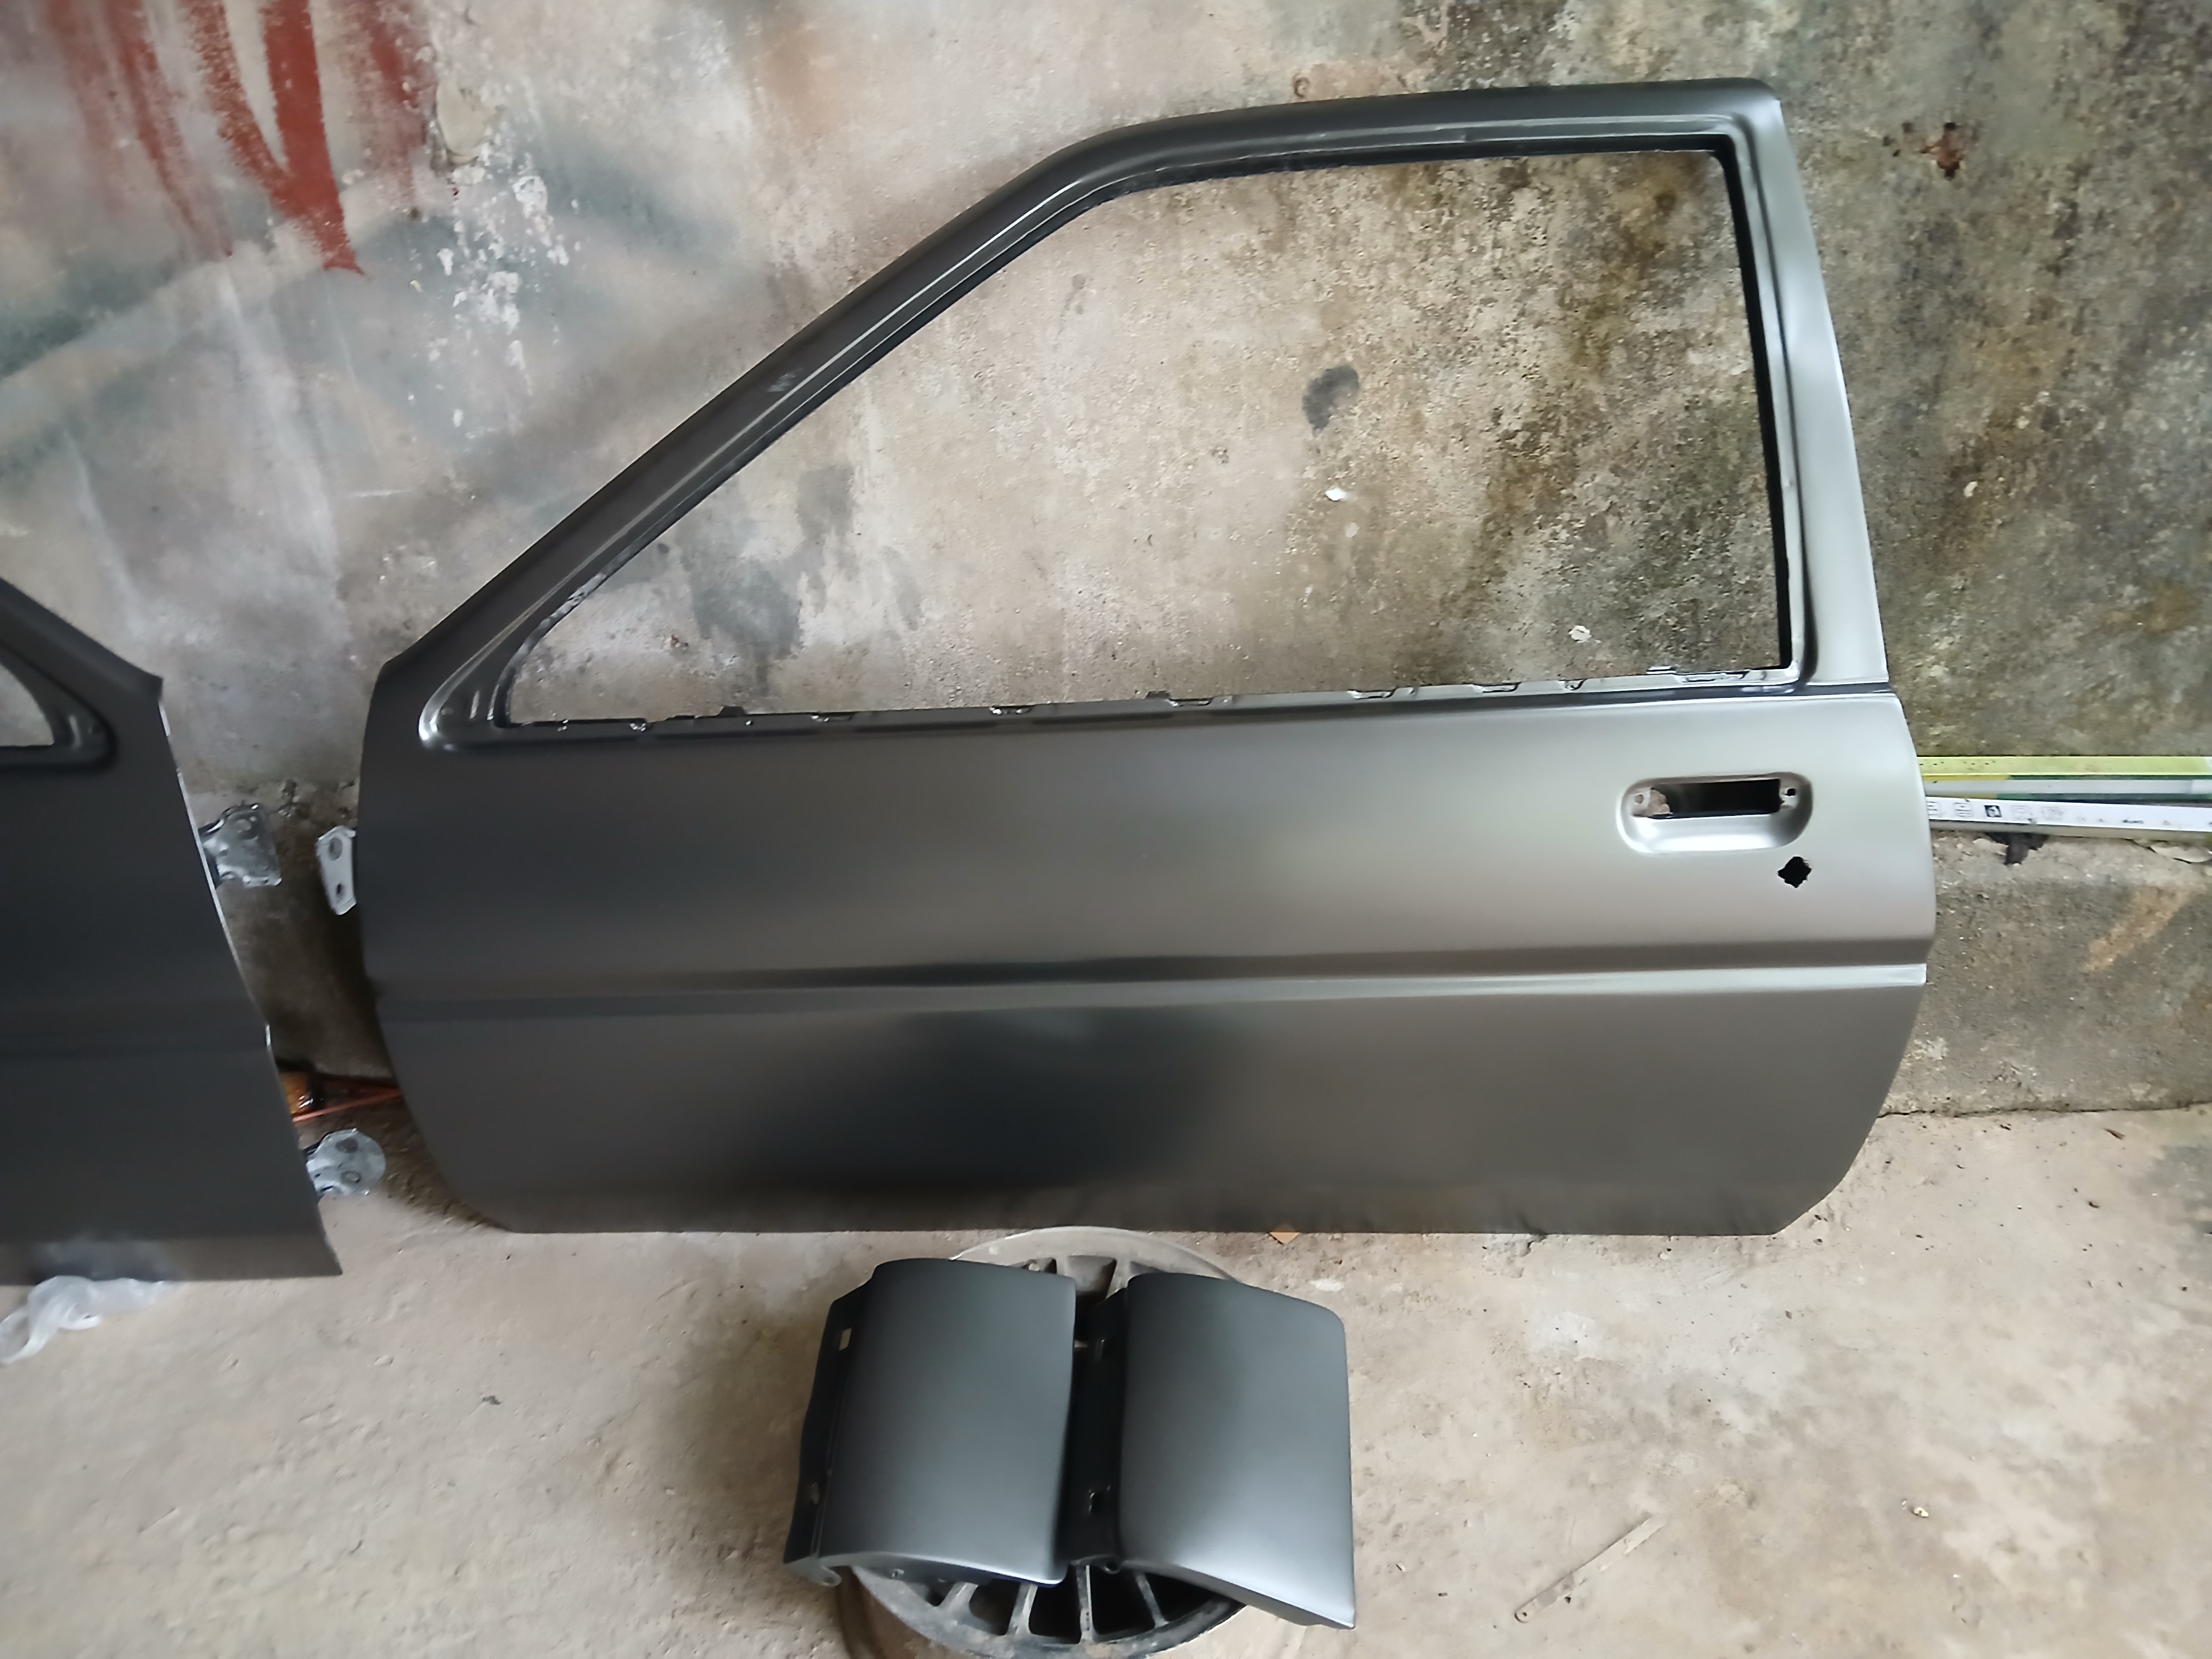
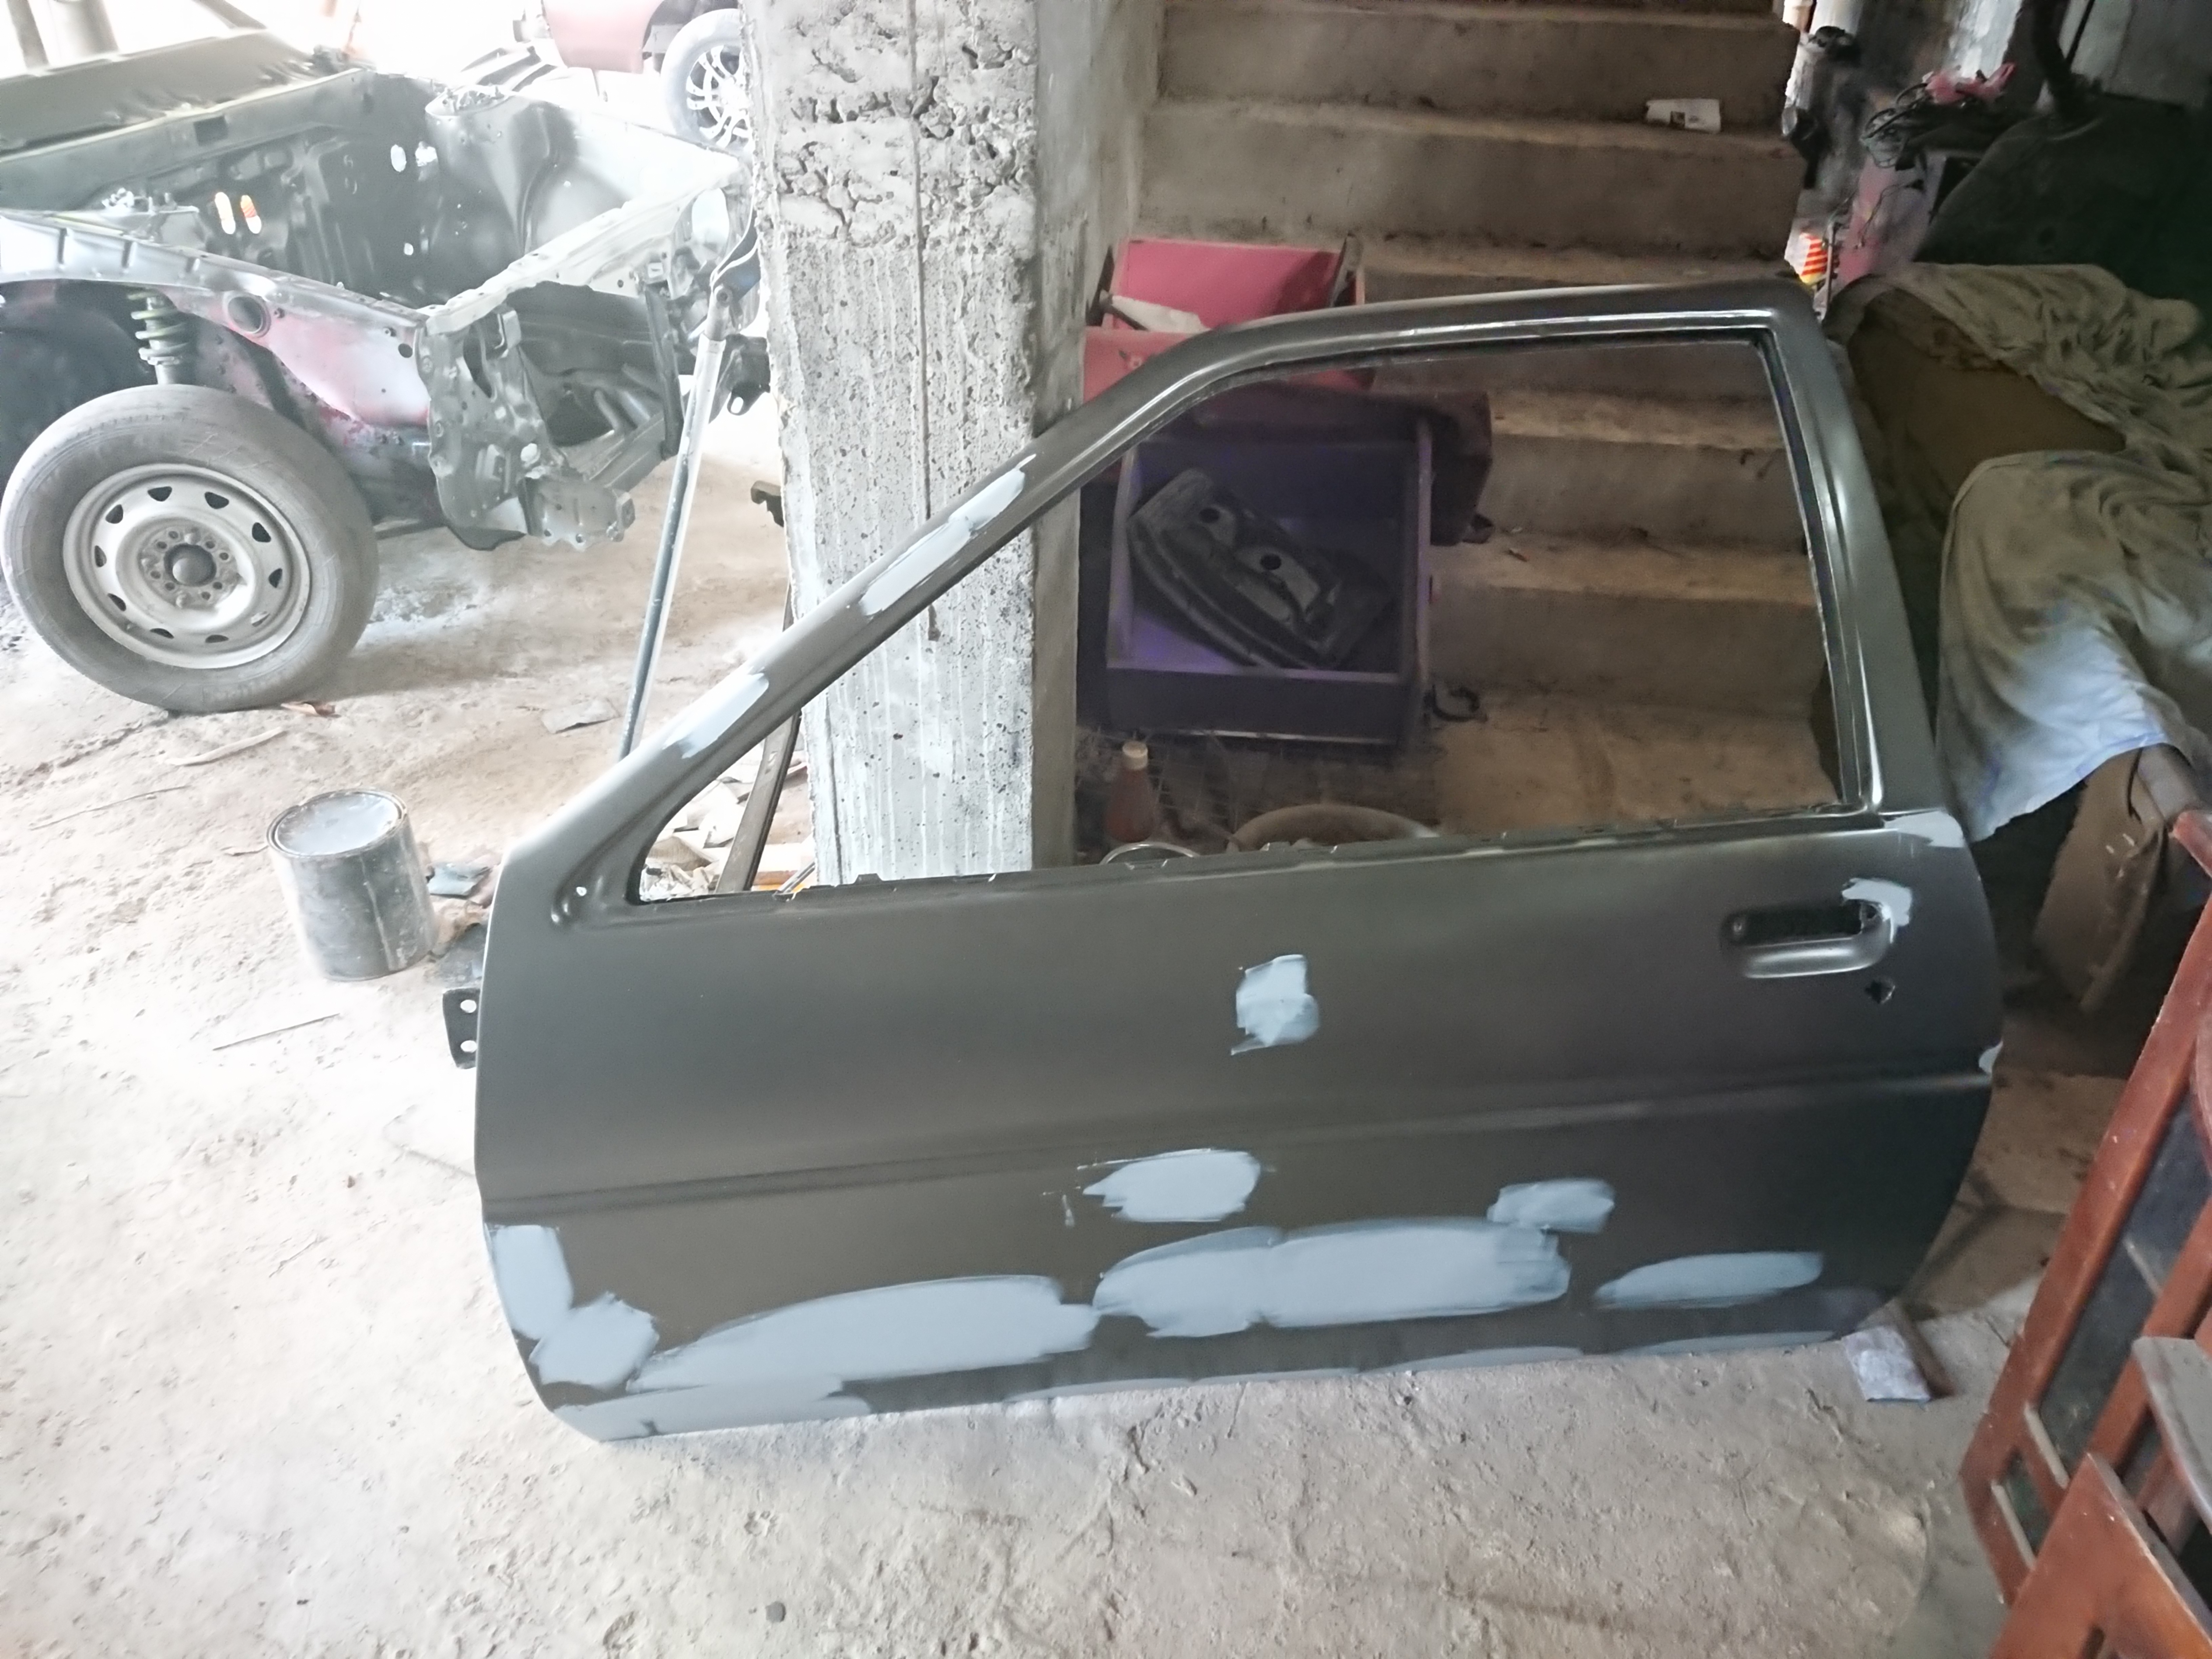
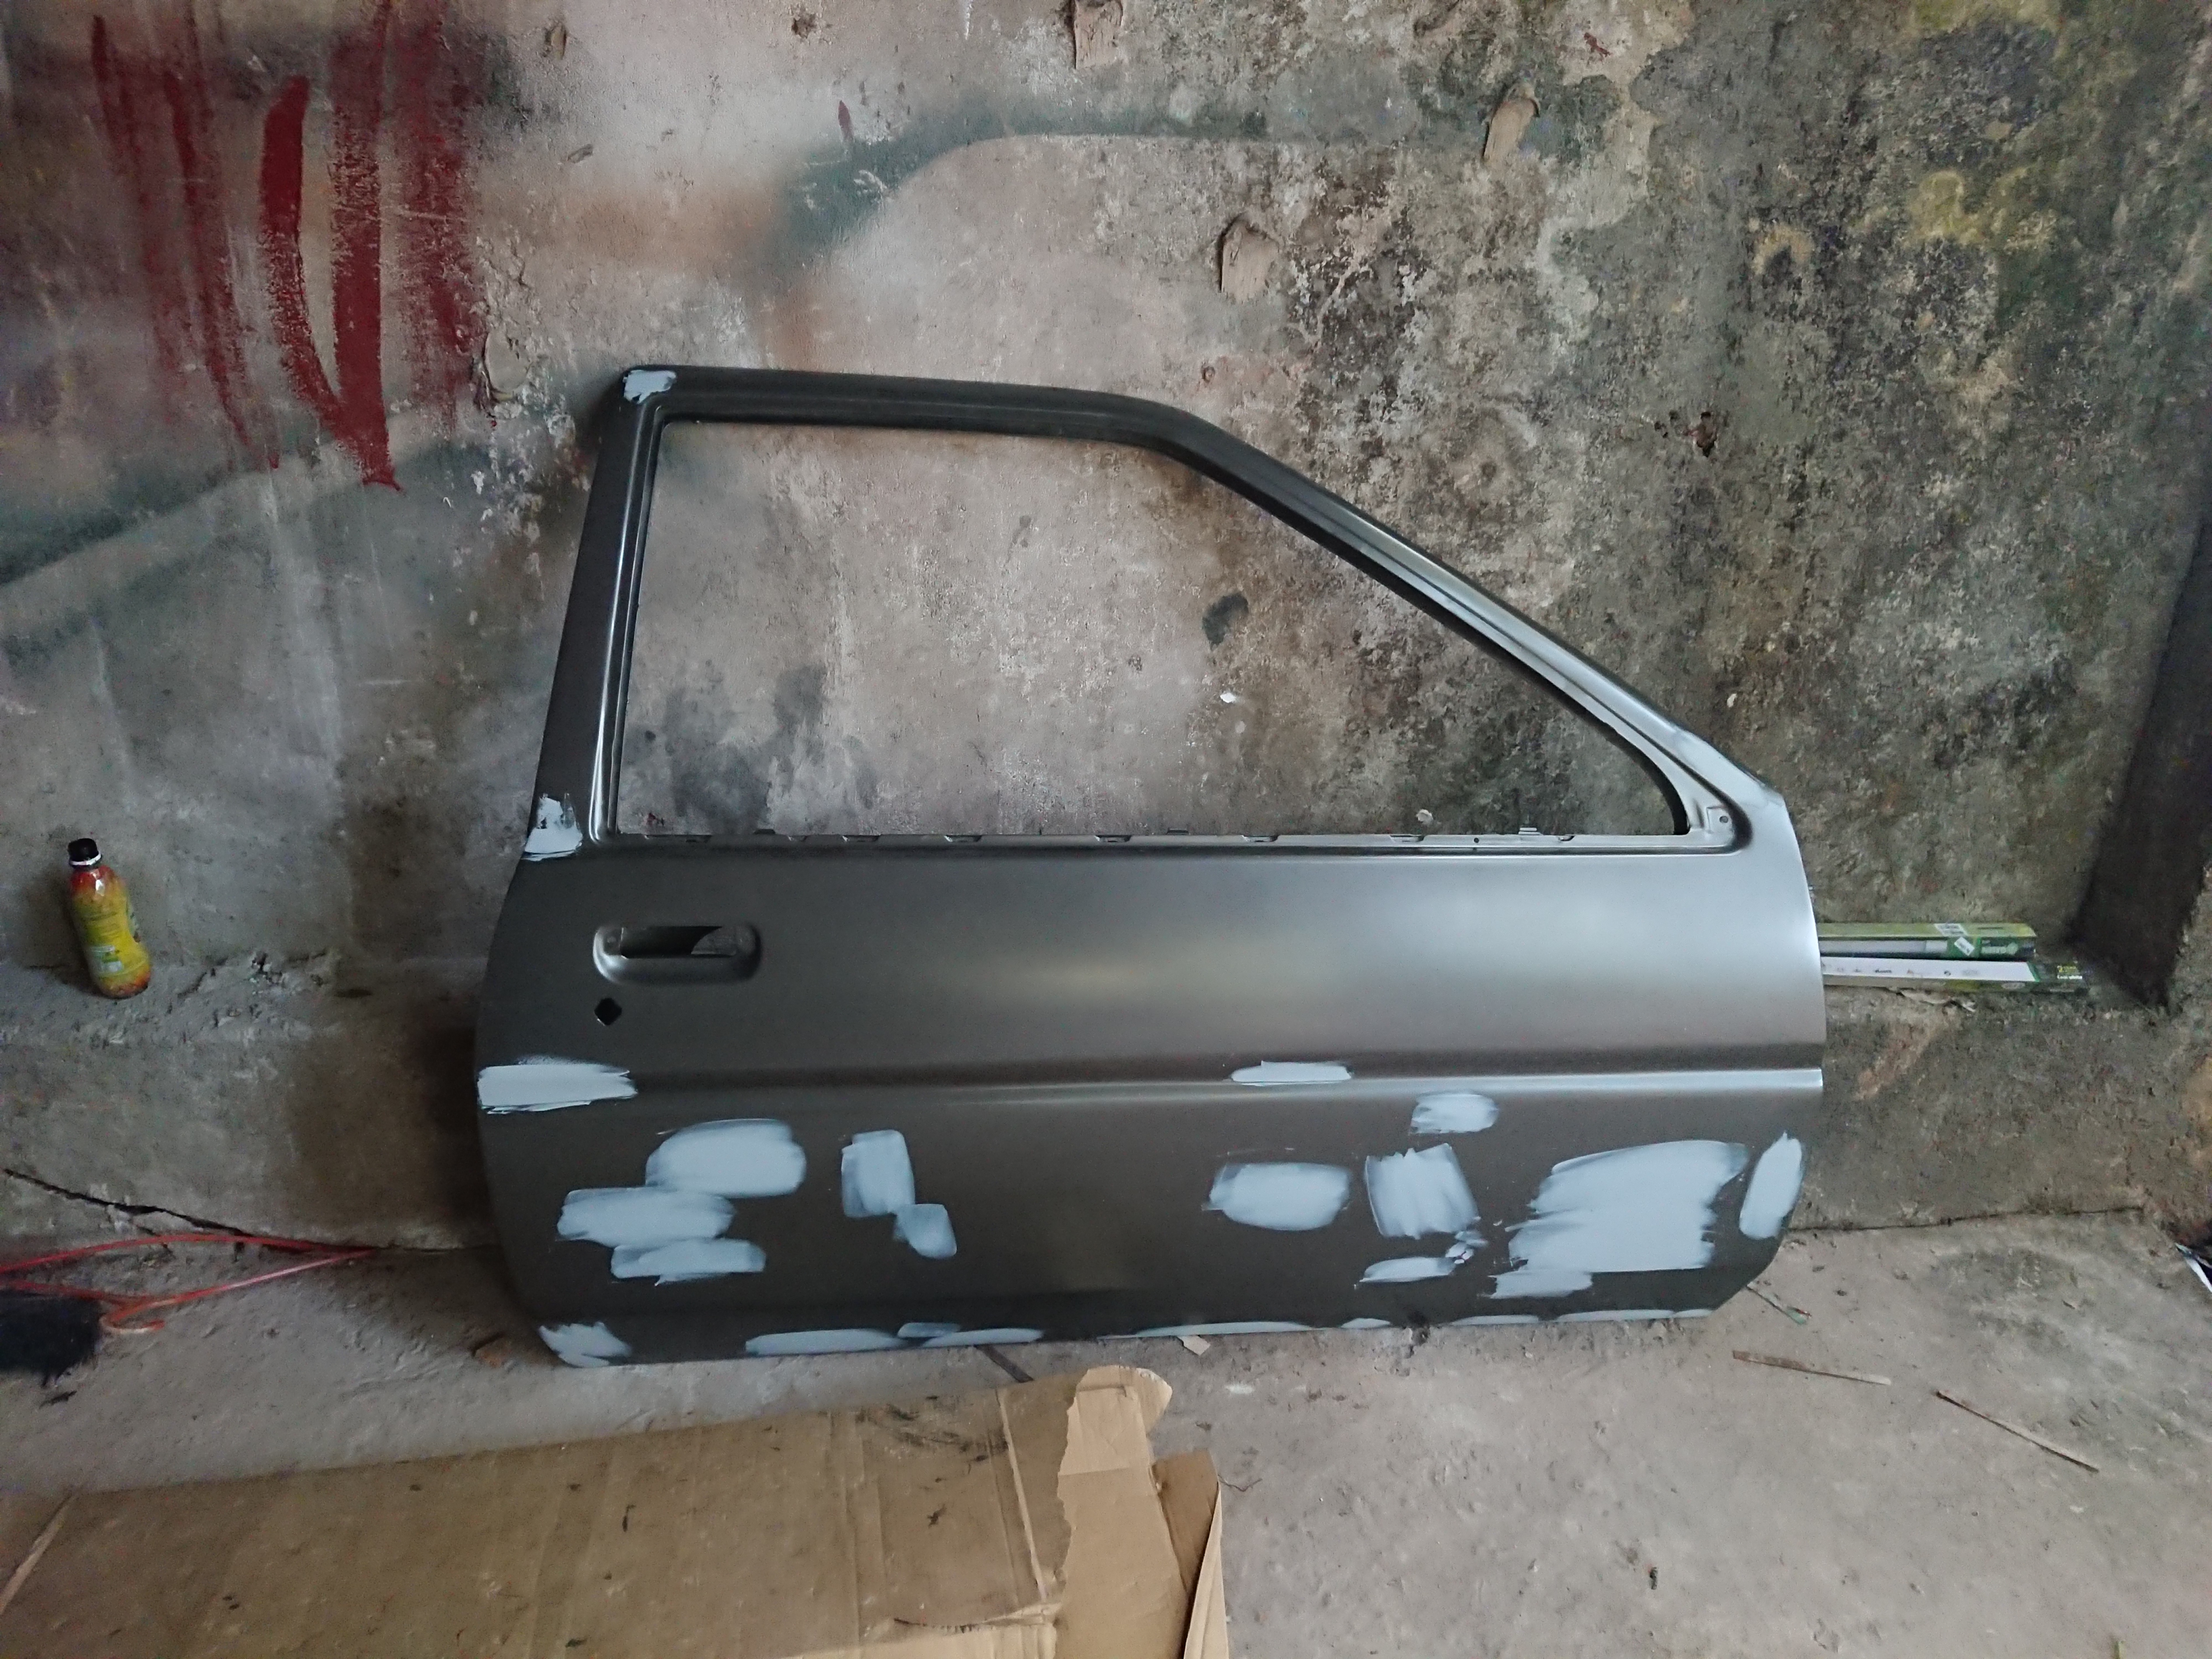
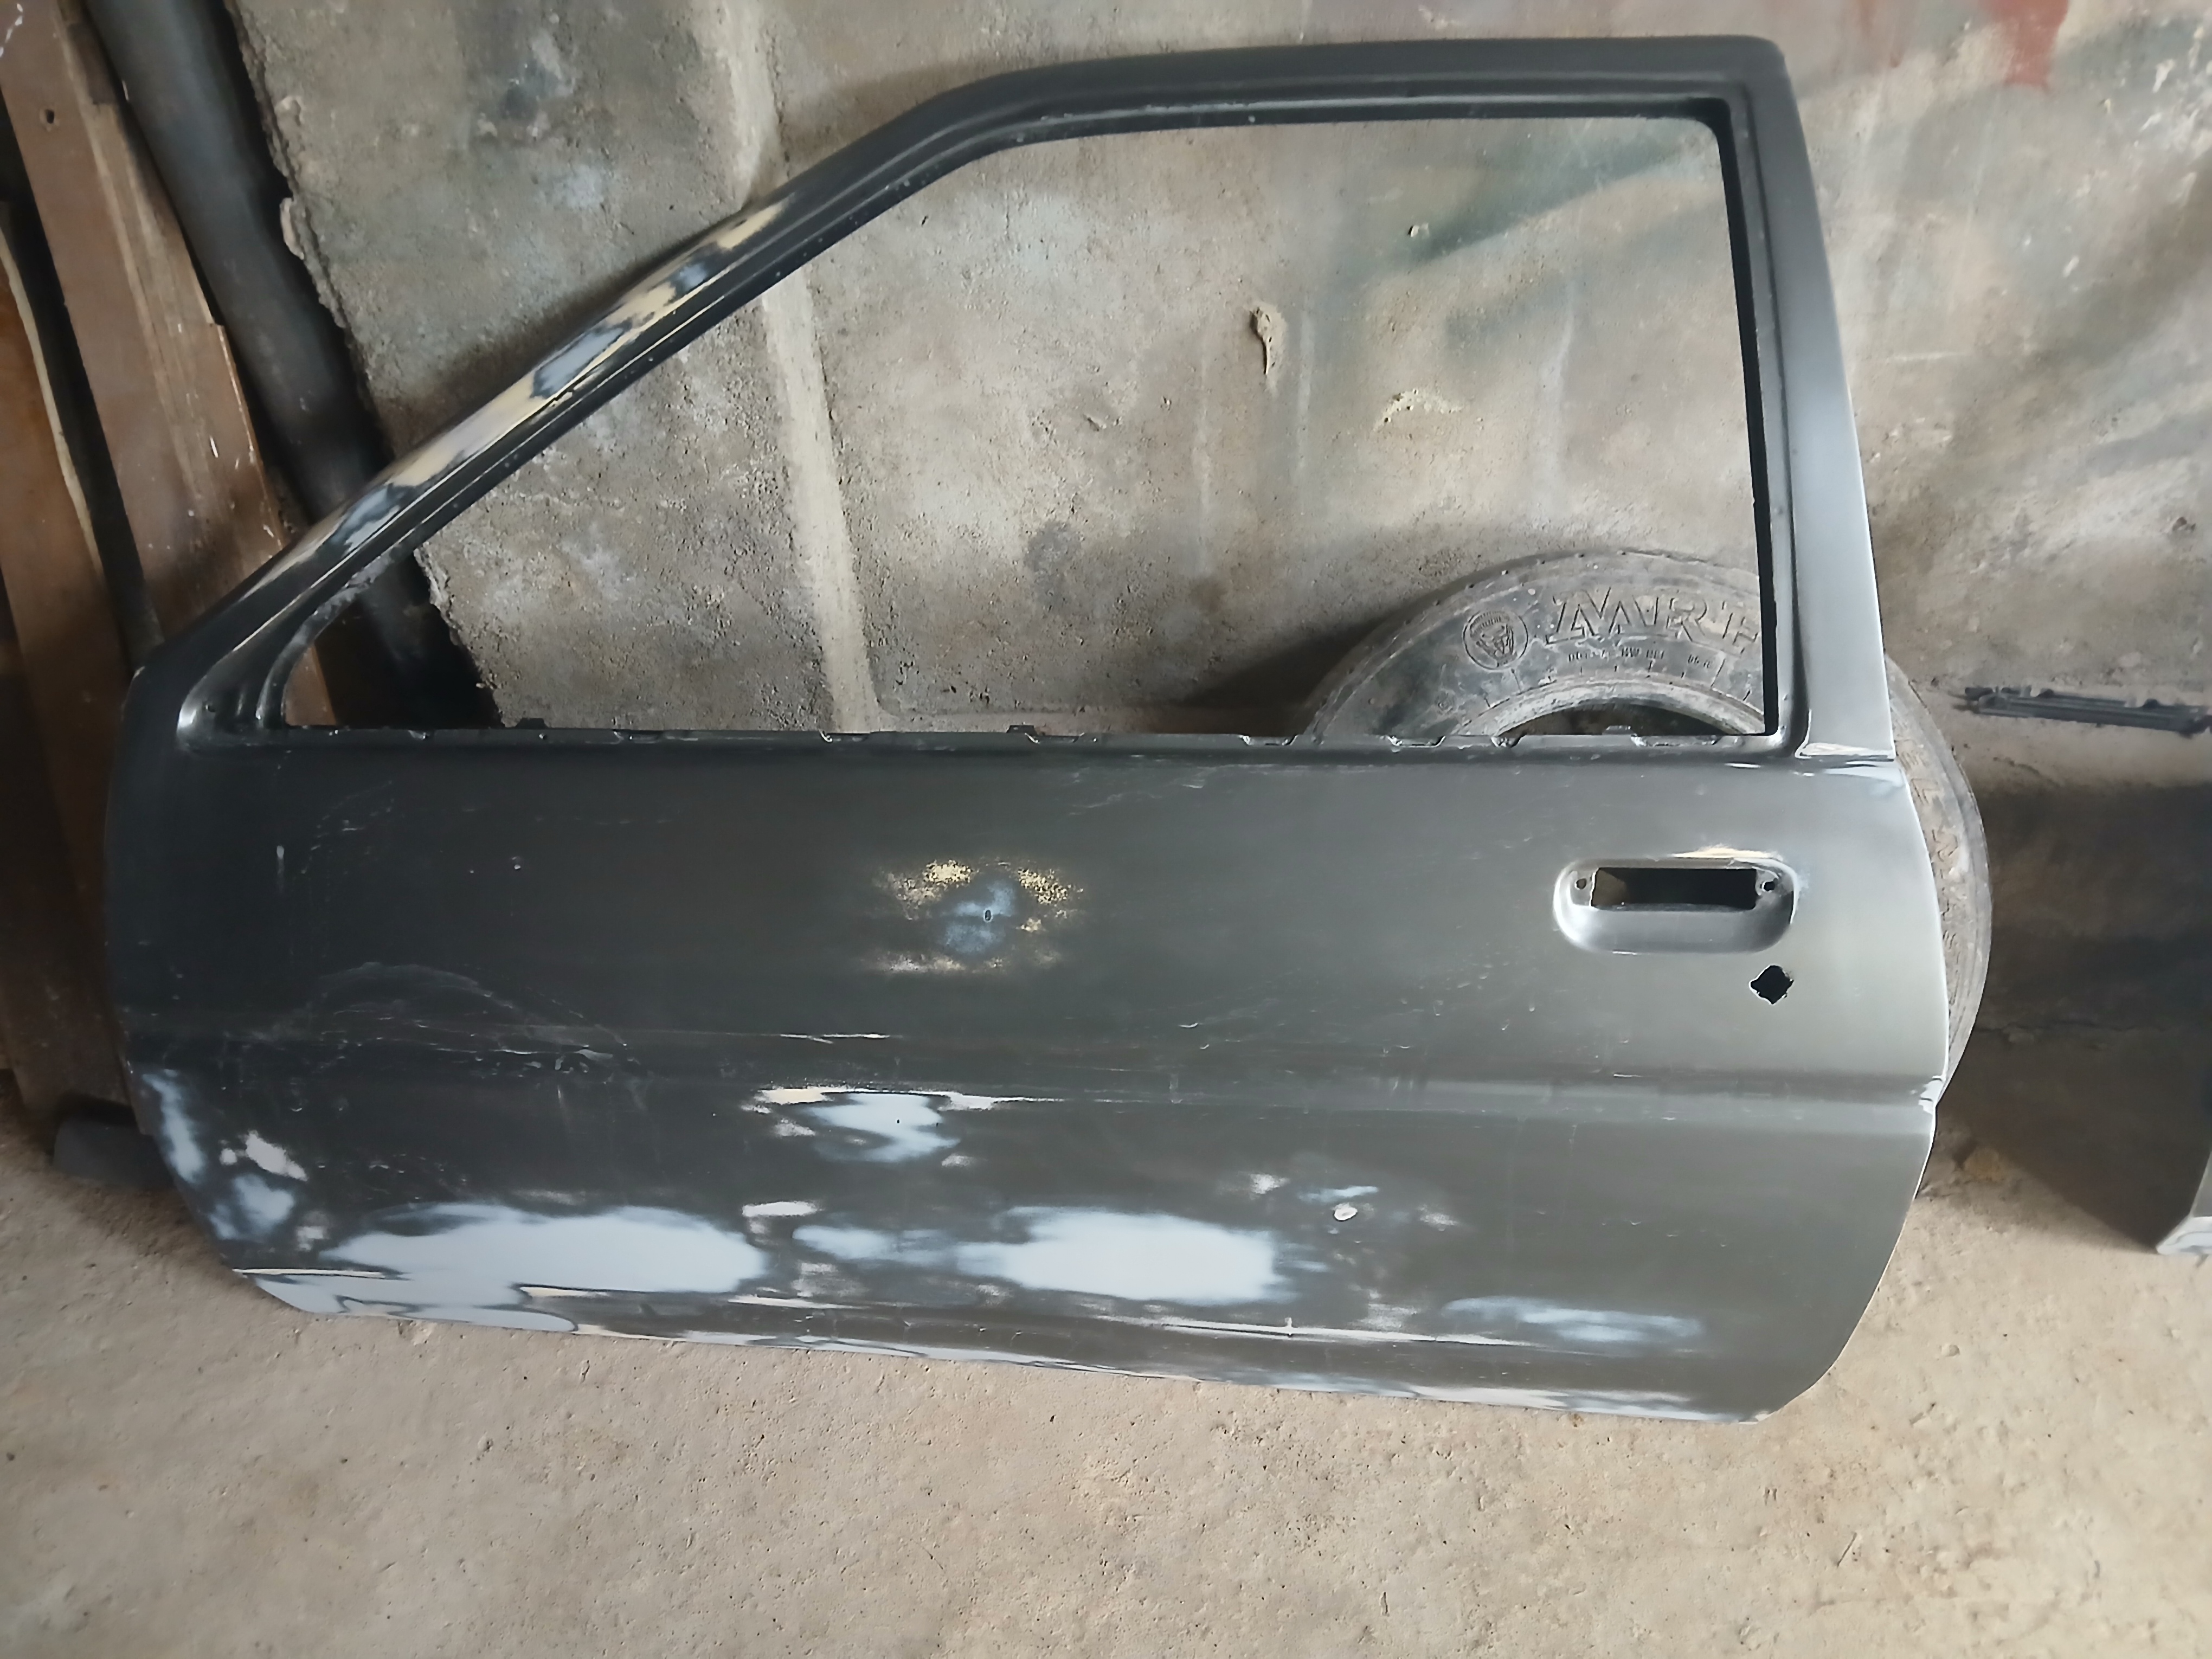
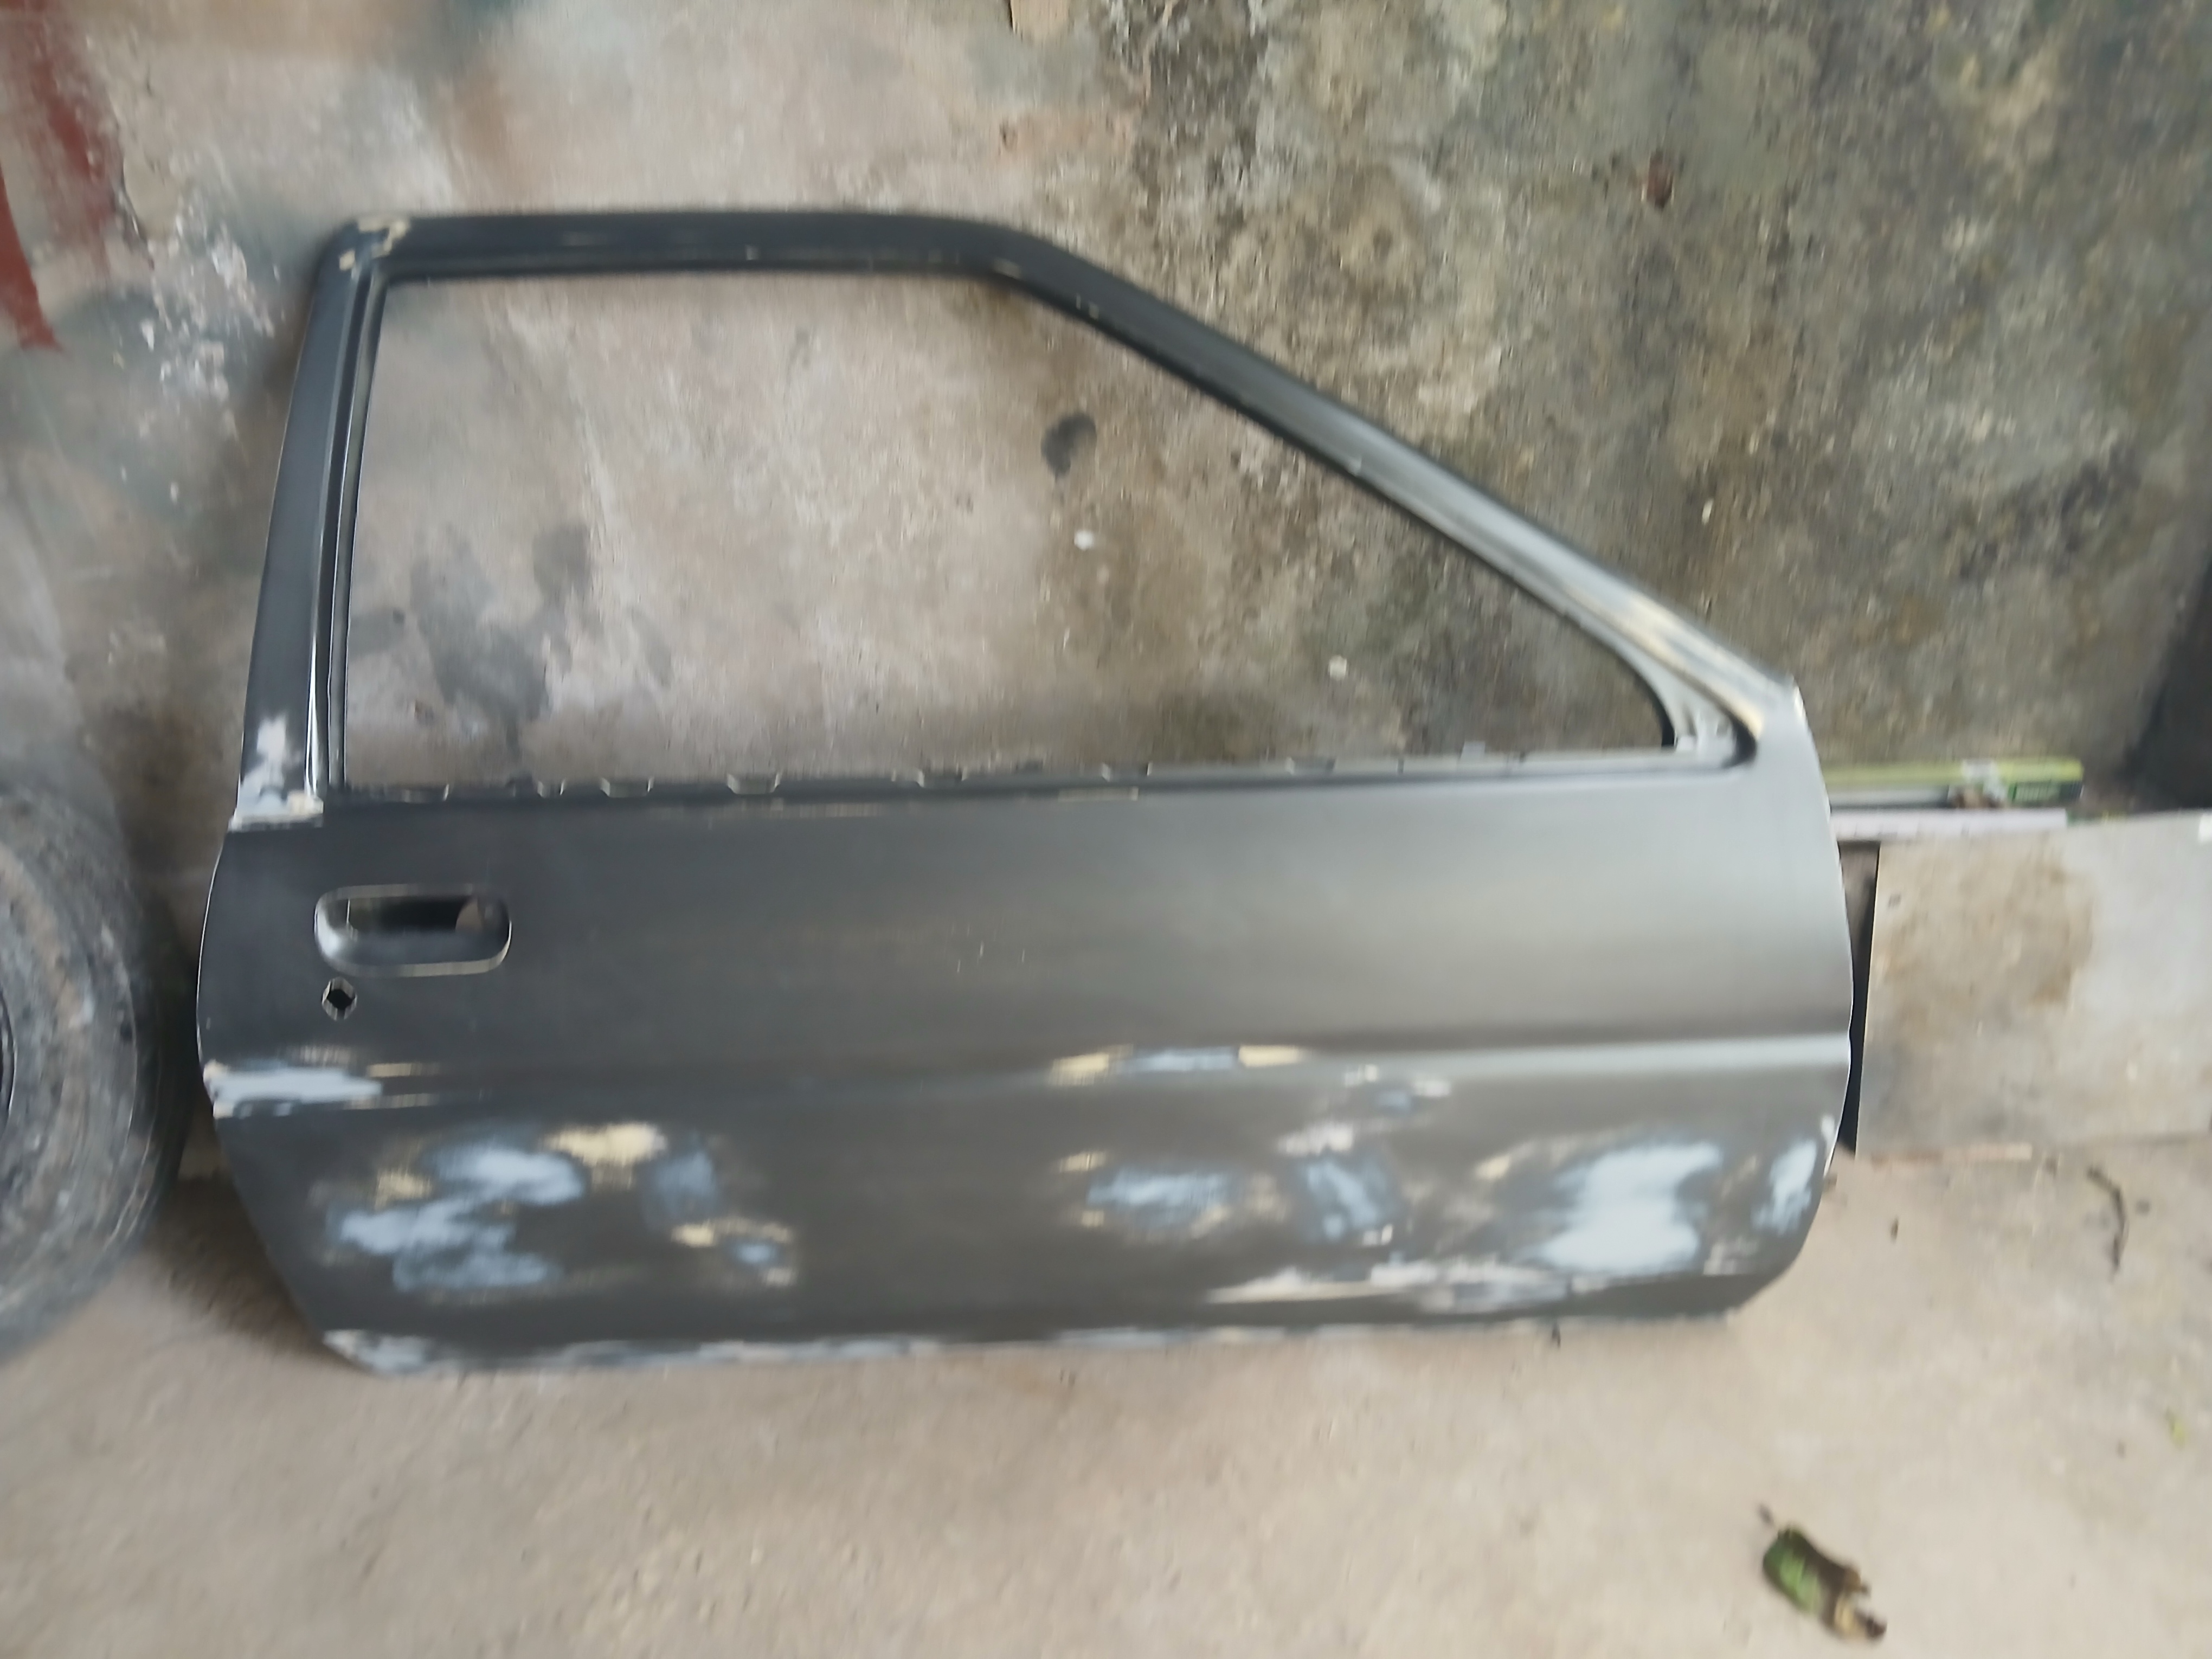
Inner Door Panel: Chopped and Rebuilt
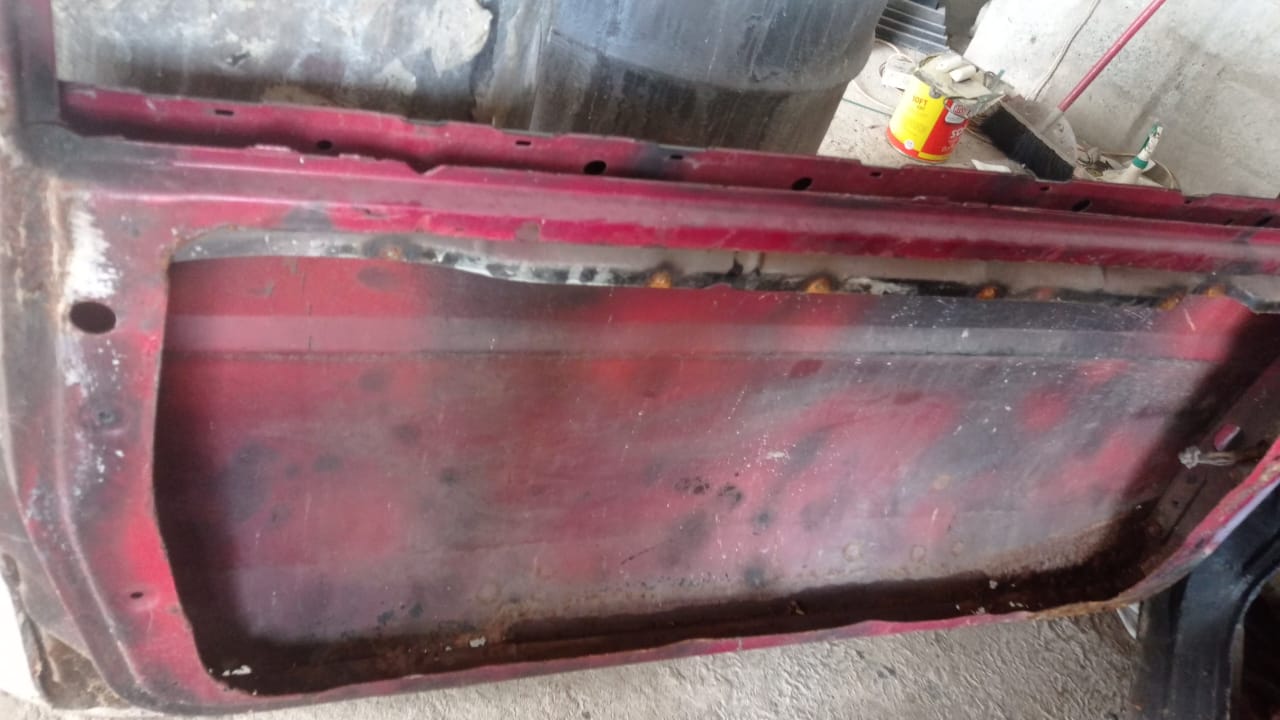
You might notice that the inner door panel on the right side looks a little unusual — that’s because a section of it had been cut out at some point. The exact reason isn’t clear. It might’ve been for weight reduction or possibly to make room for a custom setup.
That said, the cut section was actually quite important, as it’s where the door cards attach and where components like the glass locks and window mechanisms are mounted.
The outer door shell was still in good shape, and since AE86 doors are quite pricey, replacing the entire door wasn’t our first option. Instead, we decided to fabricate the missing section — and we’re happy to say it worked out nicely.
Here’s how the panel looked before the fix:
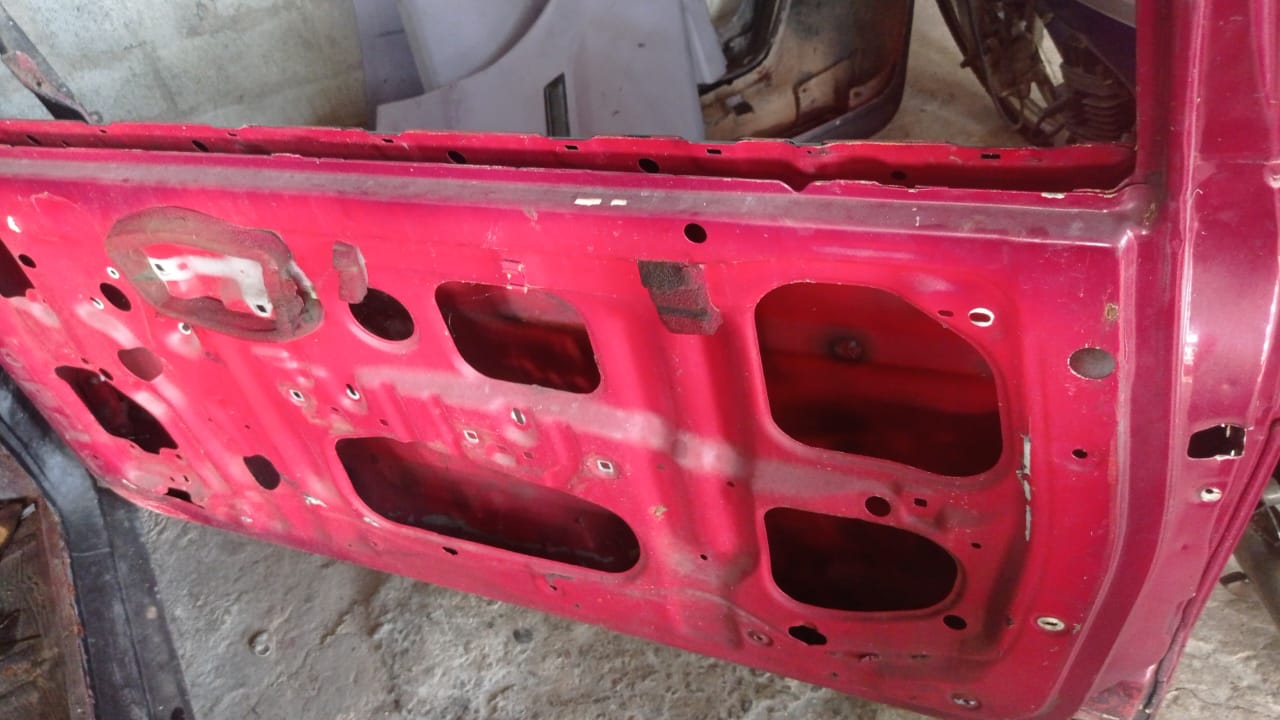
And here’s how it turned out after fabrication:
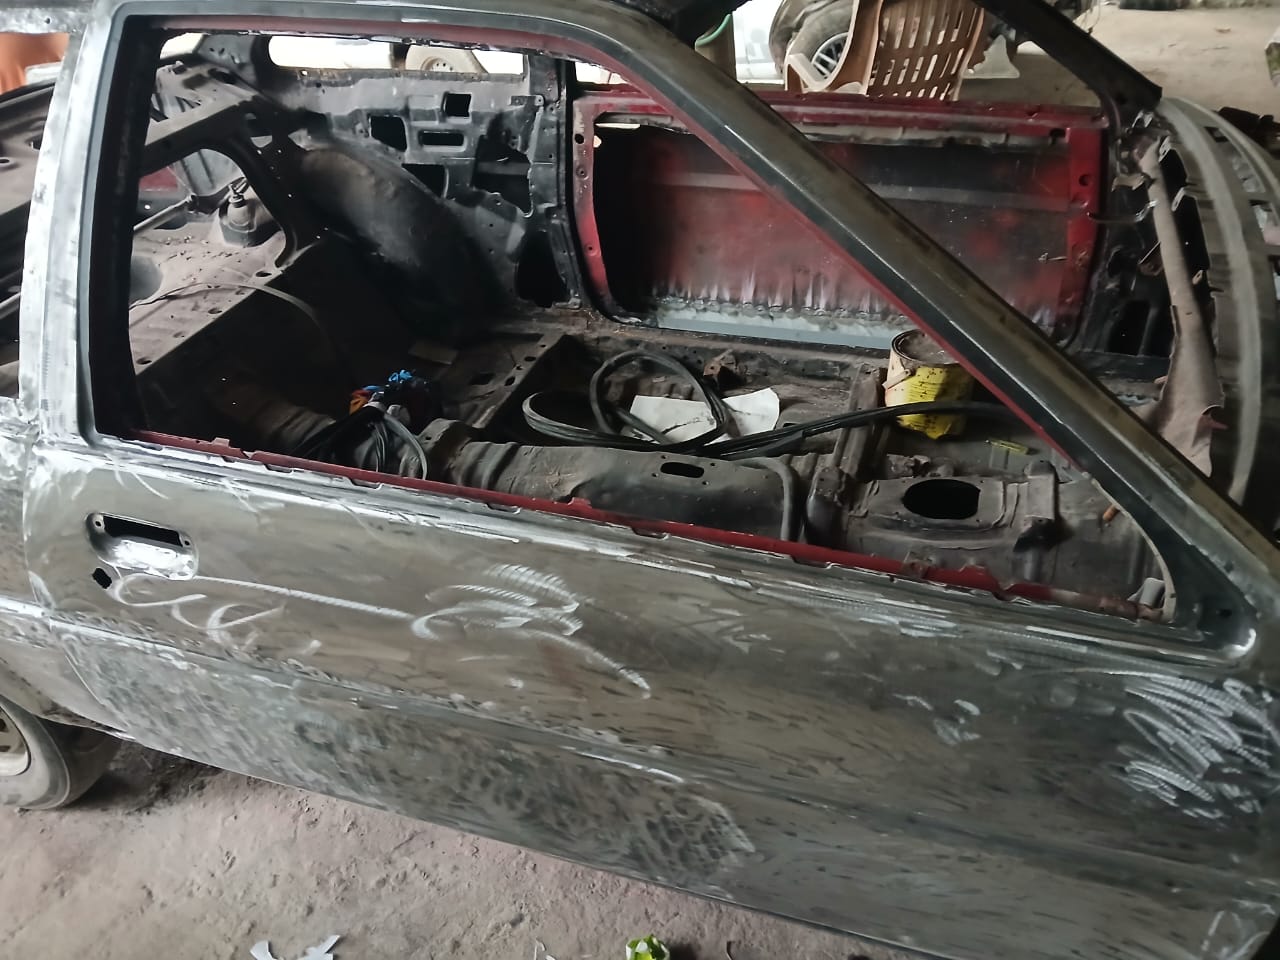
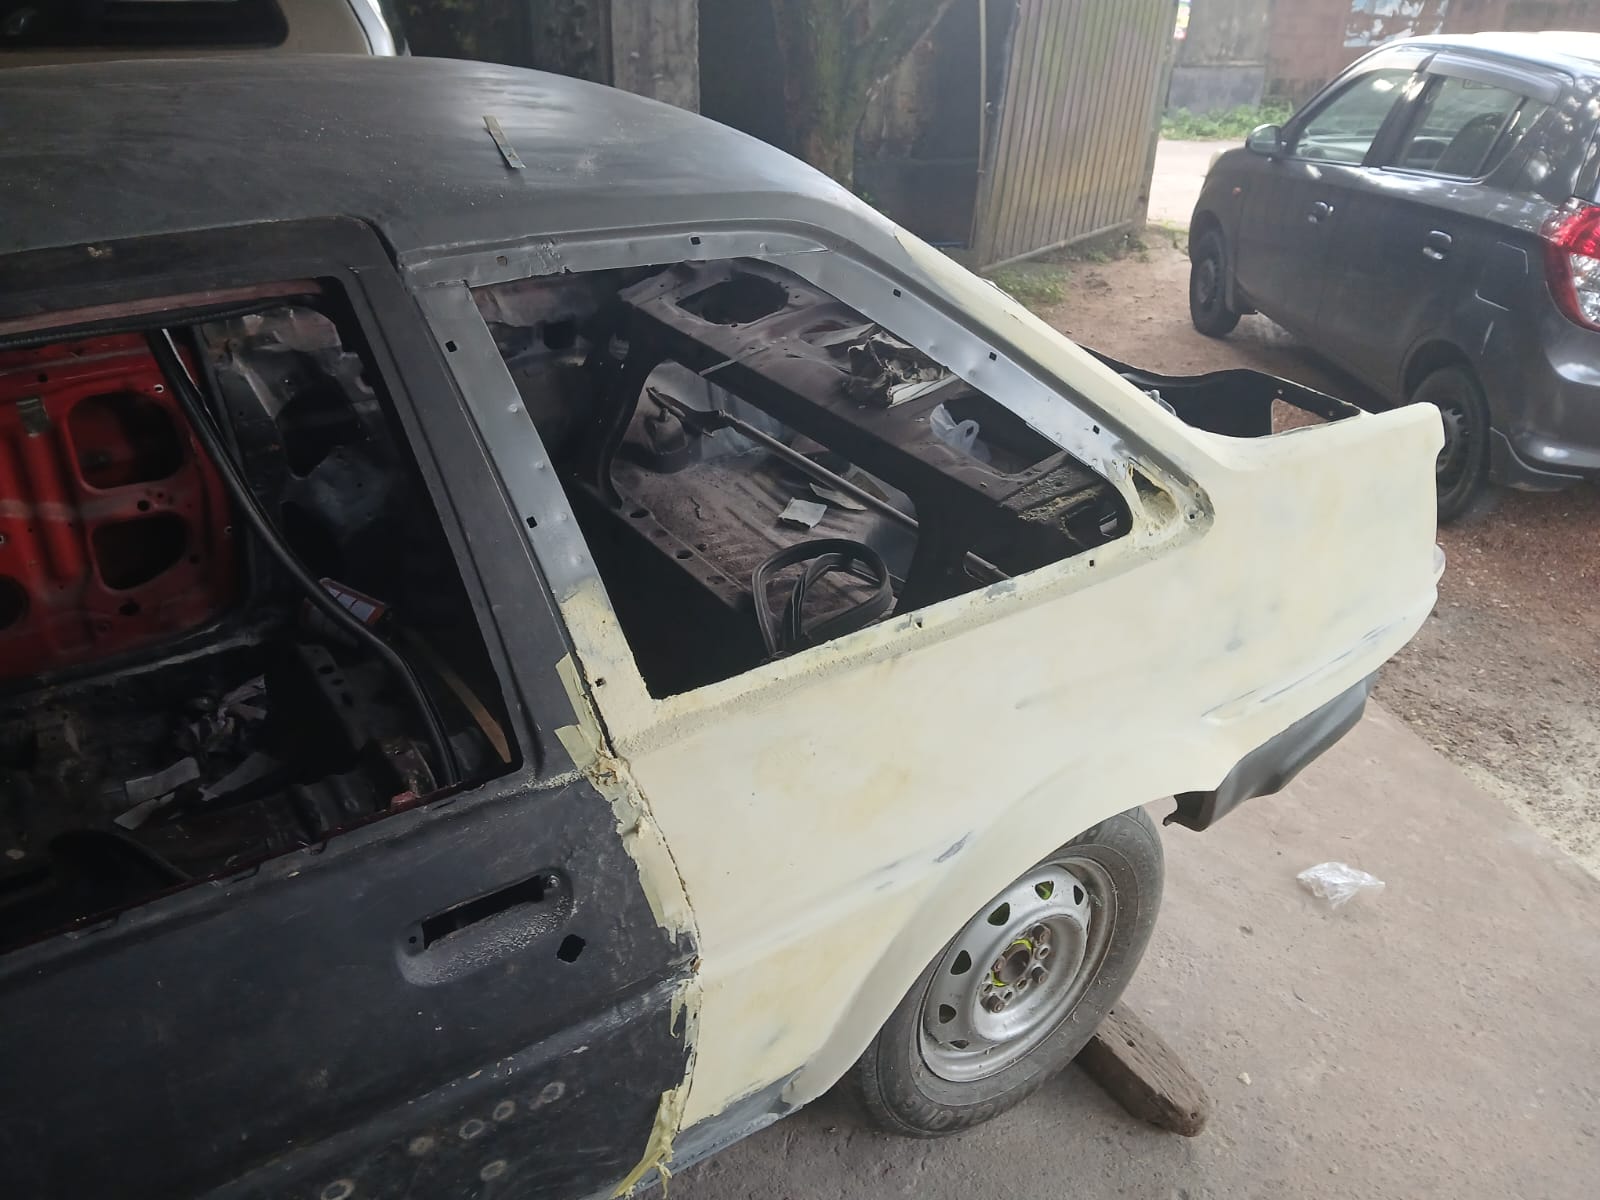
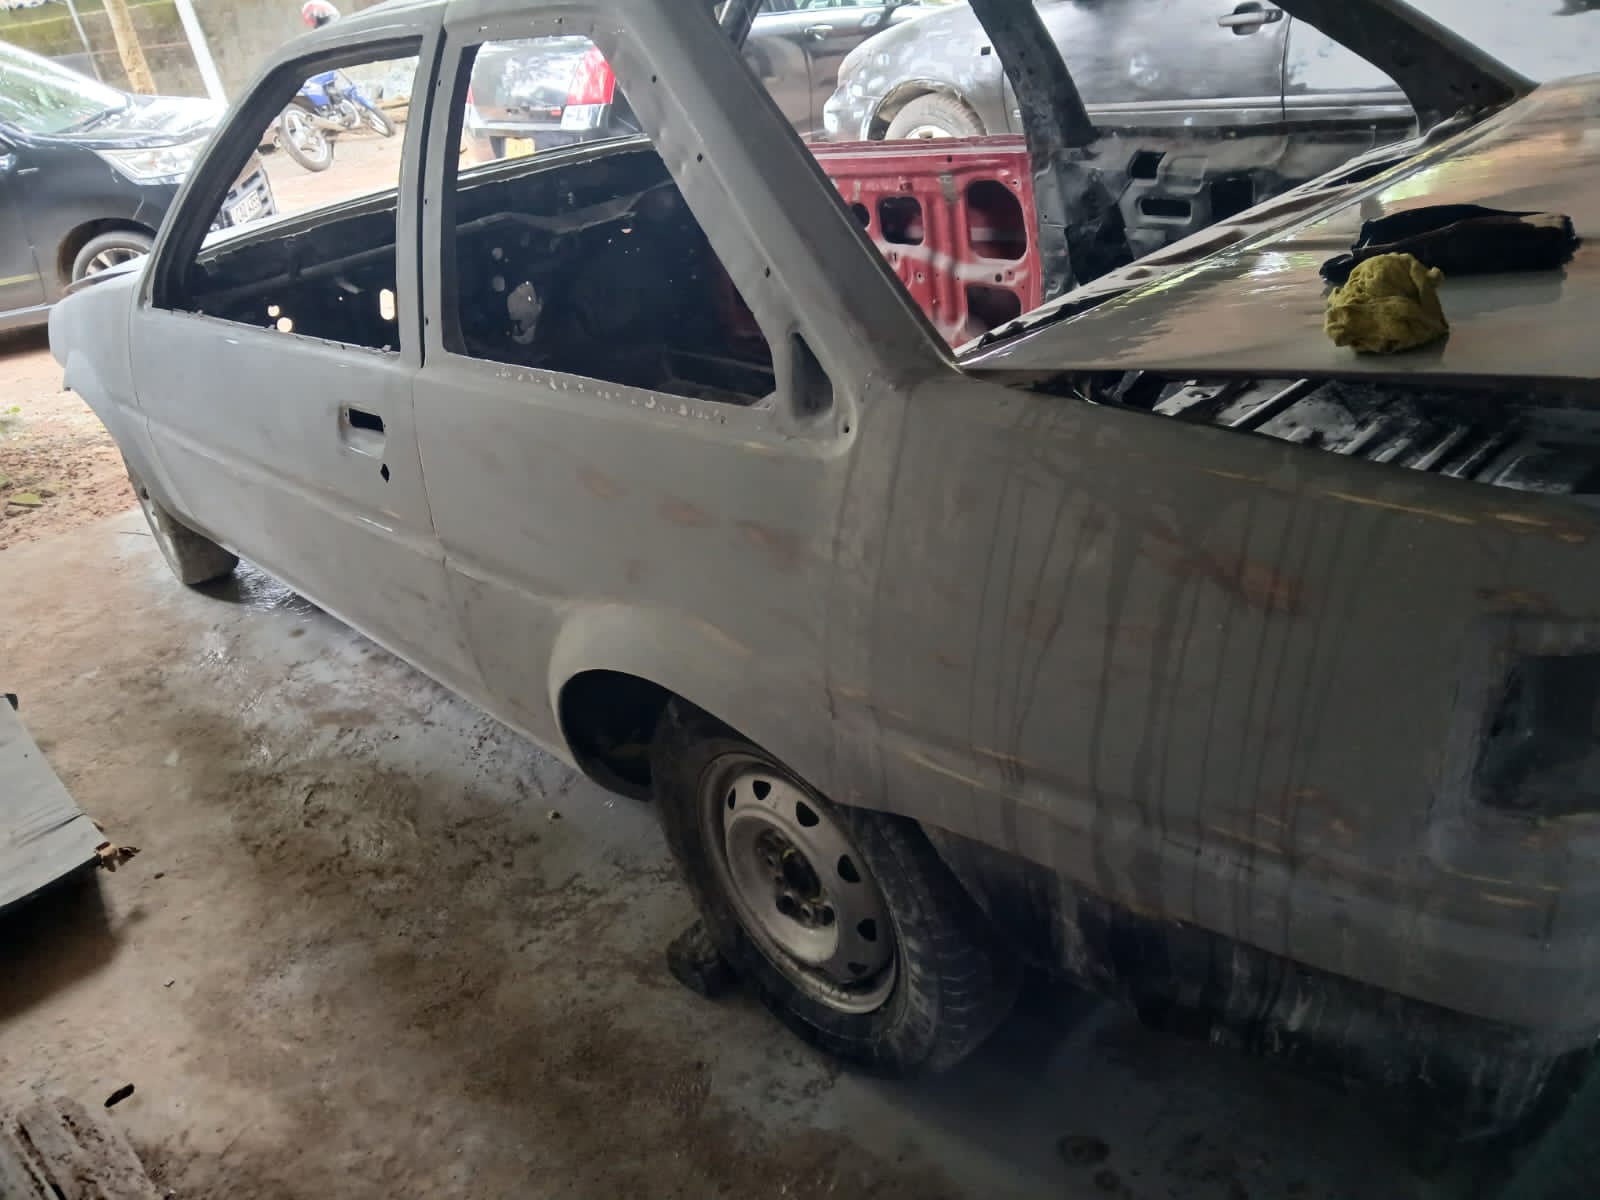
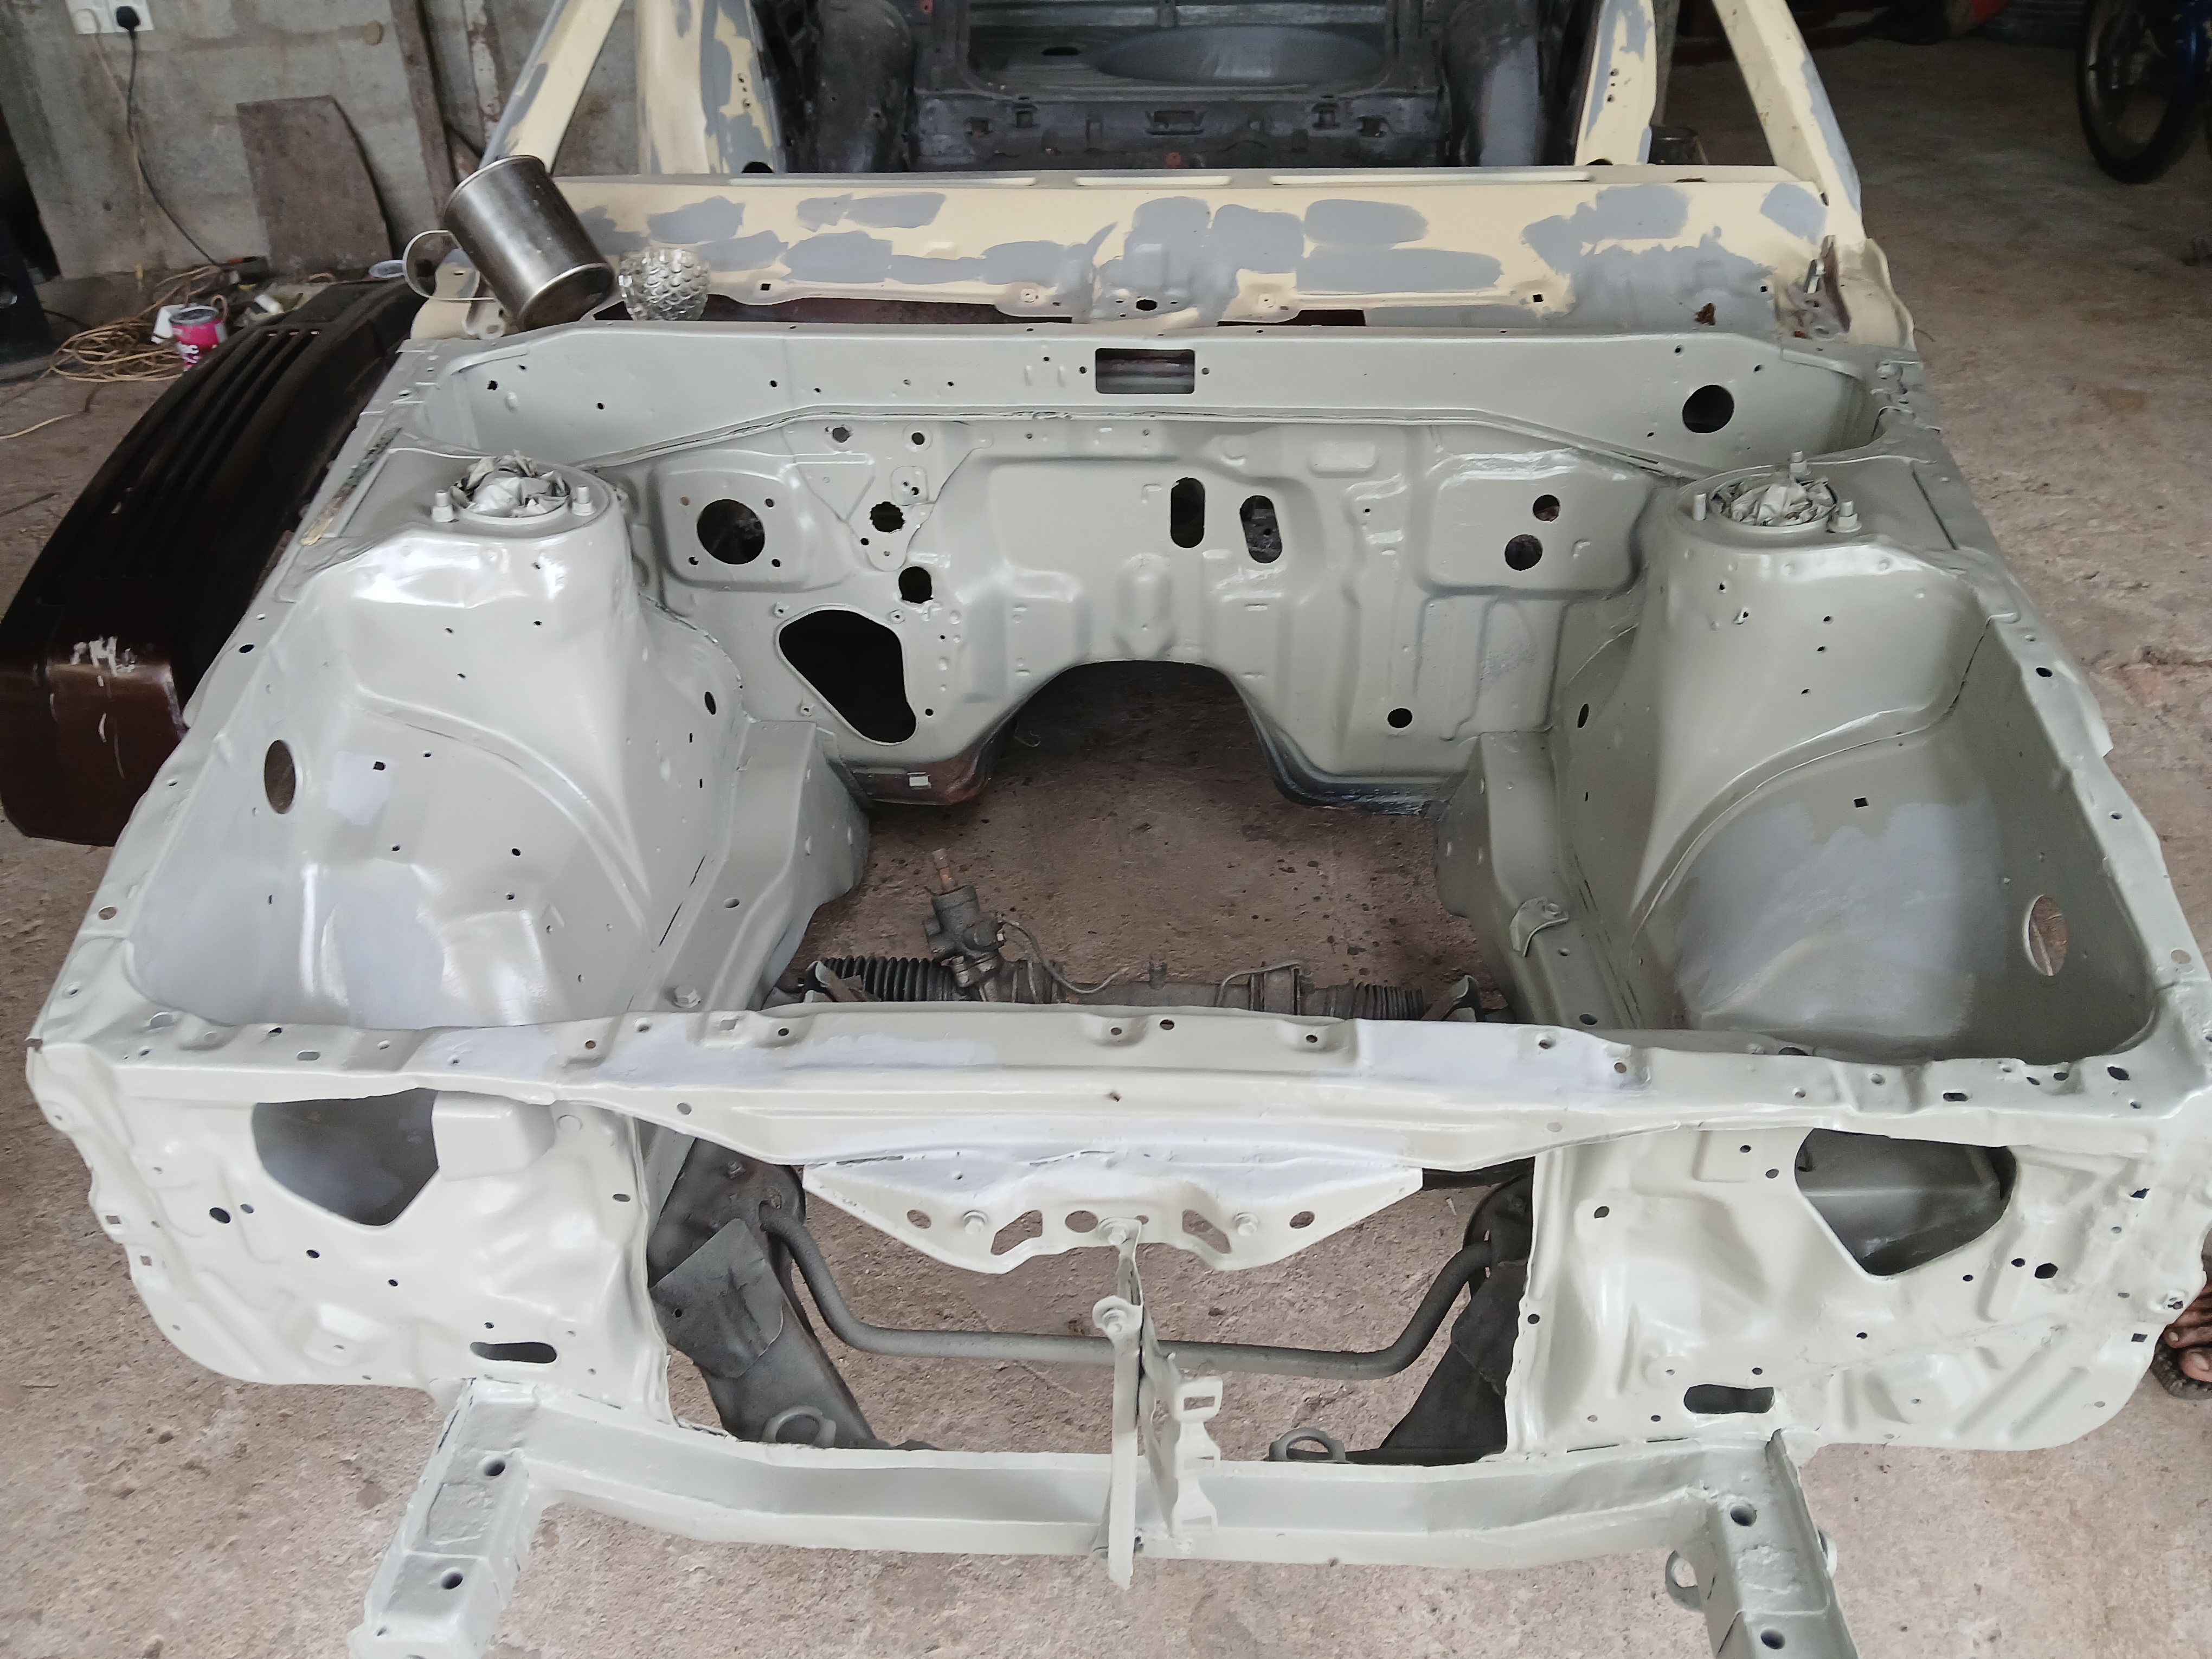
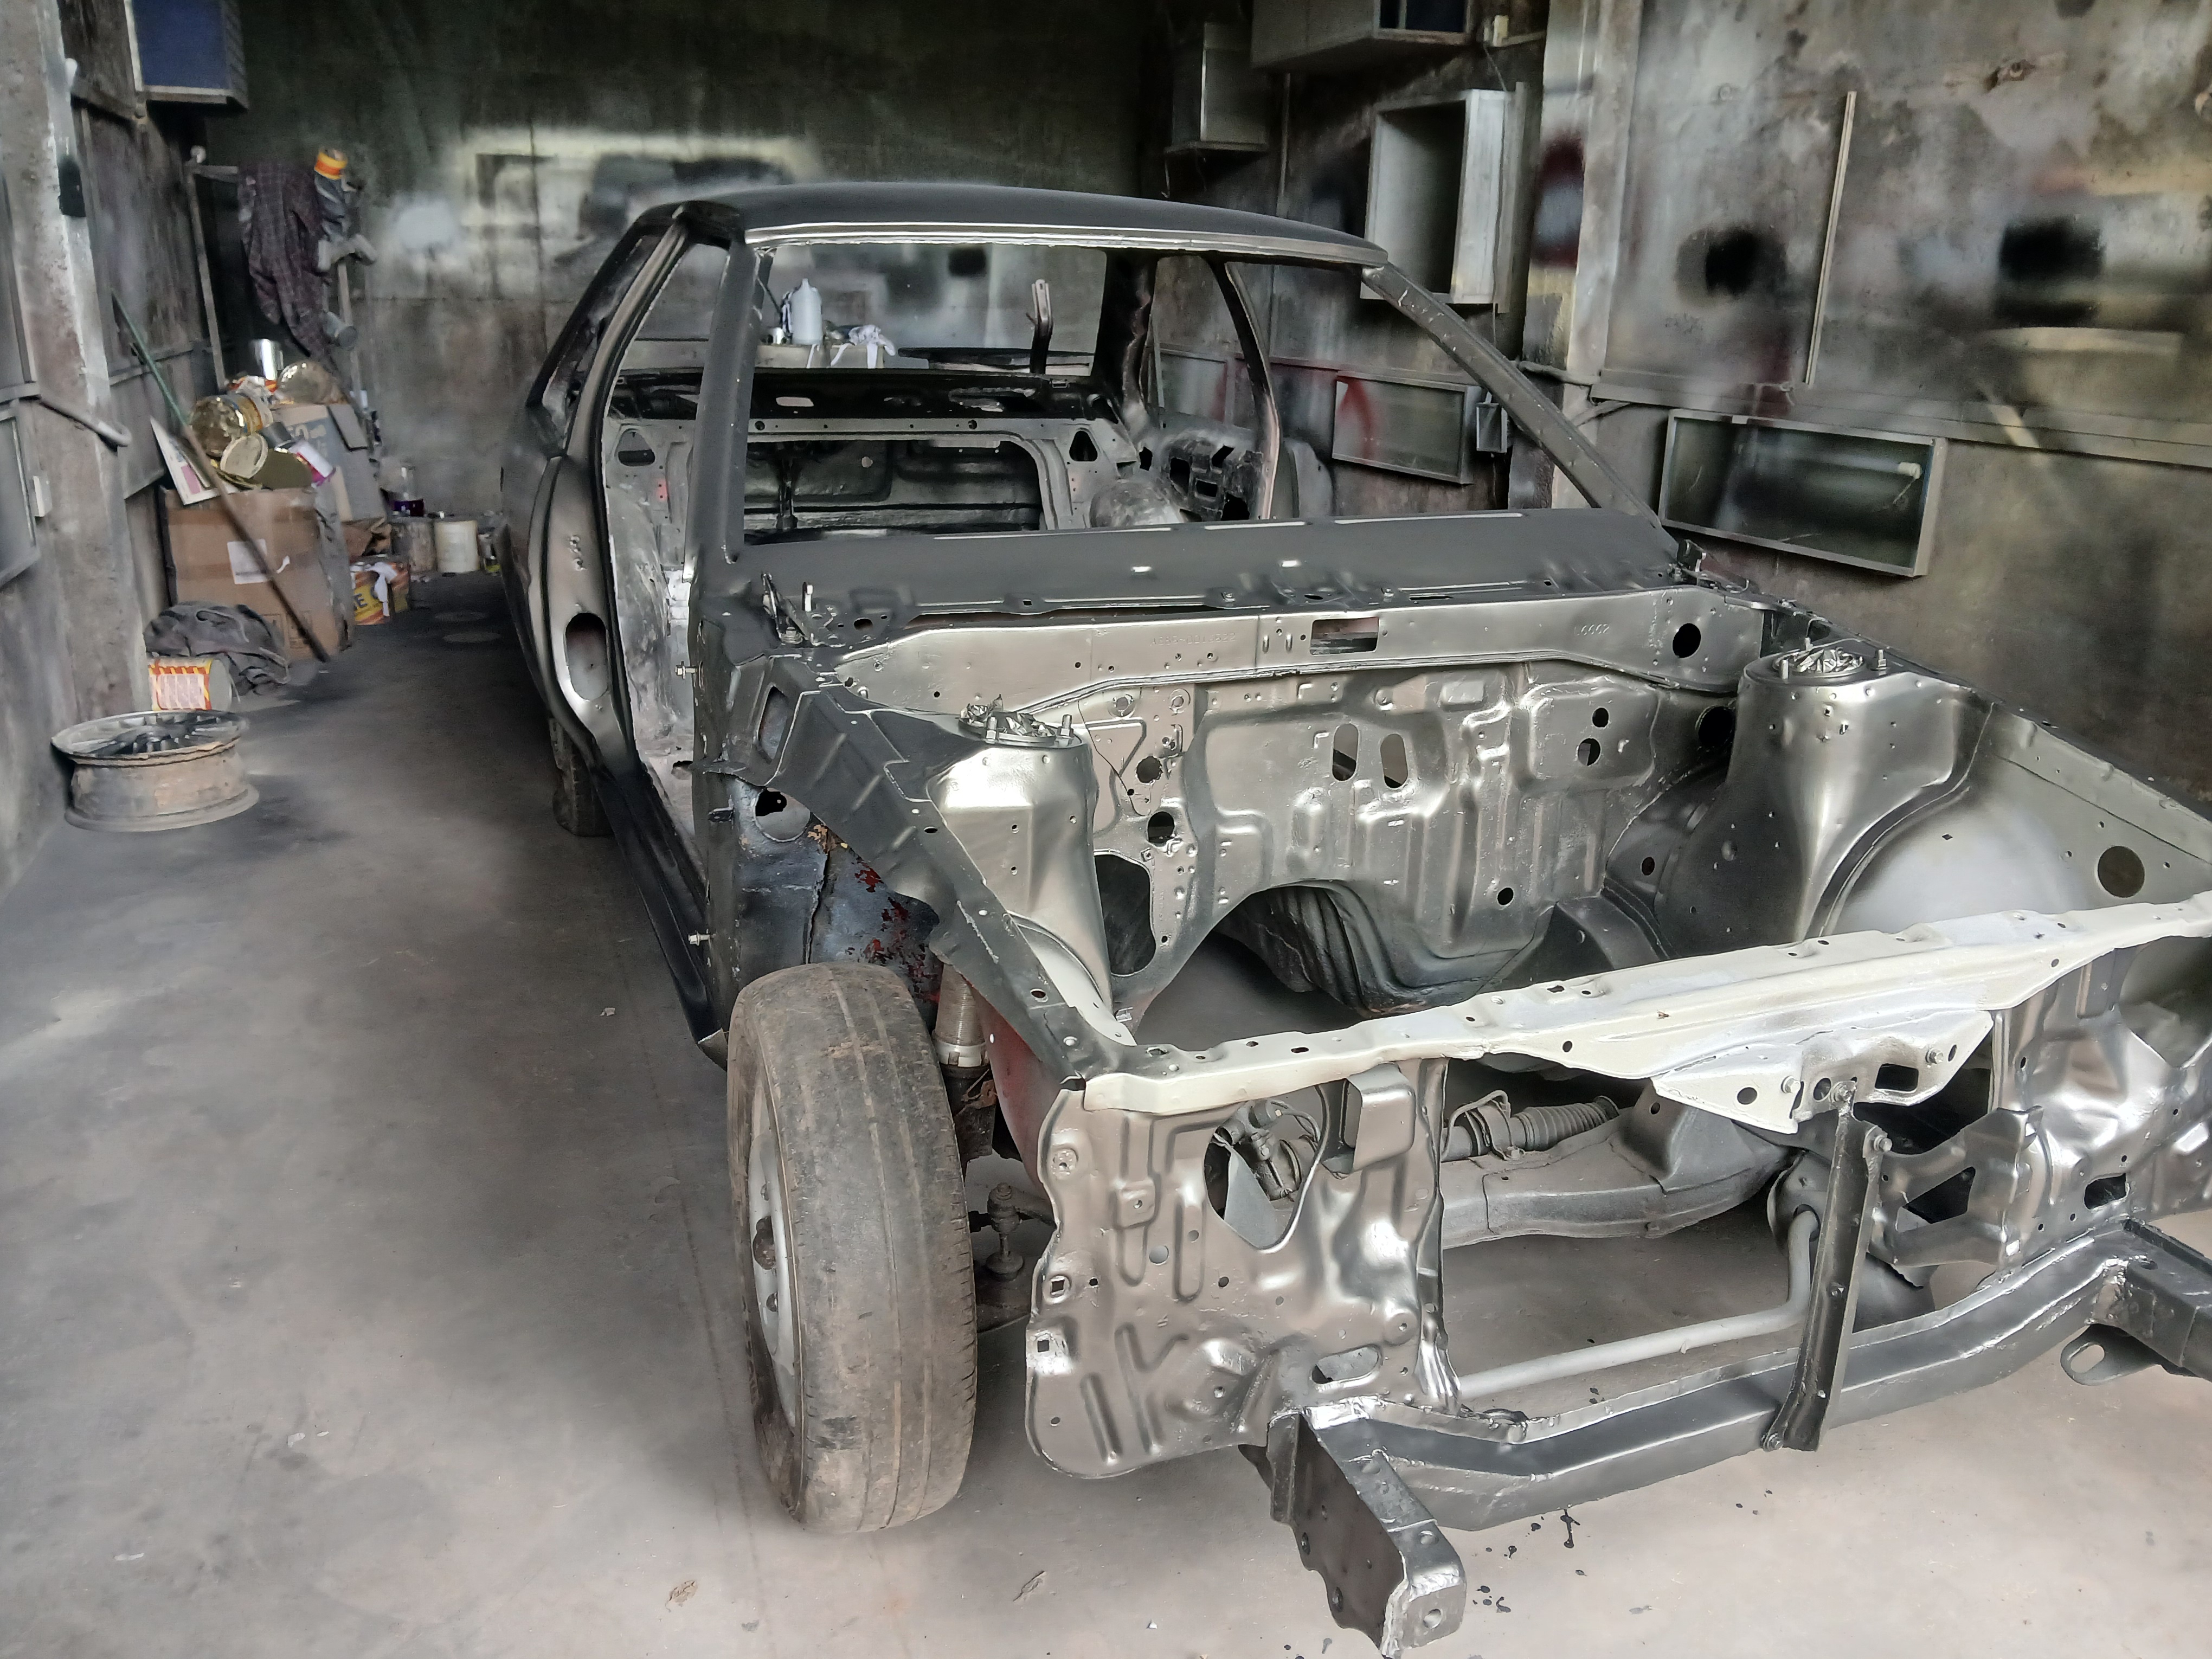
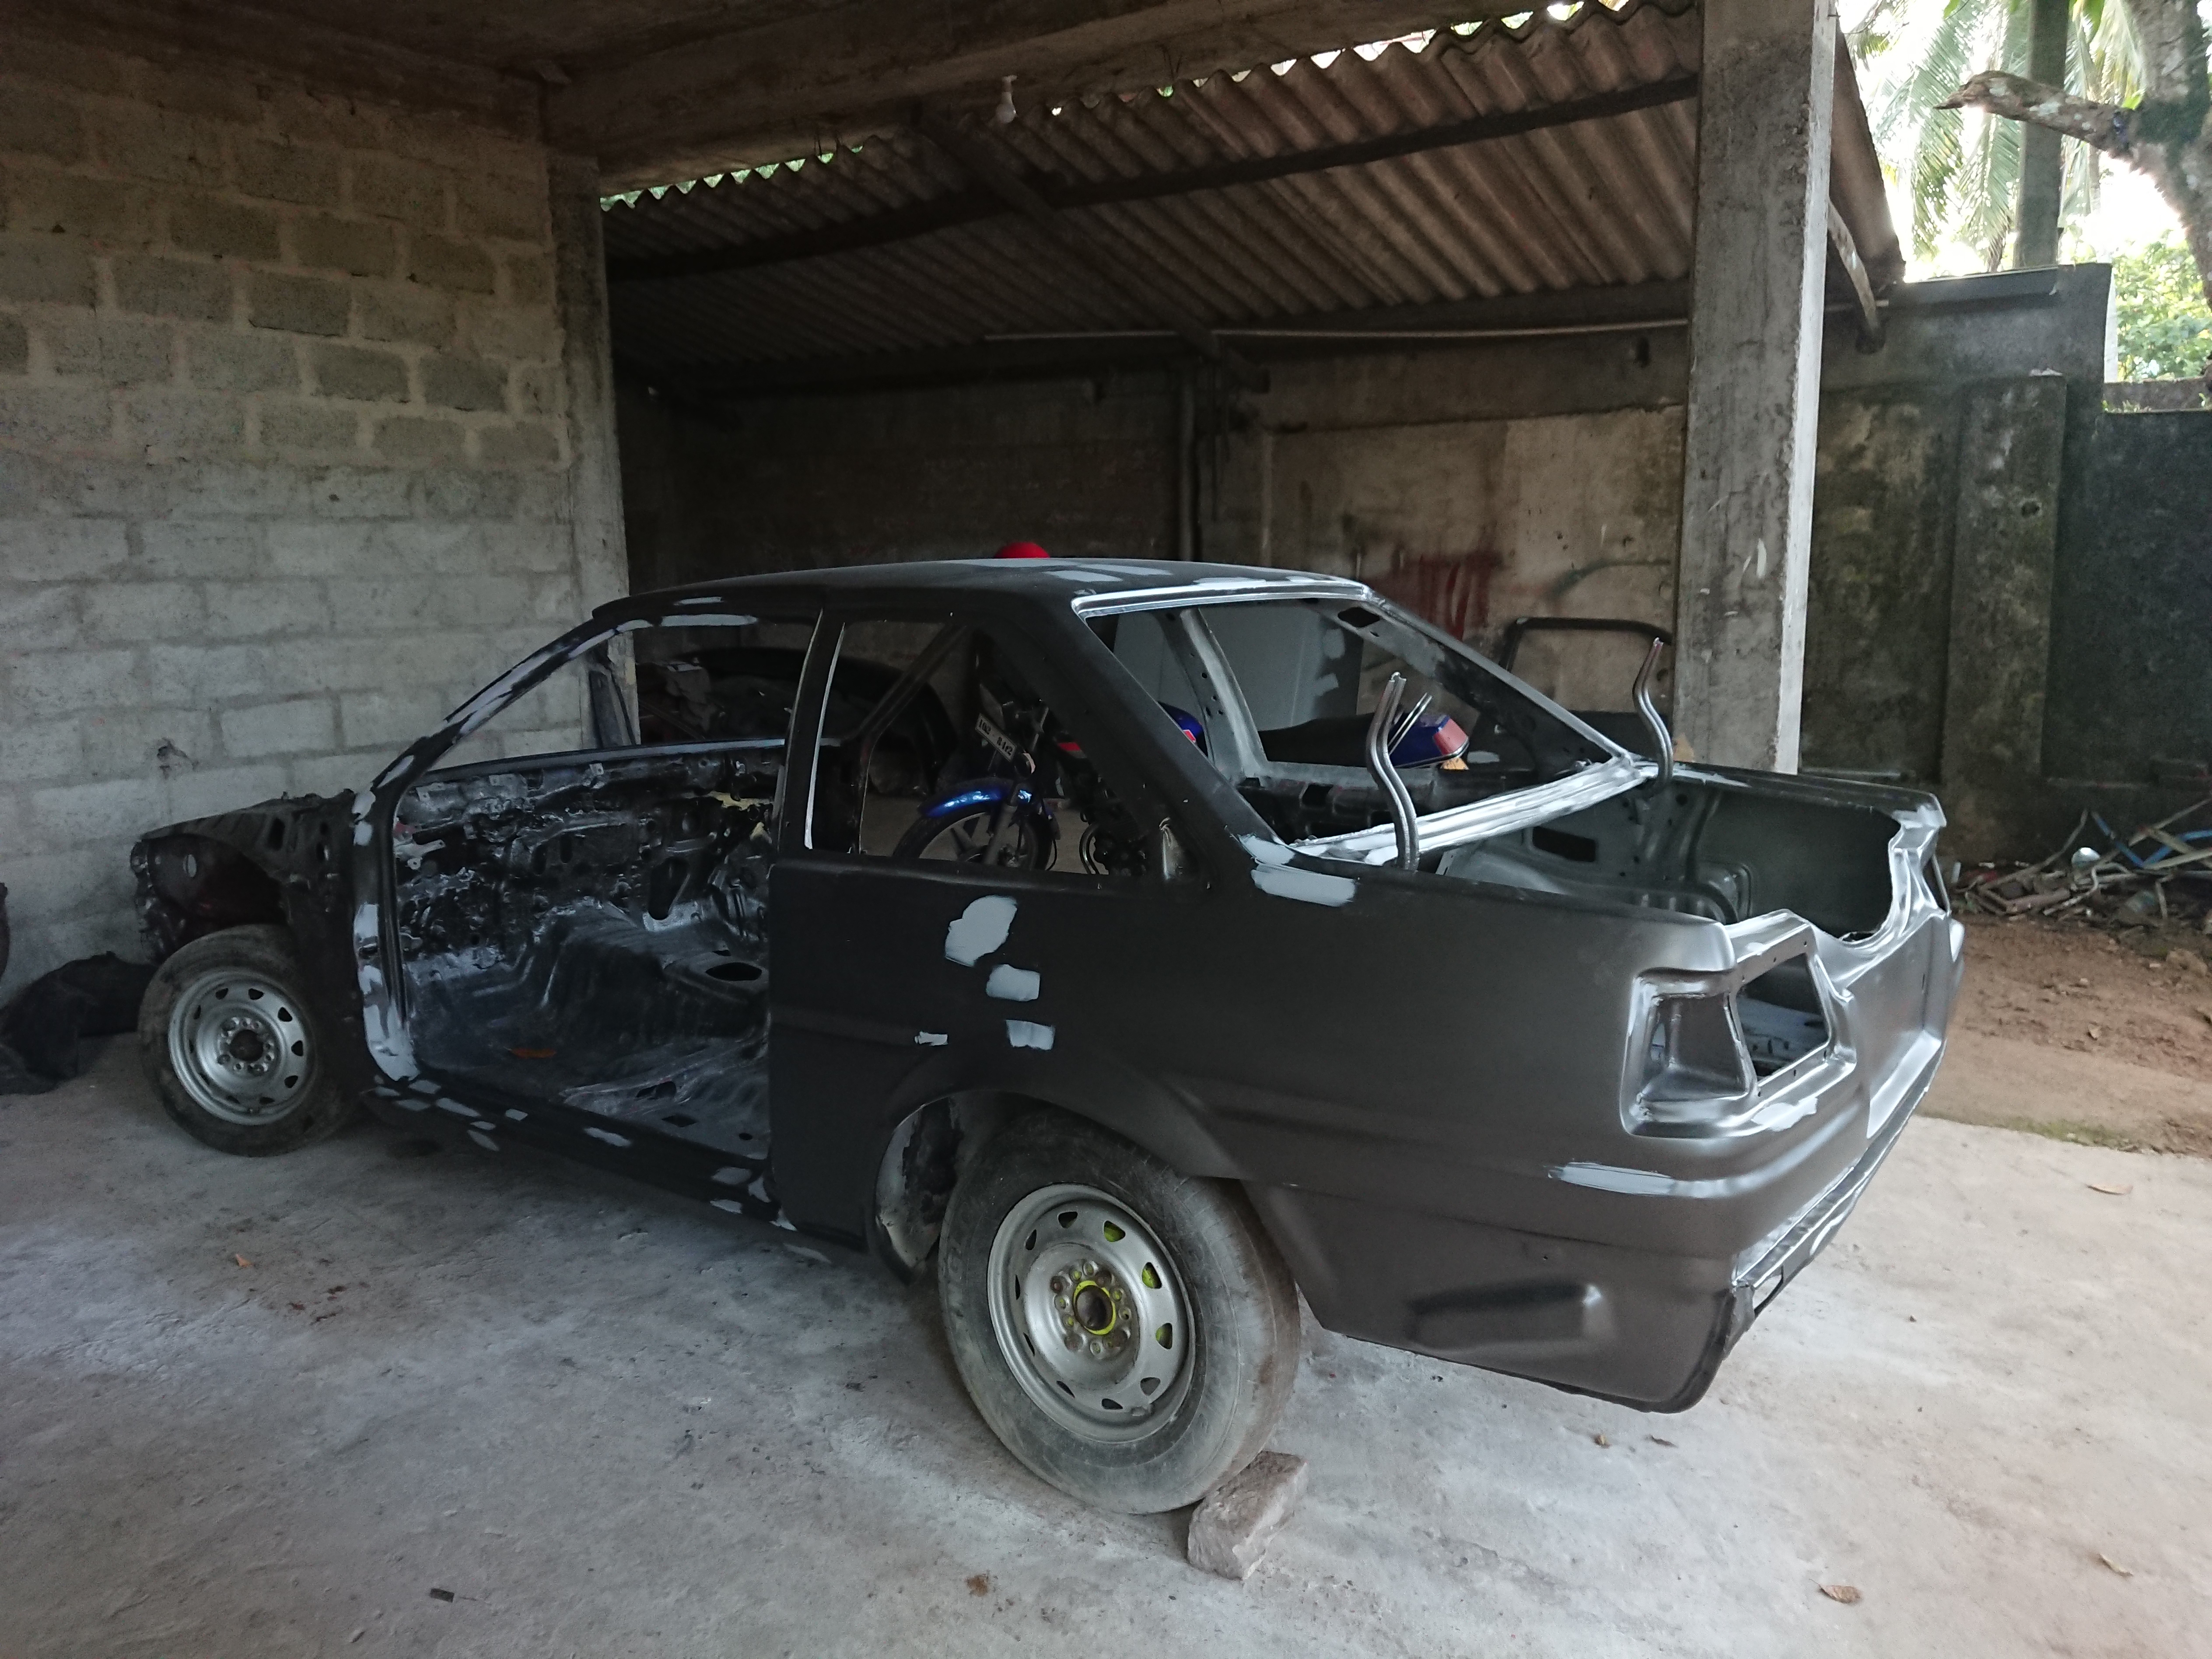
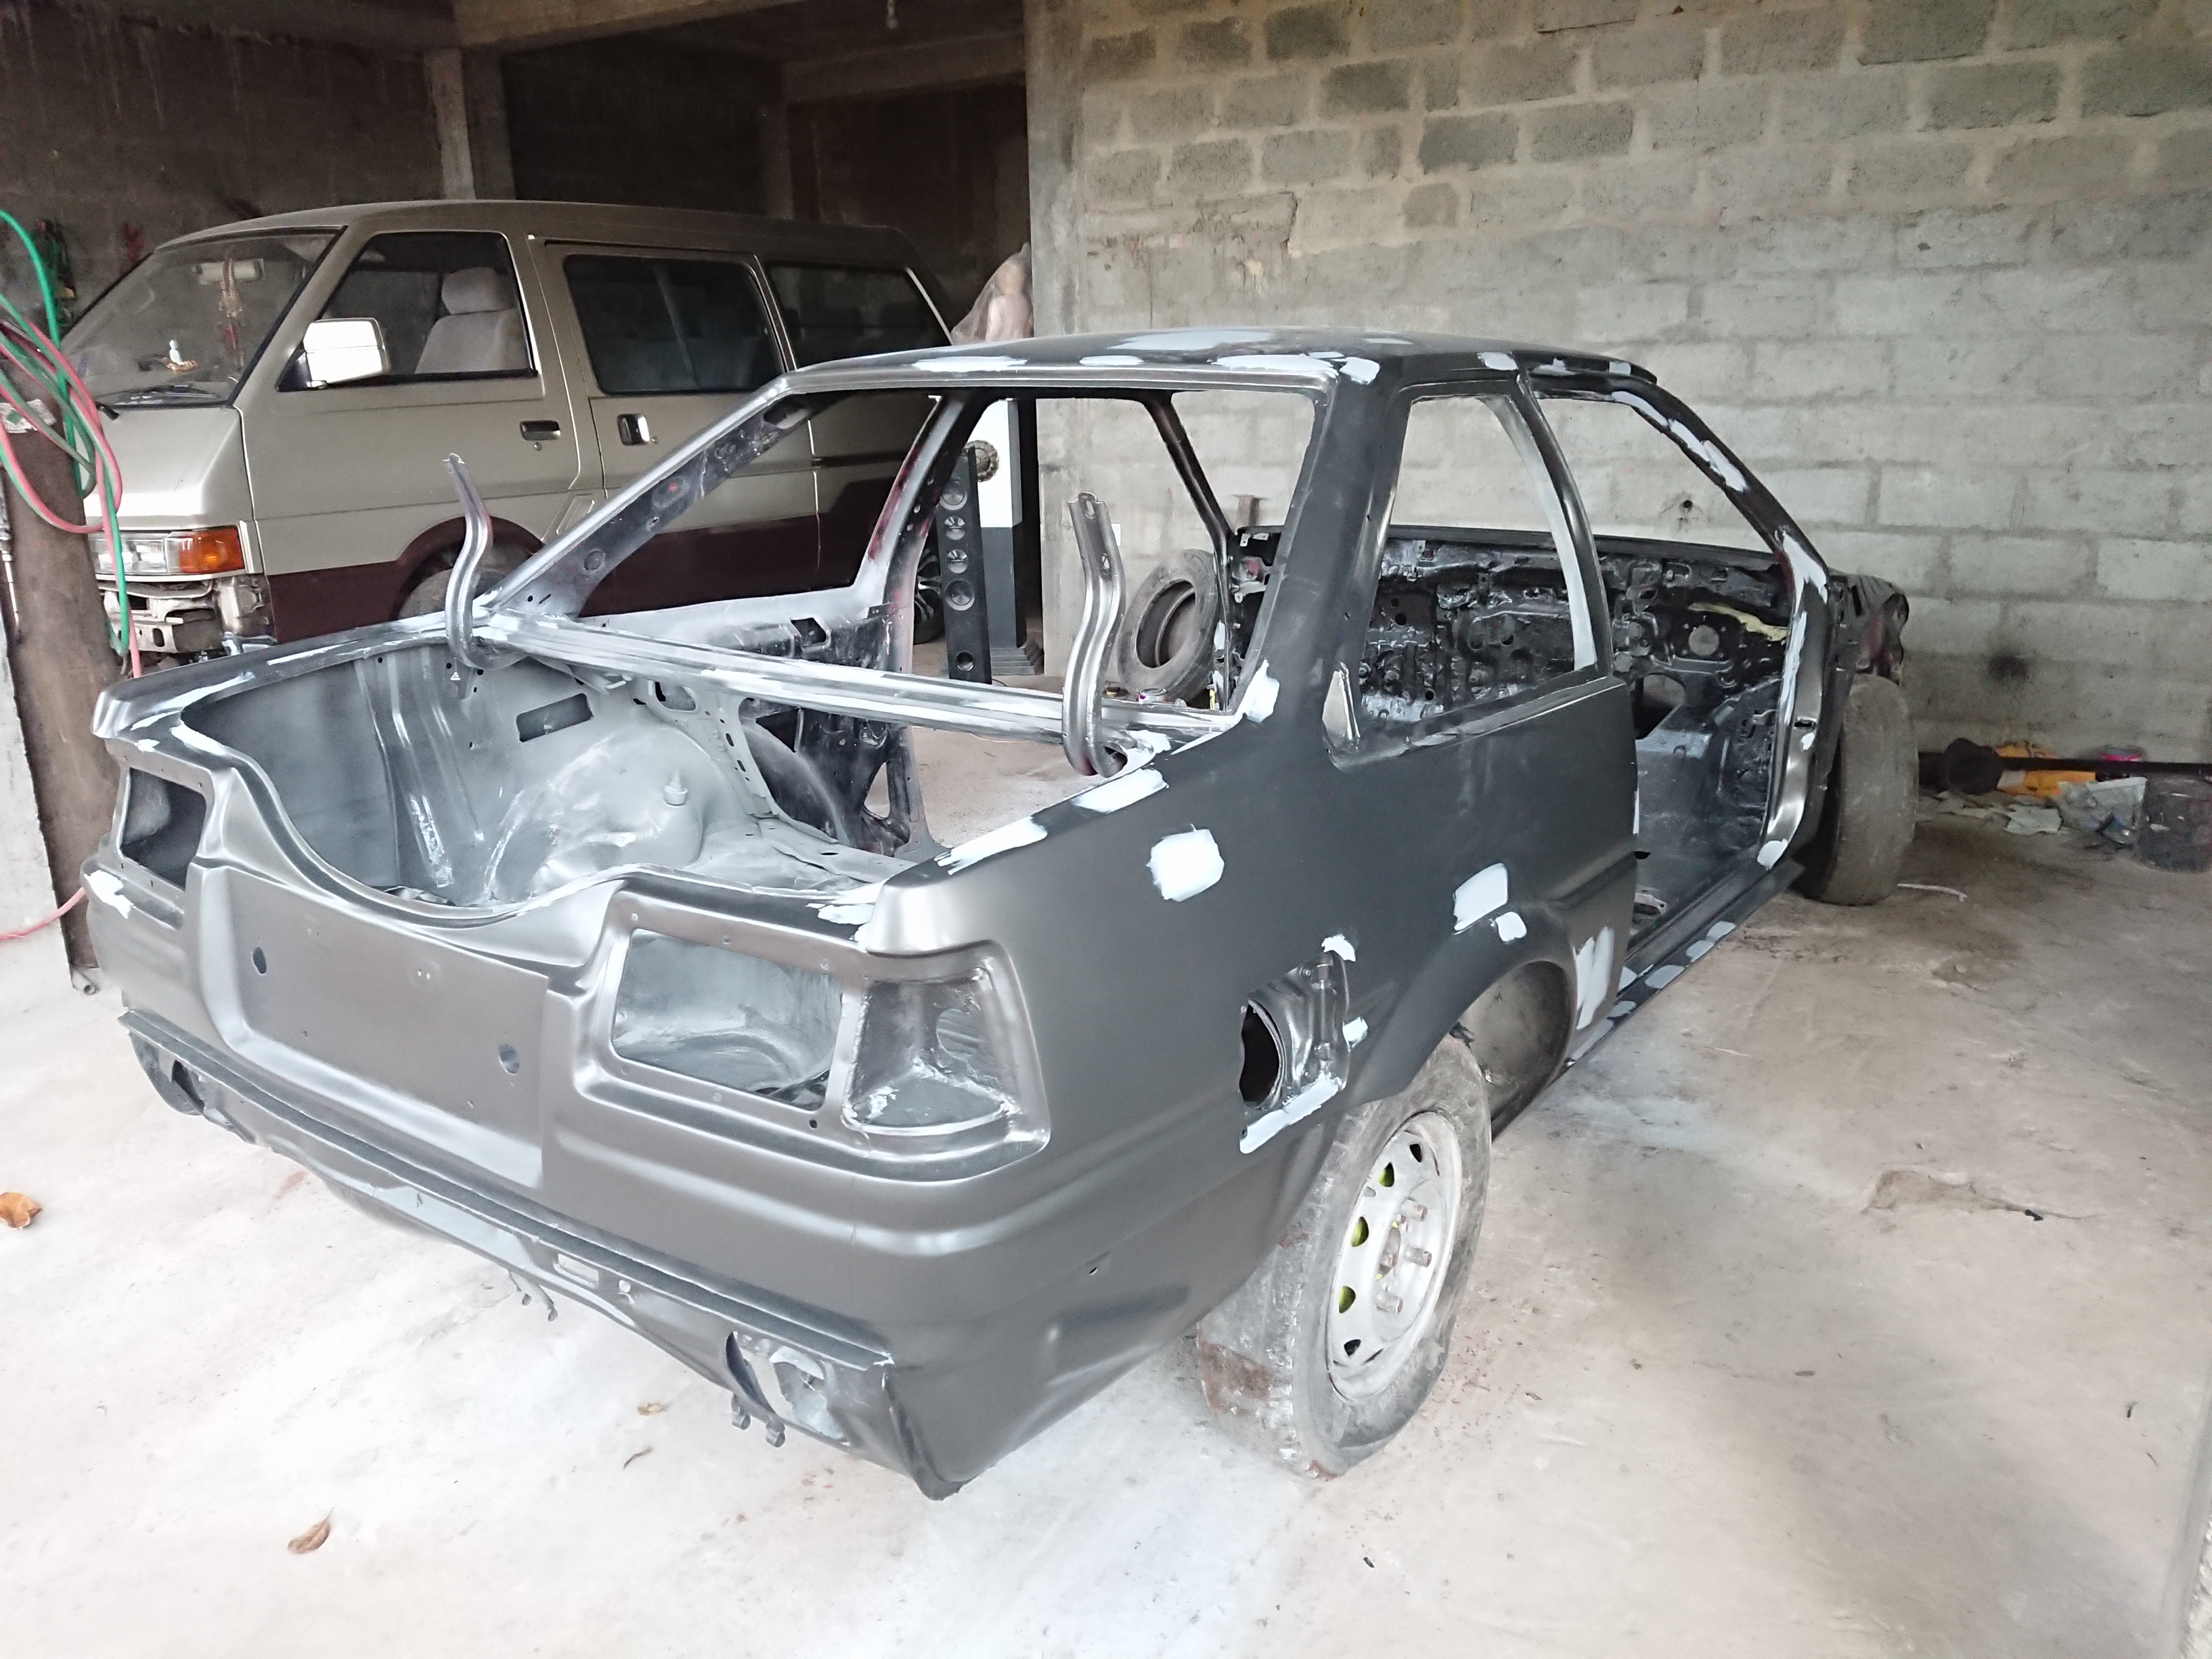
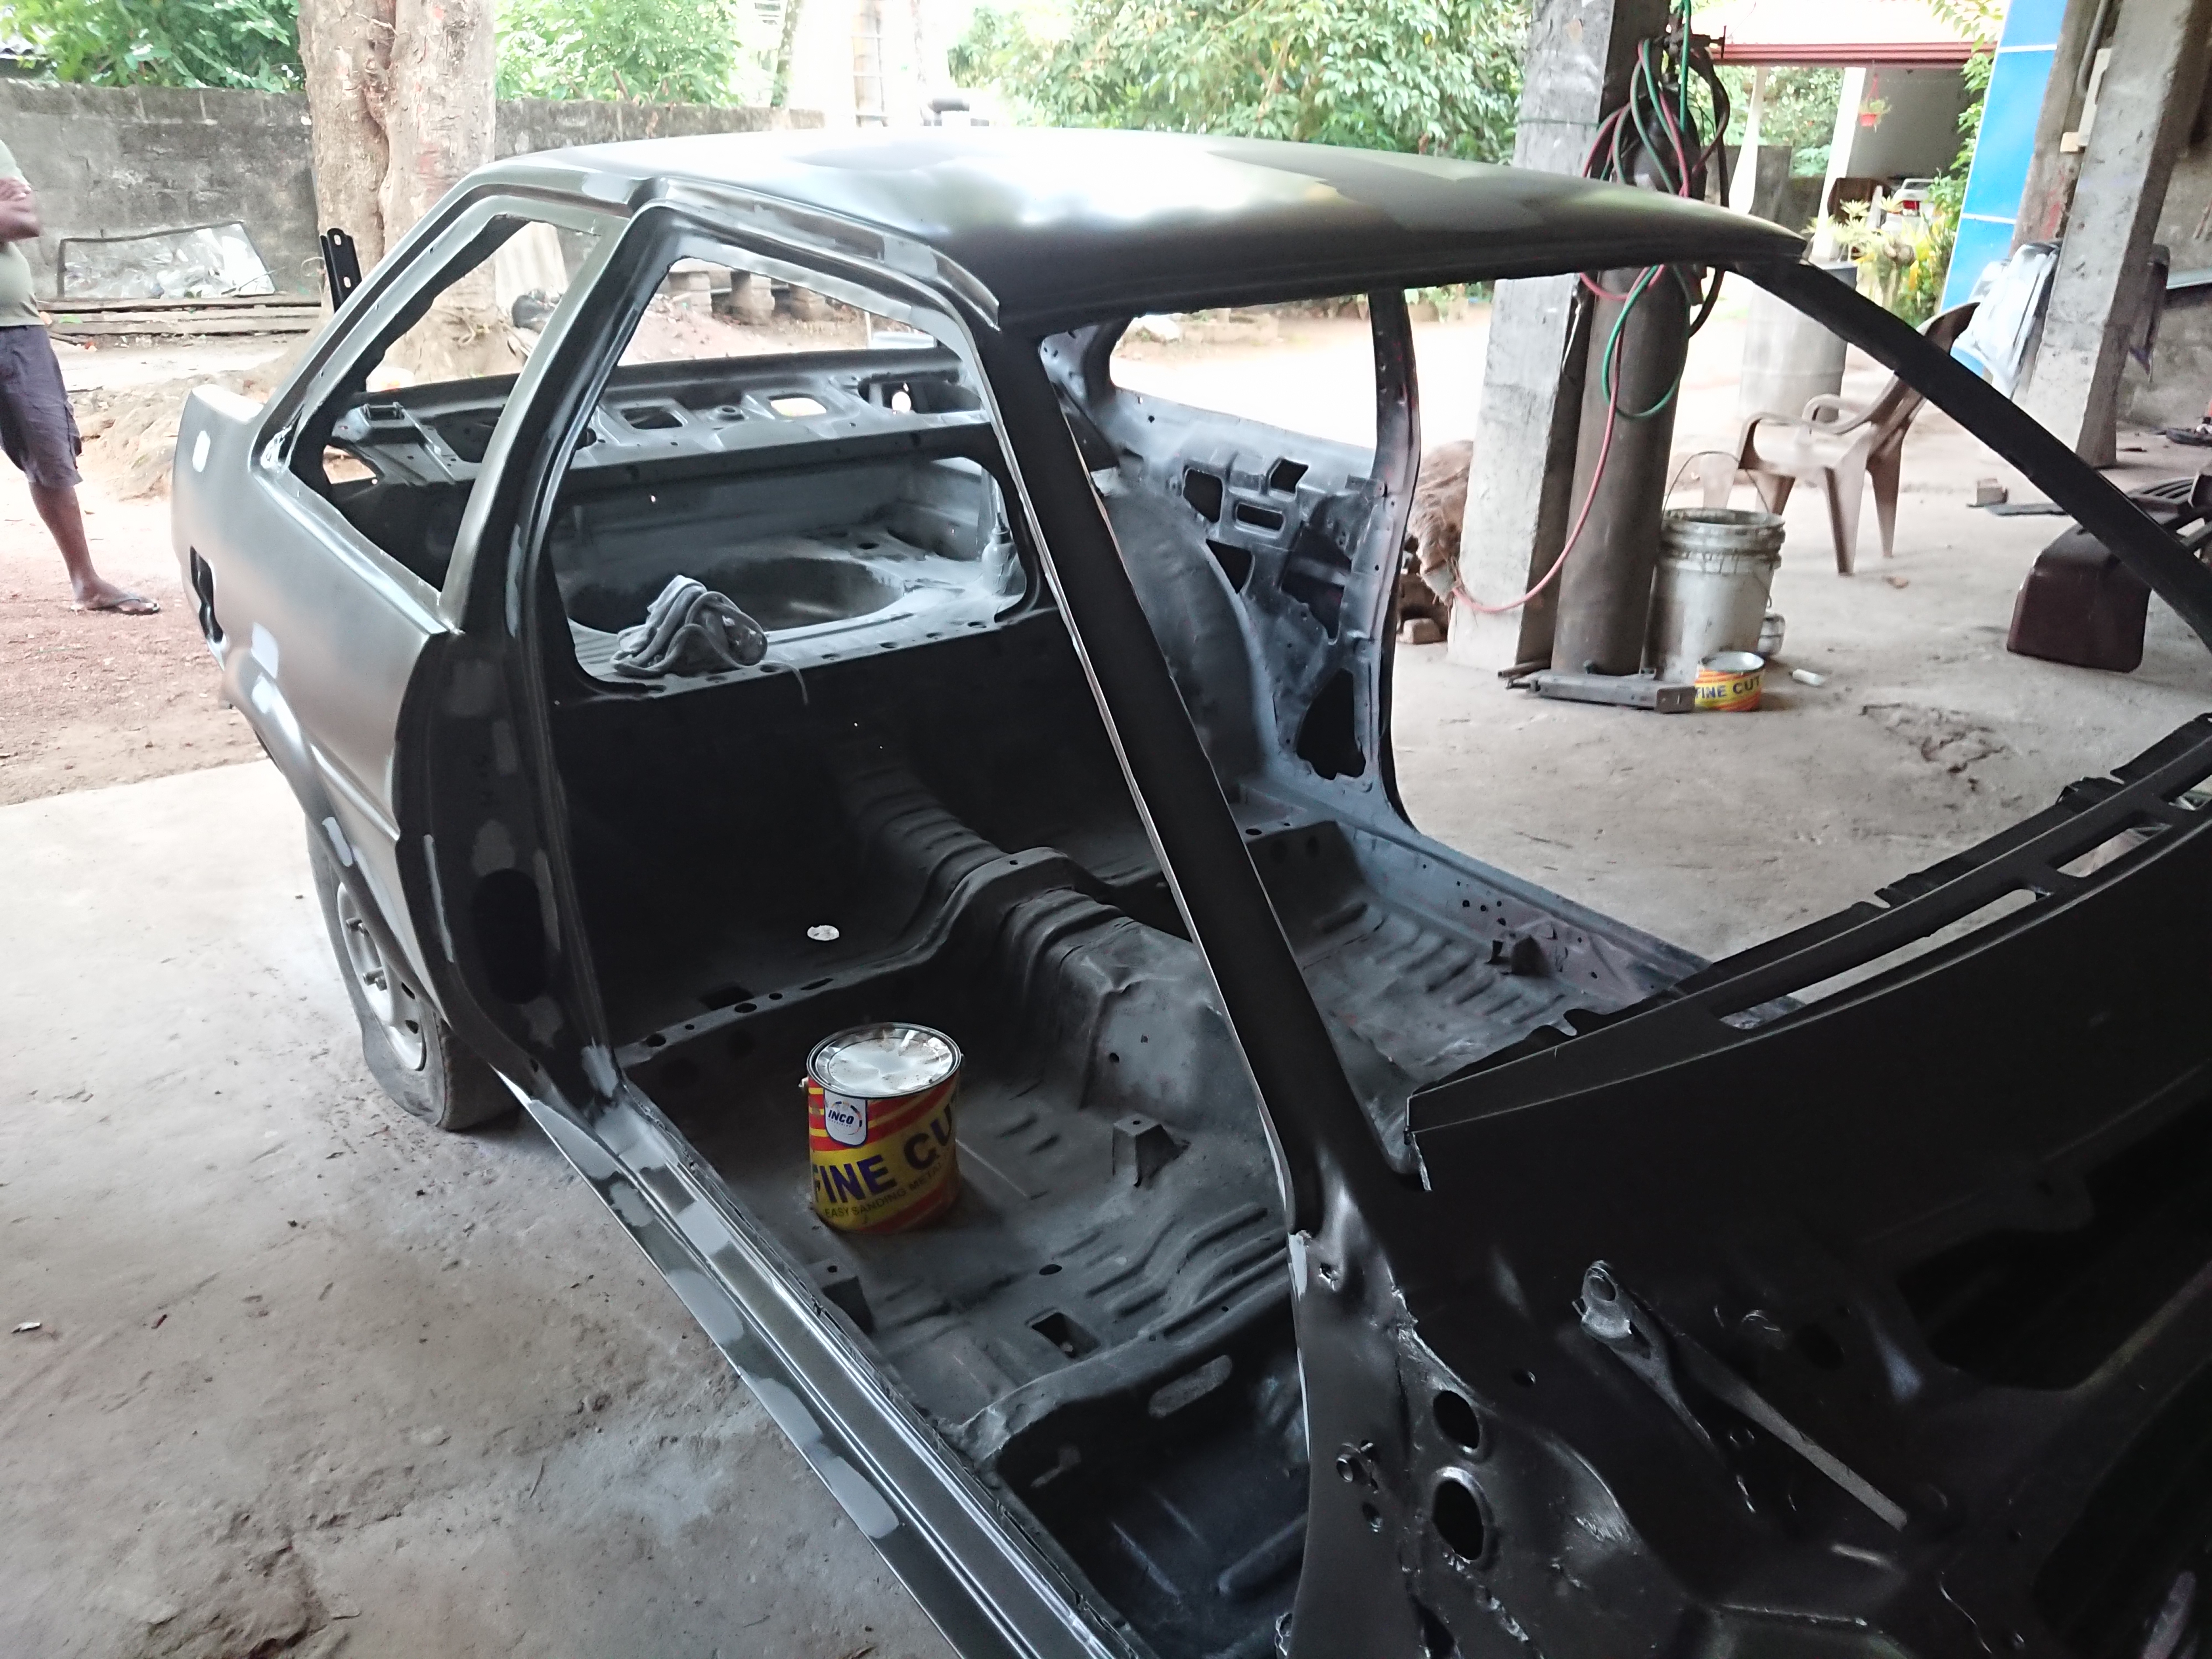
Naked Steel: Cleaning Up for the Real Work
Once most of the tinkering was complete, we began prepping the body for paint by stripping it down to bare metal. This was a necessary step to ensure a clean surface and give the new paint the best possible finish.
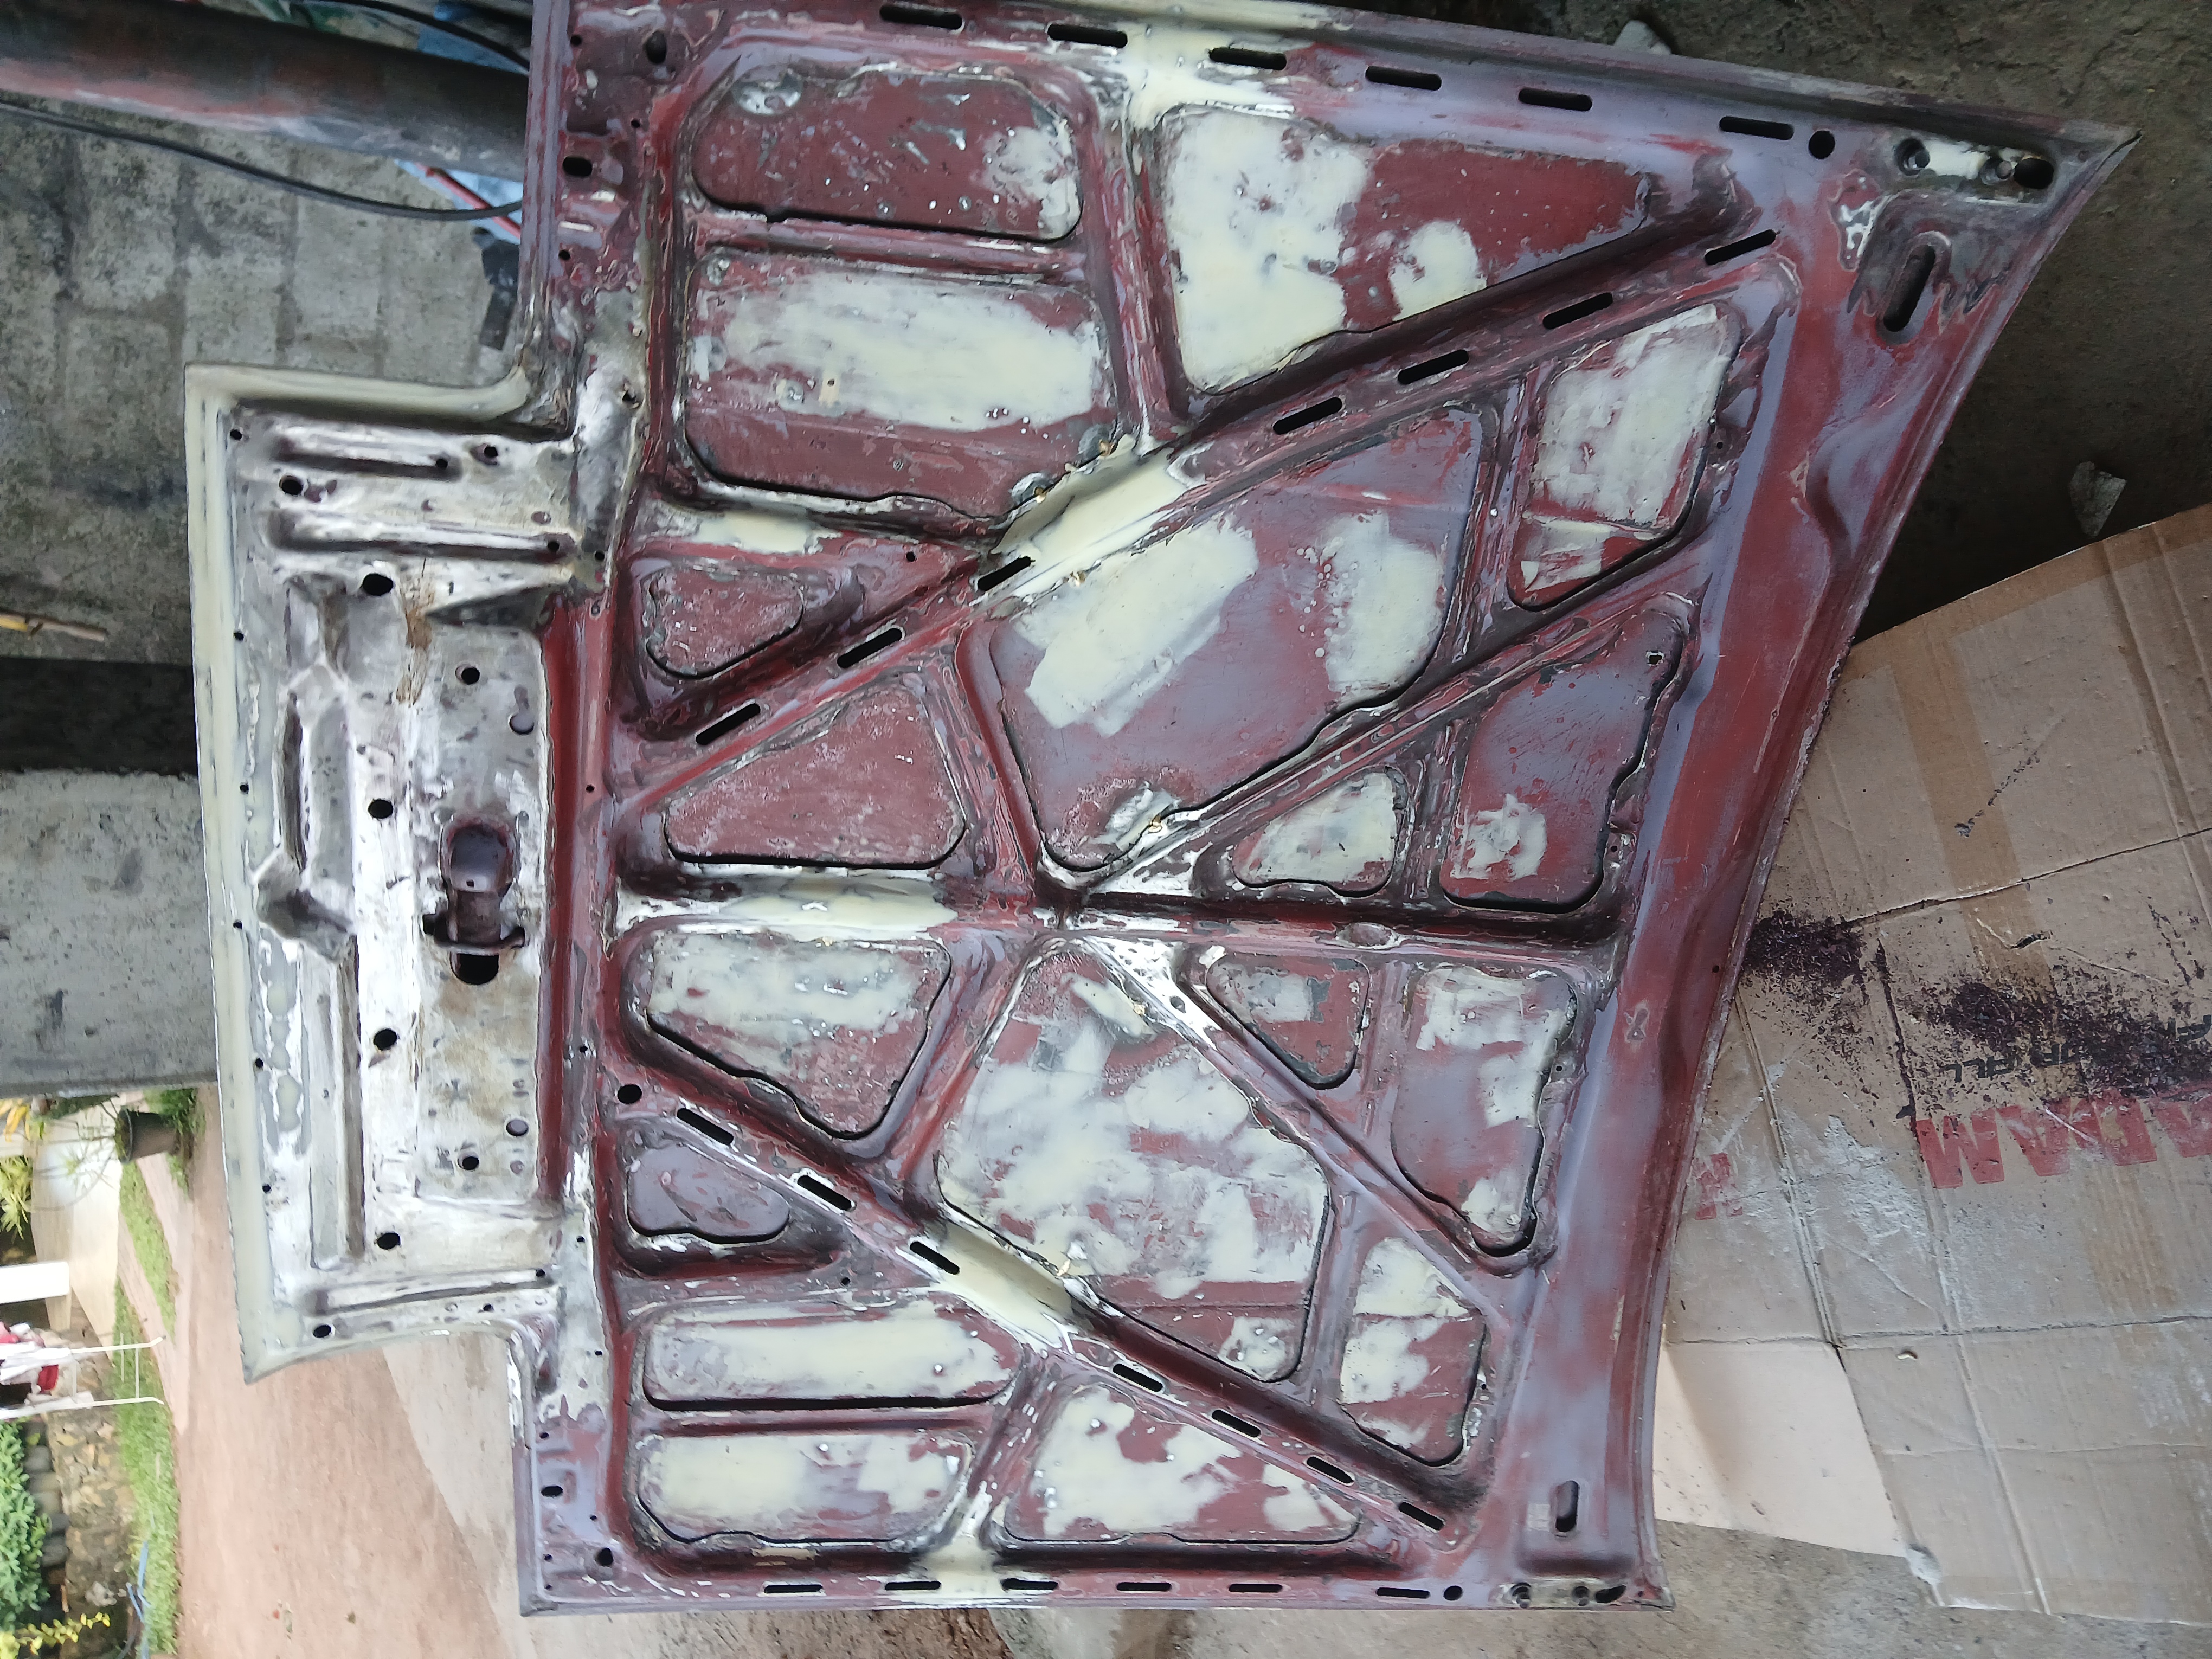
While working through the panels, we came across a generous amount of body filler (cataloy) — possibly used during earlier restoration efforts or styling work. Regardless of the reason, we decided to remove it and bring everything back to metal for a fresh and solid foundation.
With some grinding and patience, we cleaned up the panels and got everything ready for the next phase.
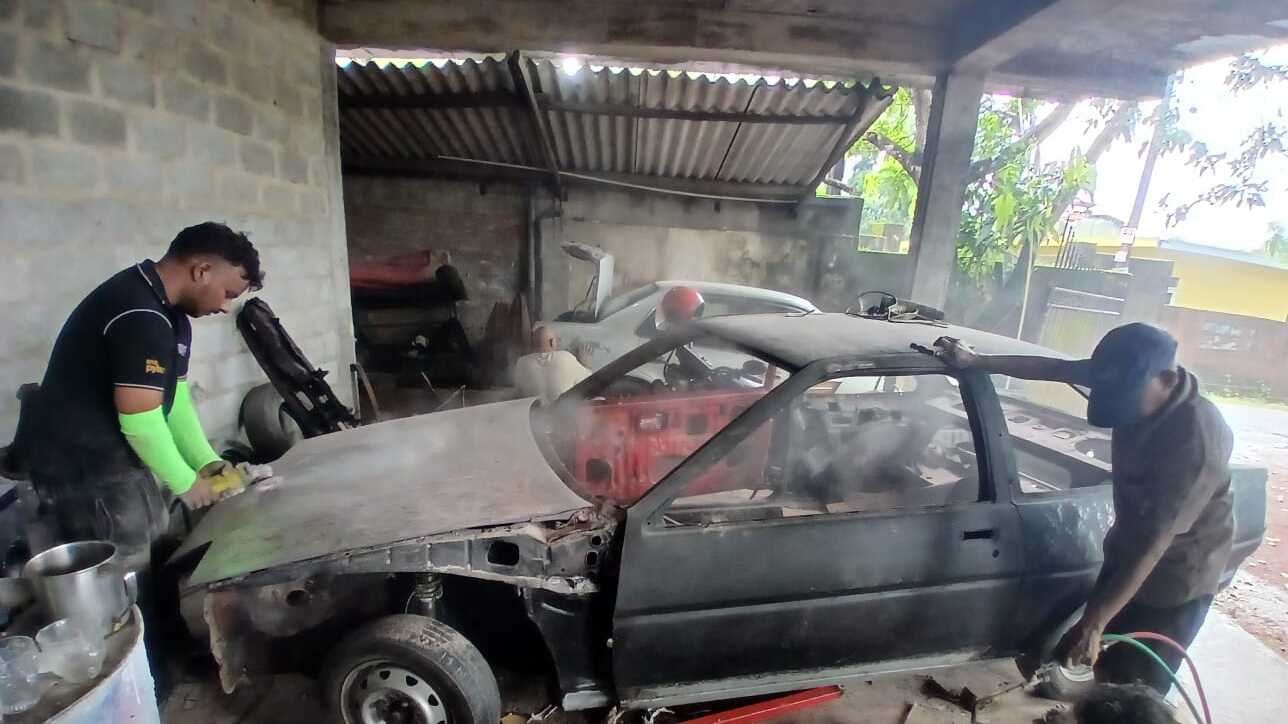

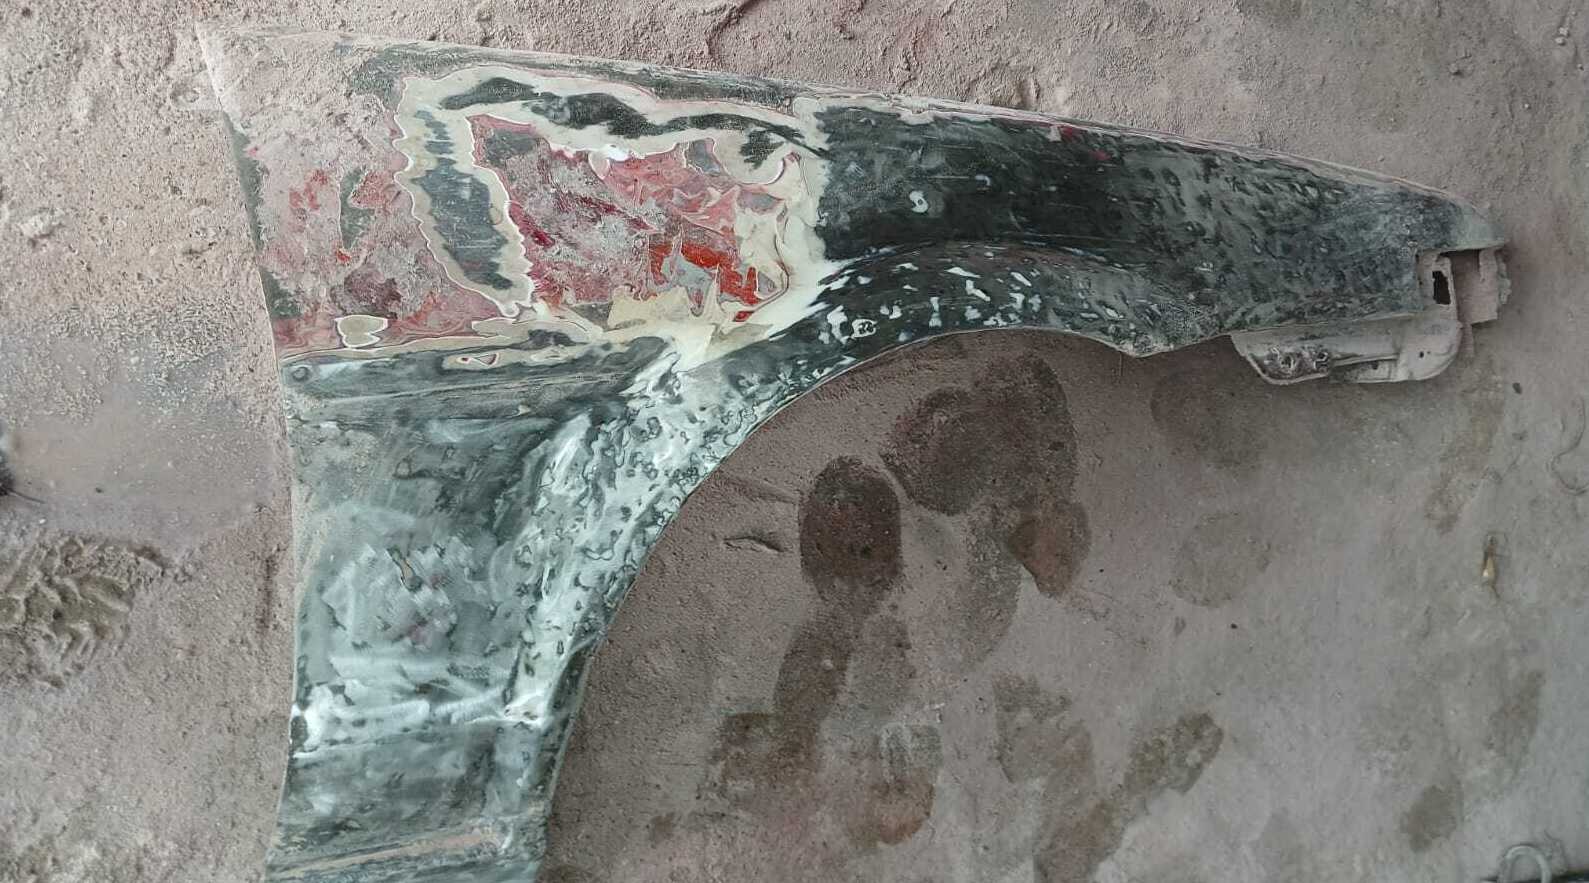
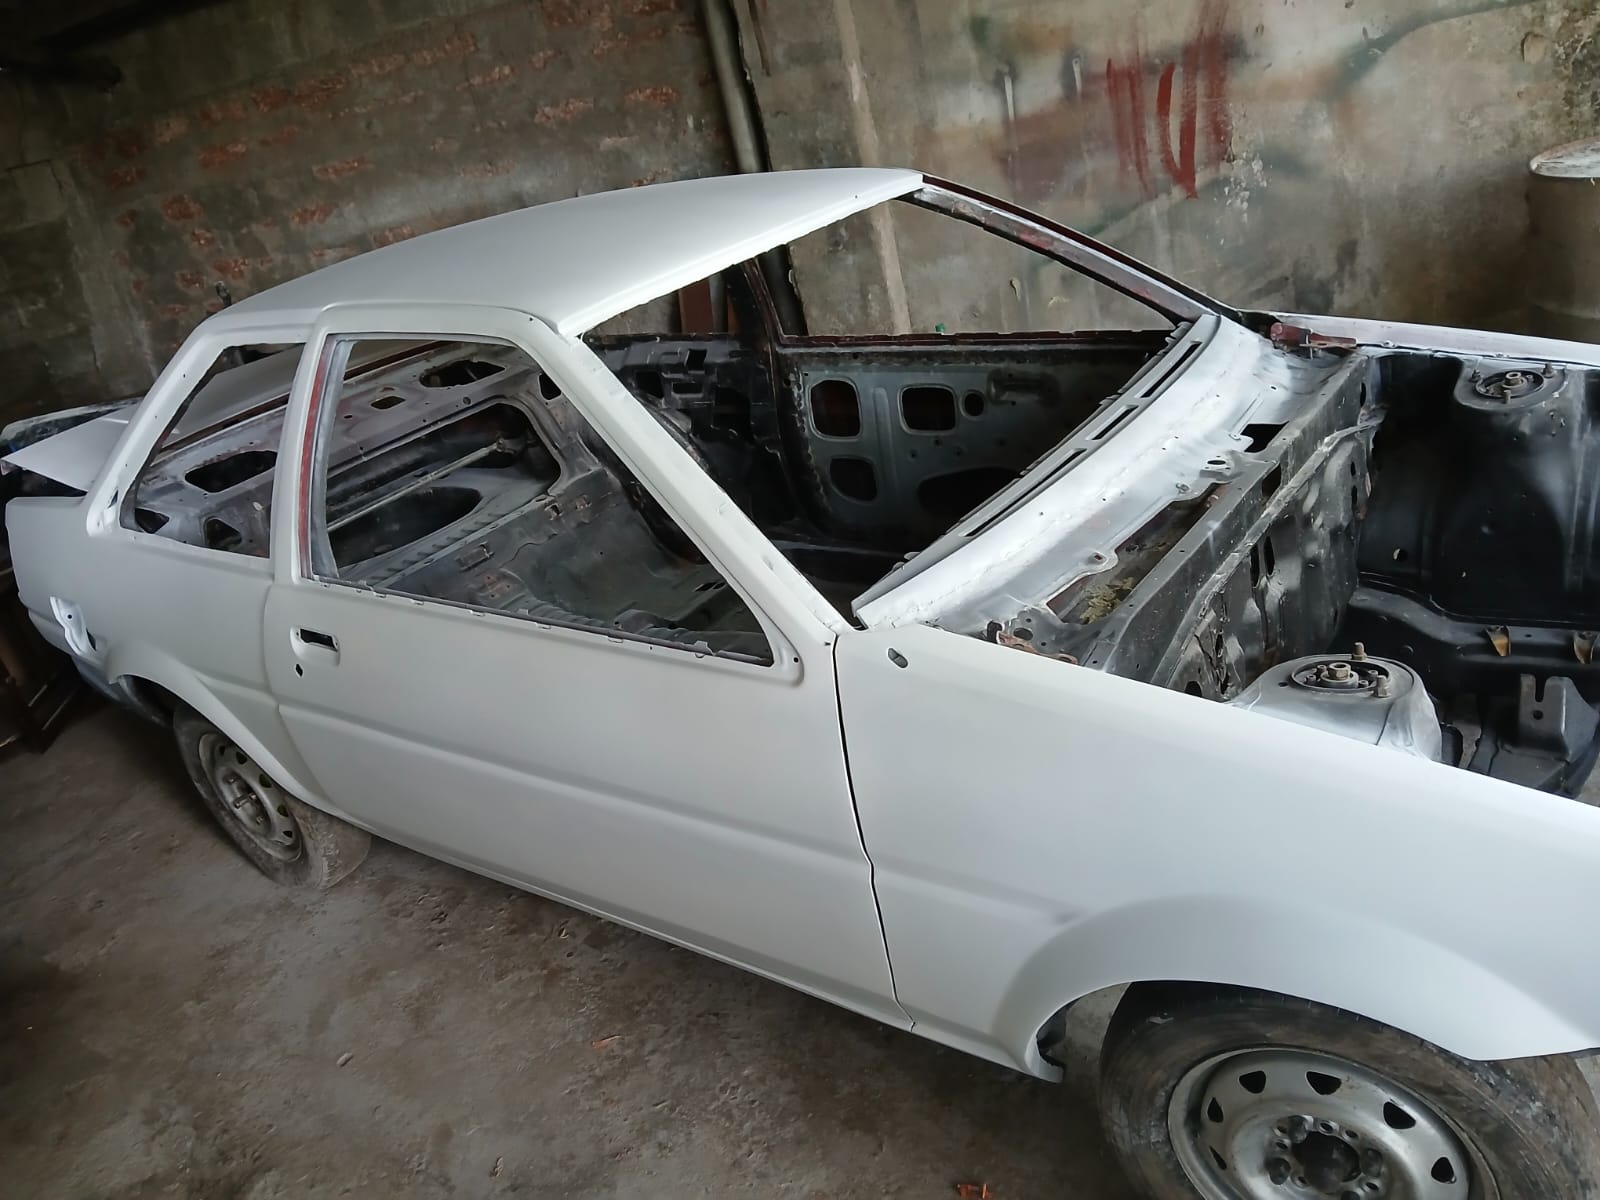
Here are a few shots showing how the right side looked after the cleanup process:
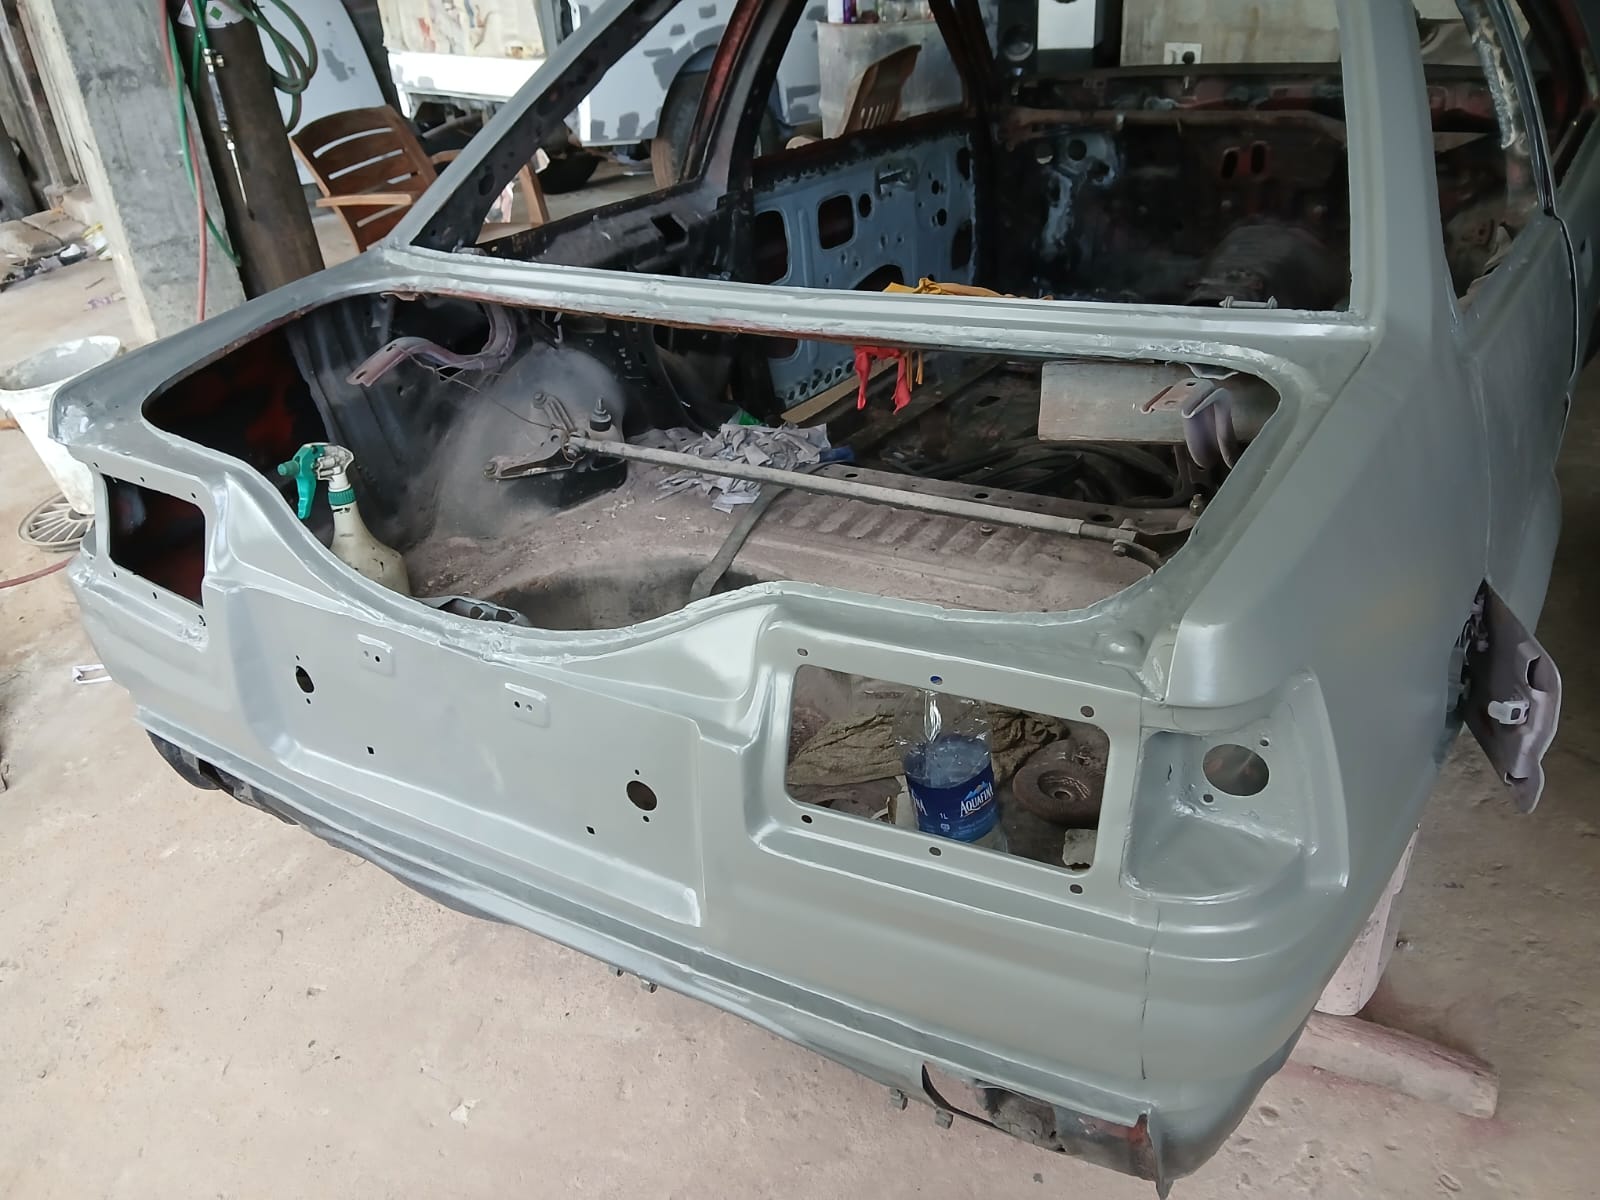
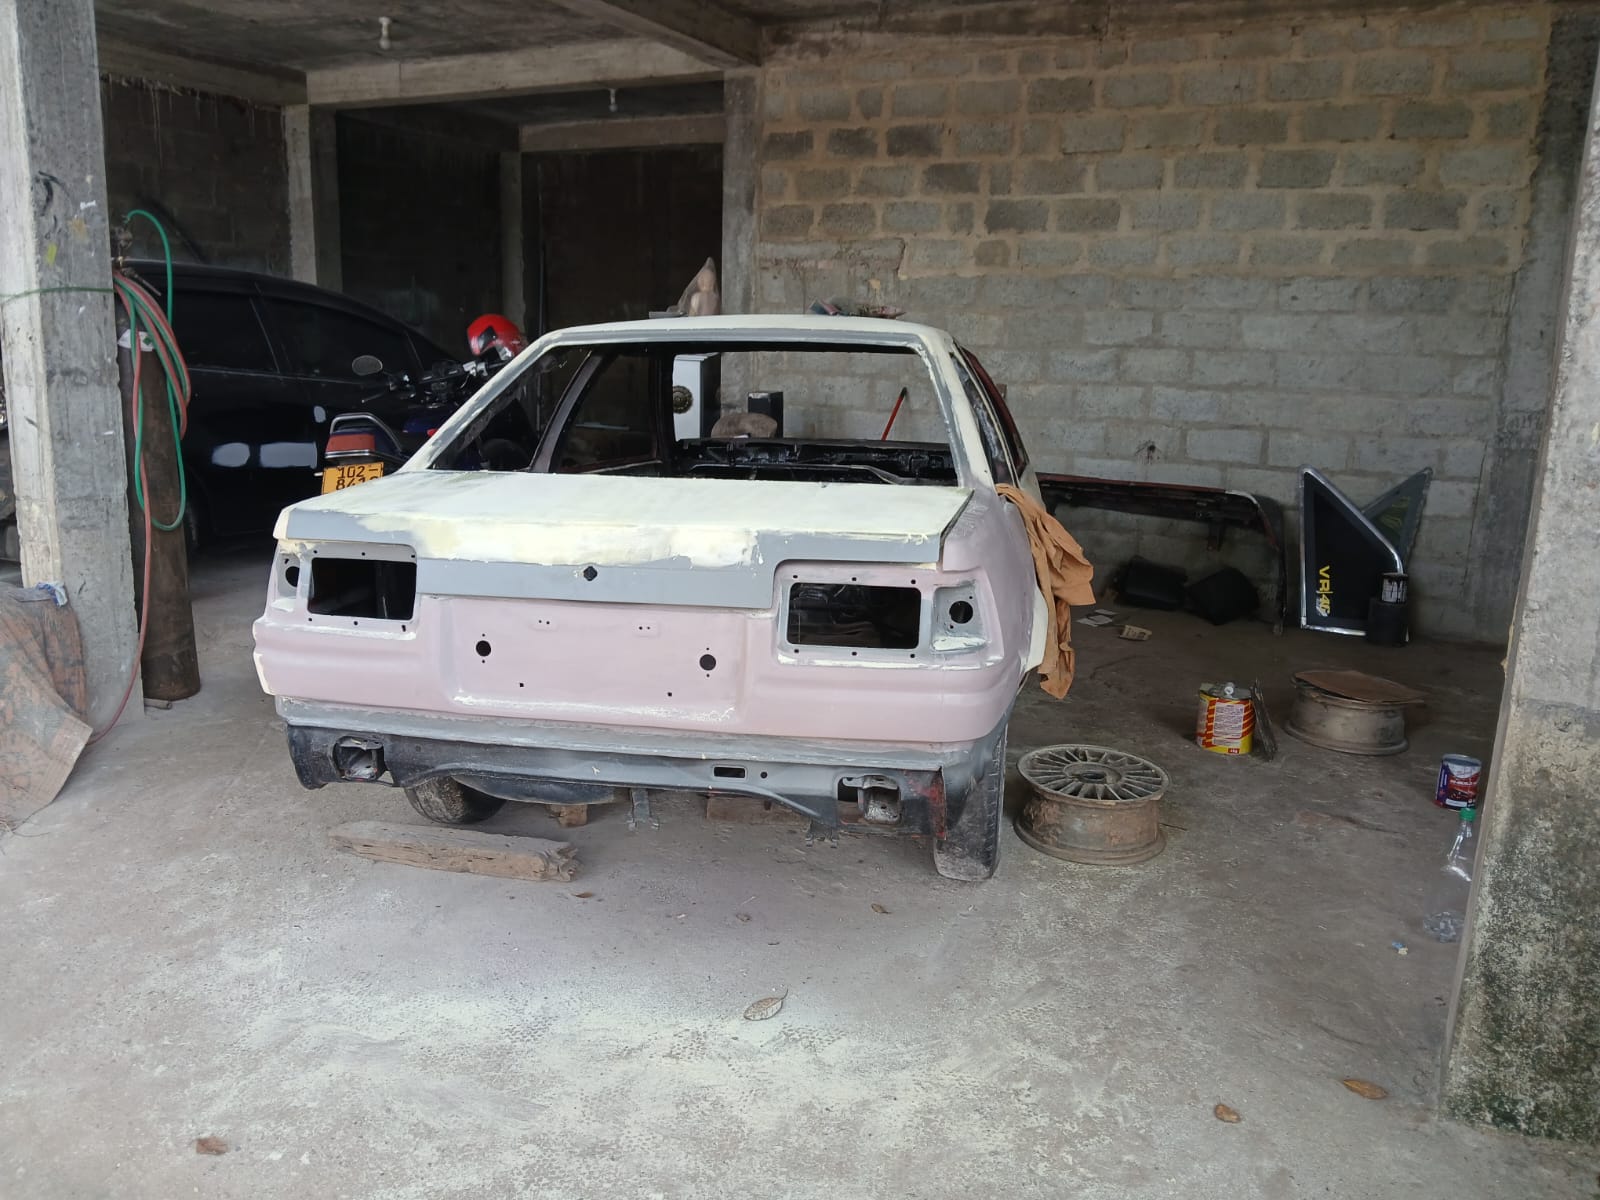
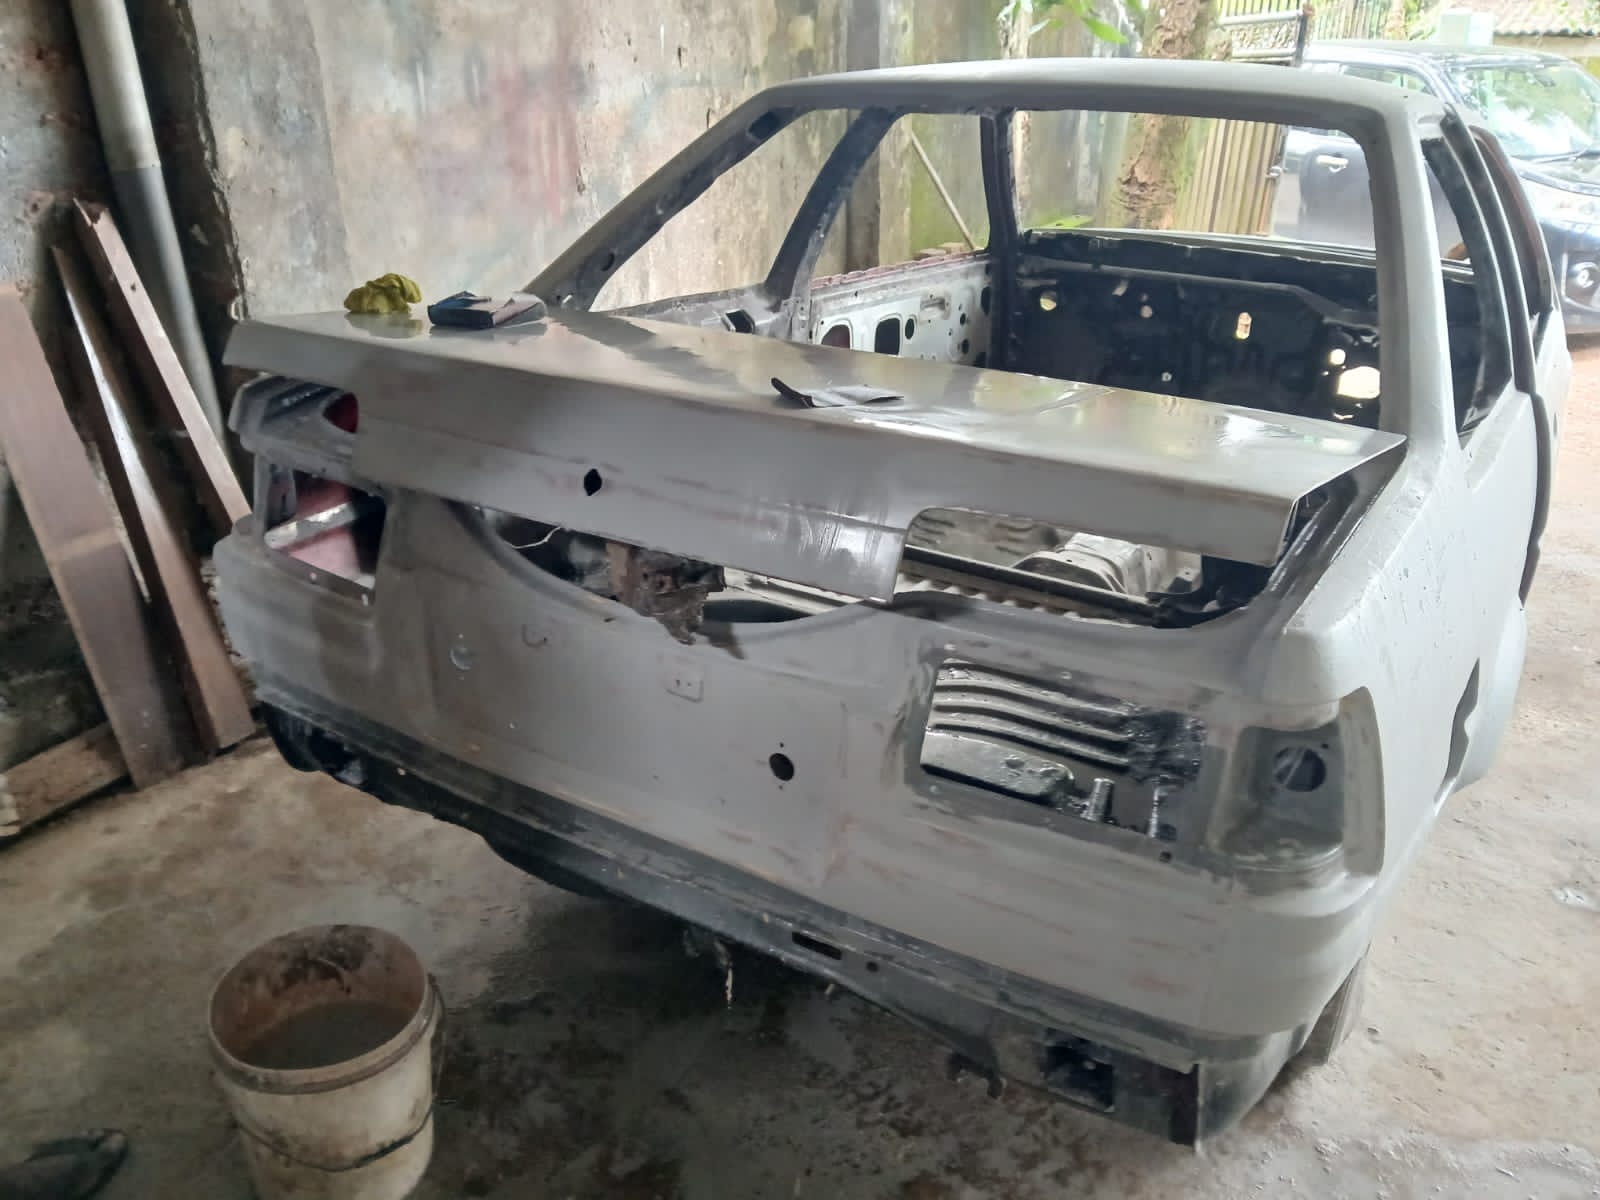
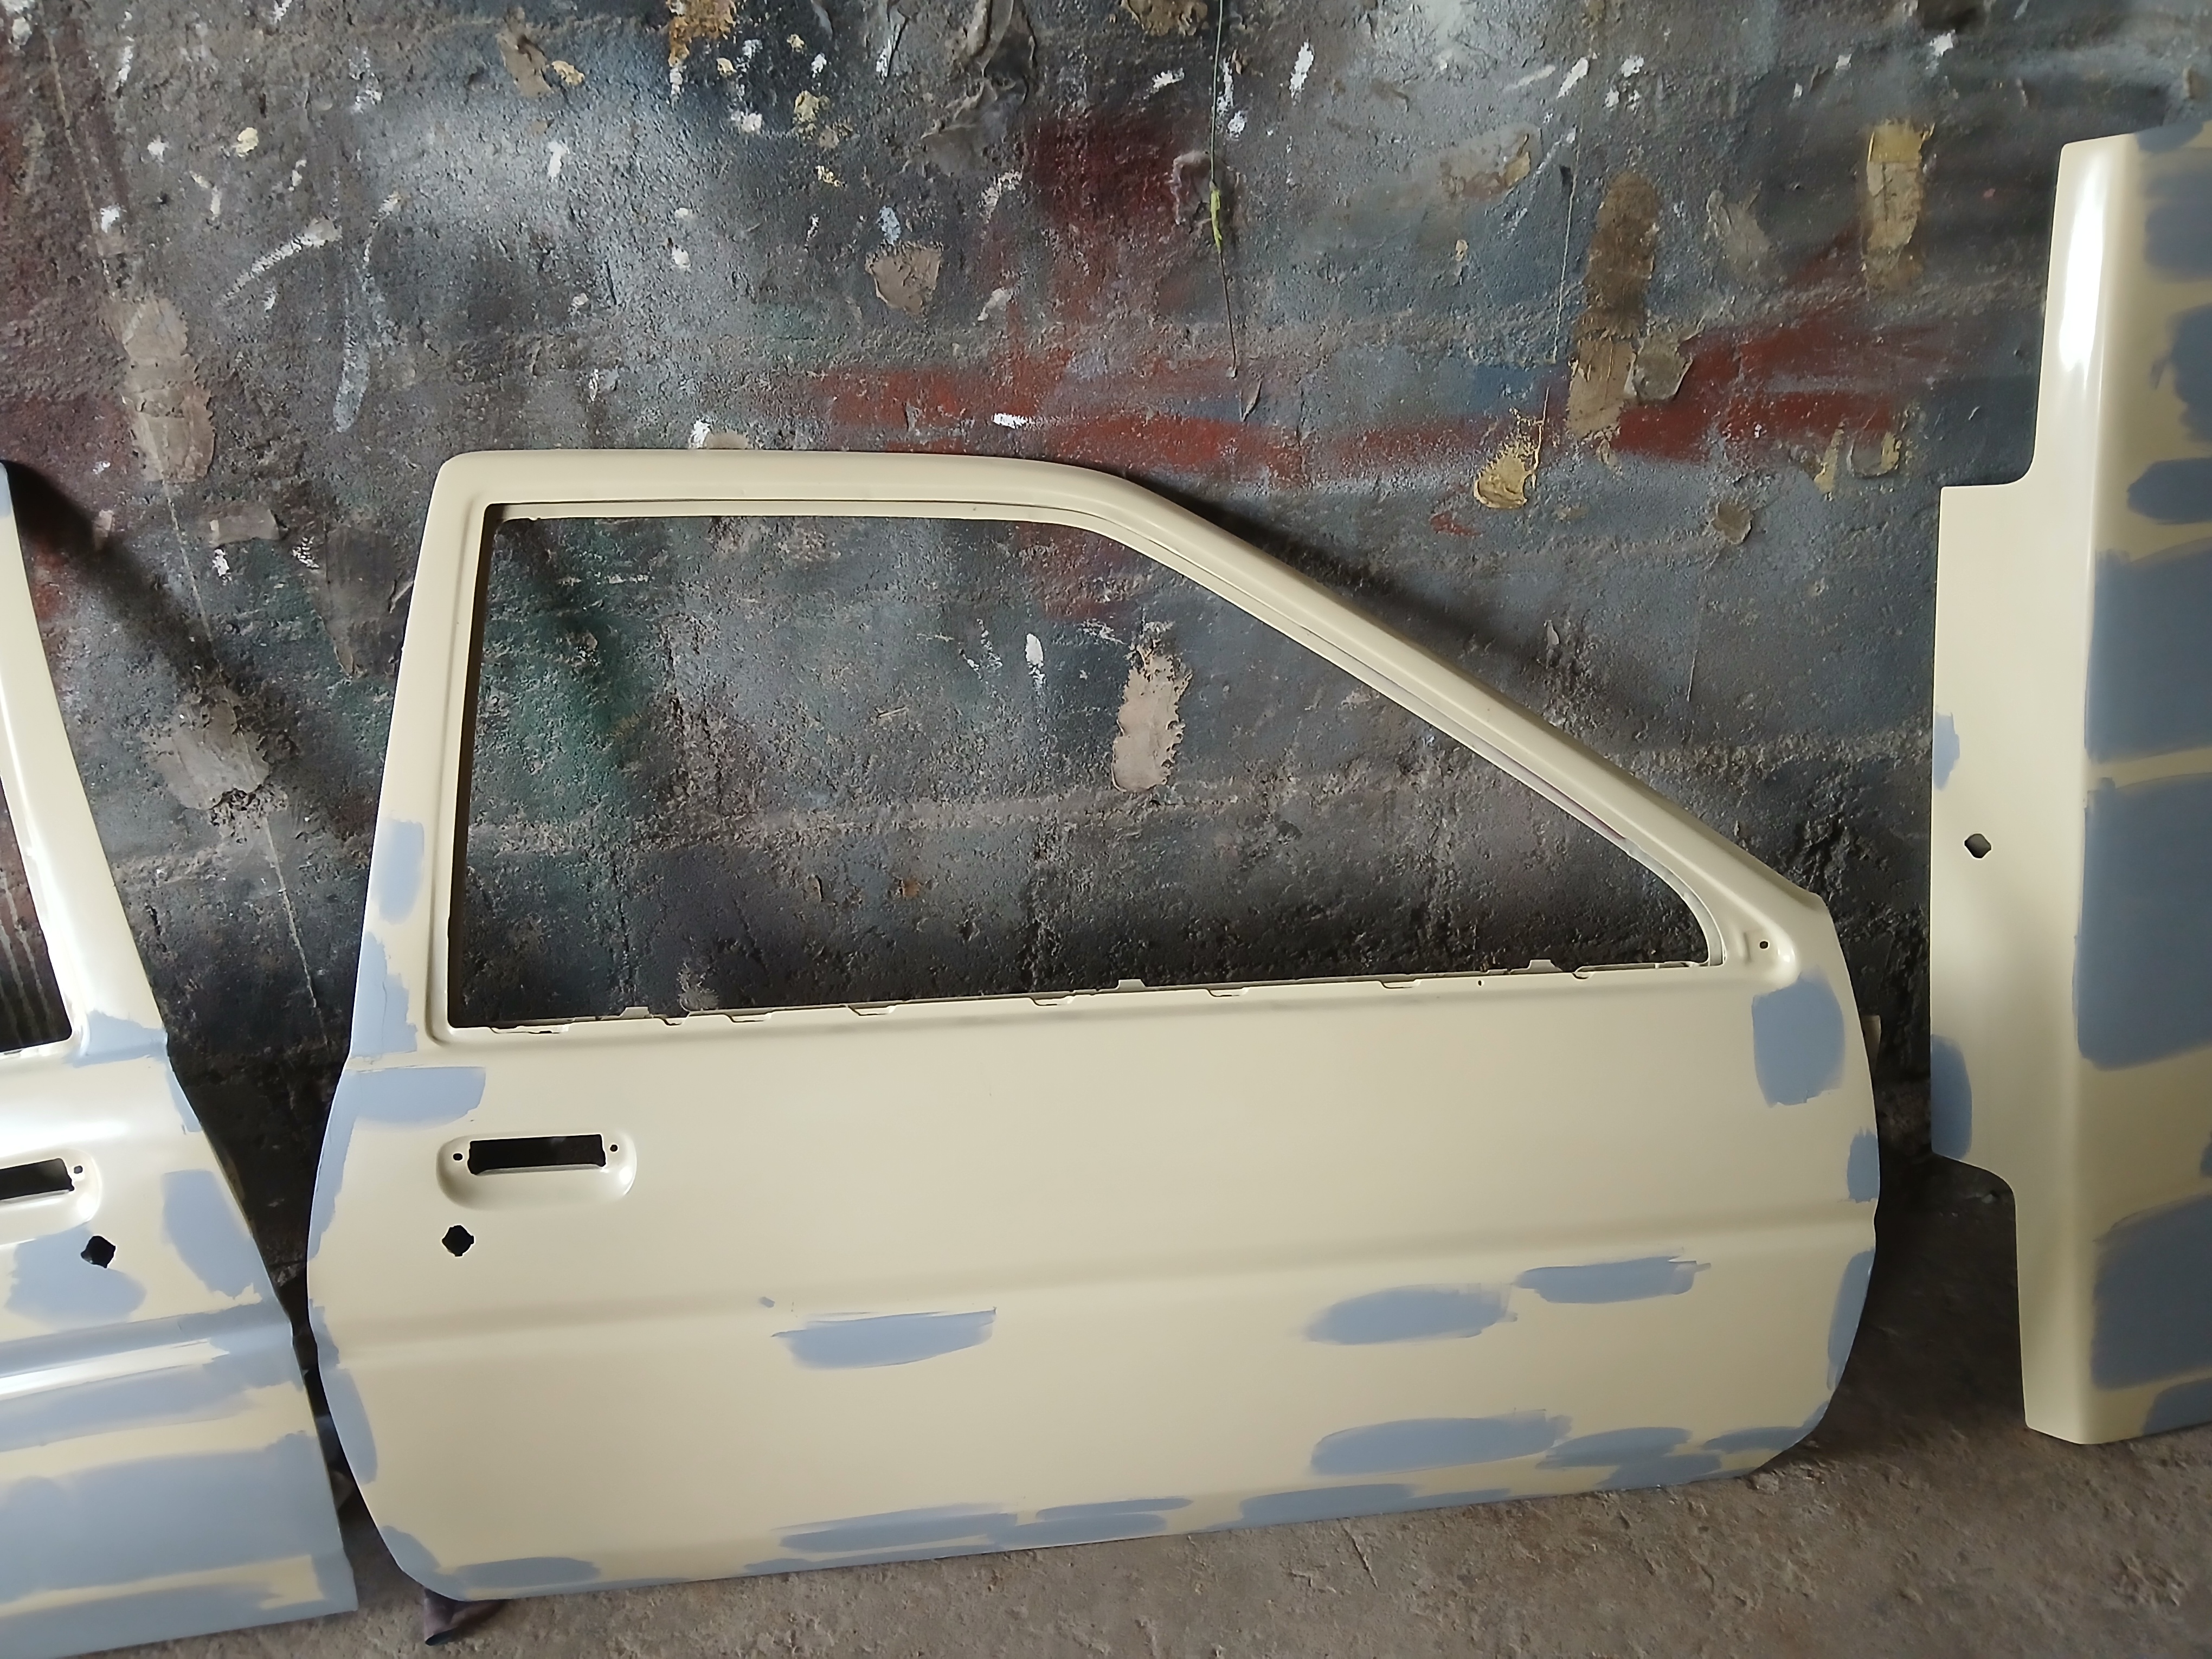
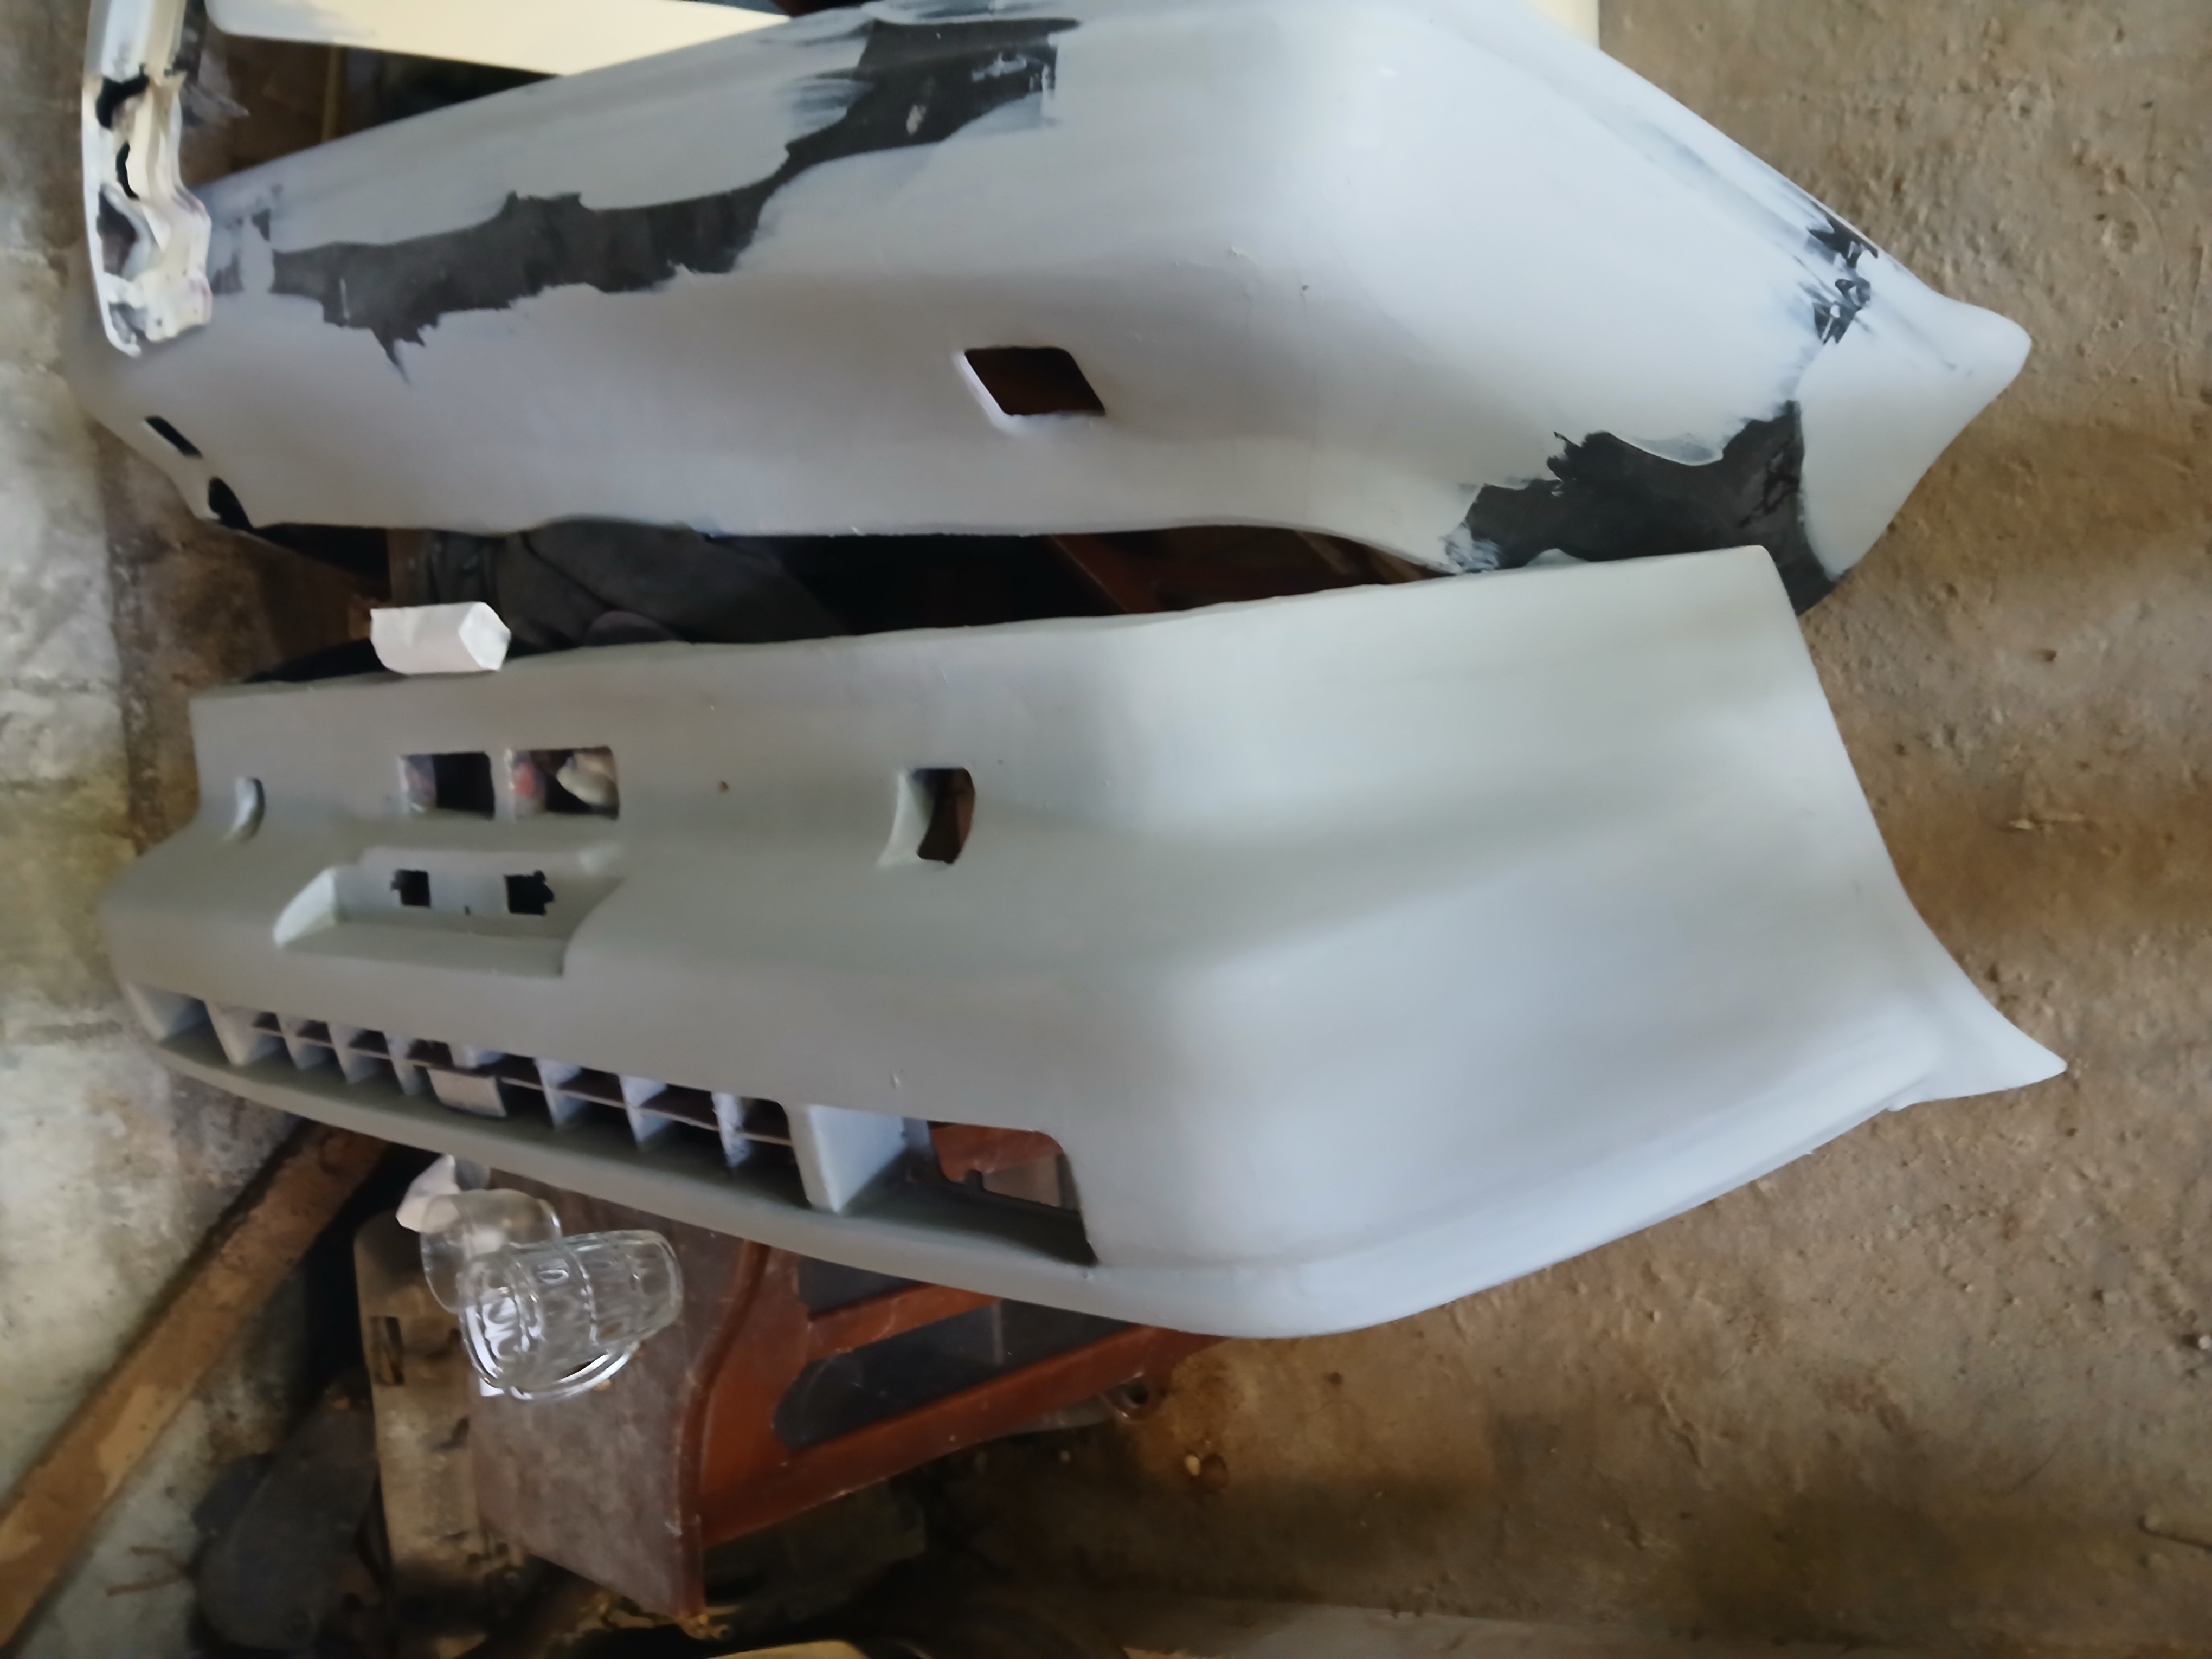
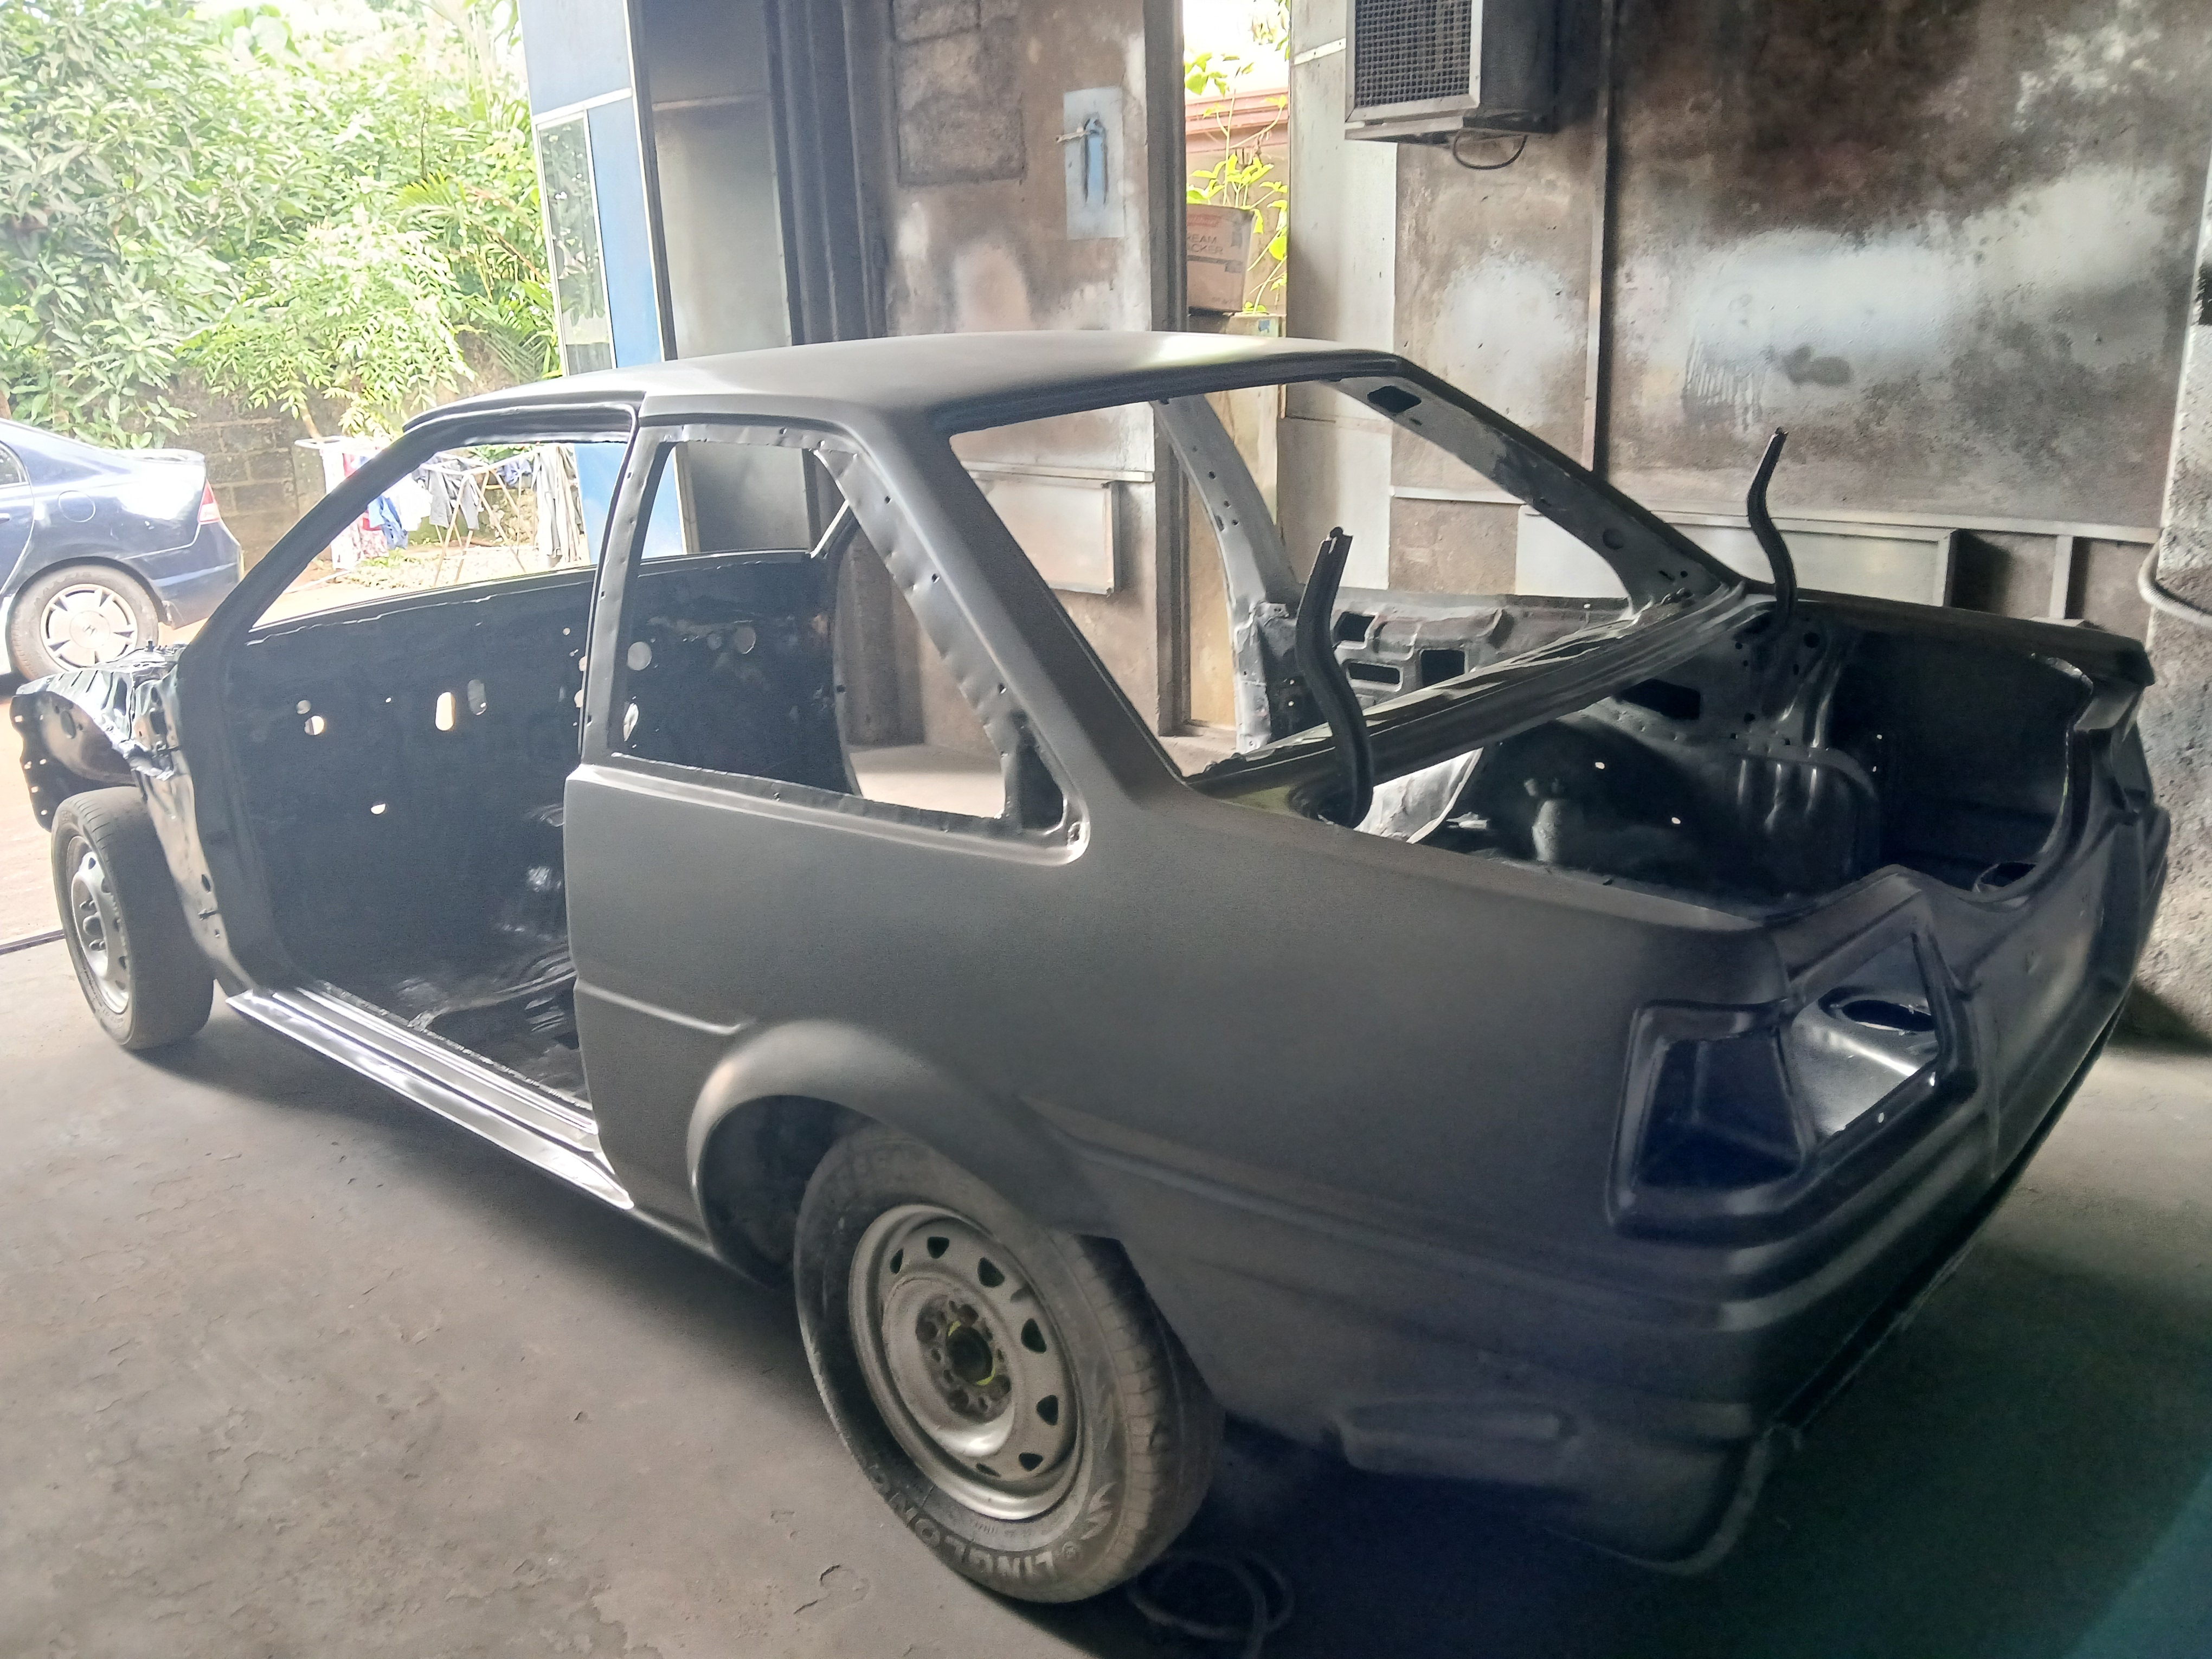
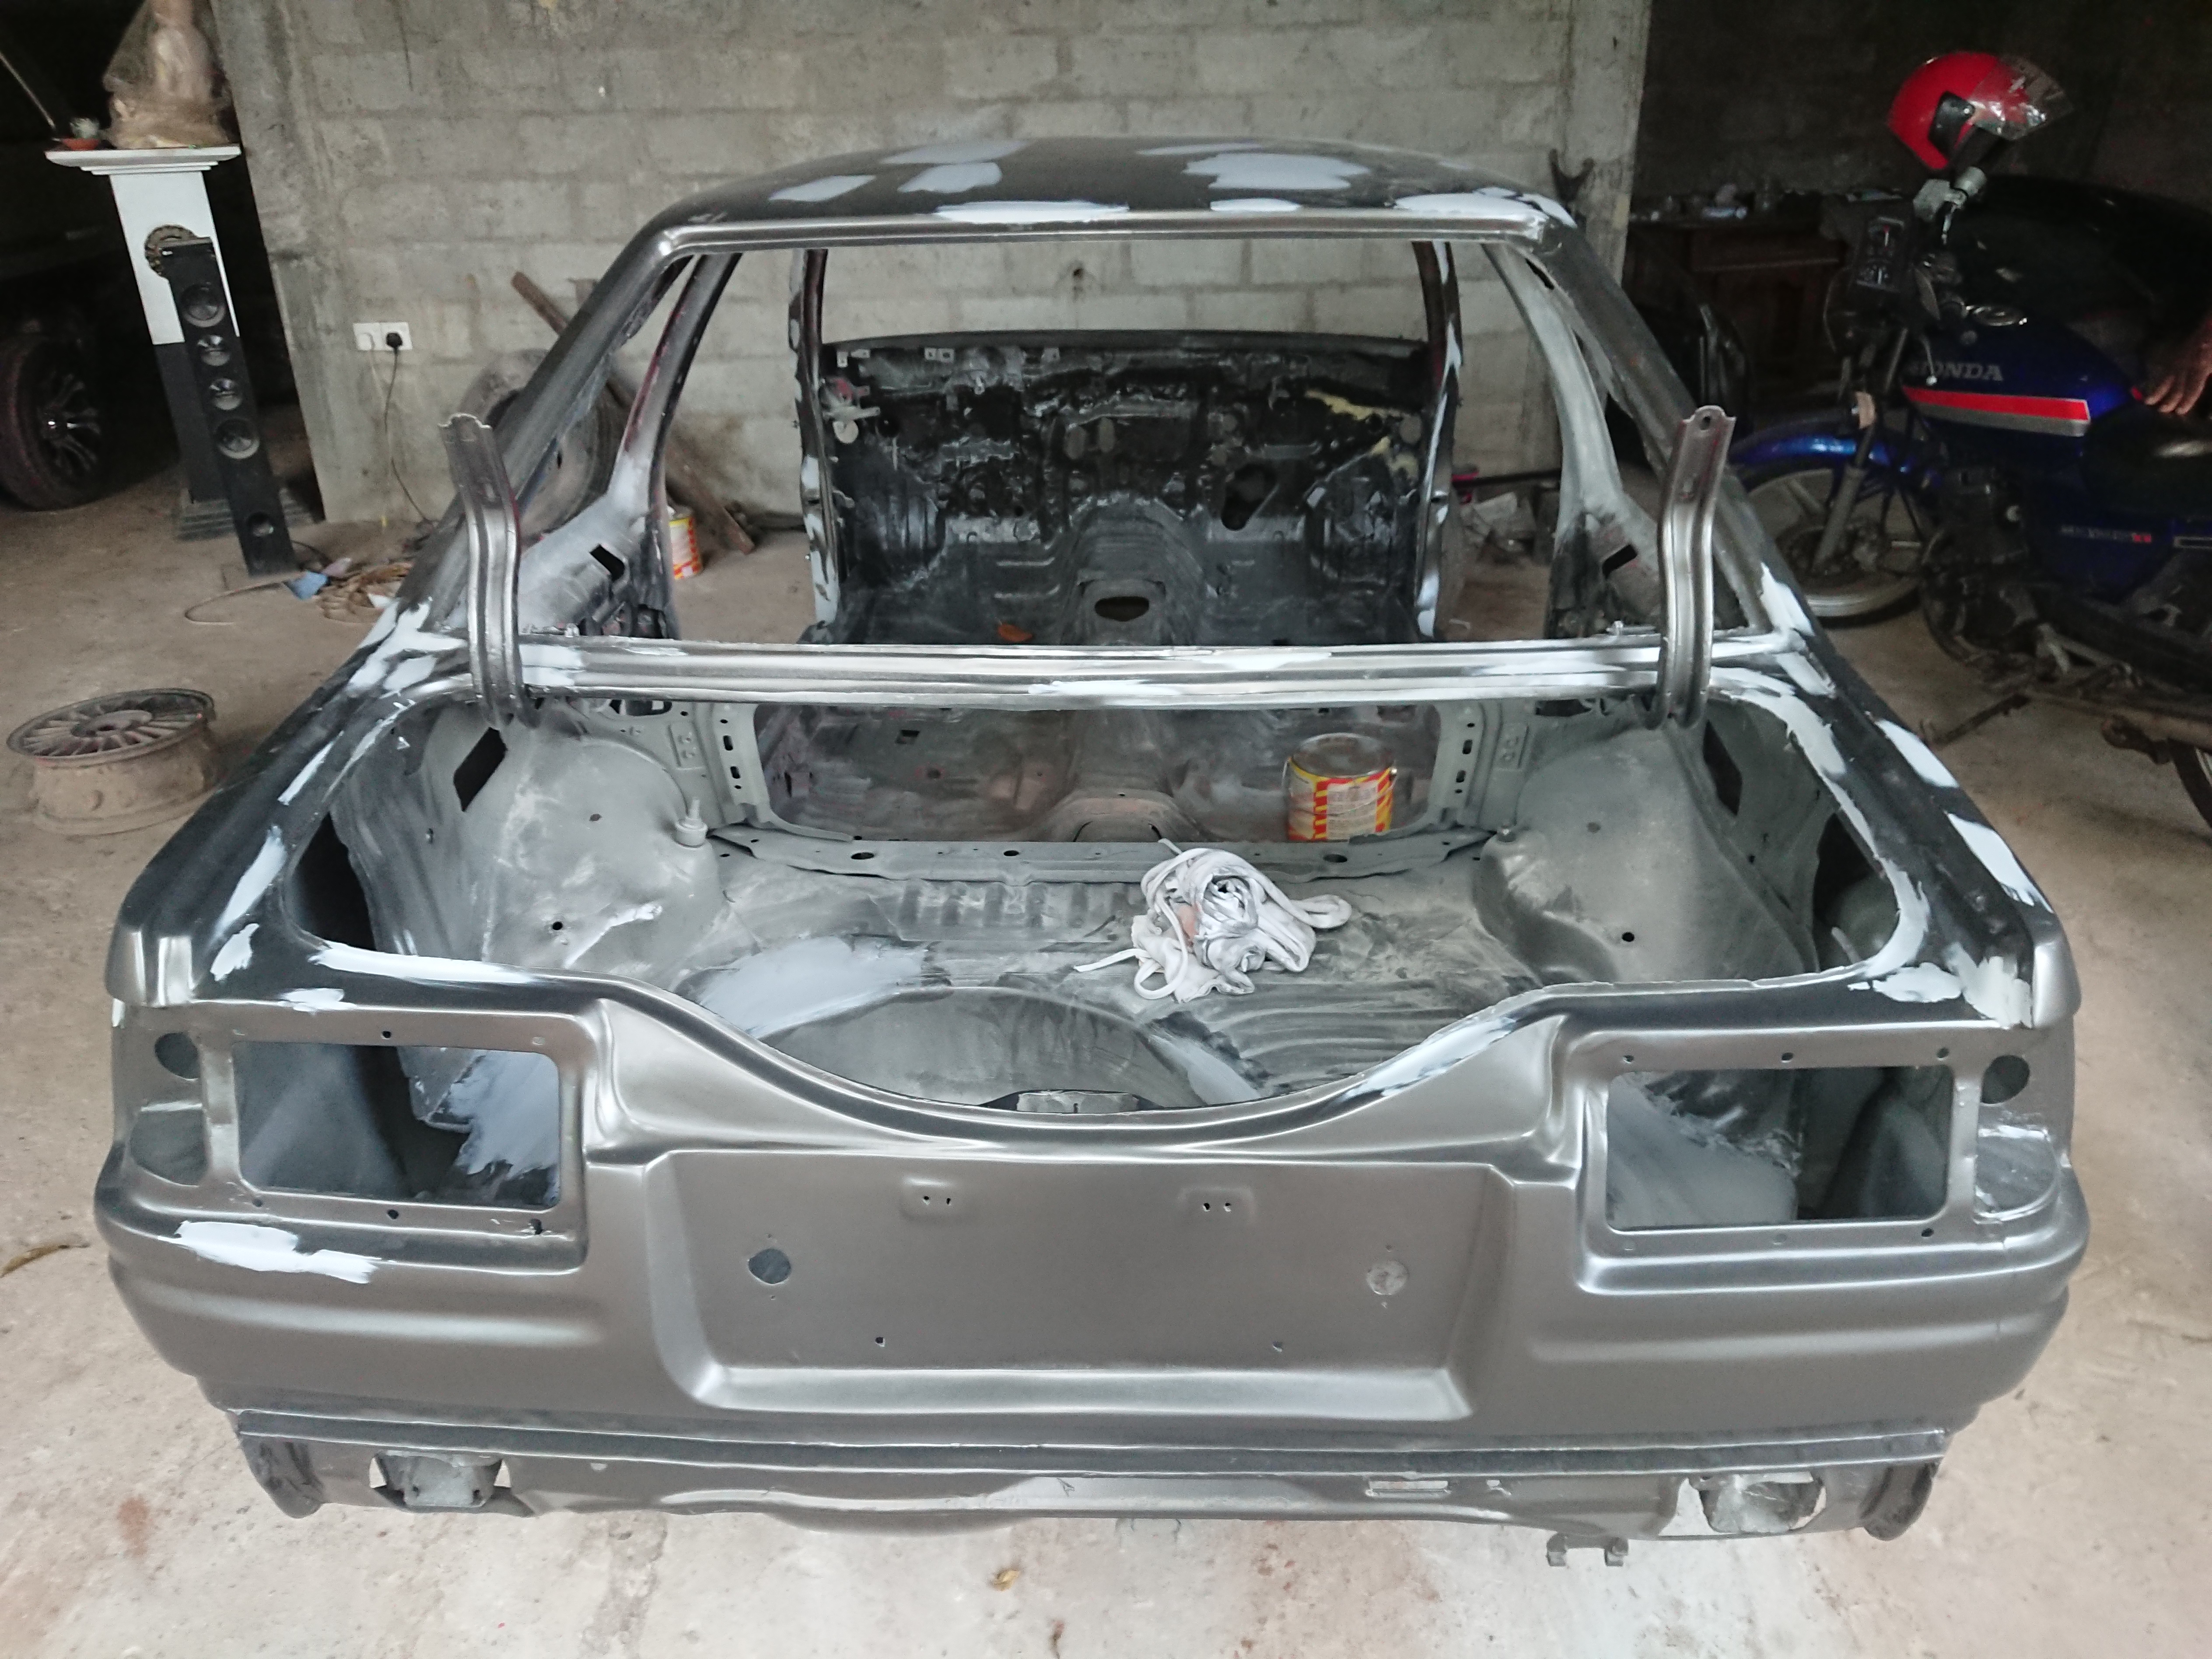
Starting the Foundation: Primer Application Begins
Started on: 2025-05-22
With the body fully stripped and cleaned down to bare metal, it was time to lay the groundwork — starting with primer. This stage is essential to protect the metal from rust and prepare the surface for proper panel alignment and future paint.
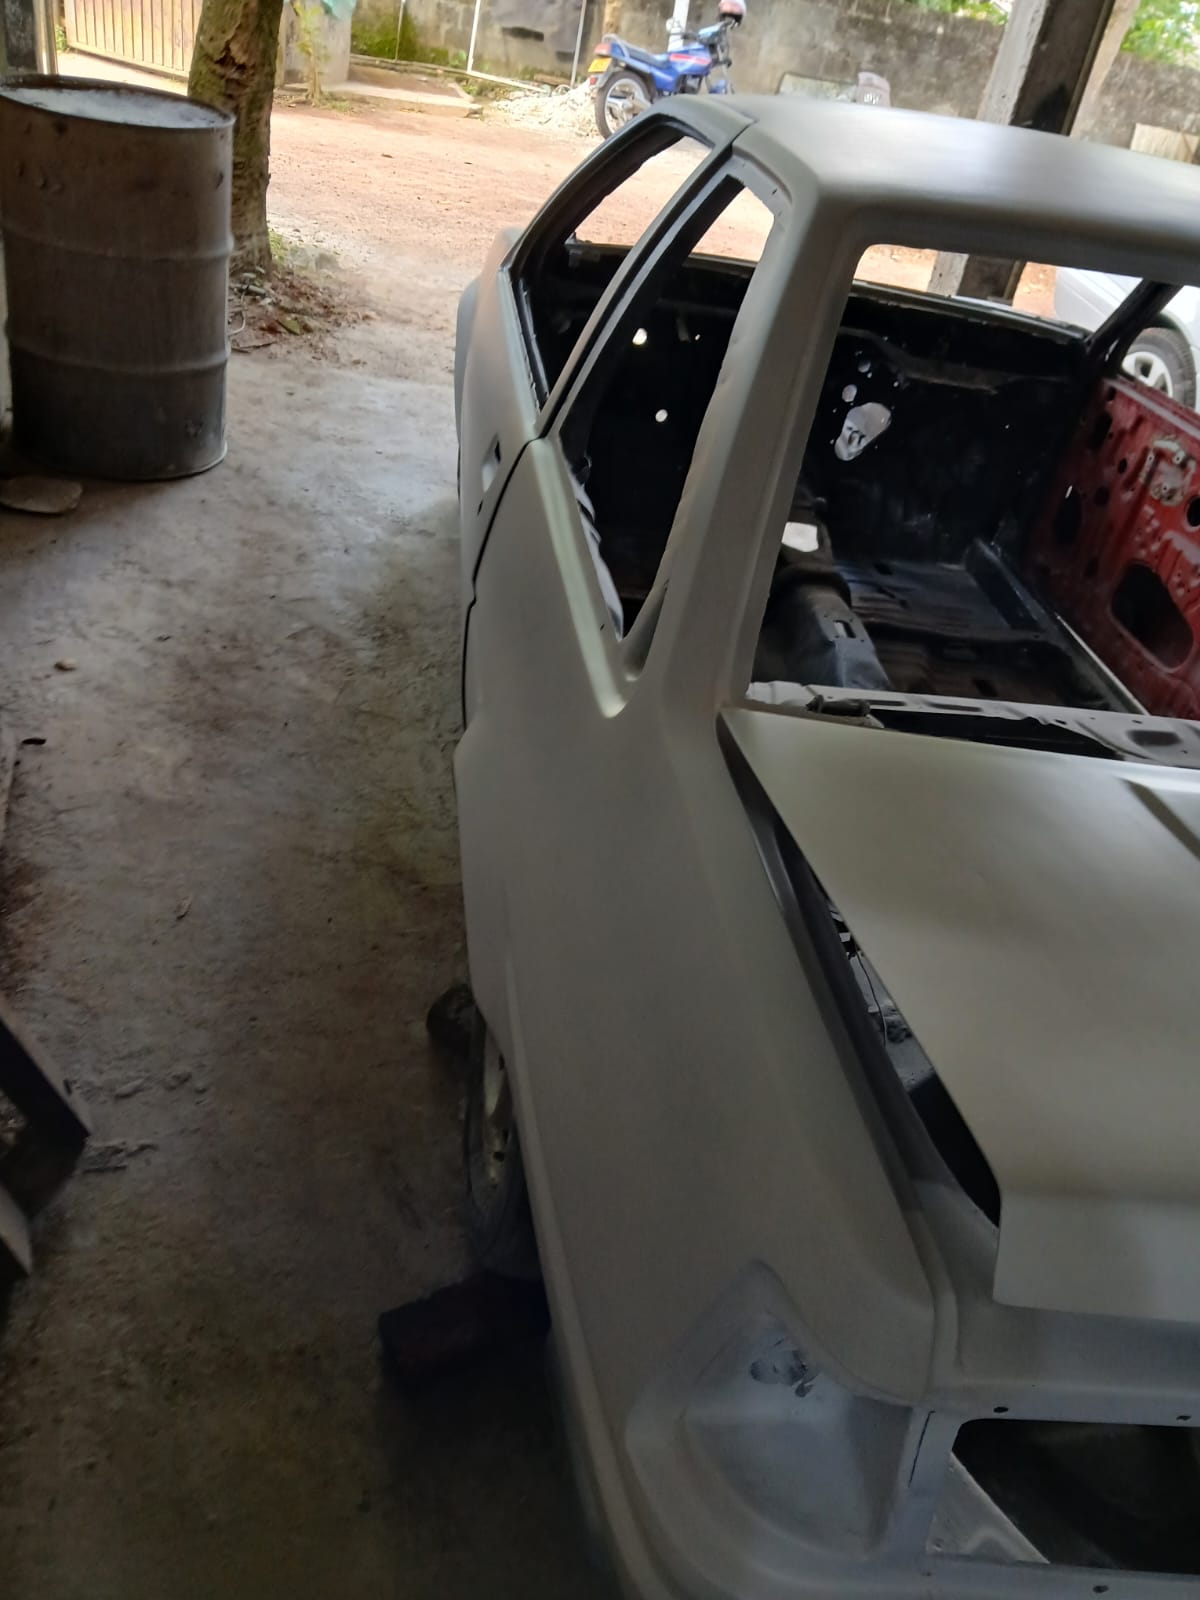
We're approaching this process step by step, beginning with the right side of the car. The focus here was on the body panels — making sure everything lines up cleanly before moving forward.
Here are a few shots from the initial primer application phase:


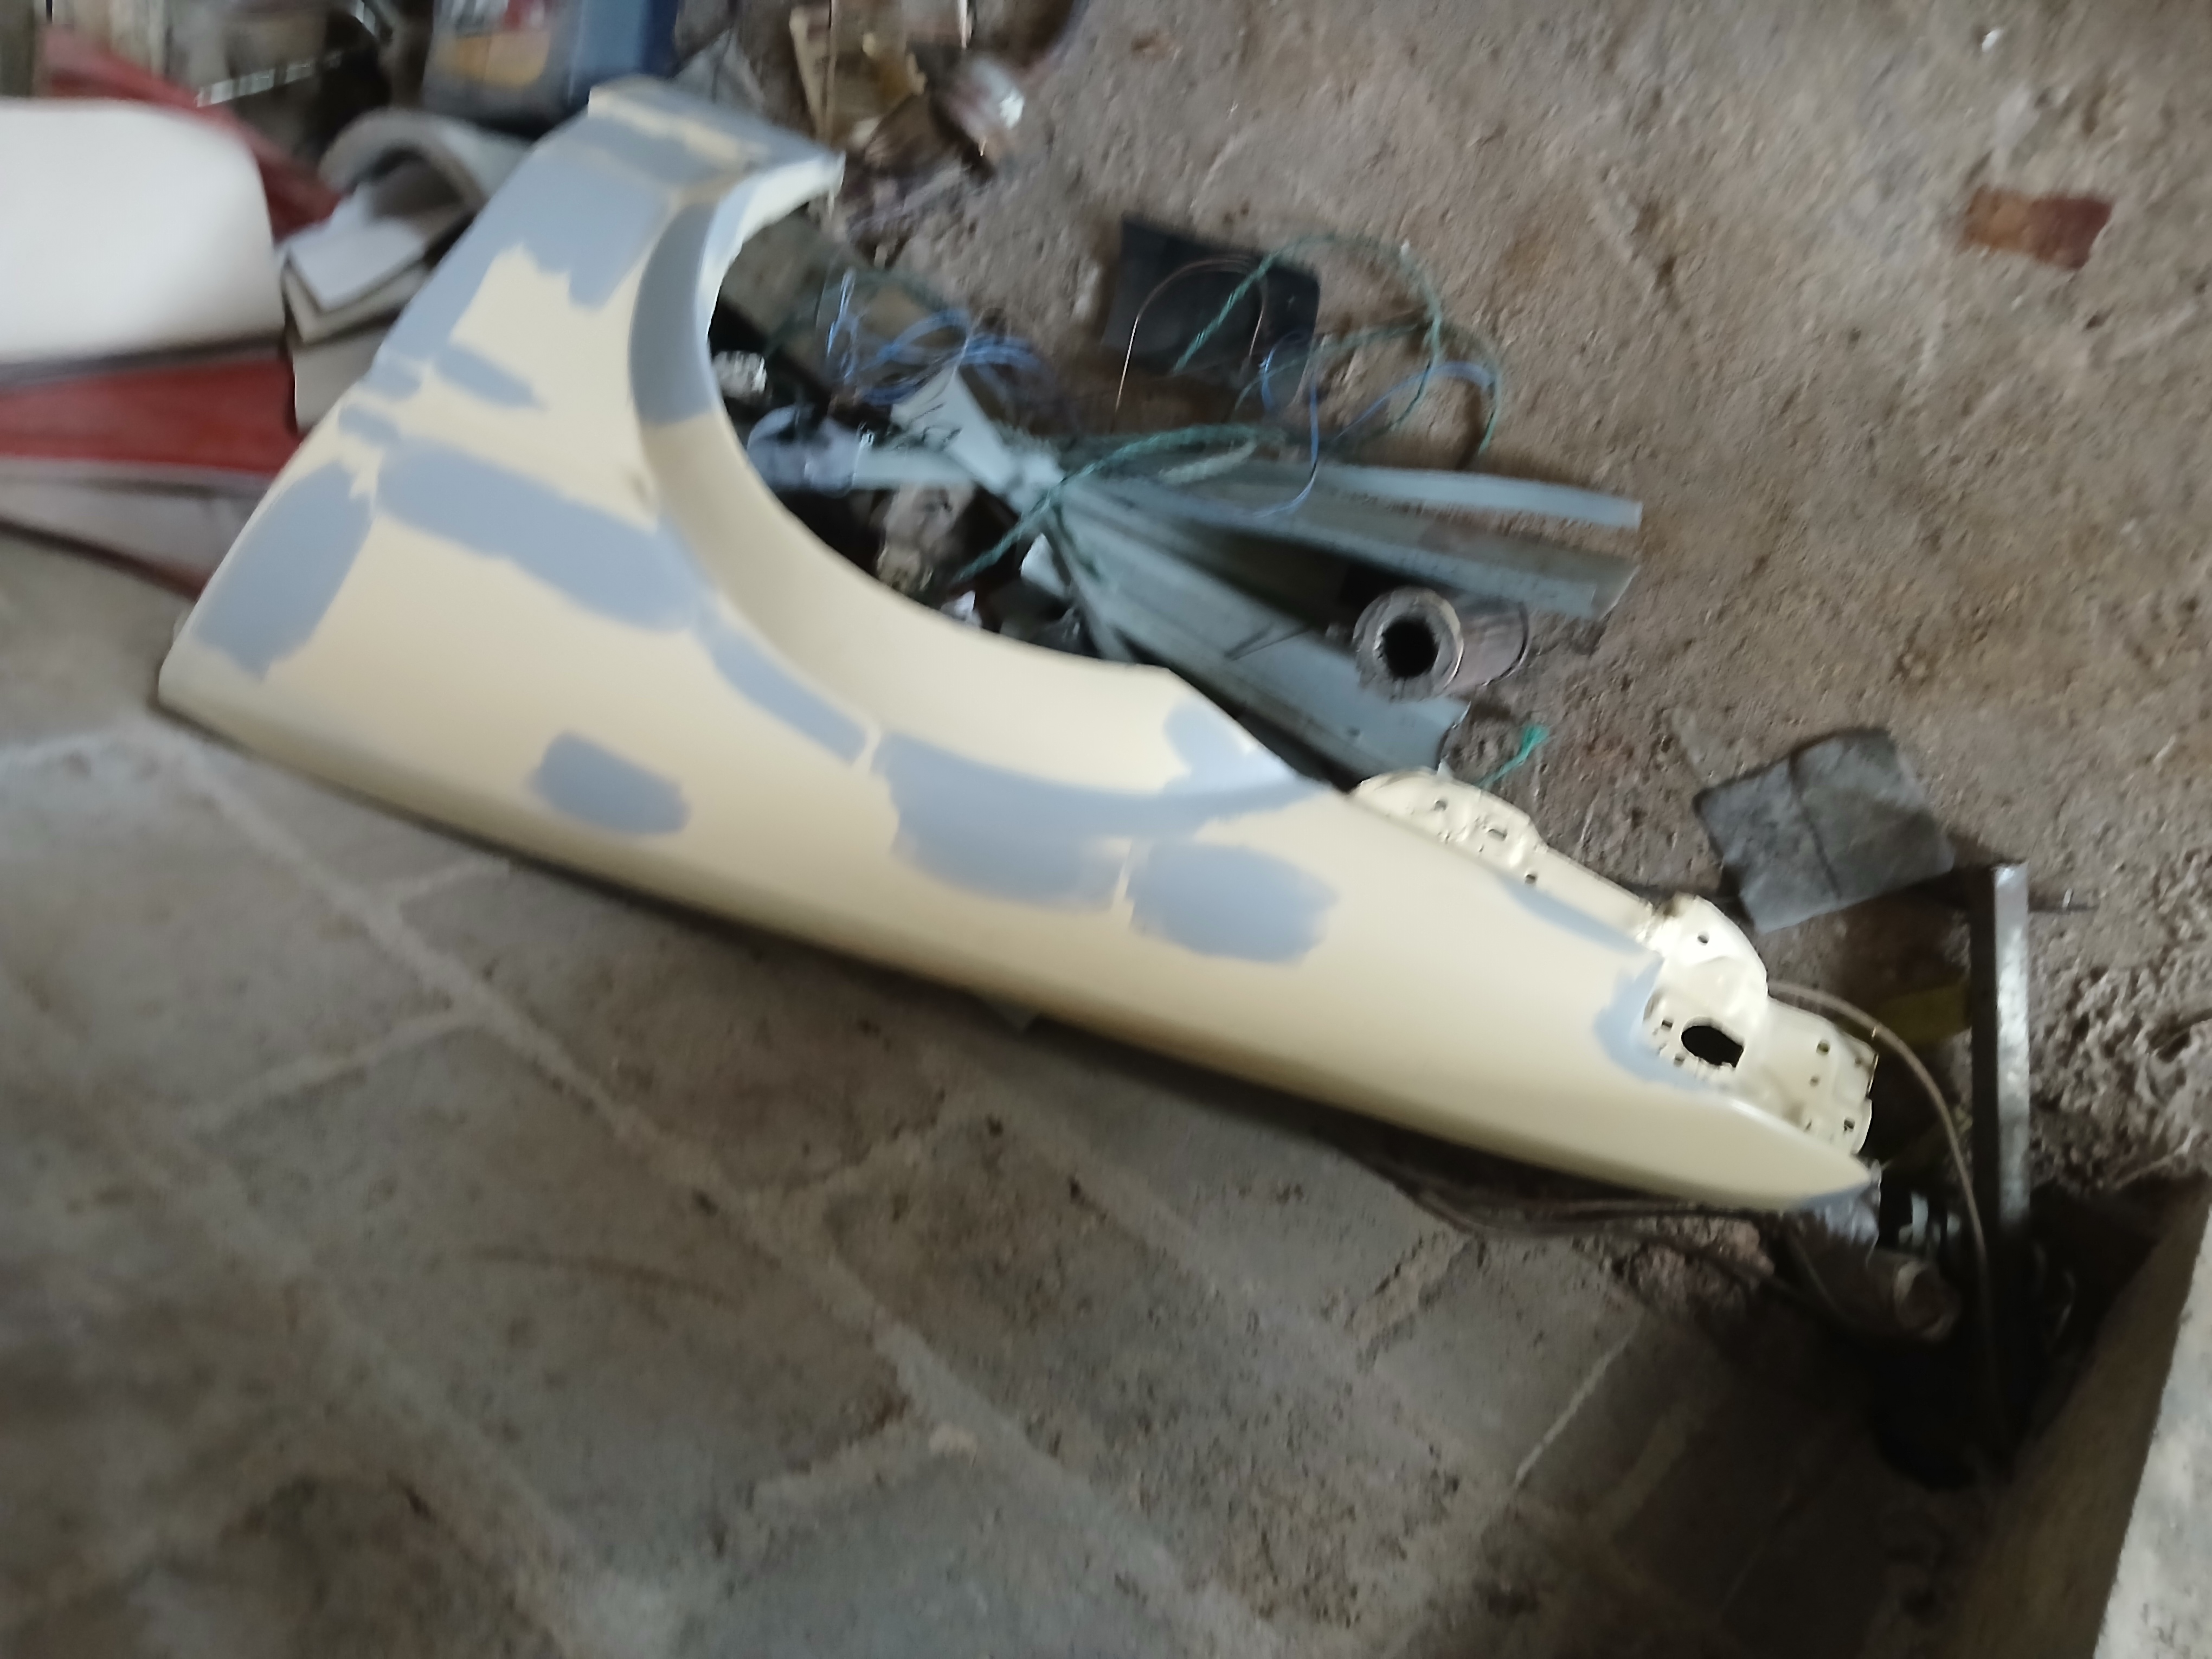
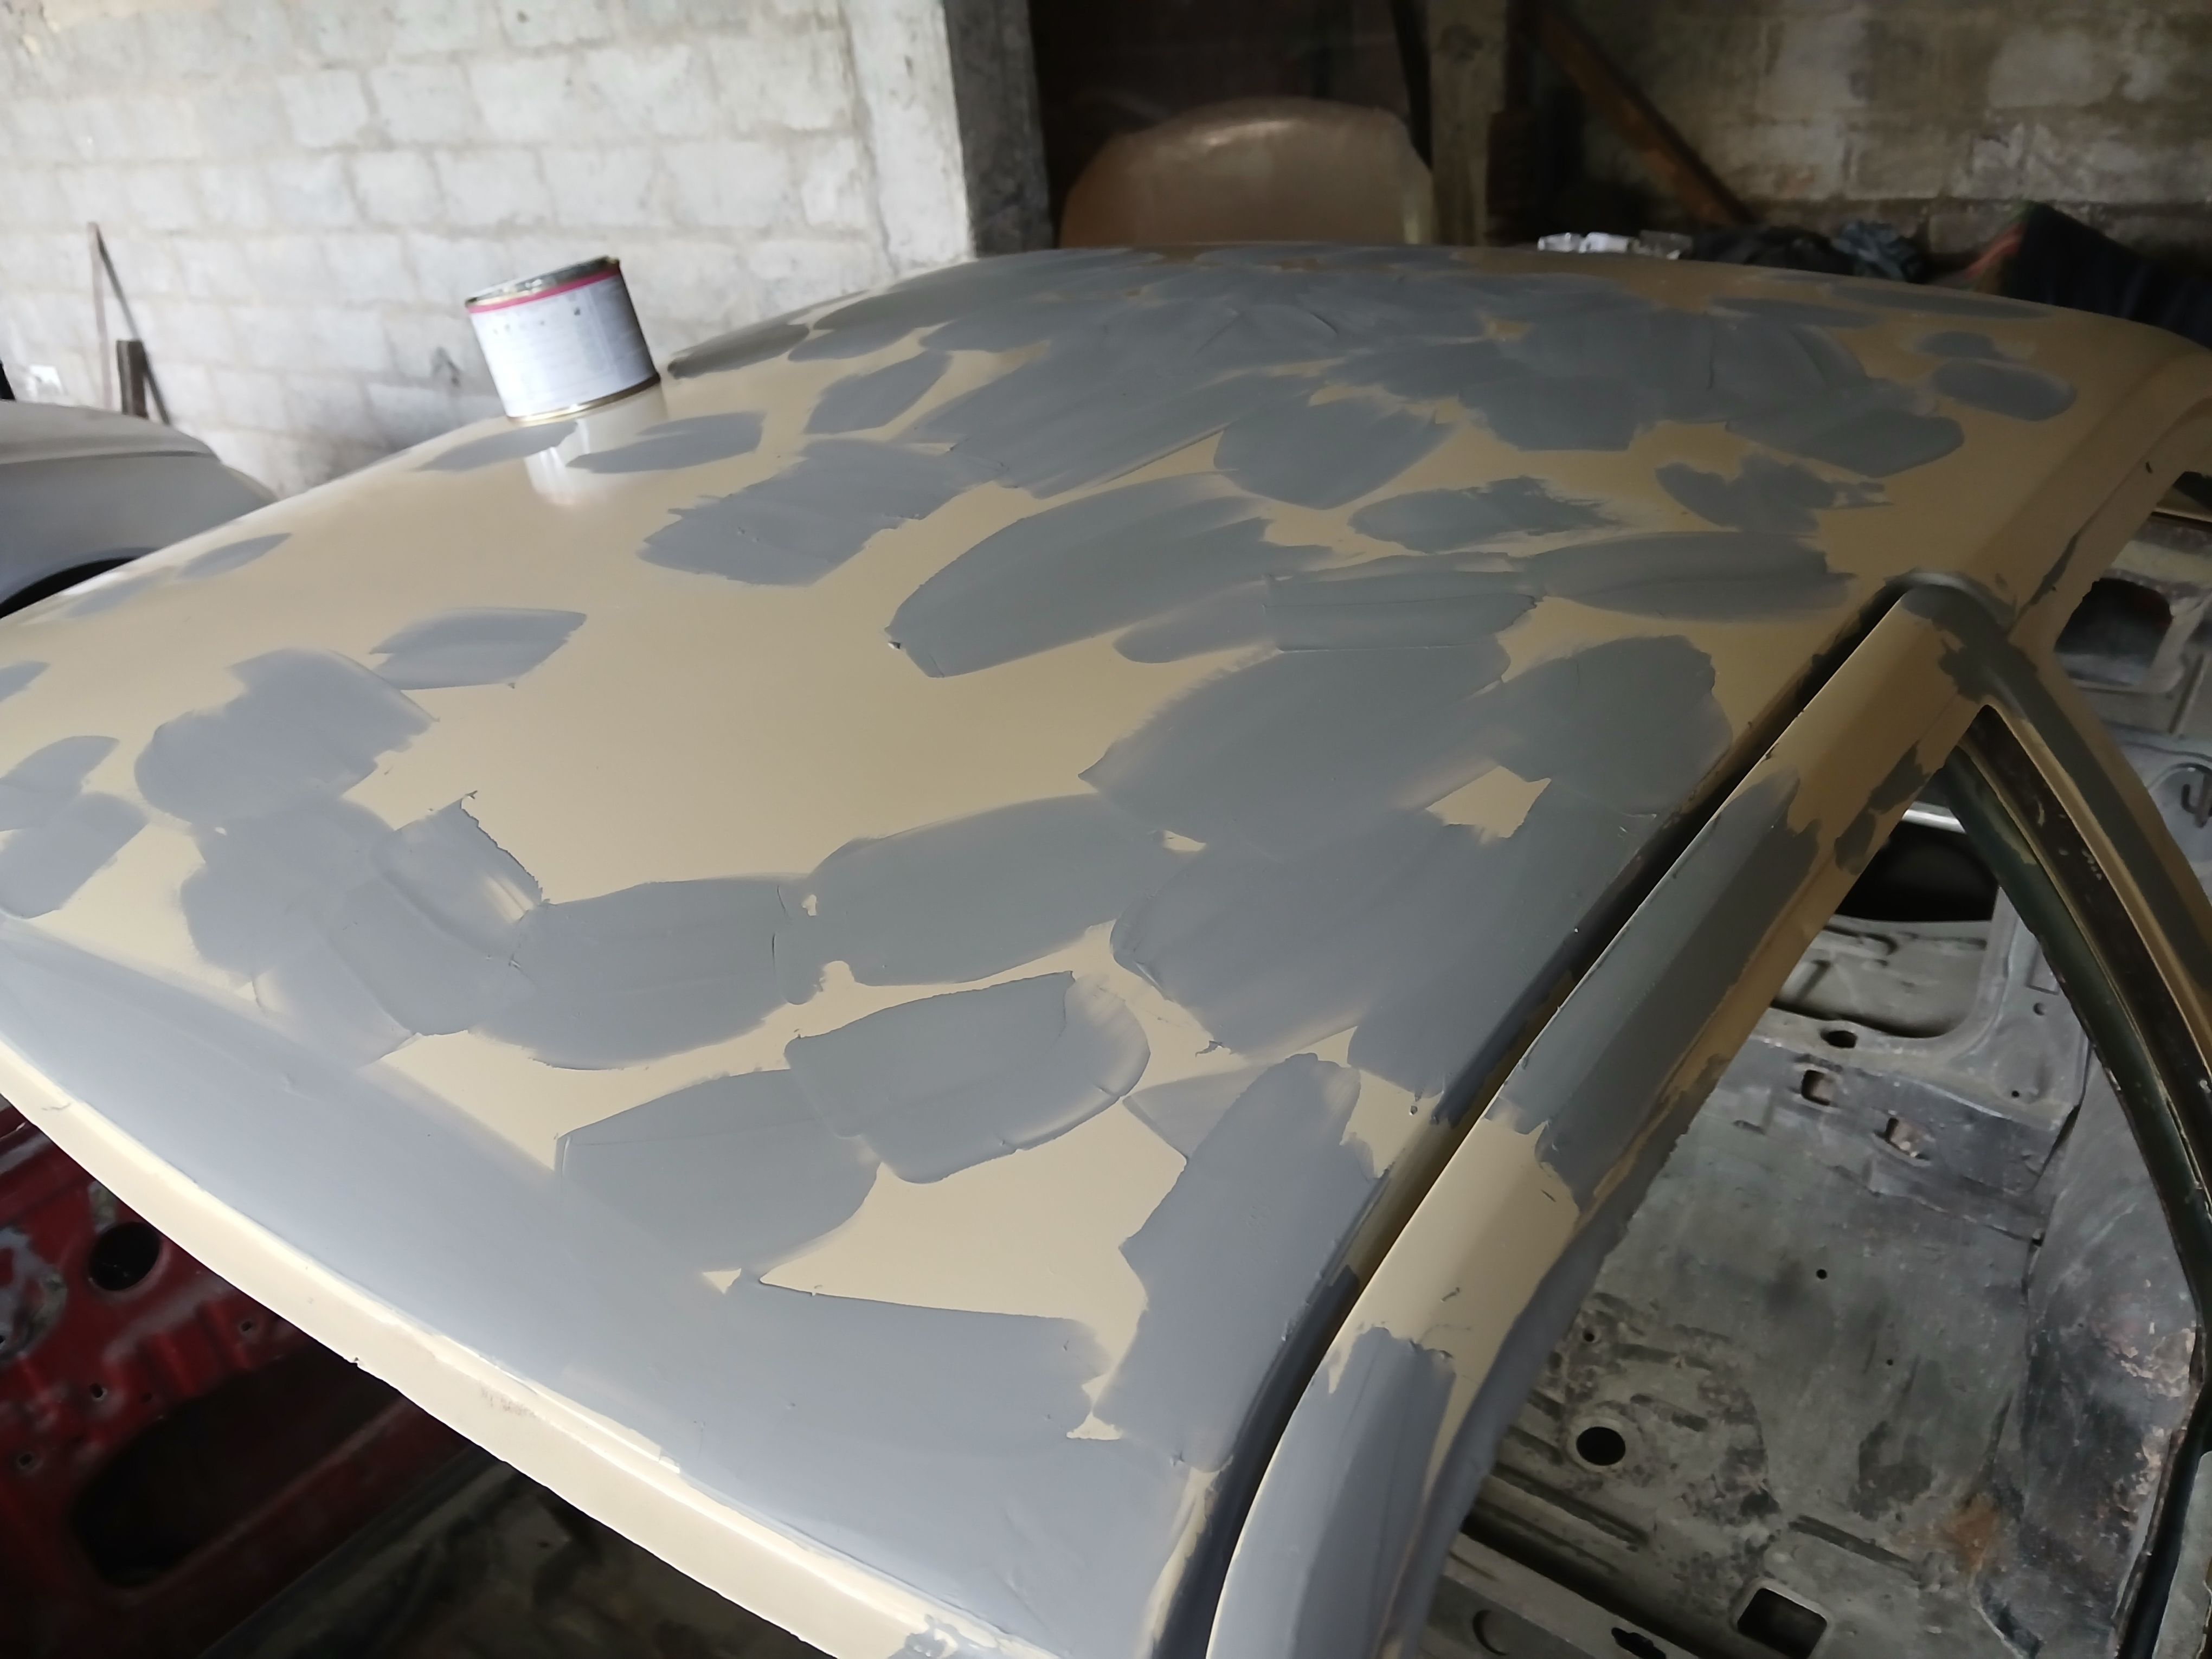
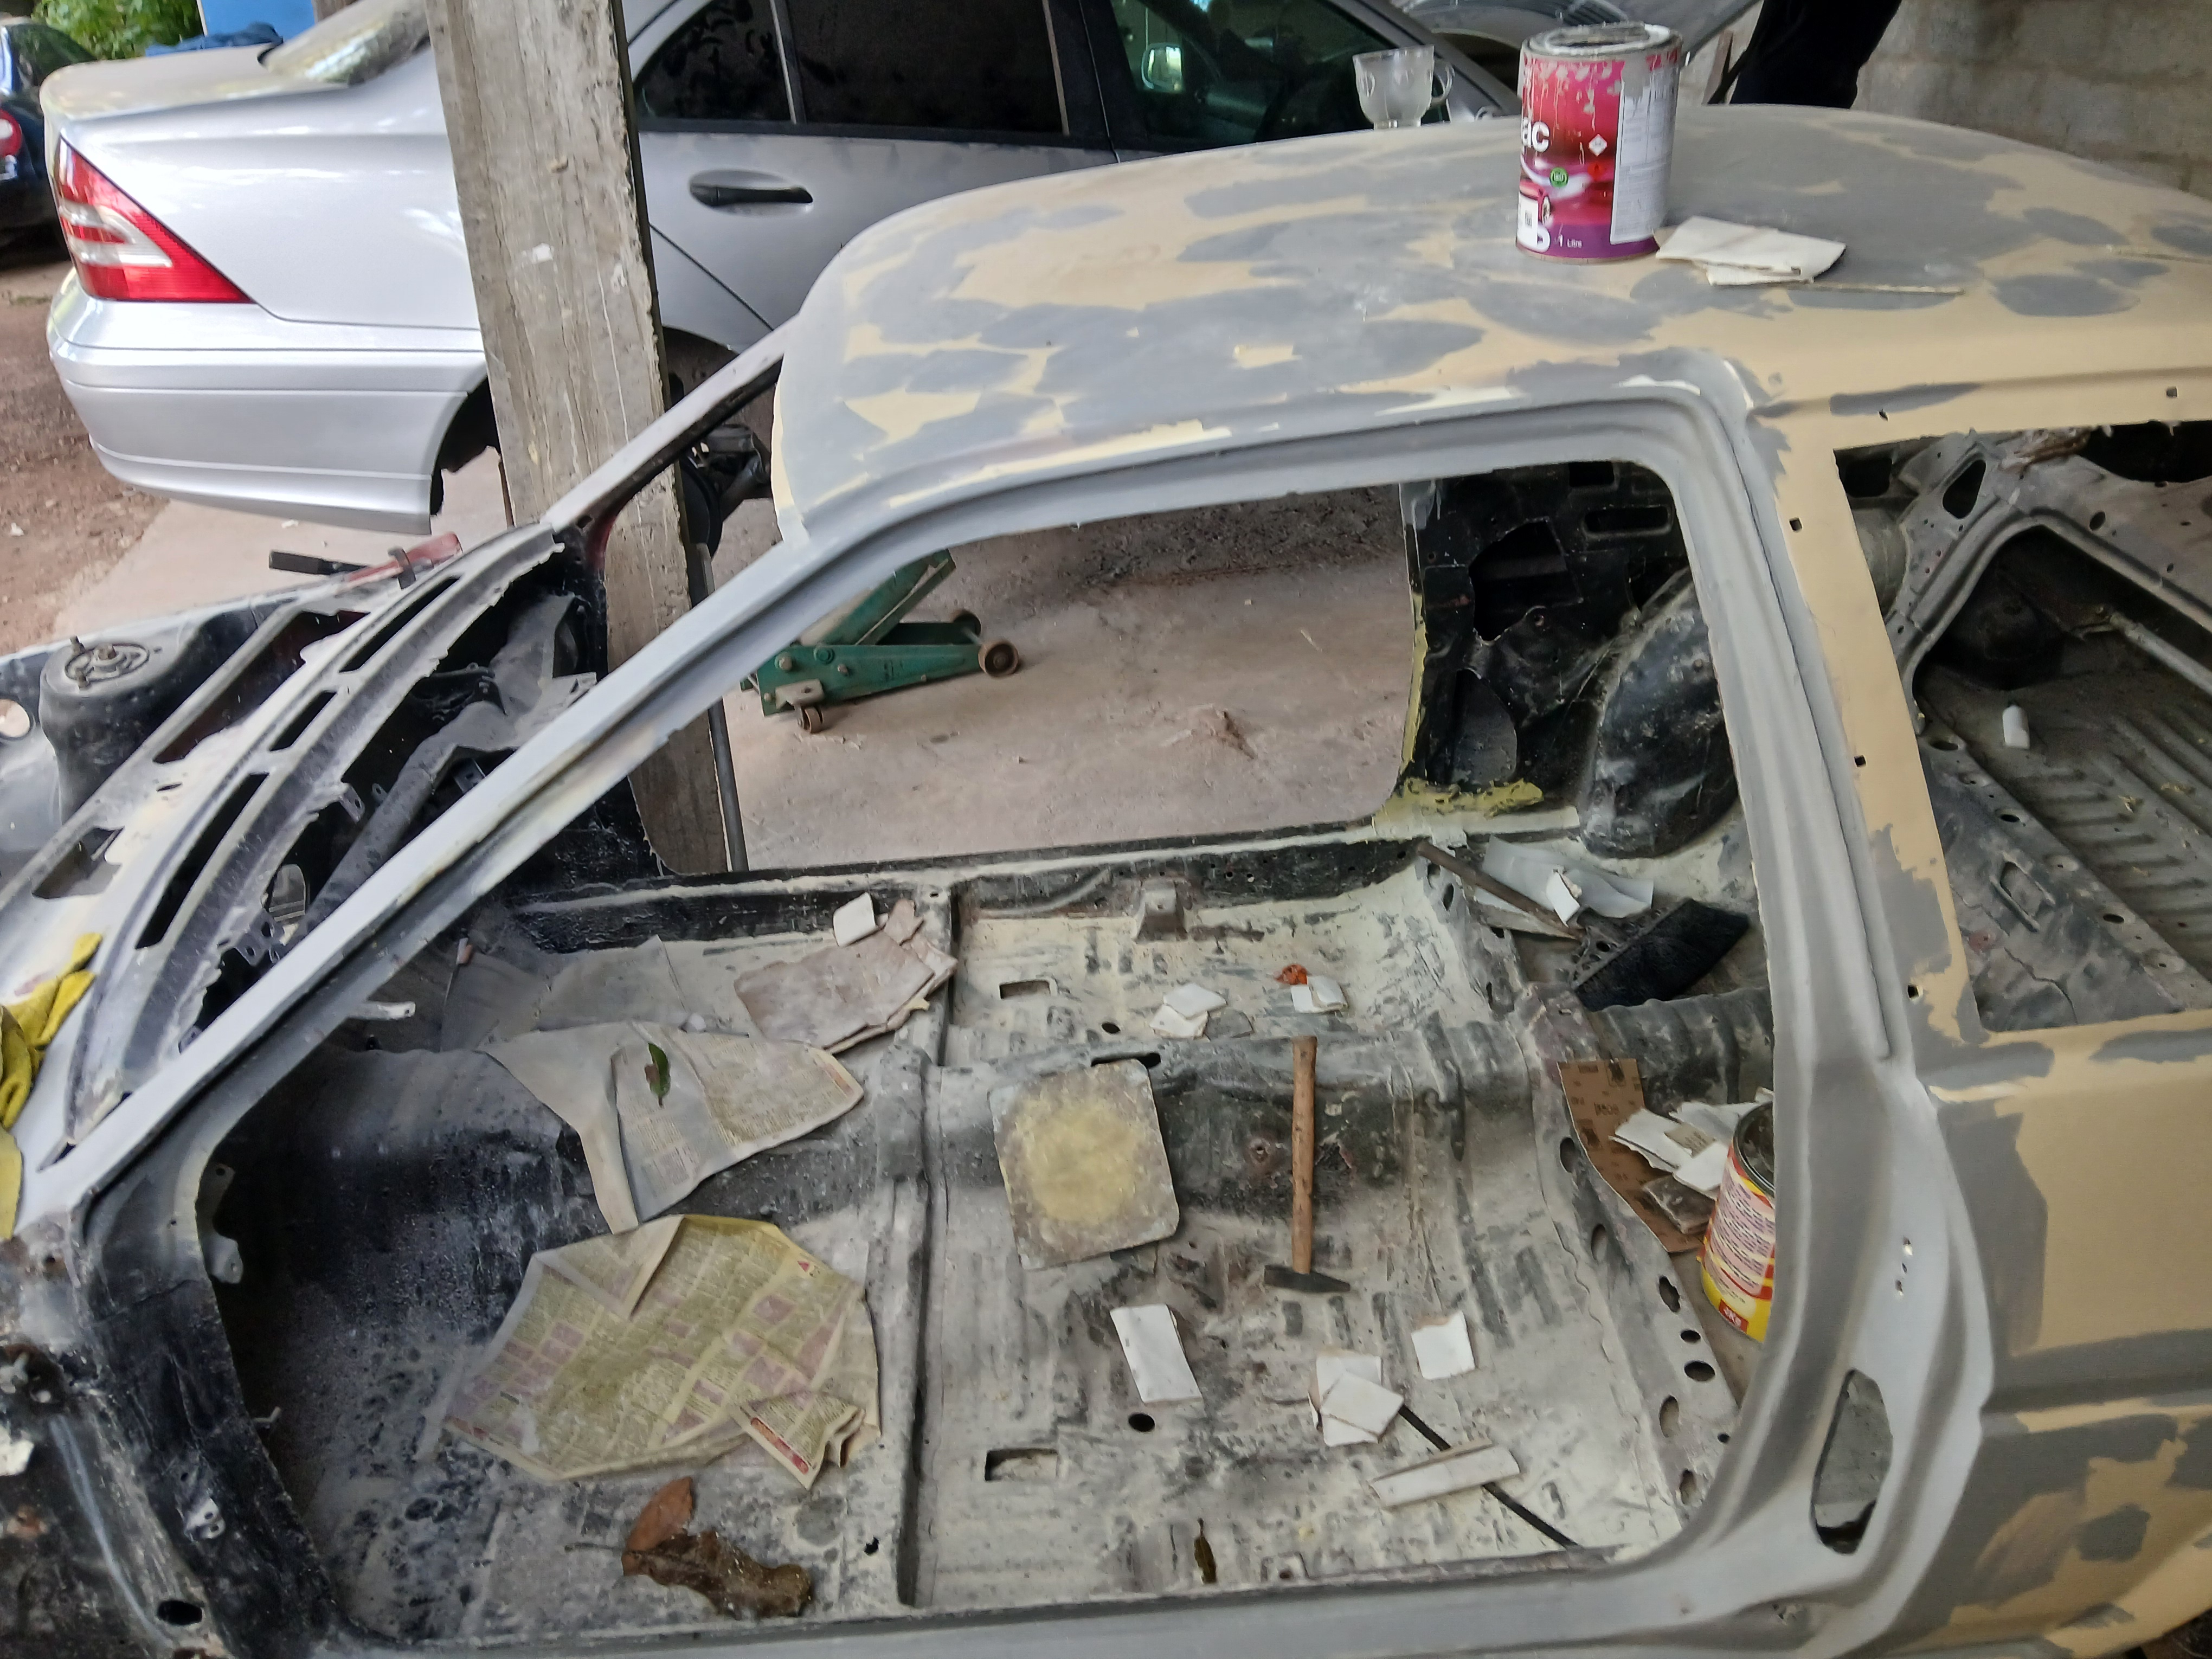
Starting the Foundation: Filler Application and Body Alignment
With the primer applied, we moved on to the next crucial step—applying the filler and aligning the body panels. This phase involved a significant amount of work to get everything properly straightened and adjusted.
Despite the challenges, we made solid progress. The panels were carefully aligned to ensure tight, clean lines across the car, setting the foundation for the AE86’s sharp and refined look.
Started on: 2025-06-28
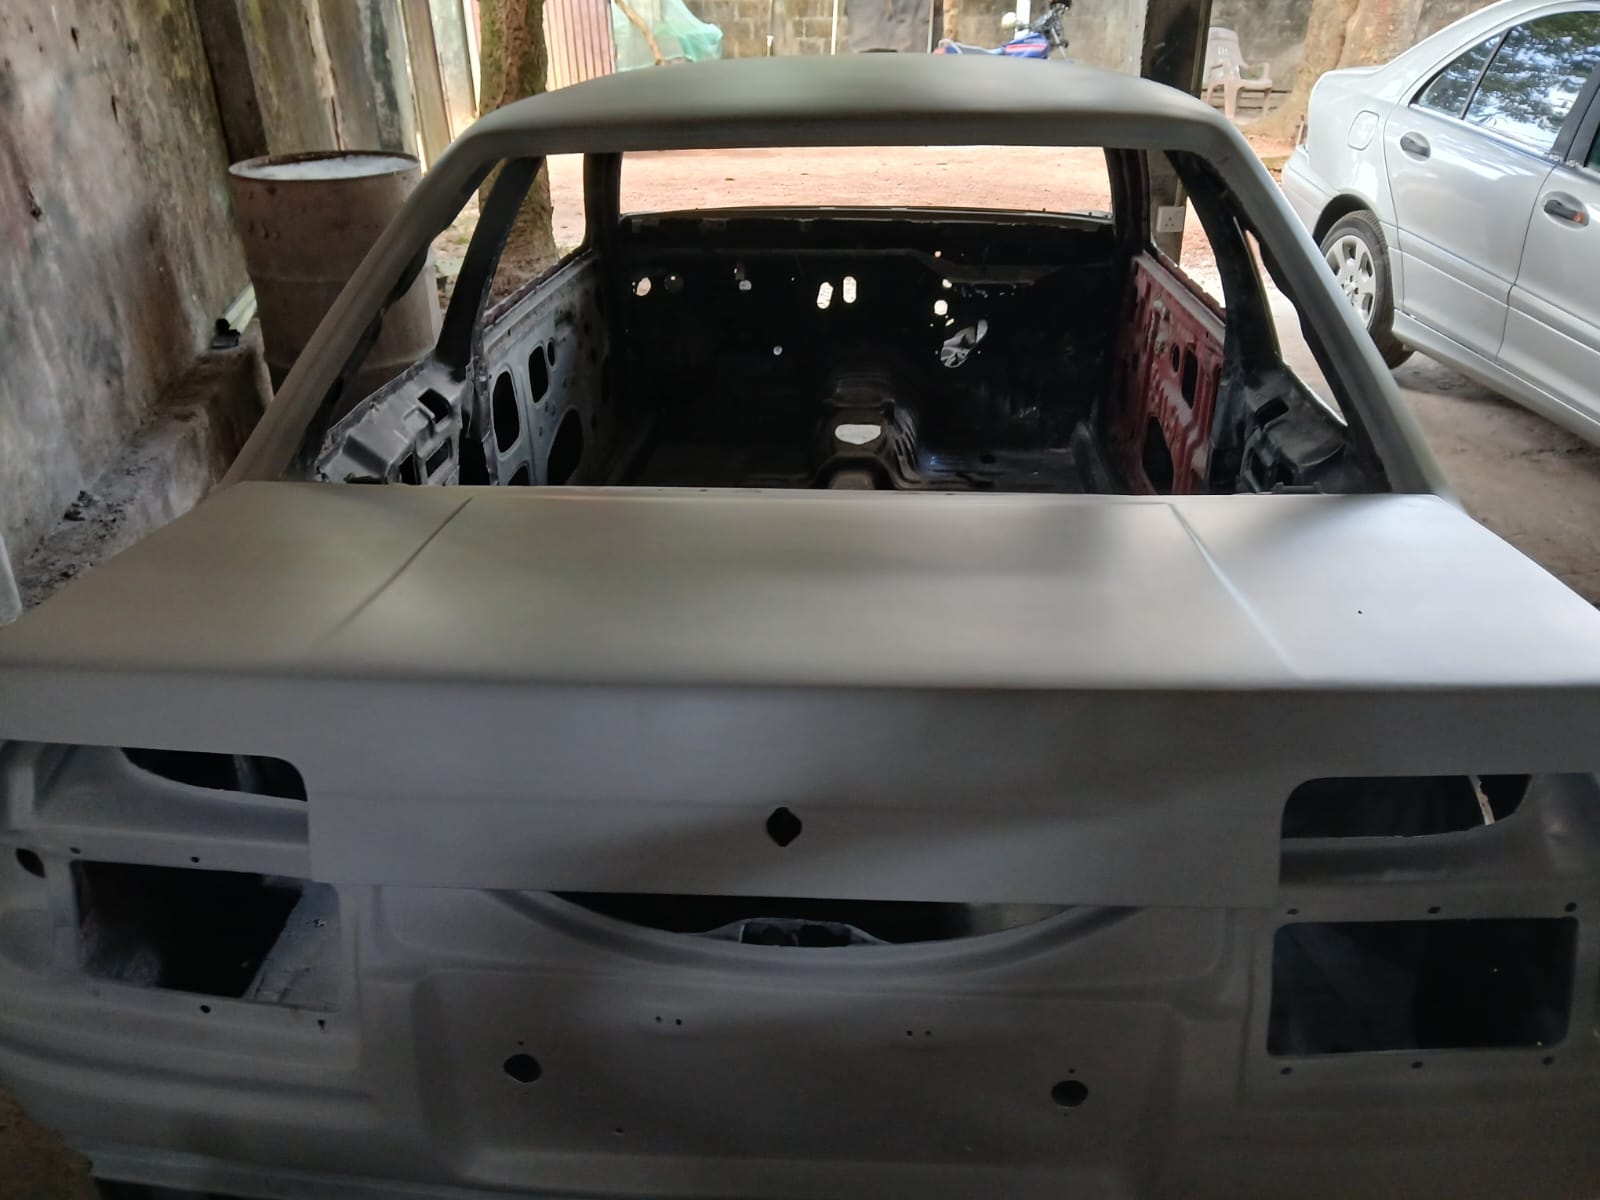
After completing the full application of primer and necessary bodywork, we moved on to wet sanding the entire shell. This process involved carefully cutting the surface while continuously adding water—an essential step to ensure all the body lines and contours aligned perfectly. Though it was a meticulous and time-consuming task, we managed to complete it within a day. This prep work was critical in getting the car ready for the first coat of paint, and it made a noticeable difference in how well the body lines popped after sanding.
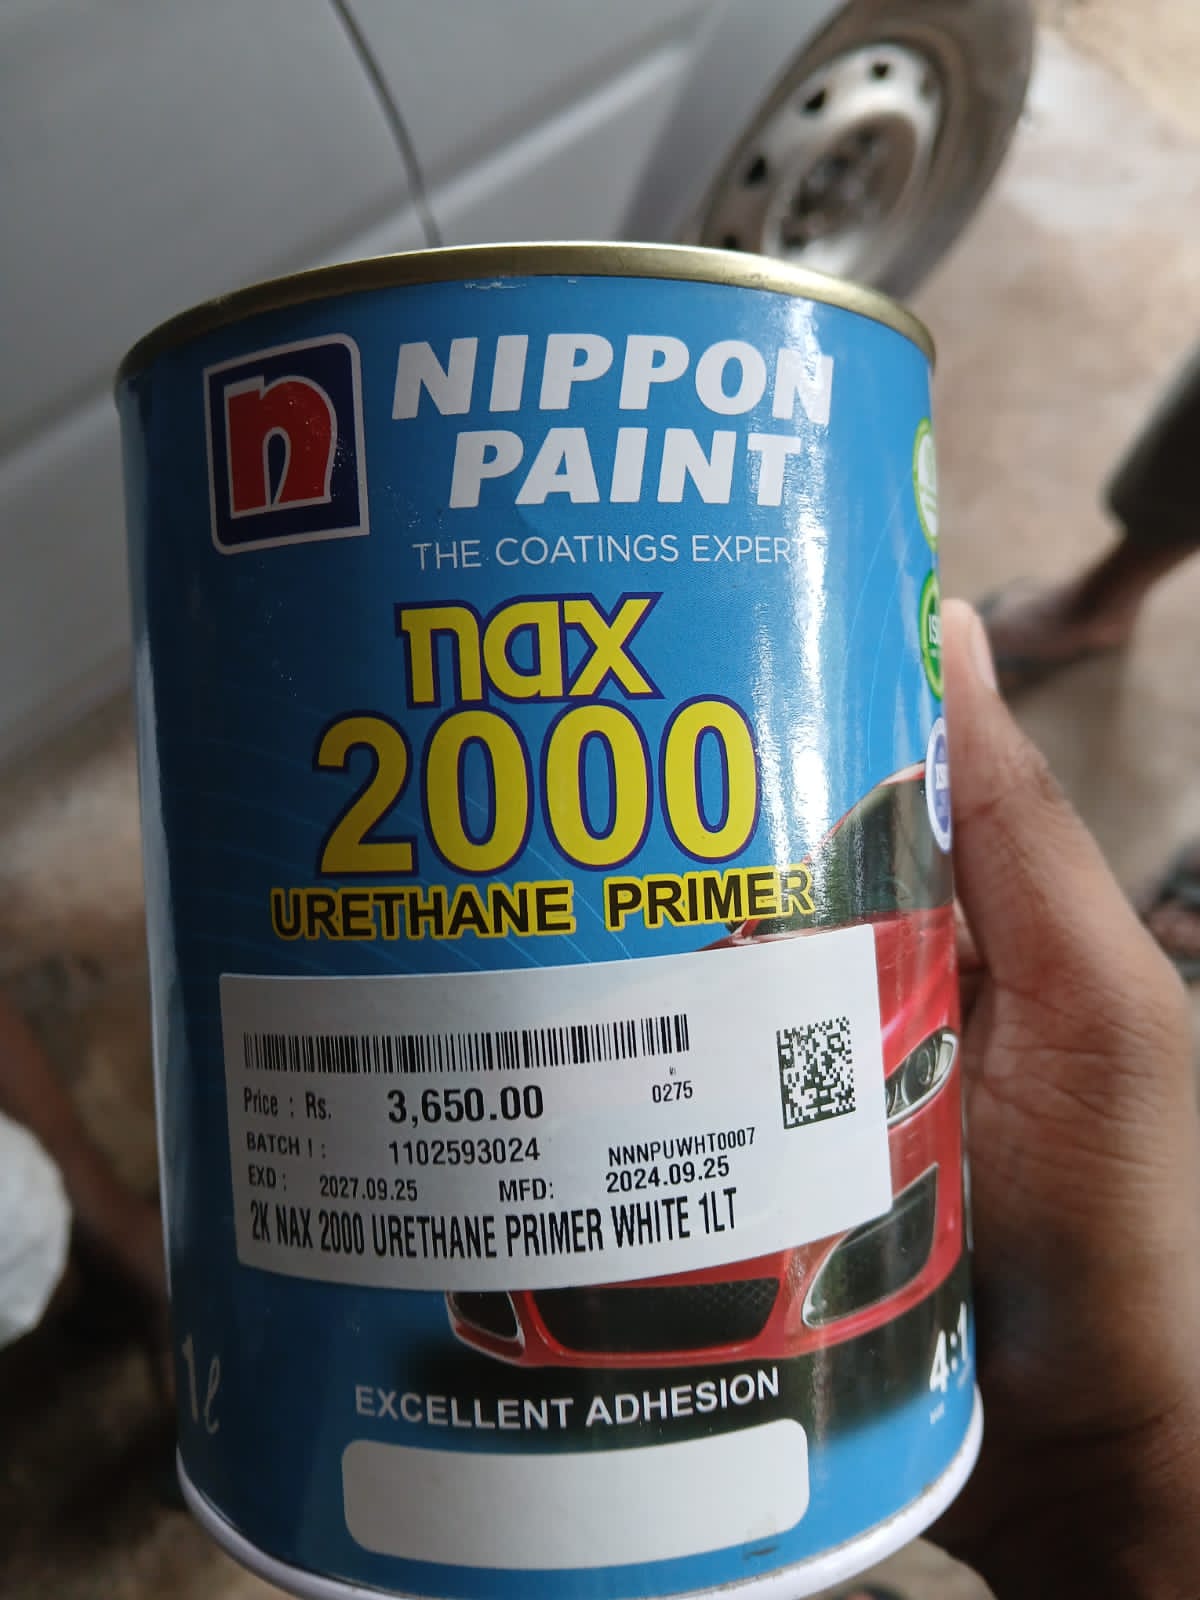
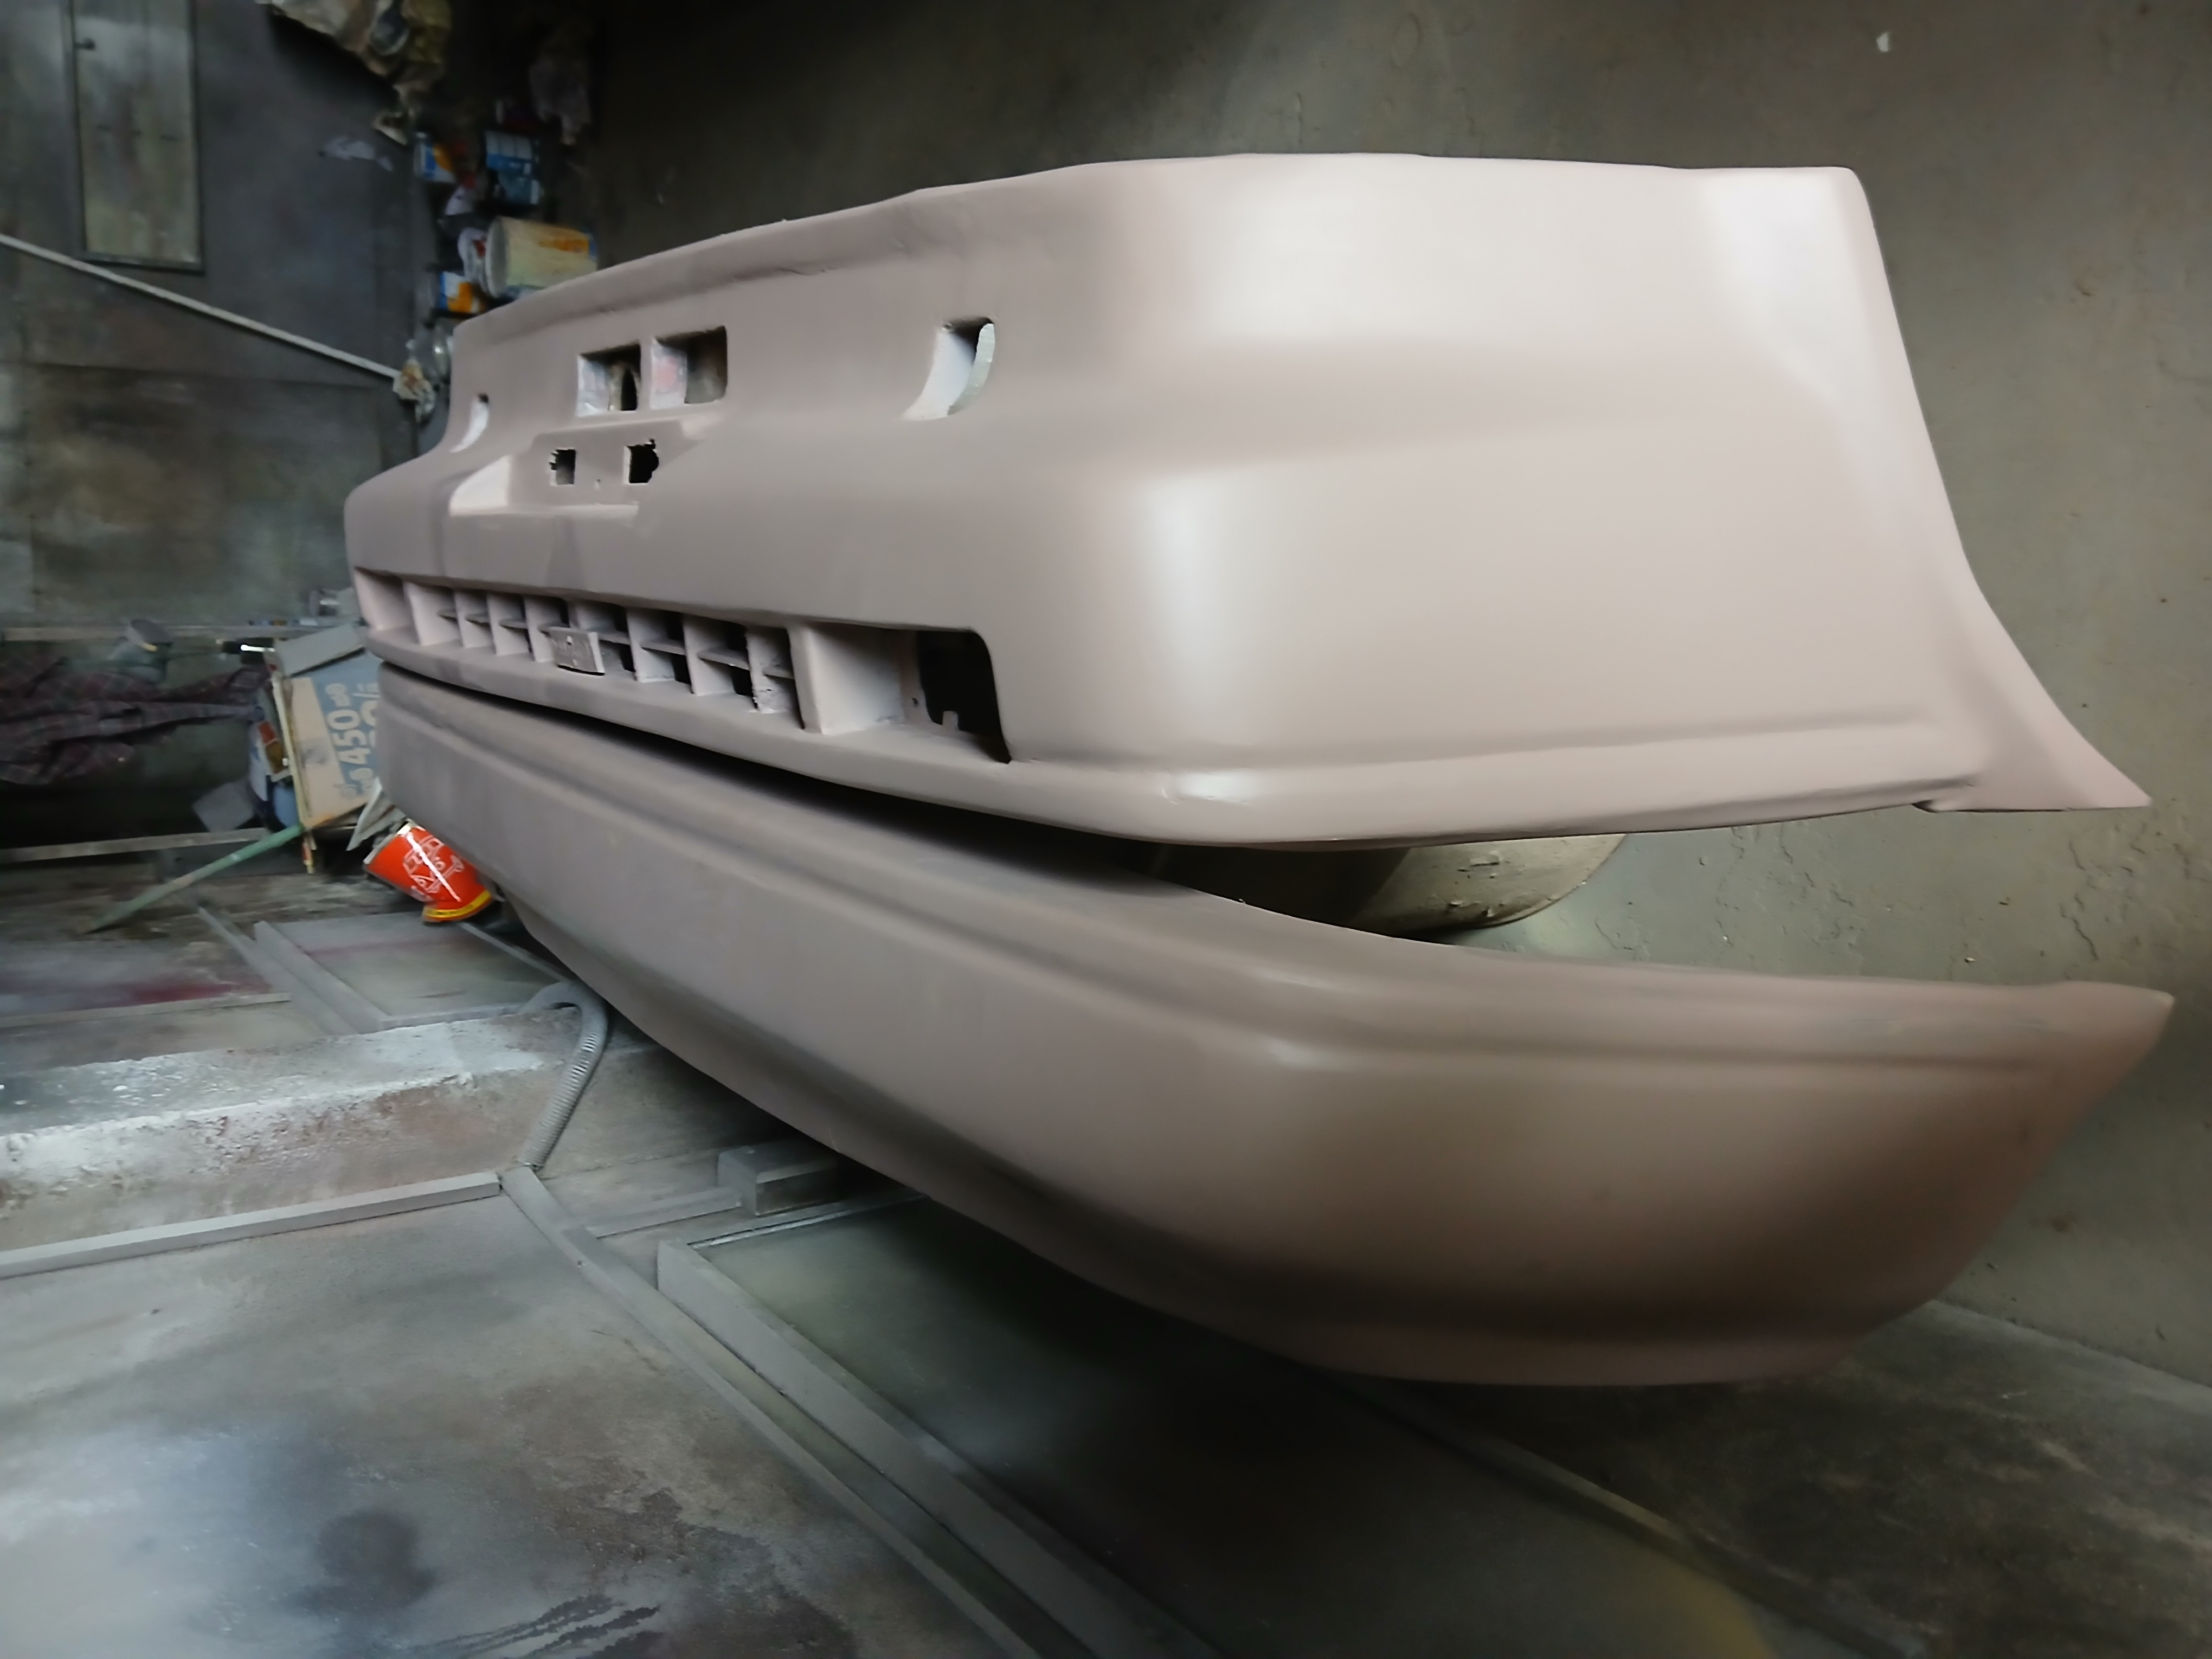
After completing the wet sanding process, we moved on to applying the primer. For this stage, we chose to use a urethane primer—a high-build, durable option that's ideal for surfacing and sealing the body before paint. Urethane primer is particularly effective in filling minor imperfections and providing a smooth, even surface, which is crucial after the sanding stage.
Started on: 2025-06-30
Applying the primer after wet sanding ensures that the body is clean, smooth, and ready to accept the primer uniformly. This step also helps highlight any final imperfections or inconsistencies in the body lines, which can be addressed before moving on to the base coat. Overall, using urethane primer at this point sets a strong foundation for the first layer of paint to bond properly and ensures a high-quality, long-lasting finish.


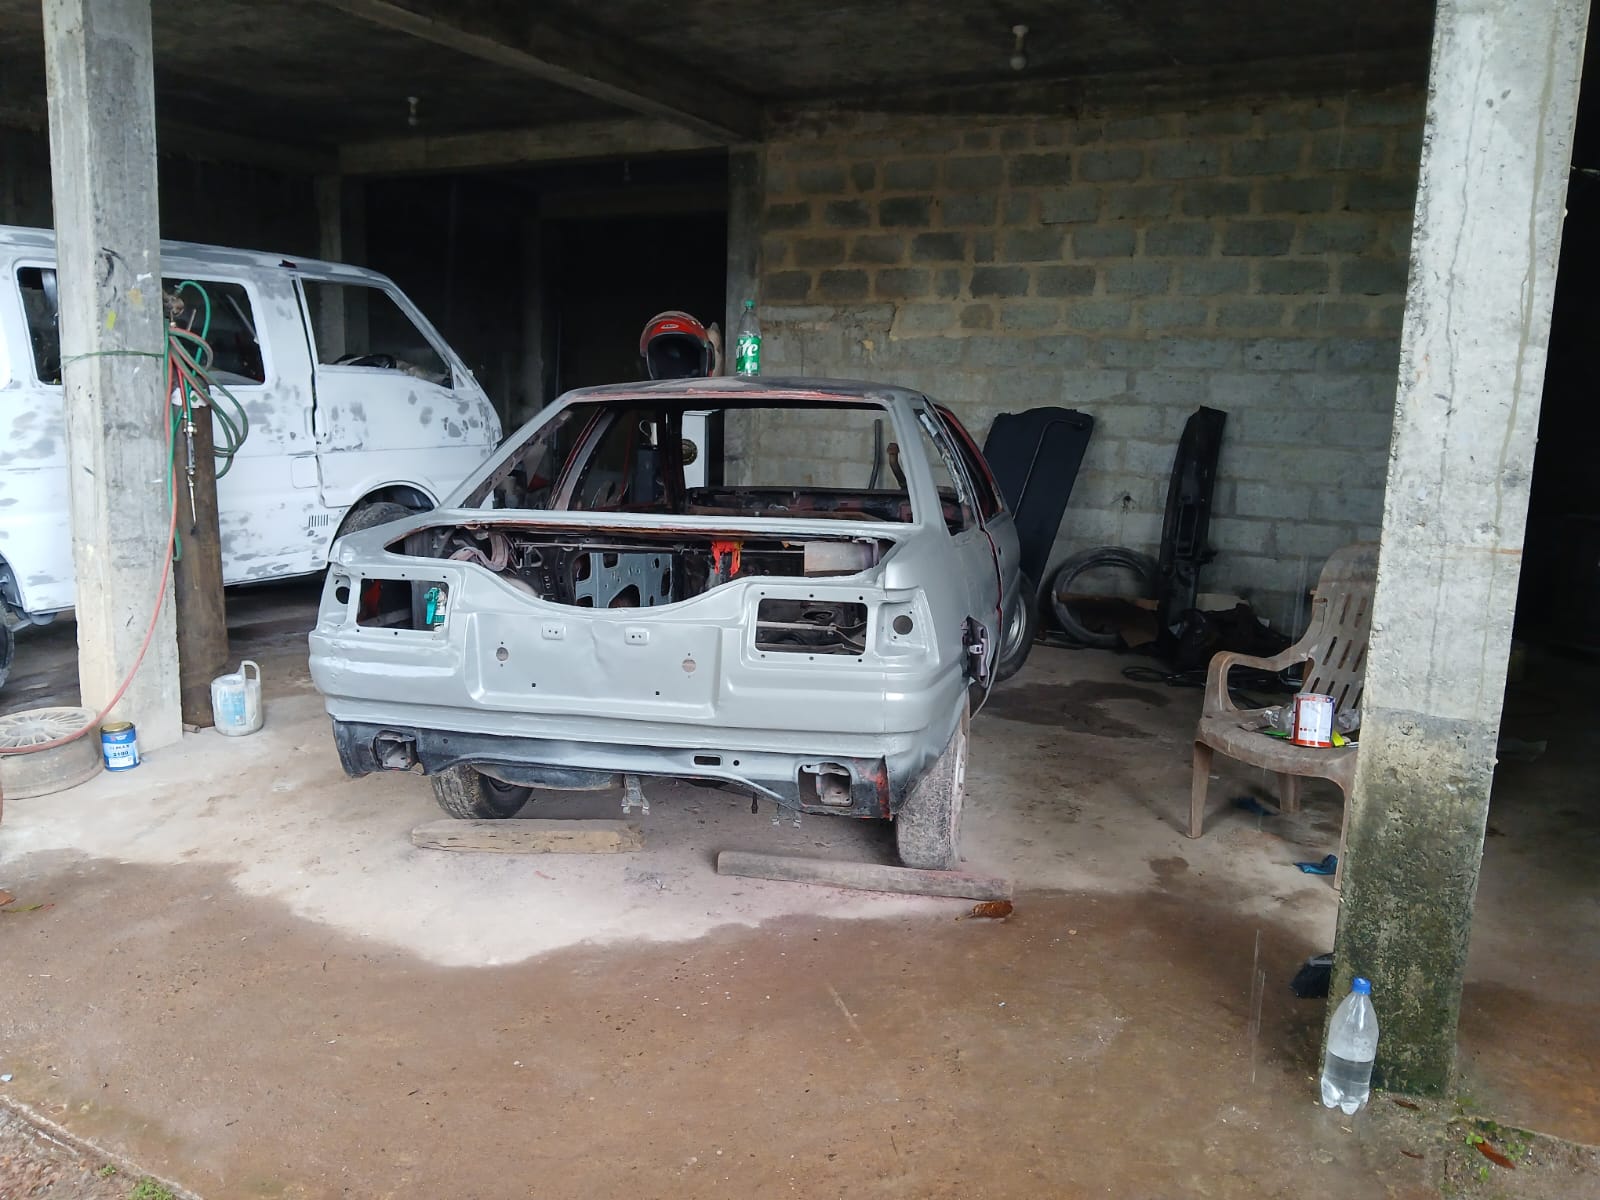
Laying Down the Color: First Coat of Paint Applied
Started on: 2025-07-01
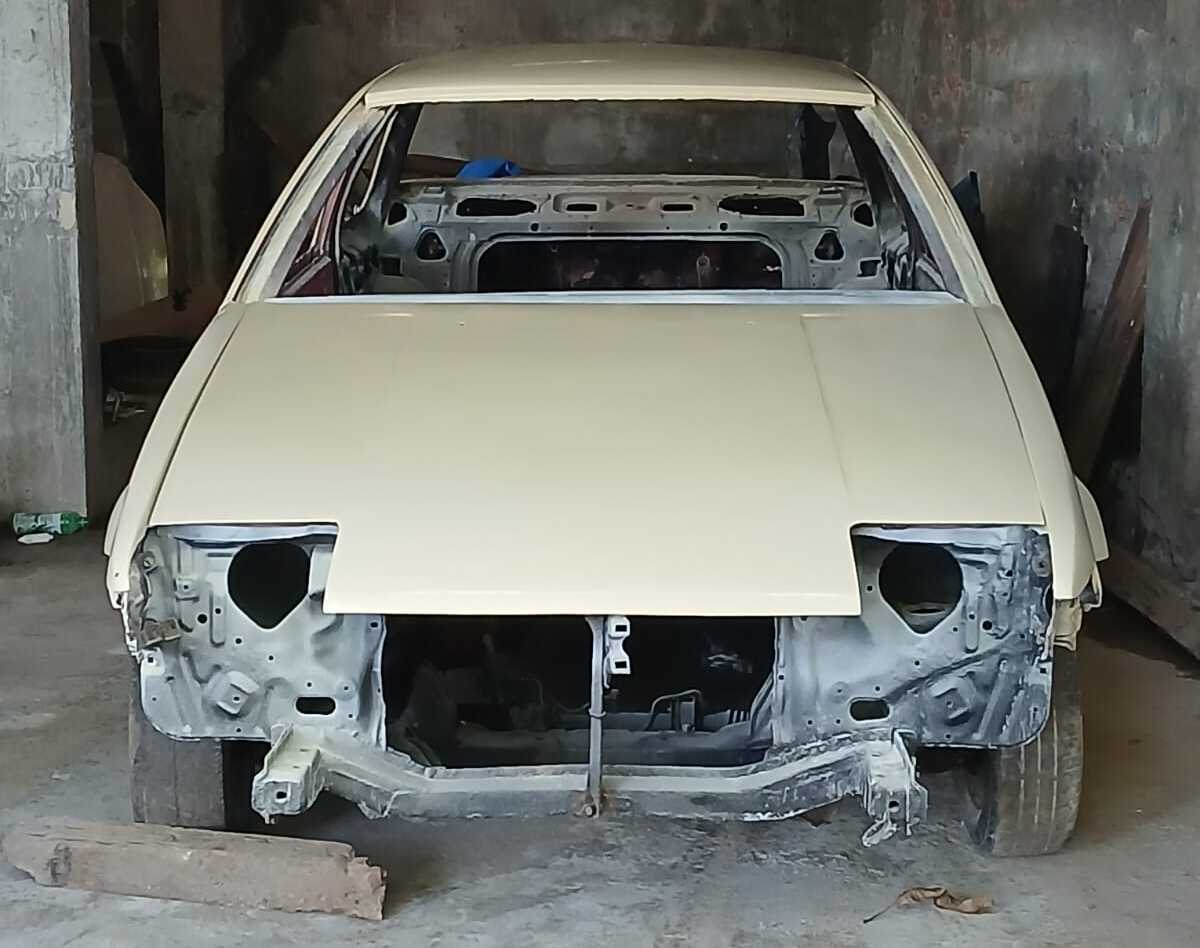
After all the prep work—including bodywork, wet sanding, and priming—we moved on to applying the first coat of paint to the exterior of the car. It's important to note that this is not the final color—this initial layer is primarily a test coat, used to reveal any imperfections, misalignments, or inconsistencies in the bodywork that might have been missed earlier.
At this stage, we focused solely on the outer body, as the interior still requires cleaning and sanding before it can be addressed. Even so, seeing the body in a uniform color—even if temporary—was a huge milestone. It gave us a clearer view of the car’s shape and progress, and marked the transition from preparation to refinement.
Precision Work: Fine-Tuning the Body Fit
With the first coat of paint applied, every subtle imperfection became more visible. This was our opportunity to get meticulous—checking panel gaps, body lines, and overall symmetry from every angle.
We adjusted misaligned panels, refined edges, and smoothed out minor surface flaws to ensure everything lined up perfectly. This careful fine-tuning will pay off in the final stages, giving the car that crisp, factory-fresh look once the full paint job is complete.


More Alignment Work After Body Cutting
After the initial alignment corrections, we decided to cut back into the body once more to ensure every panel and gap was spot-on. This deeper inspection revealed a few additional misalignments and surface imperfections that weren’t as visible before.
During this stage, we also began working on the door fitment—adjusting hinges, refining latch alignment, and ensuring the doors sat flush with the surrounding panels. These adjustments are crucial for achieving consistent panel gaps and that solid, factory-style closure.
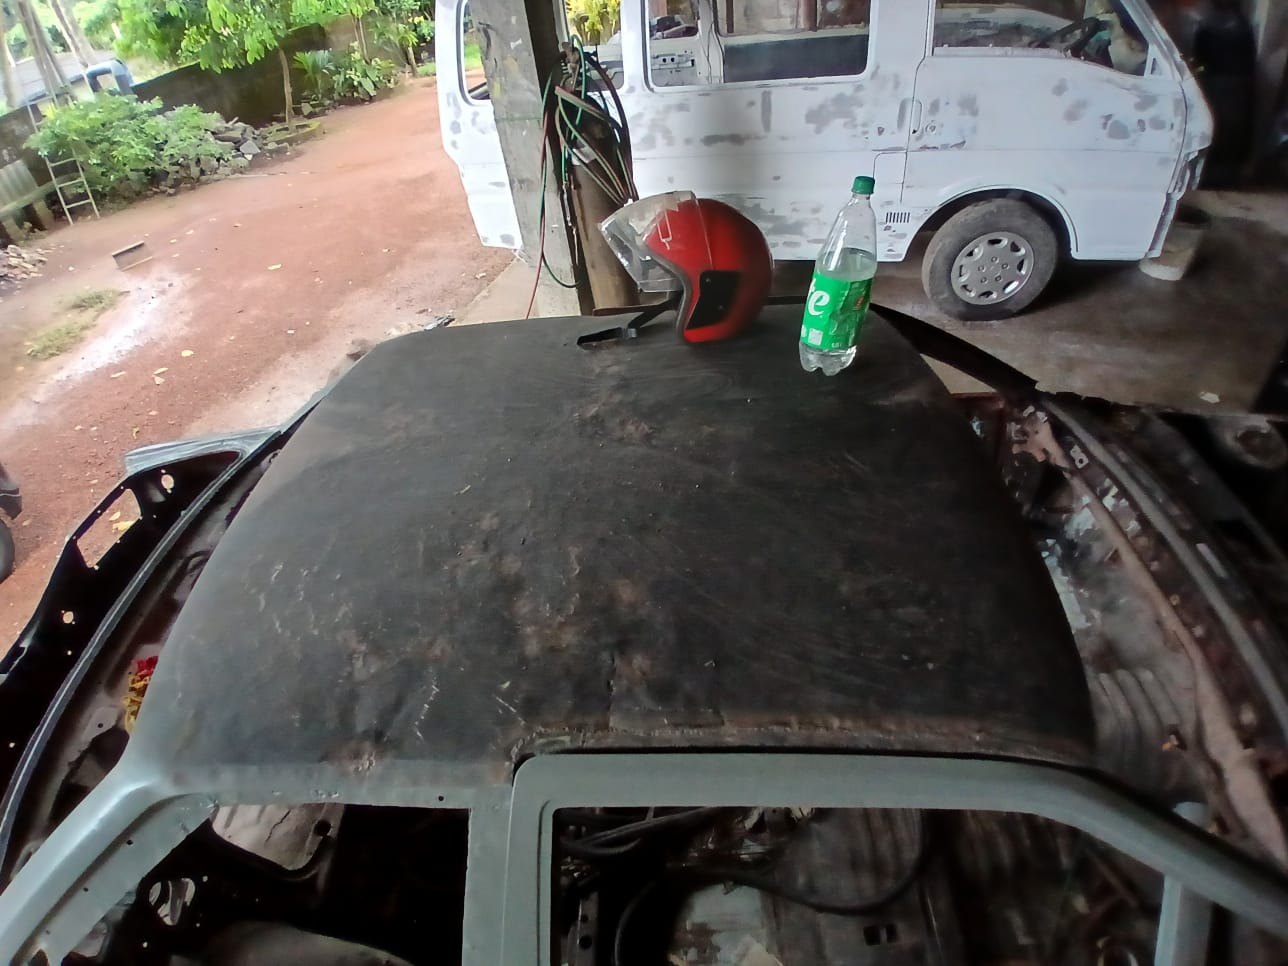
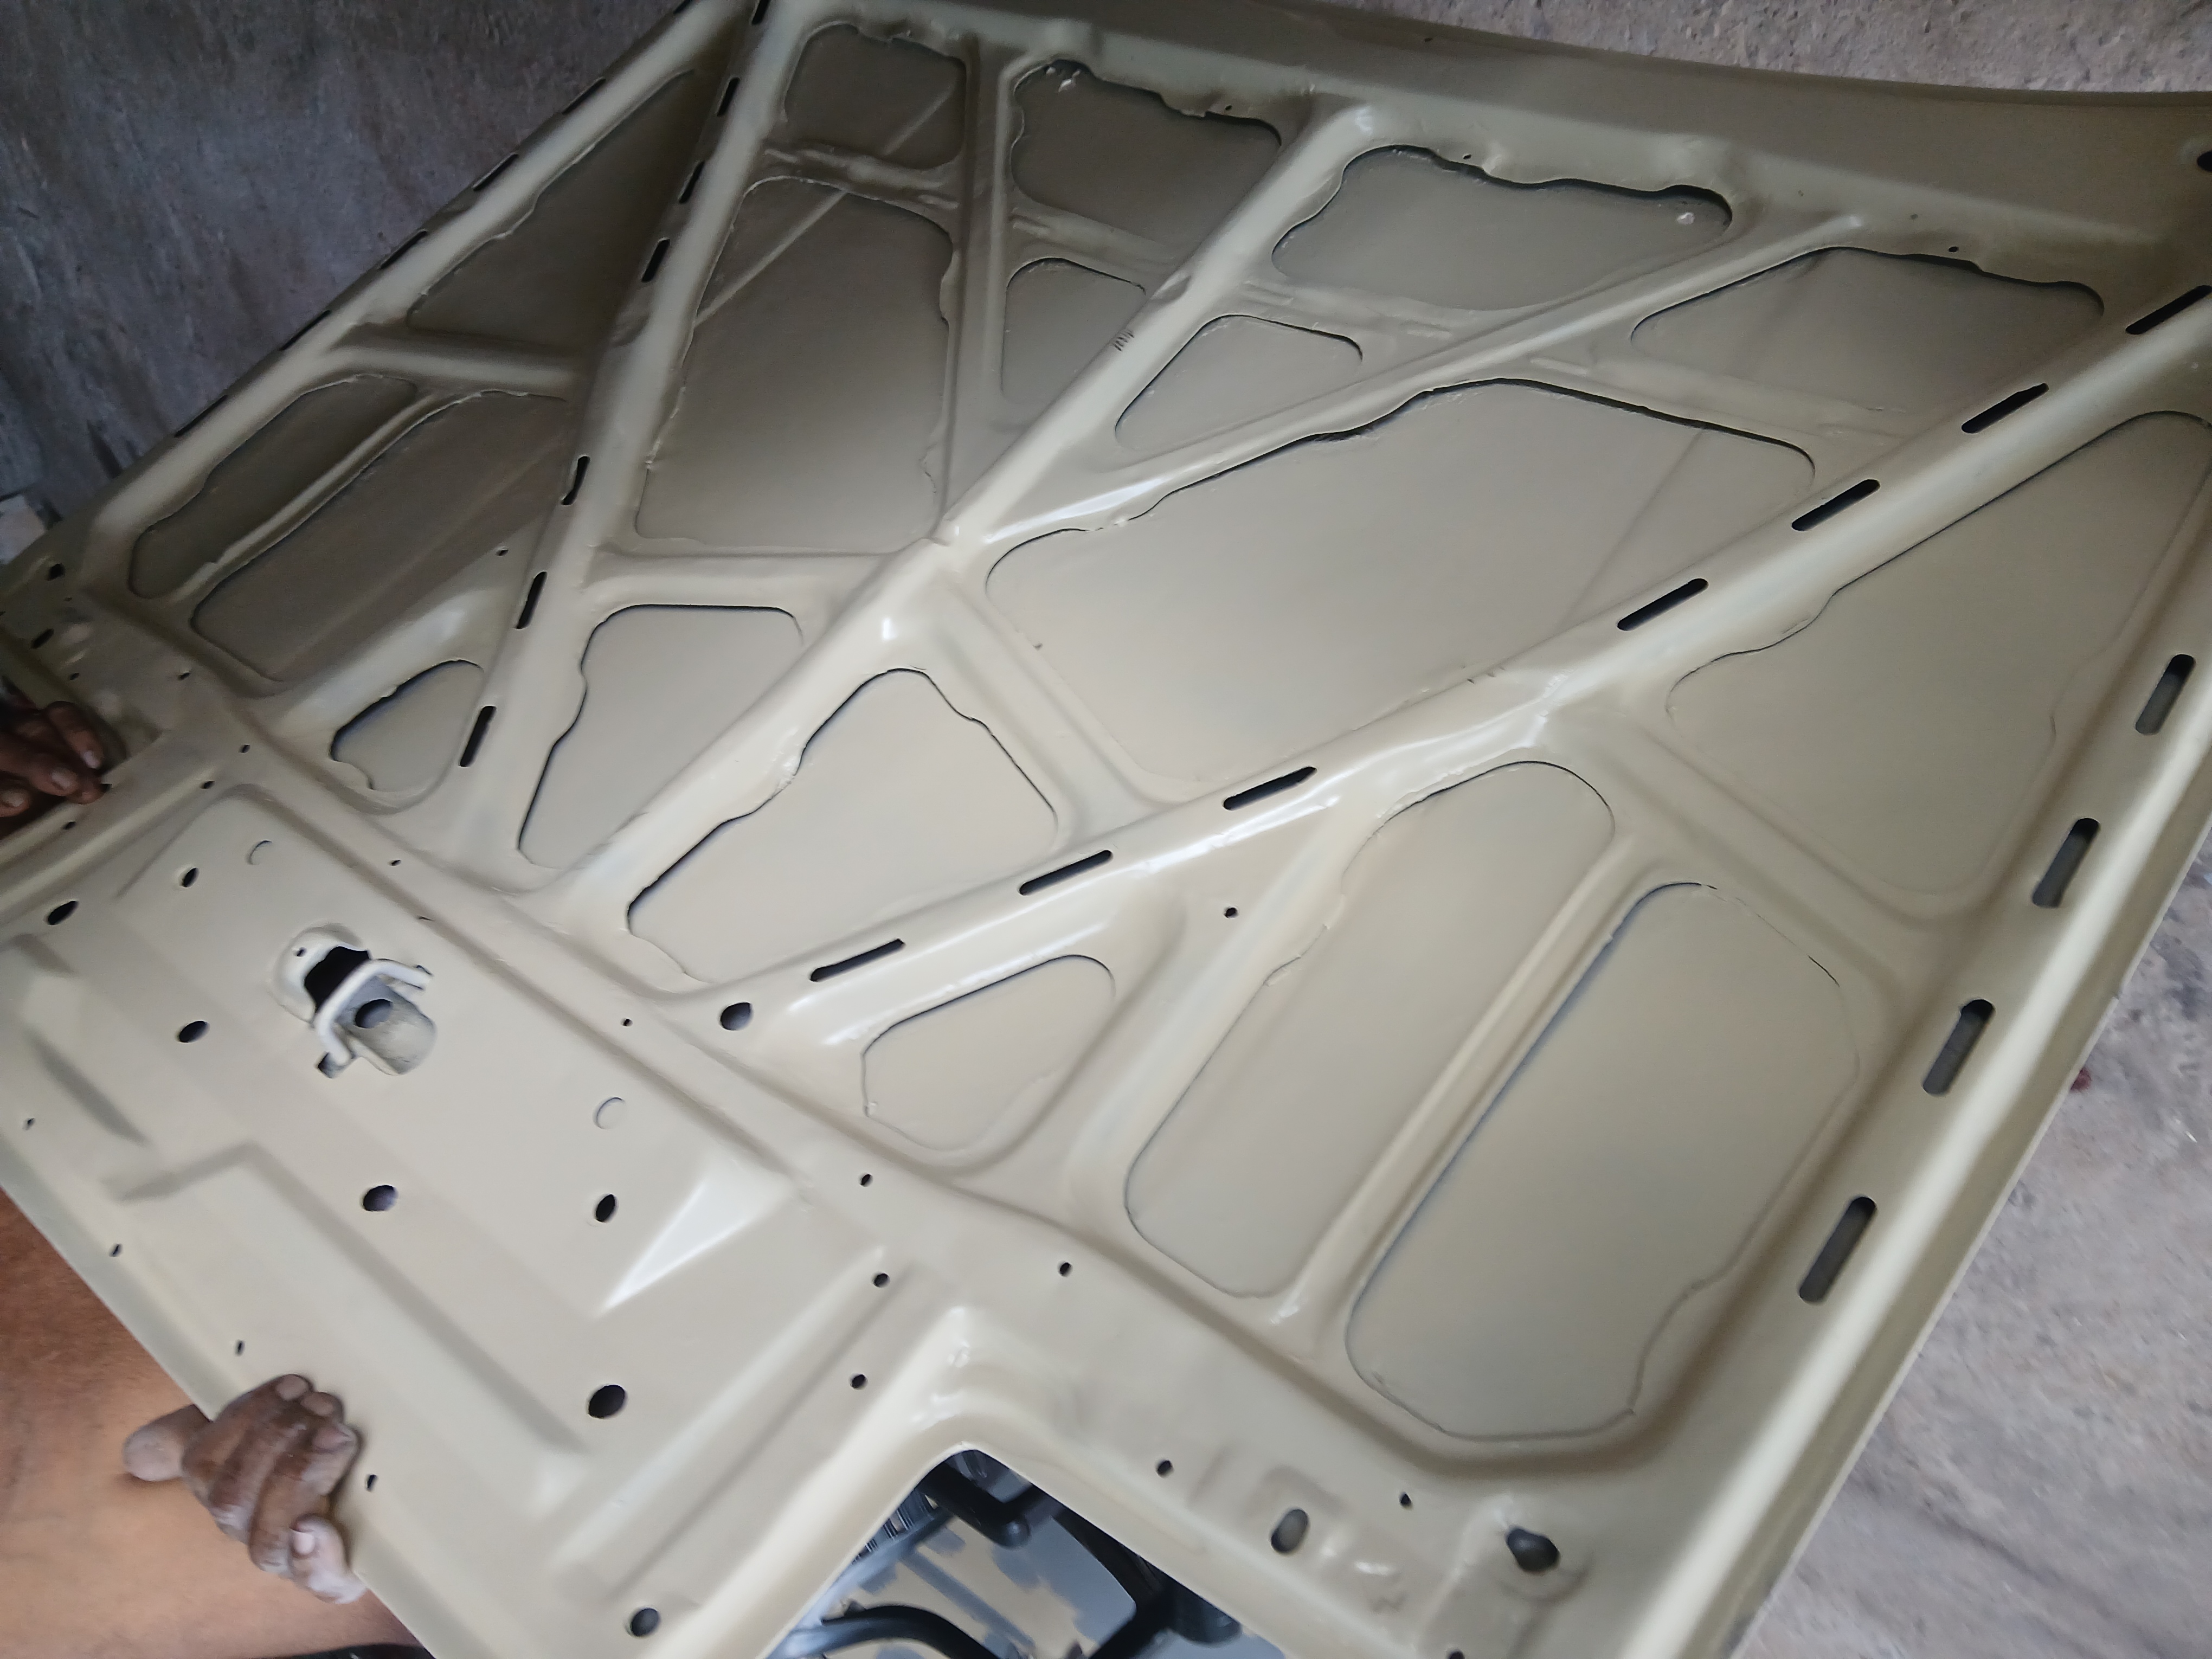
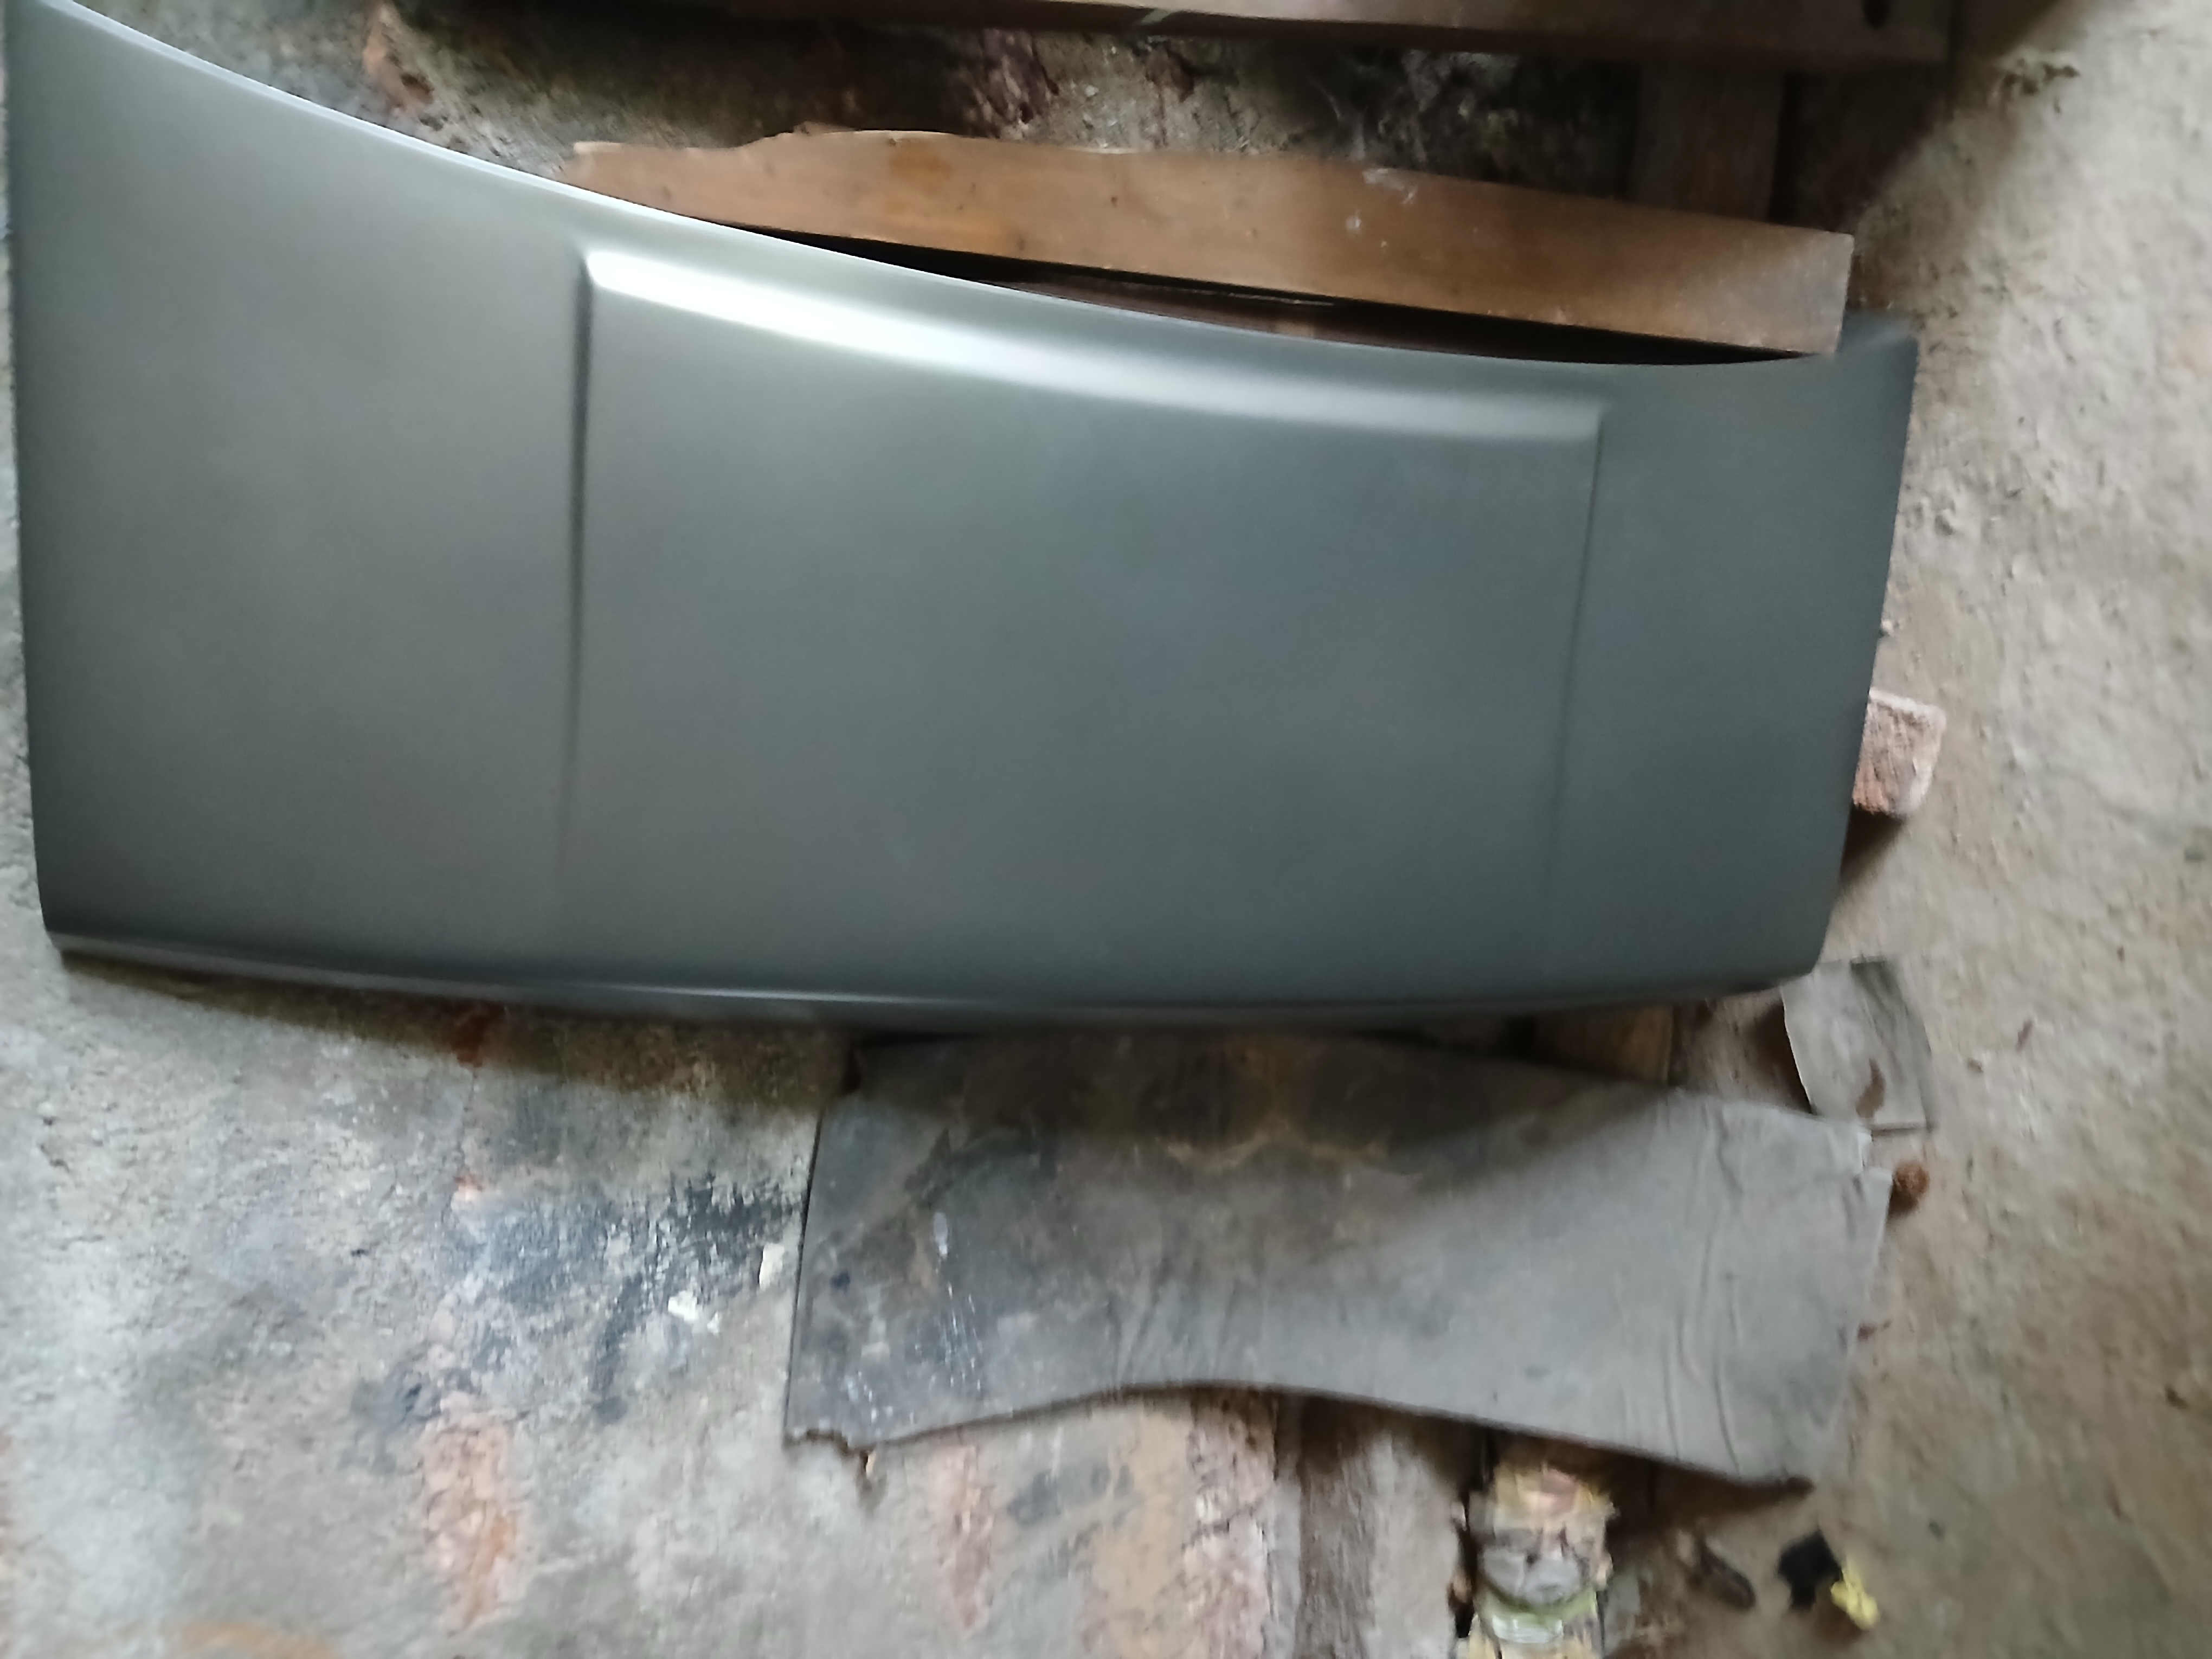
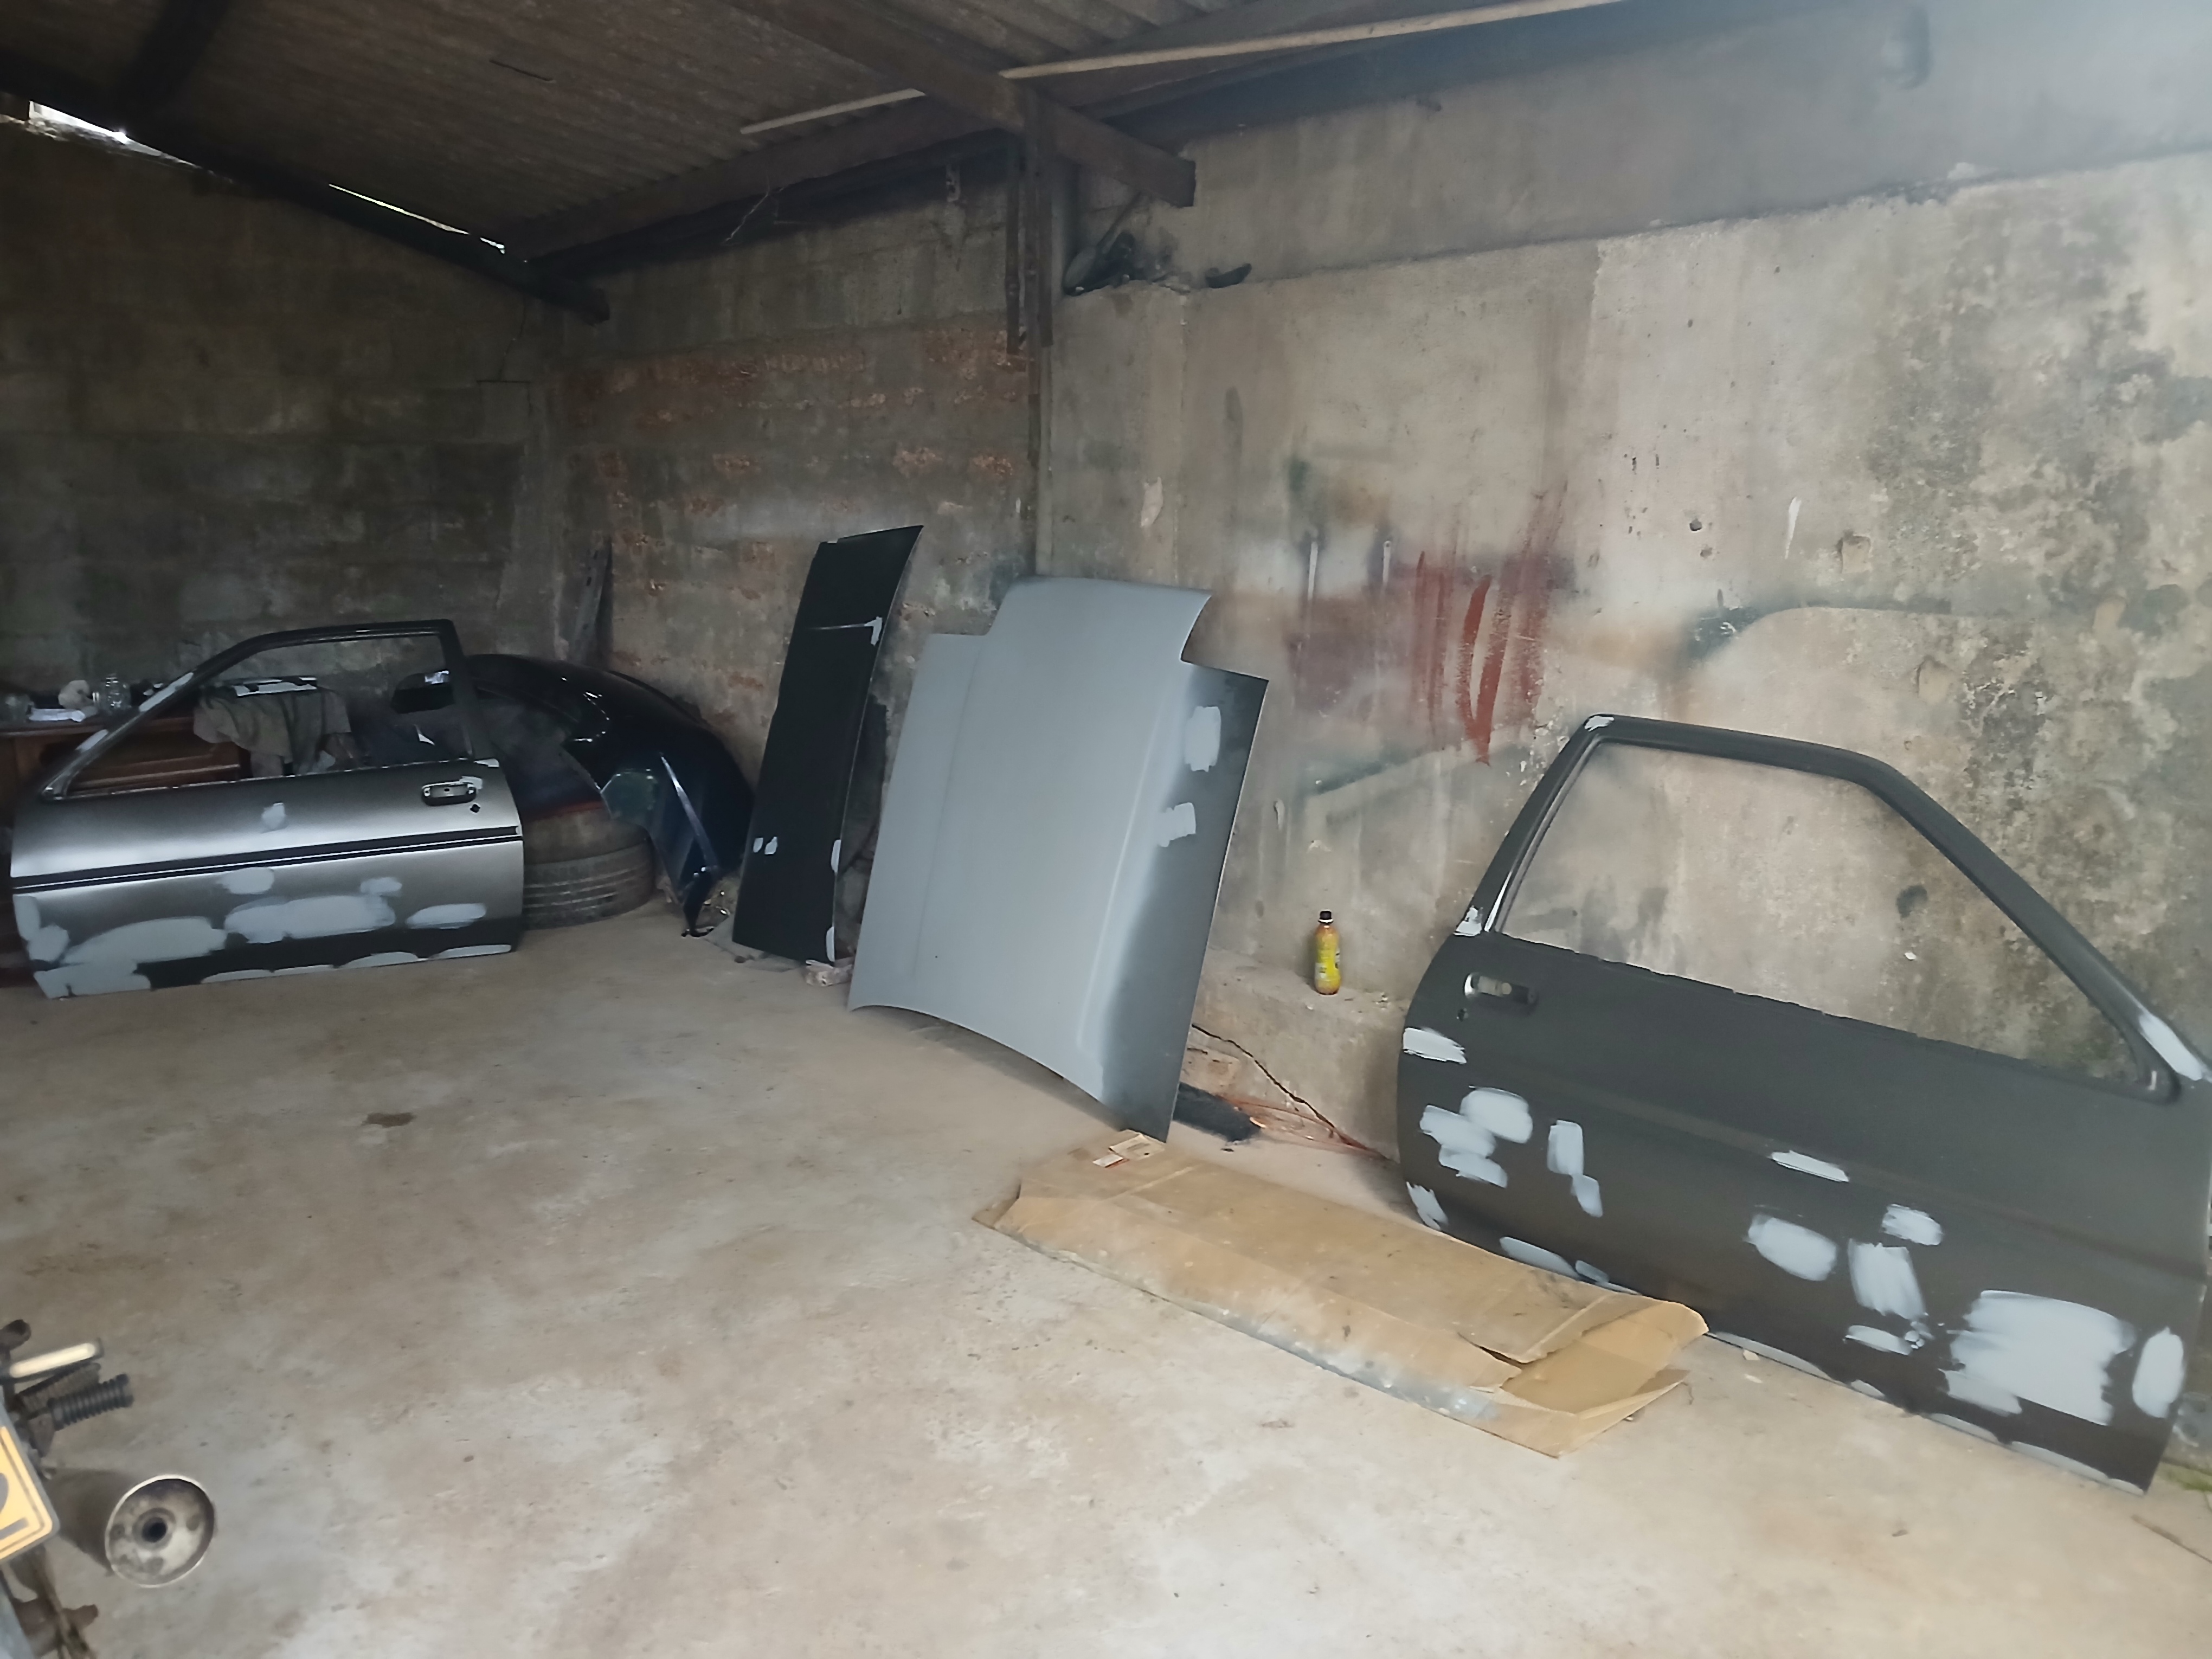
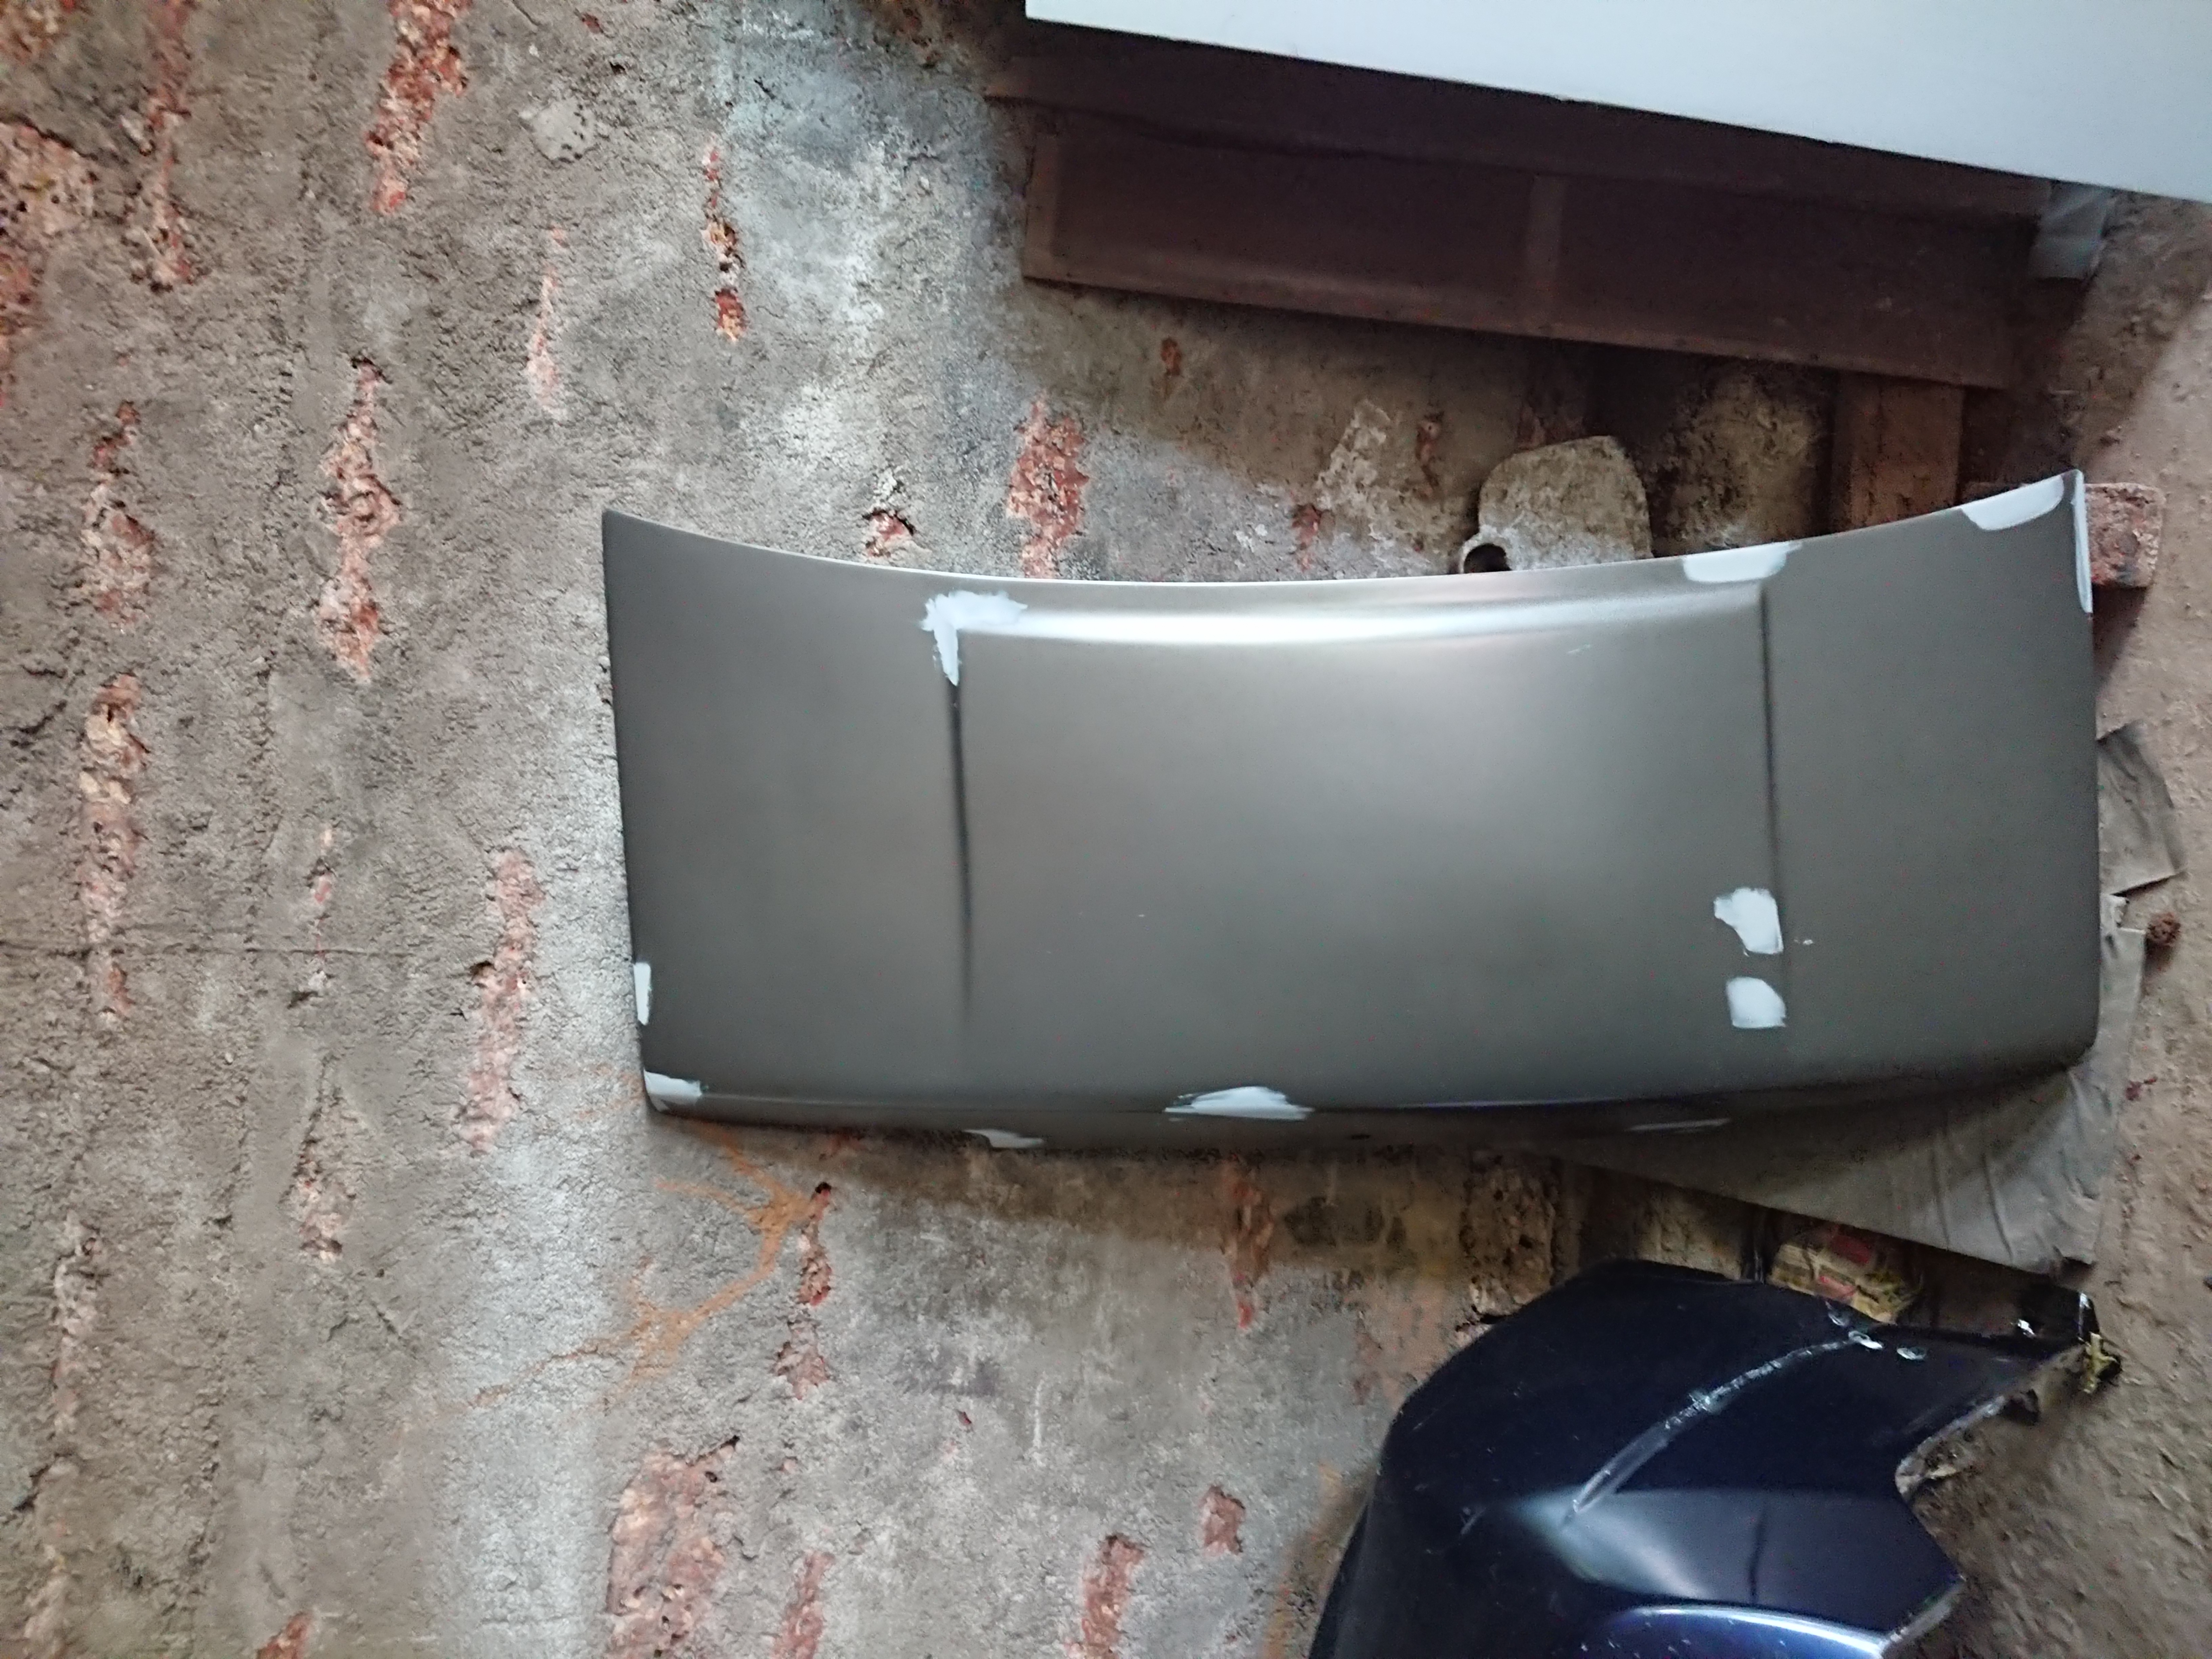
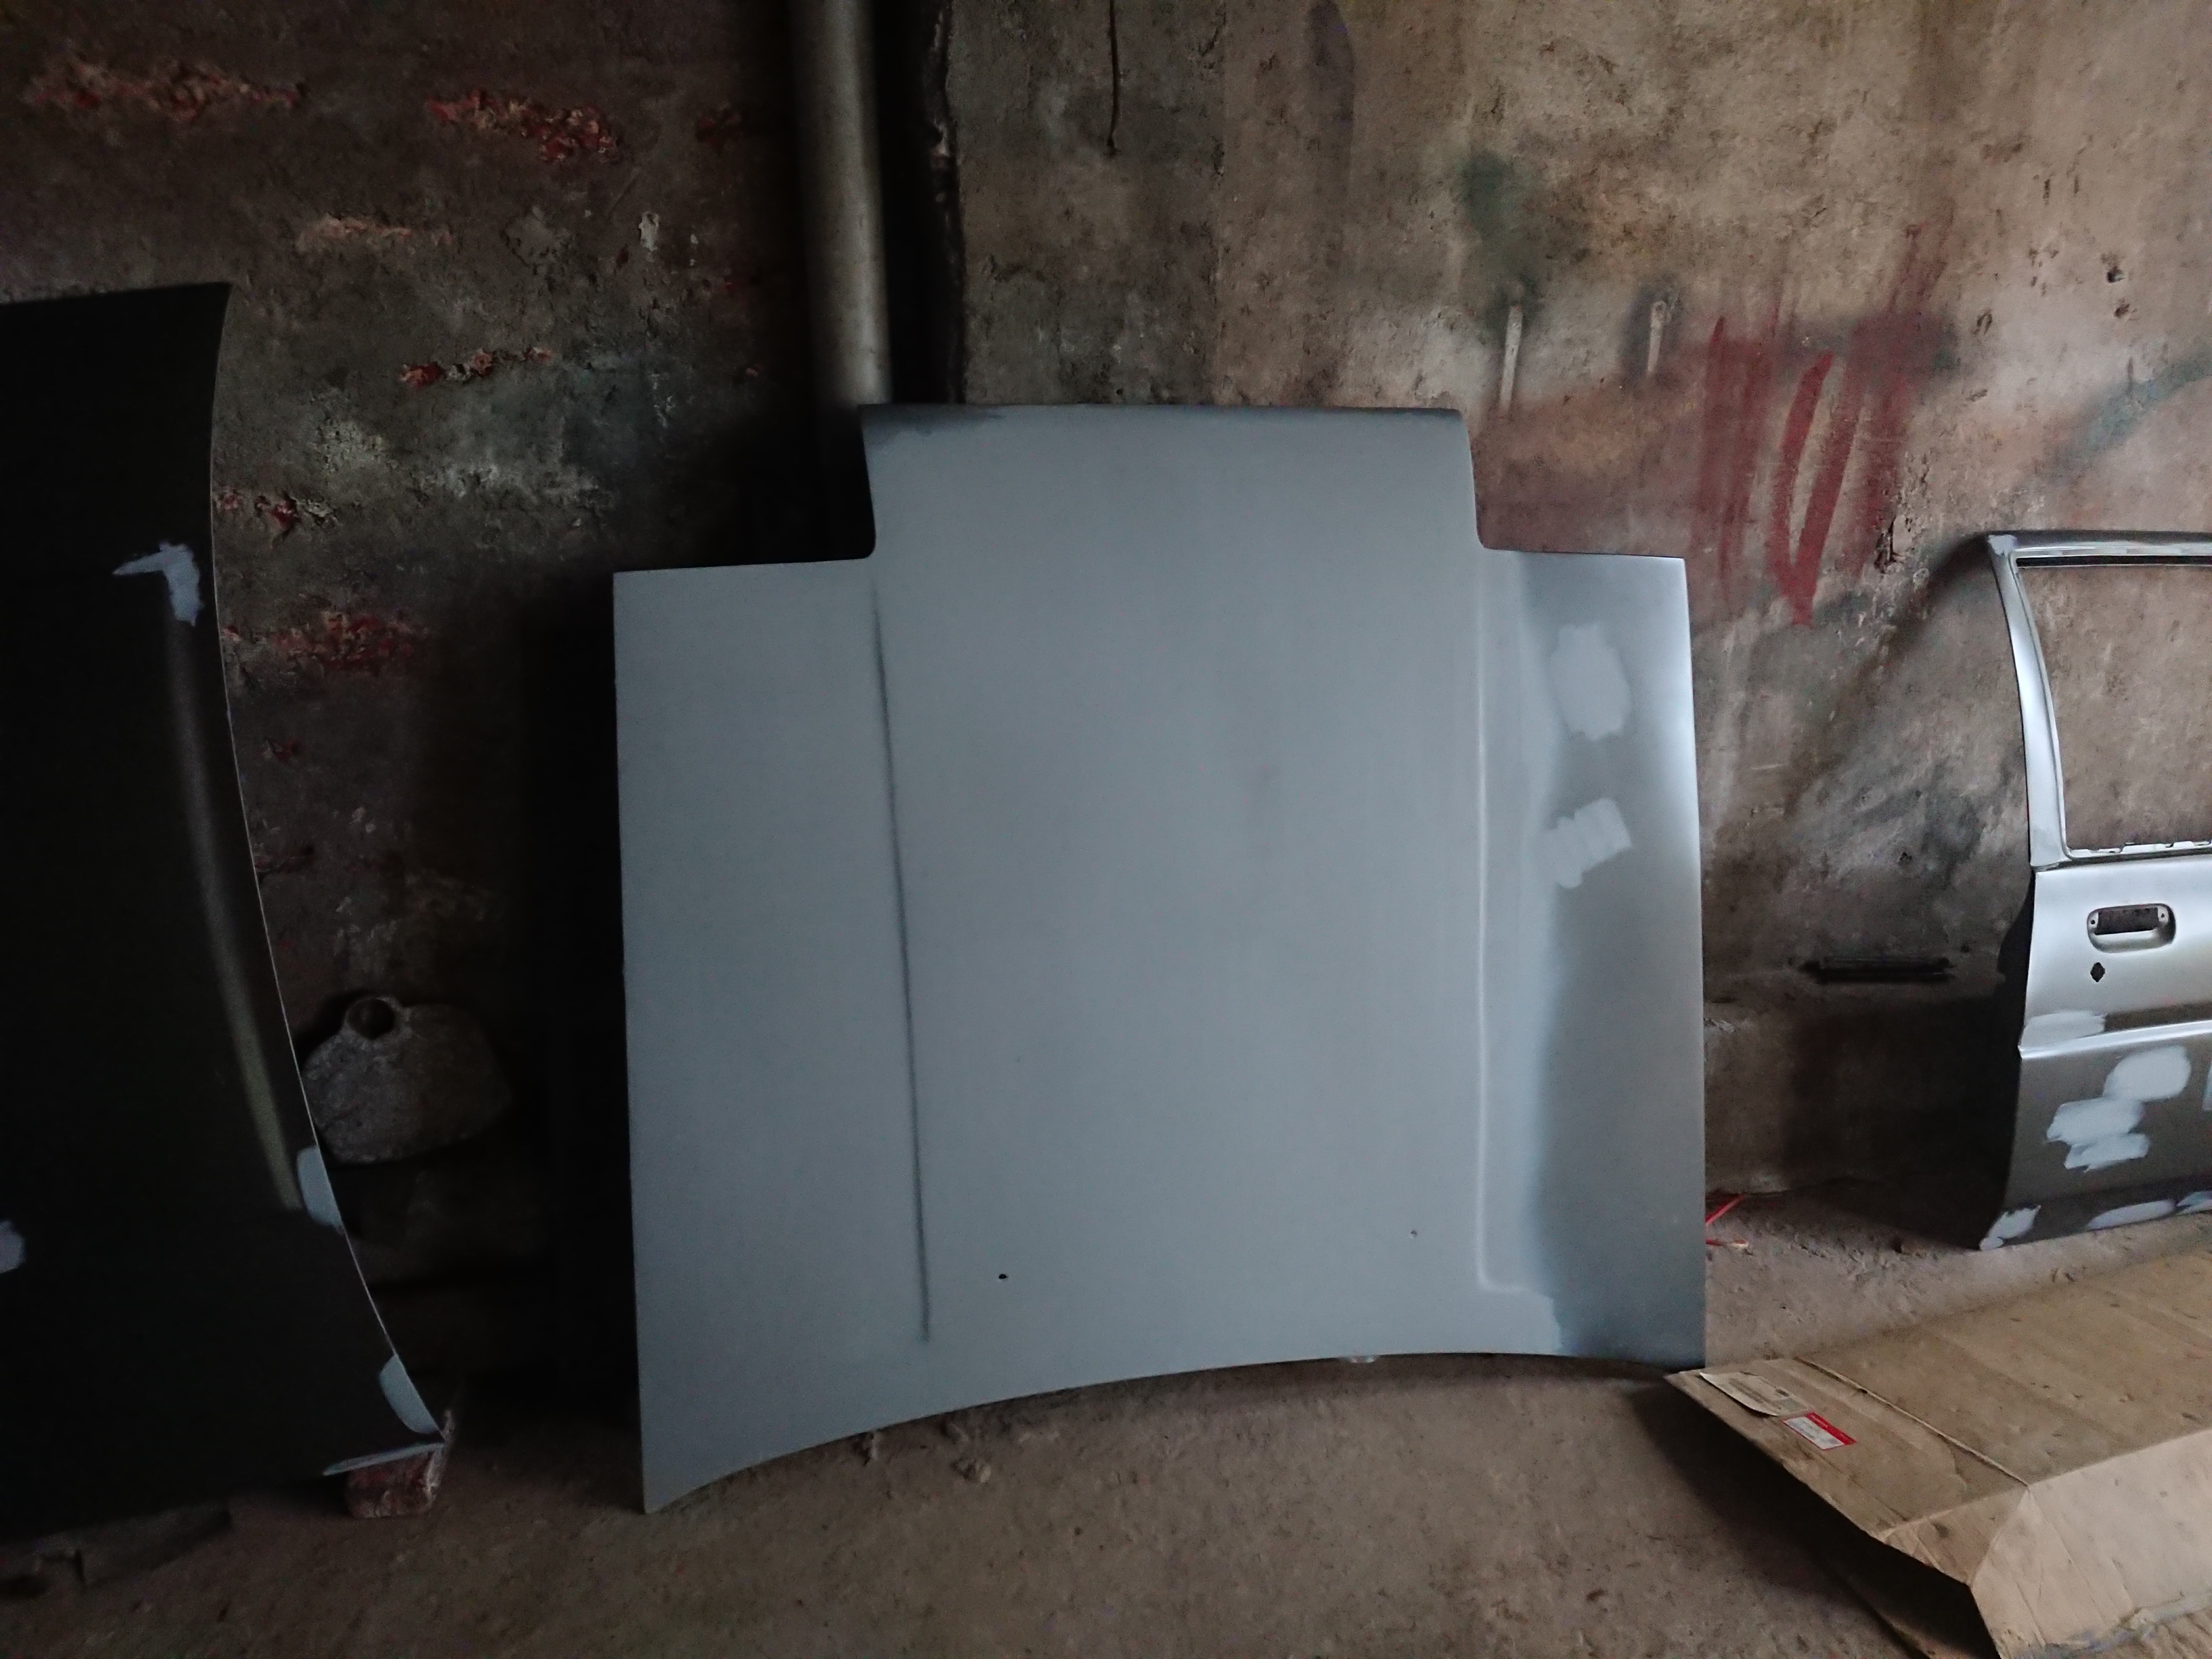
Fixing the Bonnet
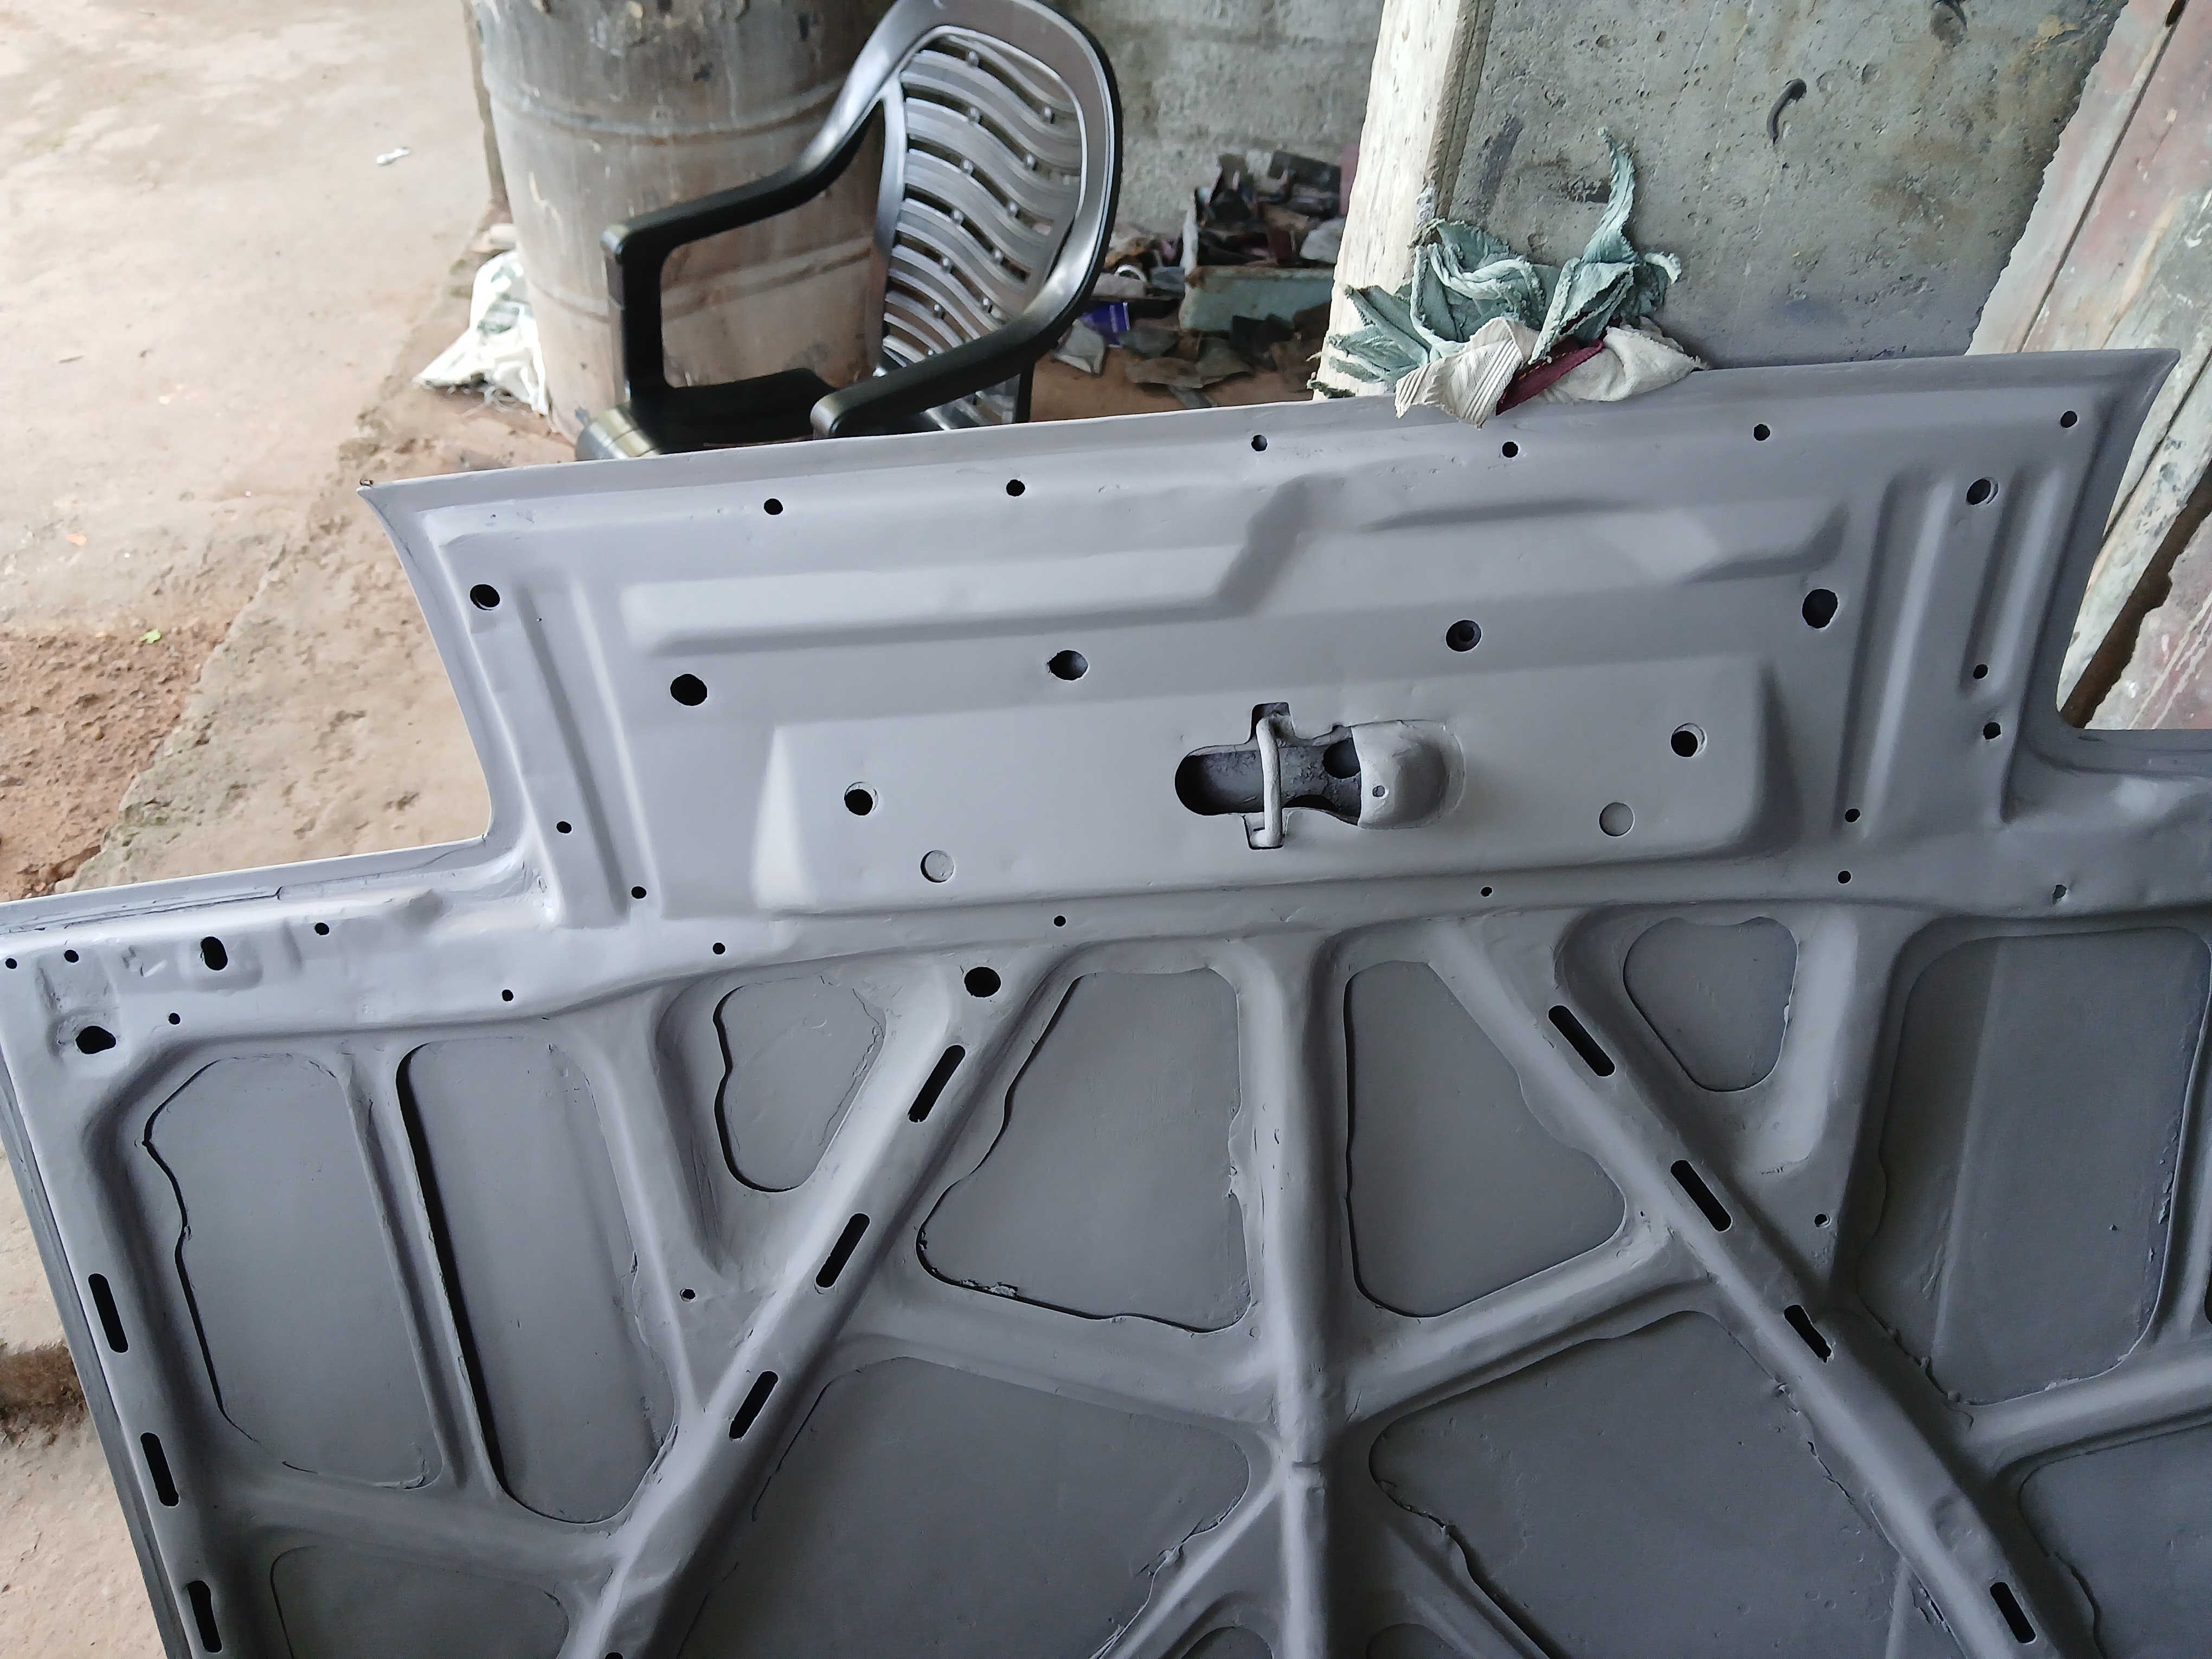
the bonnet had quite lot of issues, it was not on the best condition so we had to sepnd some extra time to actually get the hood done properly. including the inside and both exterior The bonnet presented several challenges throughout the restoration process.
Its condition was not so ideal, requiring extra care and attention to bring it back to shape. We dedicated additional time to addressing both the exterior surface and the inside structure, ensuring the hood not only looked great but also fit properly and operated smoothly.
This included repairing dents, refining edges, and preparing the surfaces for painting, as well as ensuring the internal supports and mounting points were sound. The goal was to achieve a bonnet that matched the quality and alignment of the rest of the car.


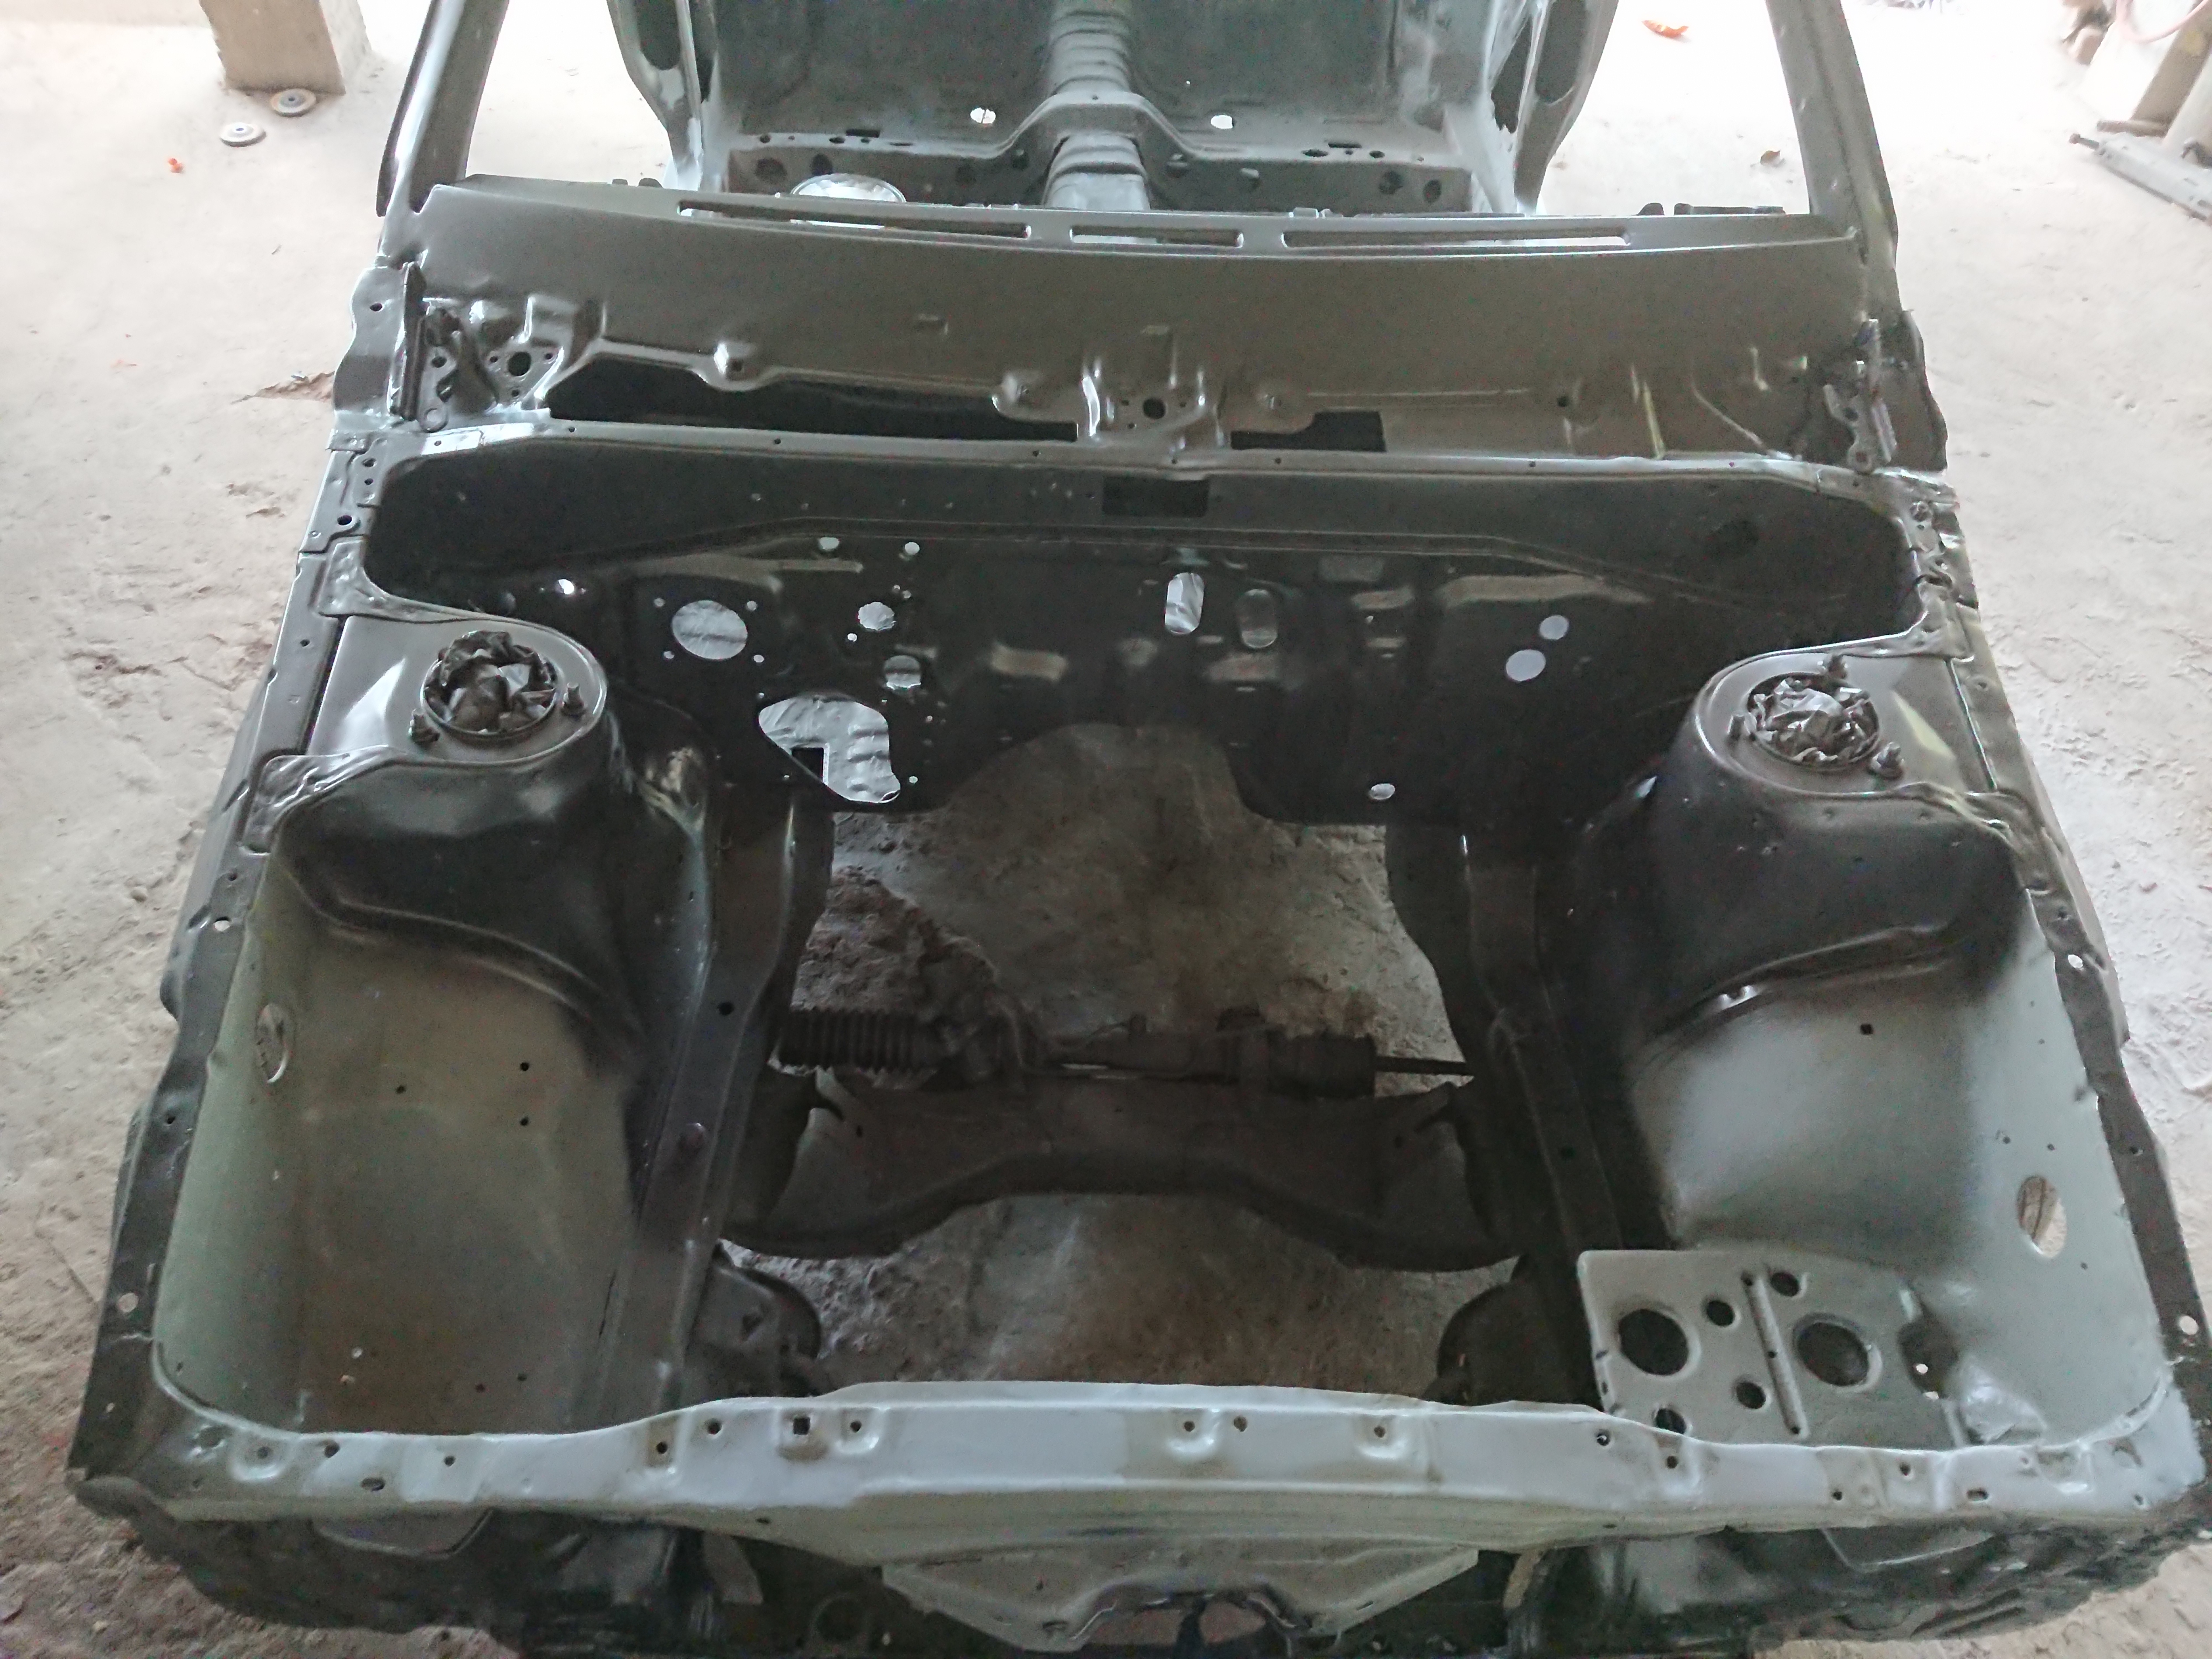
Applying High Primer to the Inside
After completing the body fine-tuning, we turned our attention to the car’s interior. The next step was applying a high-build primer to freshen up the inside, address any imperfections, and prepare it for the final finish.
This stage also allowed us to do additional cleaning and minor repairs inside, ensuring the cabin is as refined as the exterior will be.
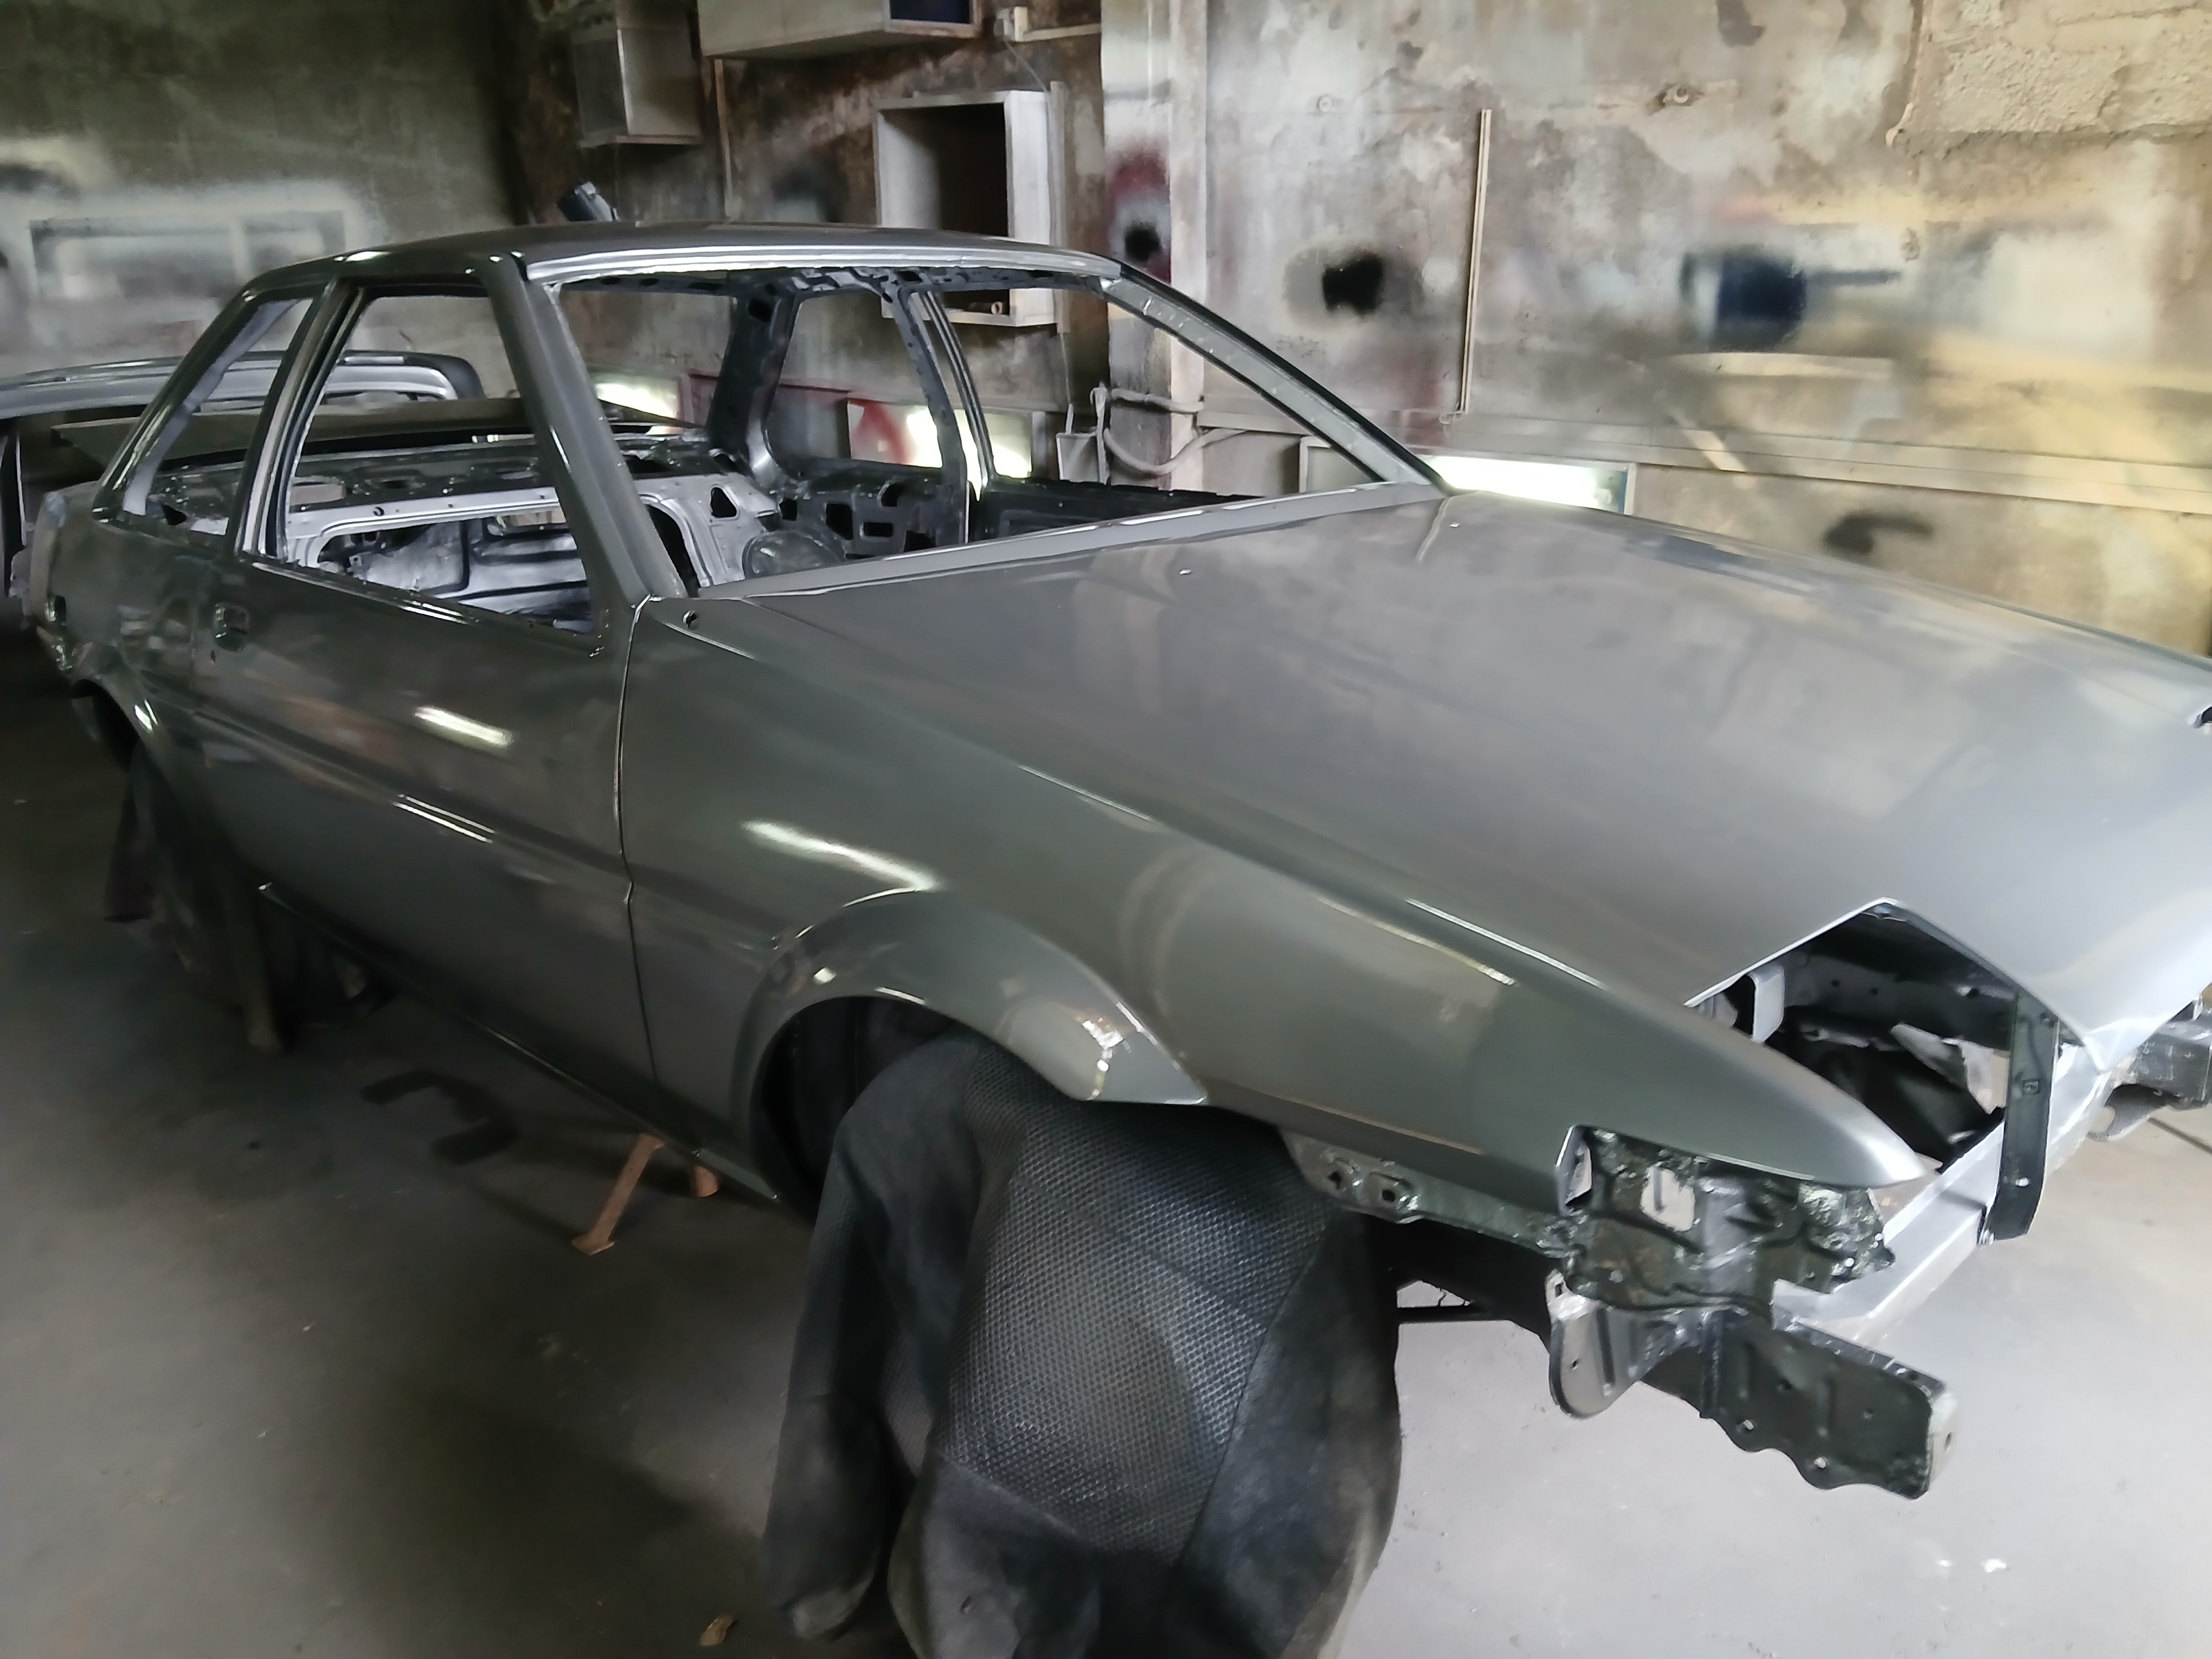
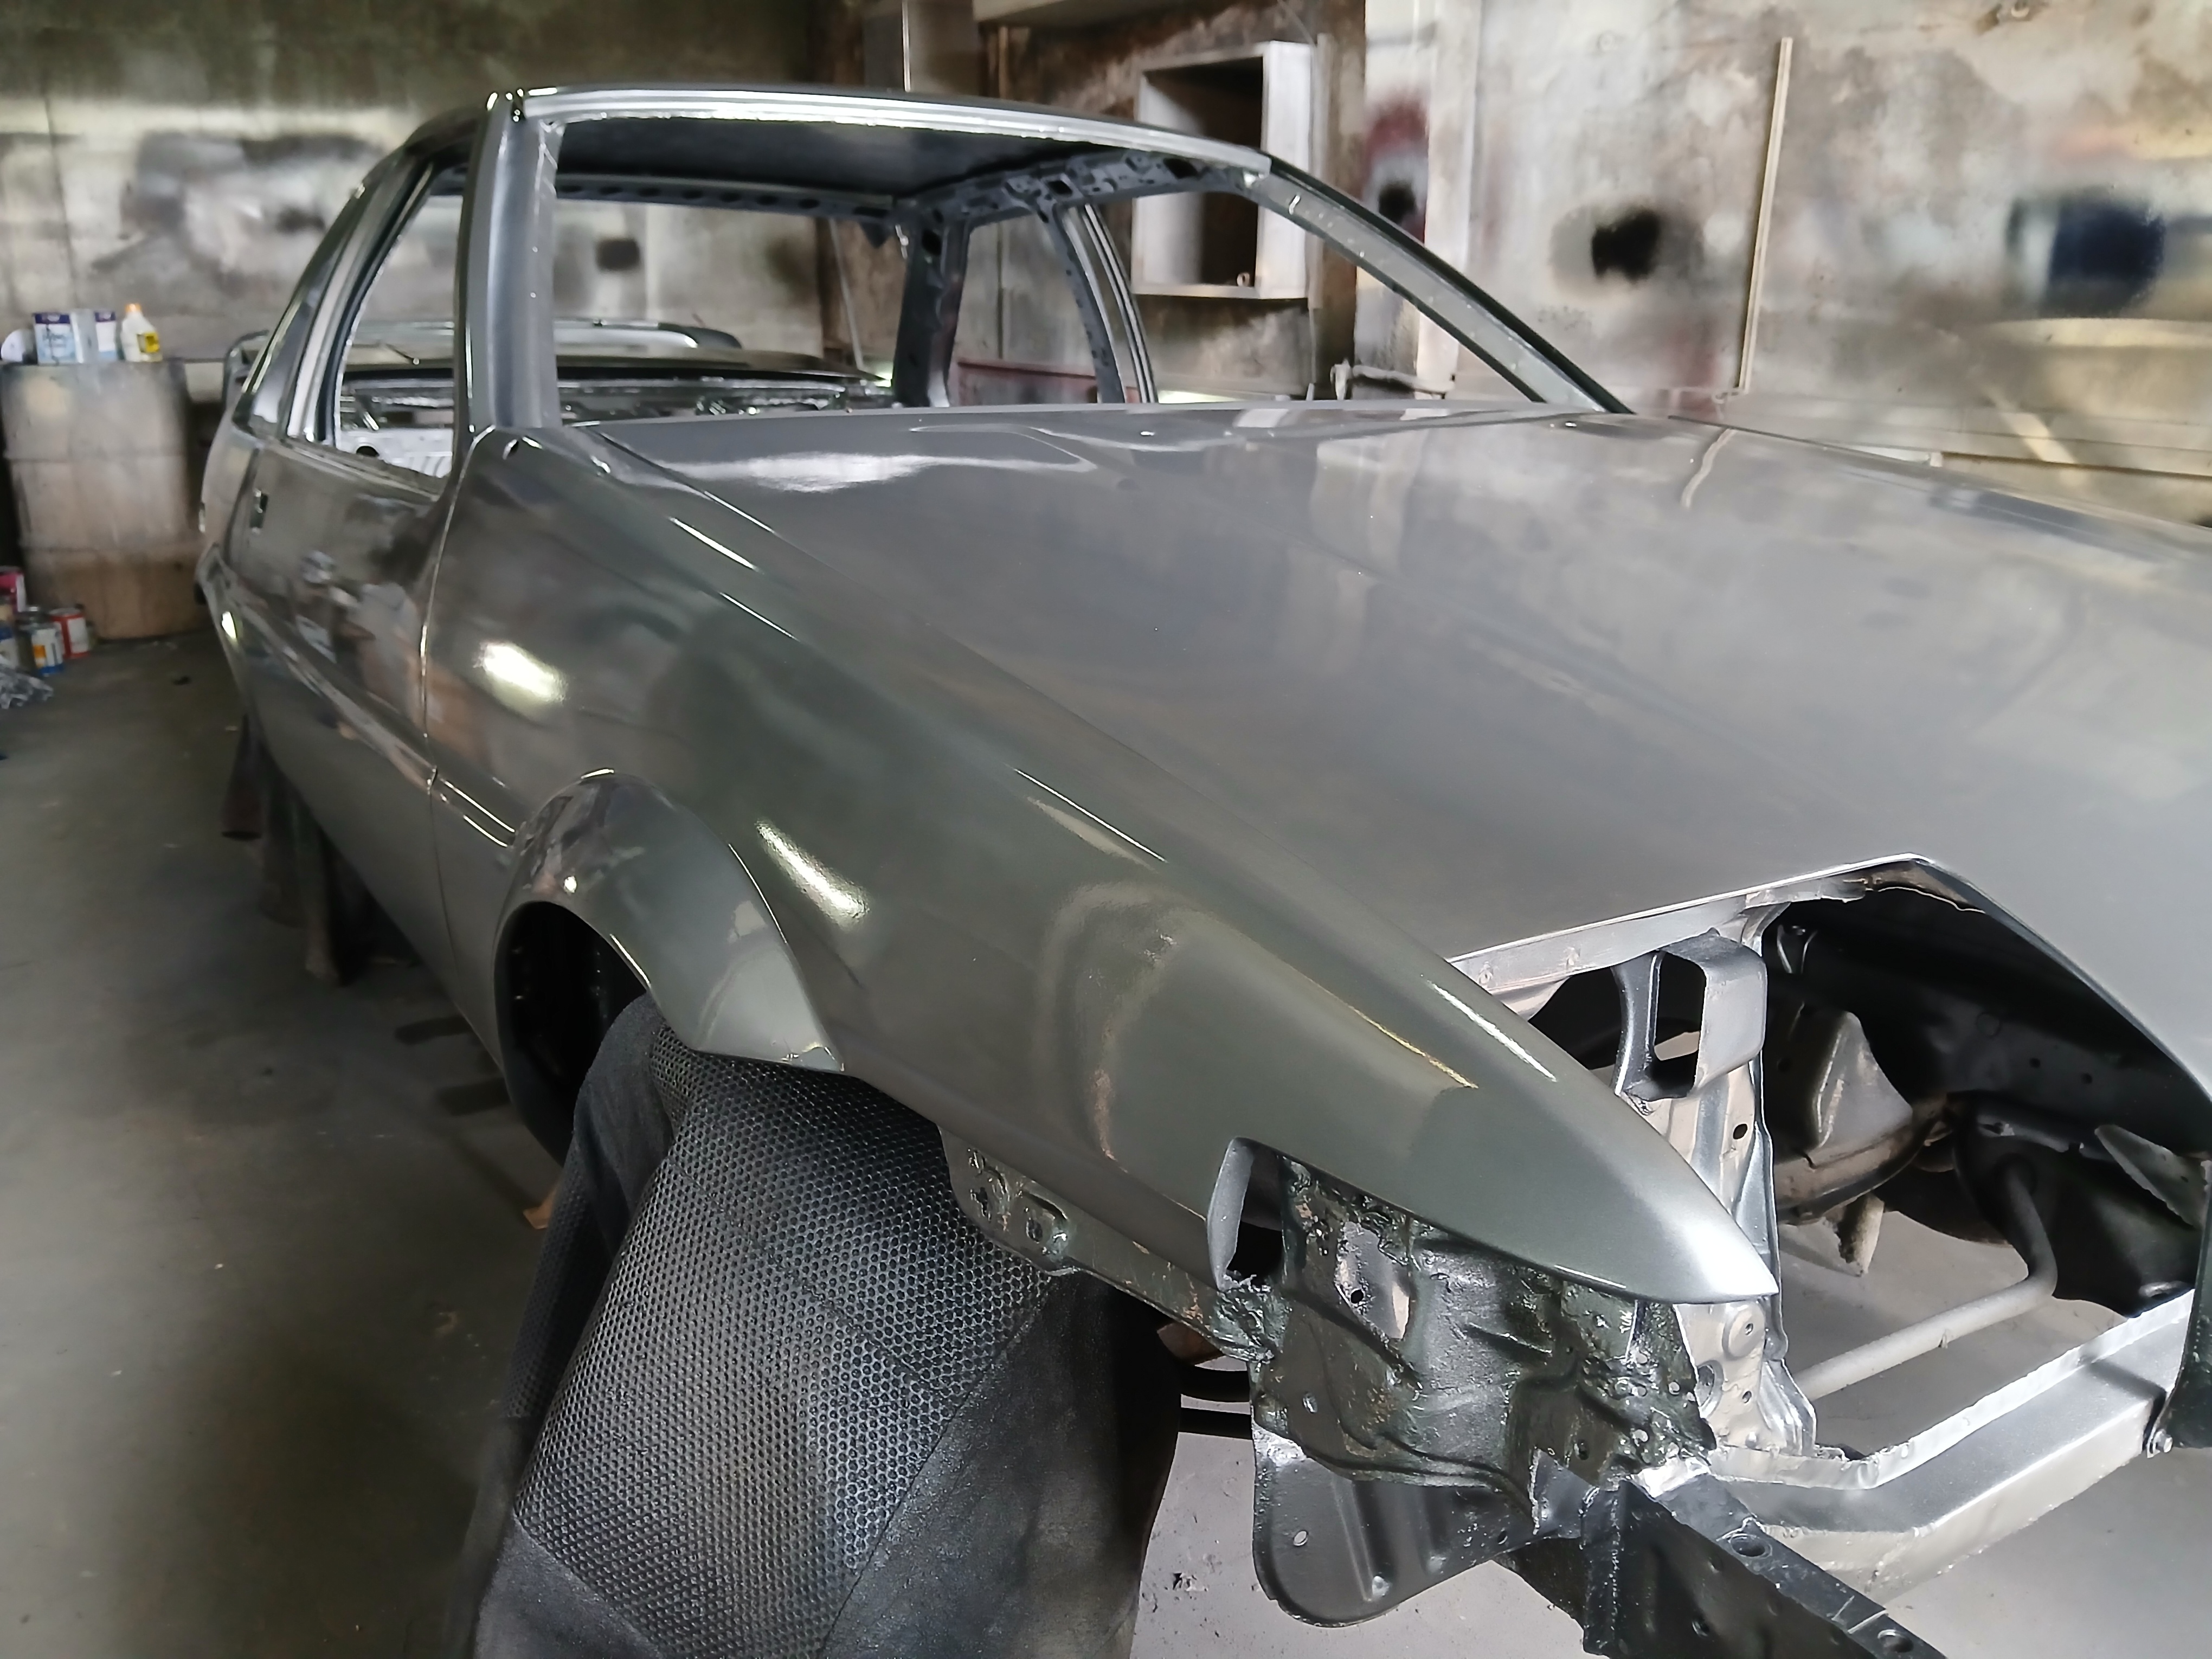
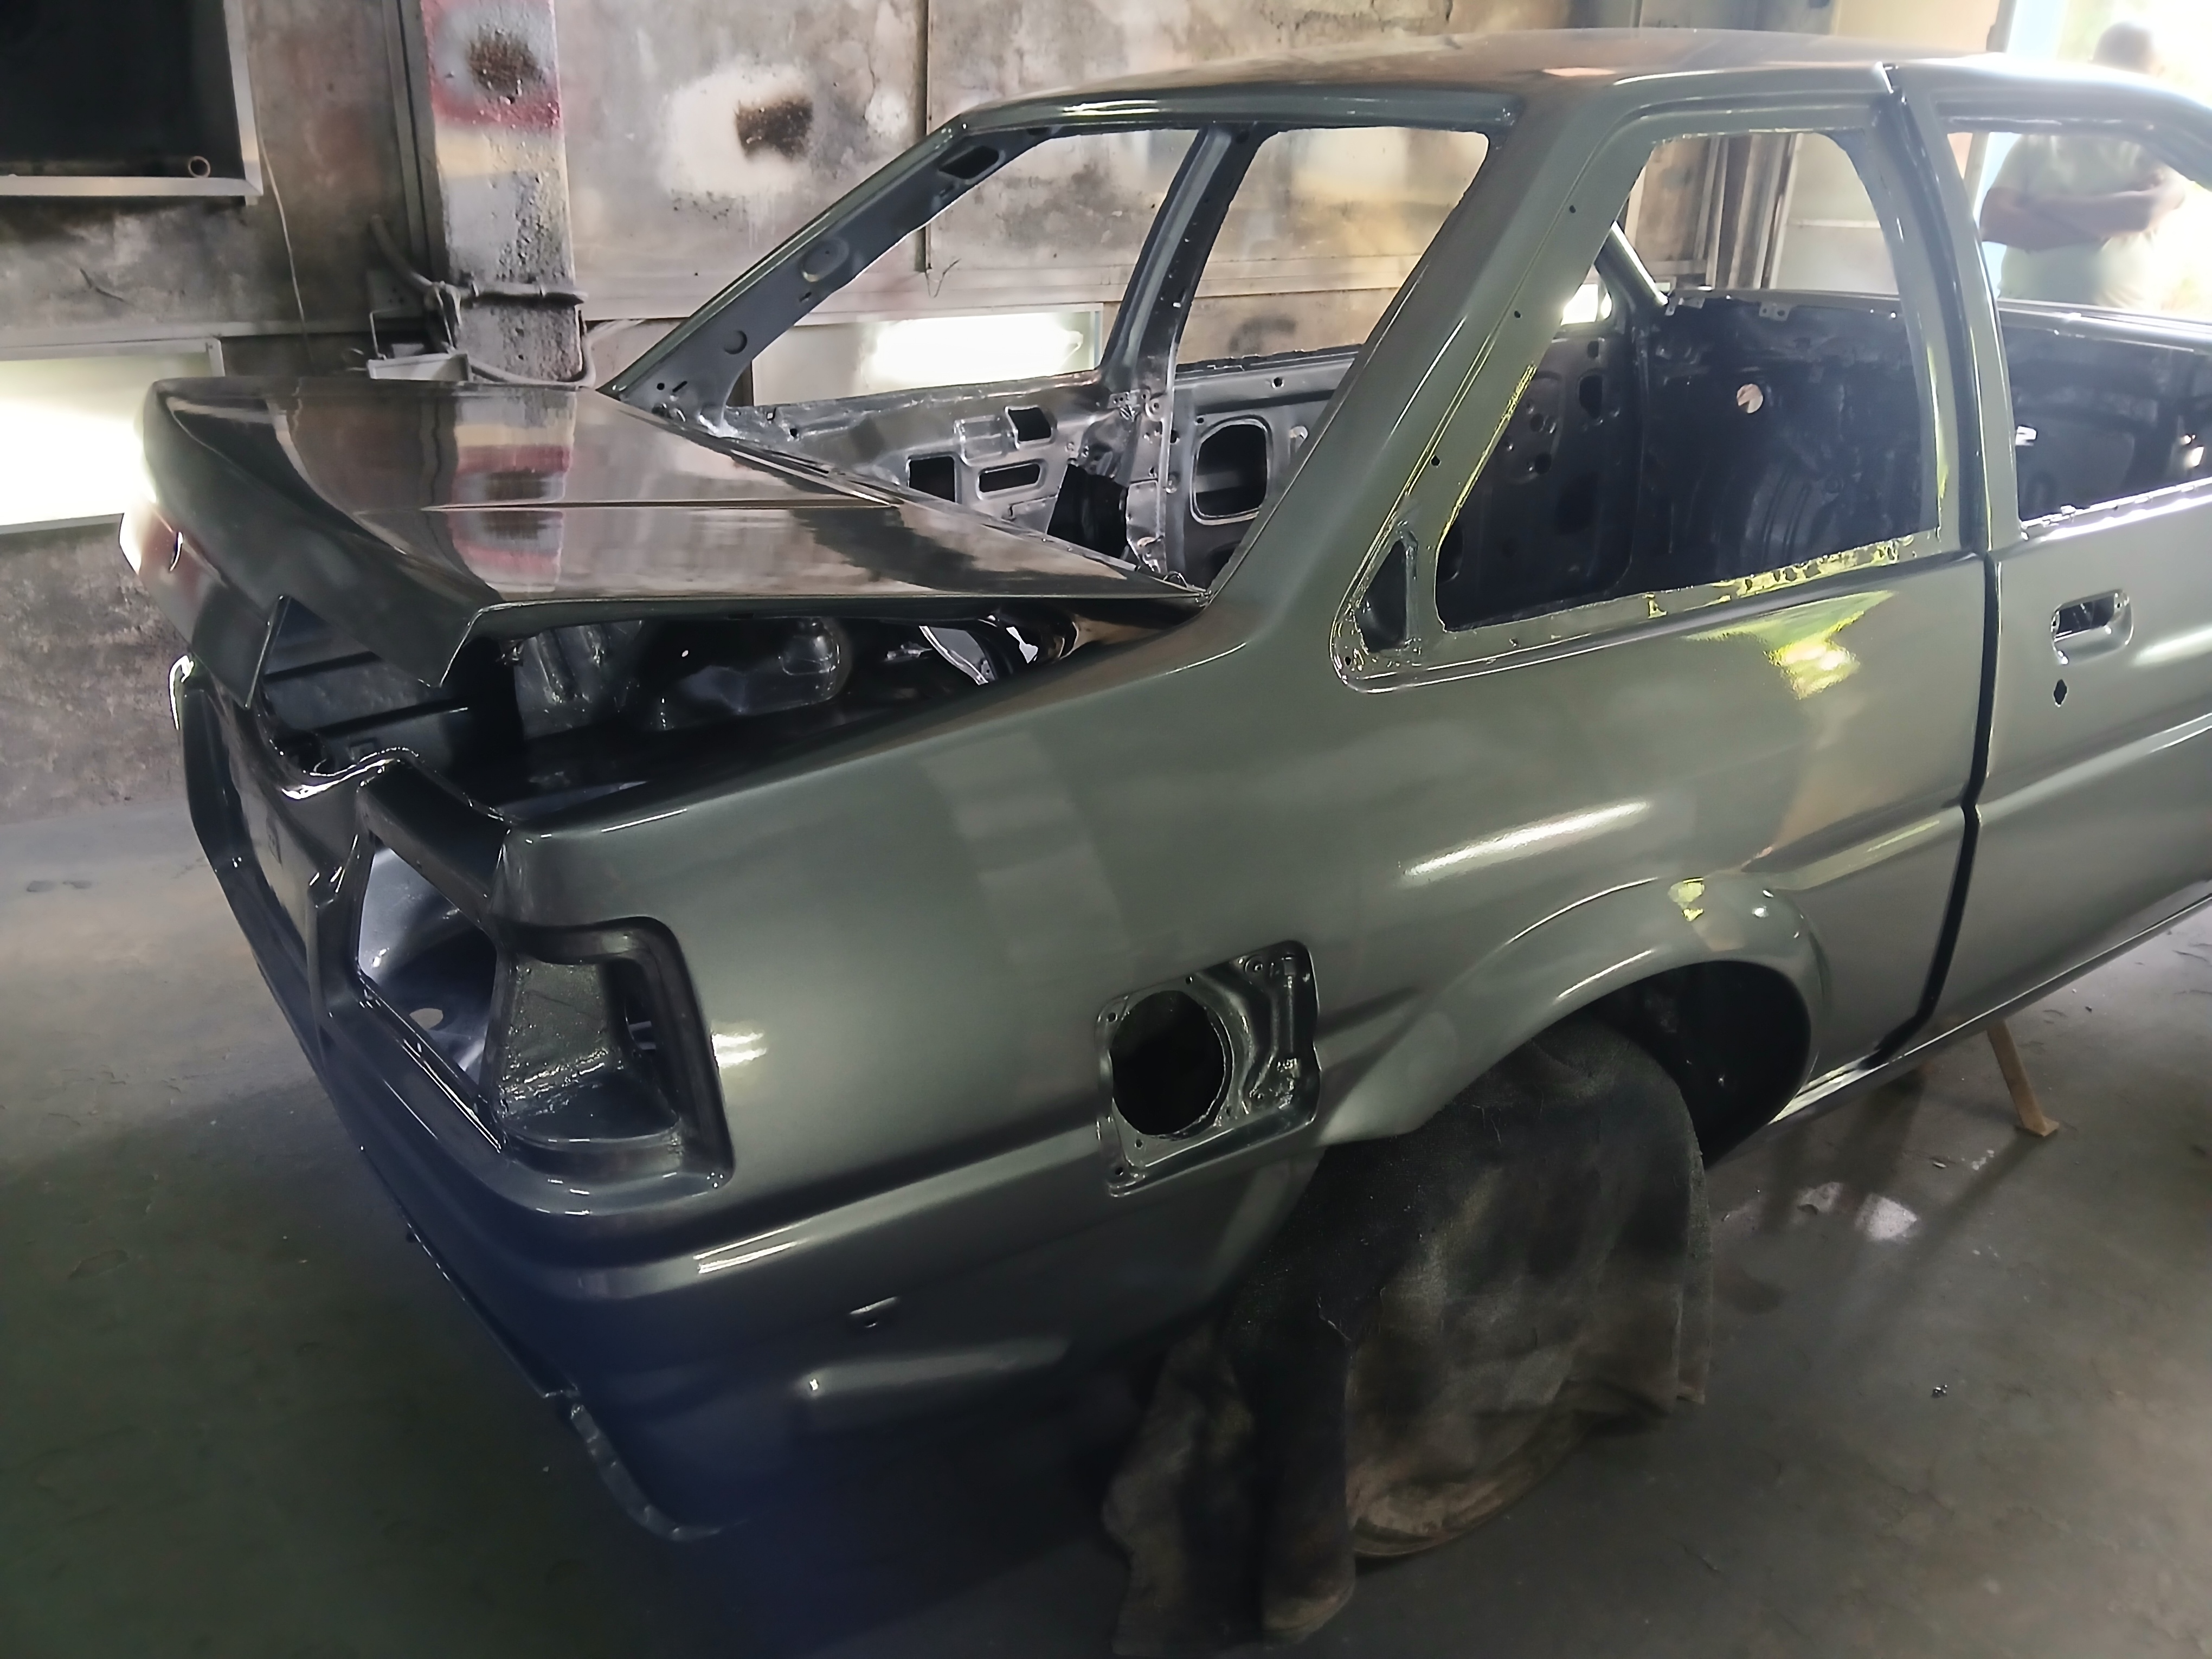
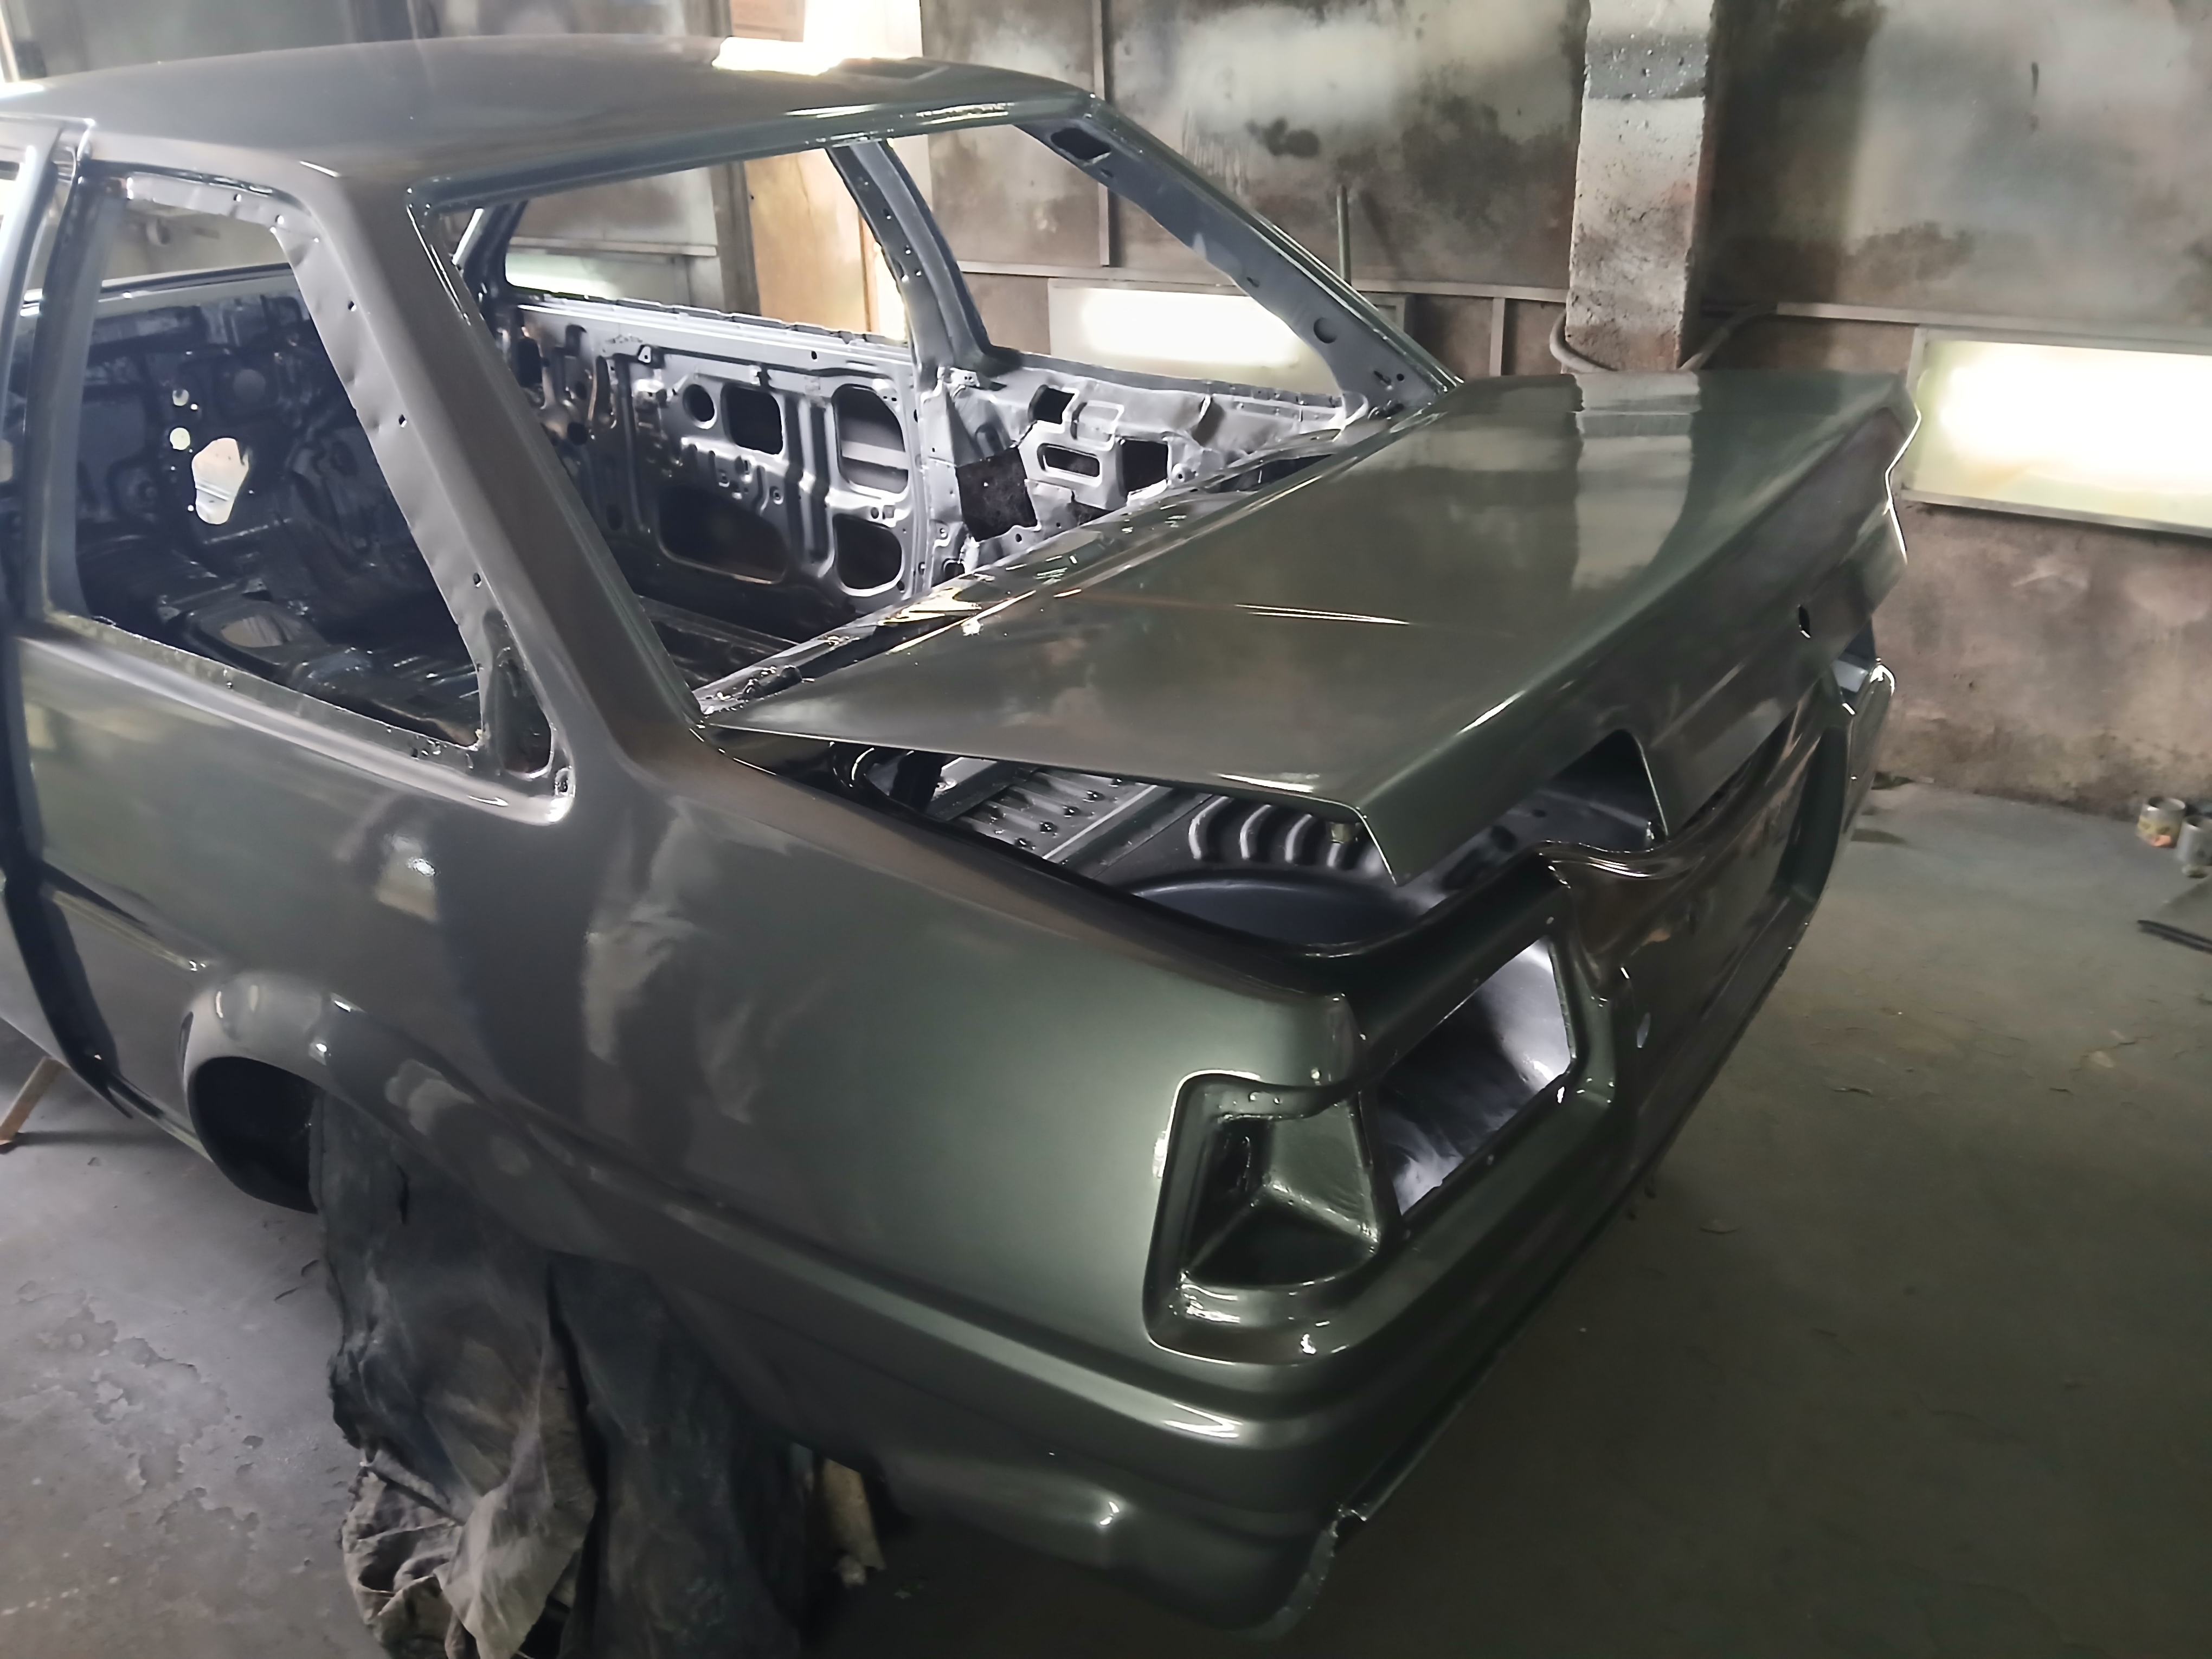
Approaching Perfection: Second and Third Coats of Paint
After addressing the imperfections highlighted by the first coat, we proceeded with applying the second and third coats of paint. This layer closely matches the final color code, allowing us to better evaluate the car’s overall finish and spot any remaining misalignments or surface issues before the final clear coat is applied.
Applying these coats brought the car’s true color to life, giving us a much clearer sense of how the finished restoration will look. It also provided a more accurate surface for the final inspection and any last adjustments needed to ensure a flawless finish.
Spoiler alert: Can you guess the color of the car?
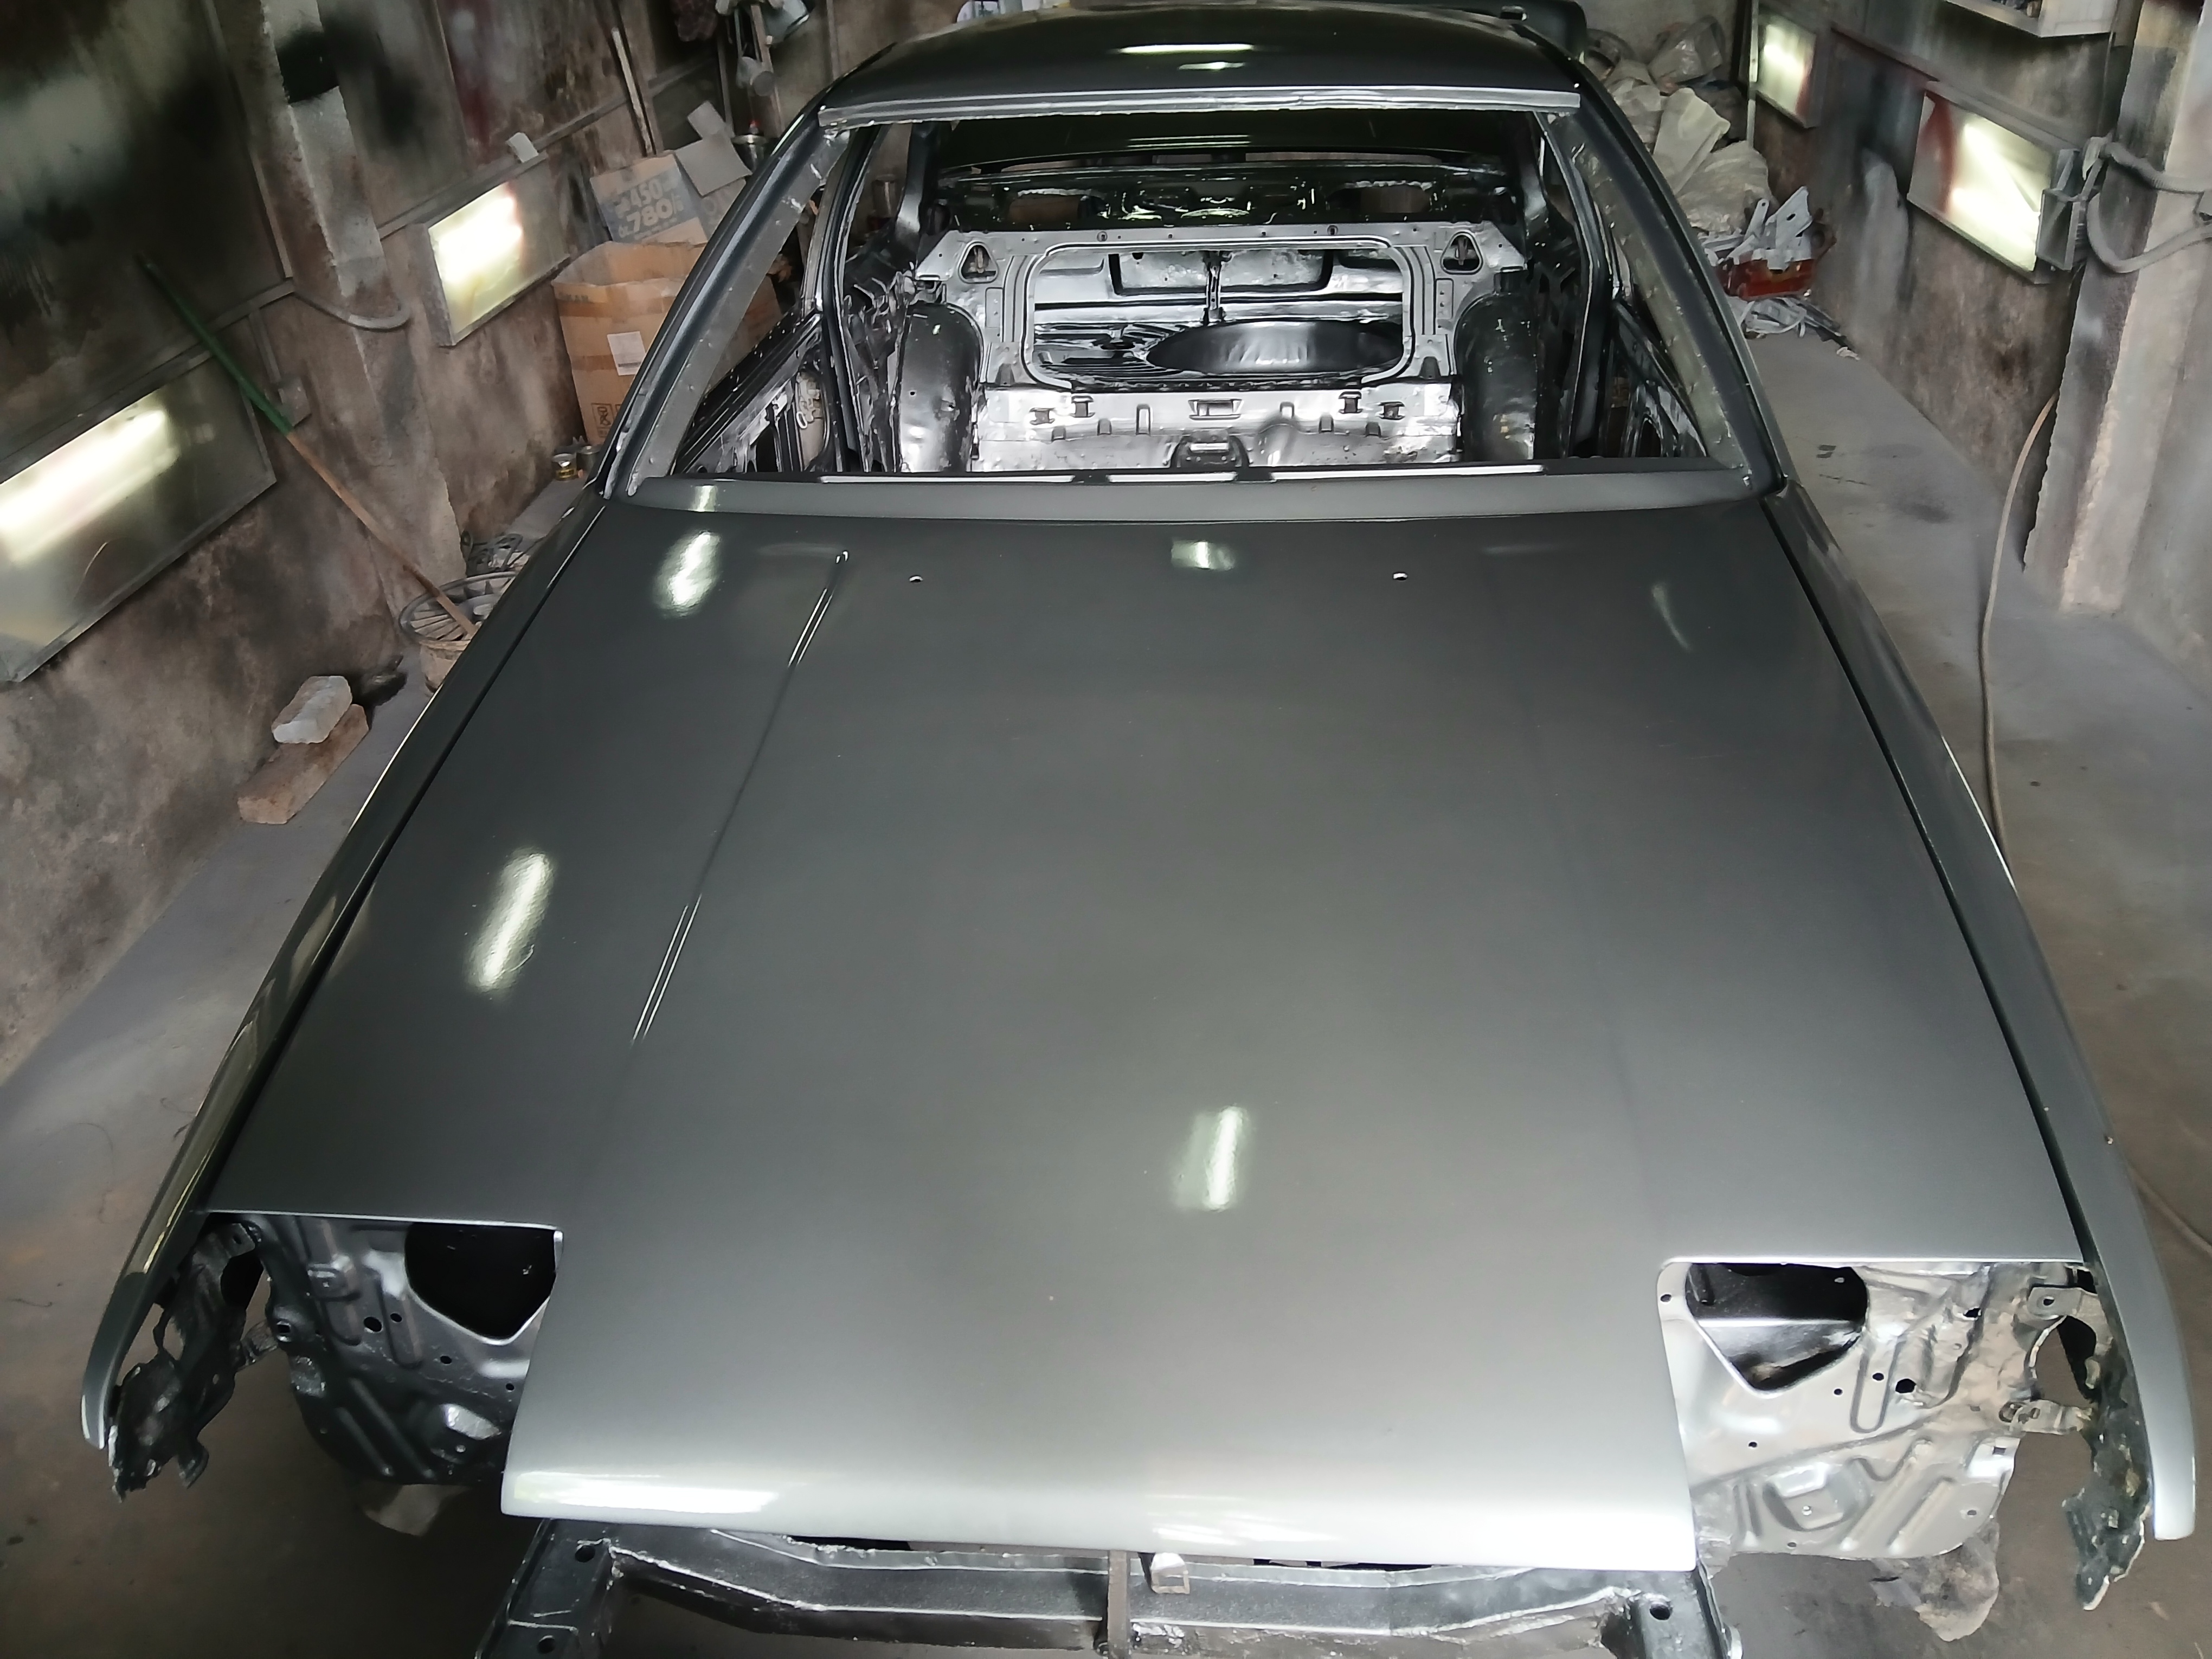
Final Alignment Check After Second and Third Coats
Once the second and third coats were applied, we carefully inspected the car for any remaining alignment issues before moving on to final paint prep. Most of the issues we found were minor and easily corrected. However, the bonnet presented a more challenging alignment problem that required extra time and attention to fix properly.
Aside from the hood, everything else lined up smoothly, setting the stage for a clean and flawless final finish.

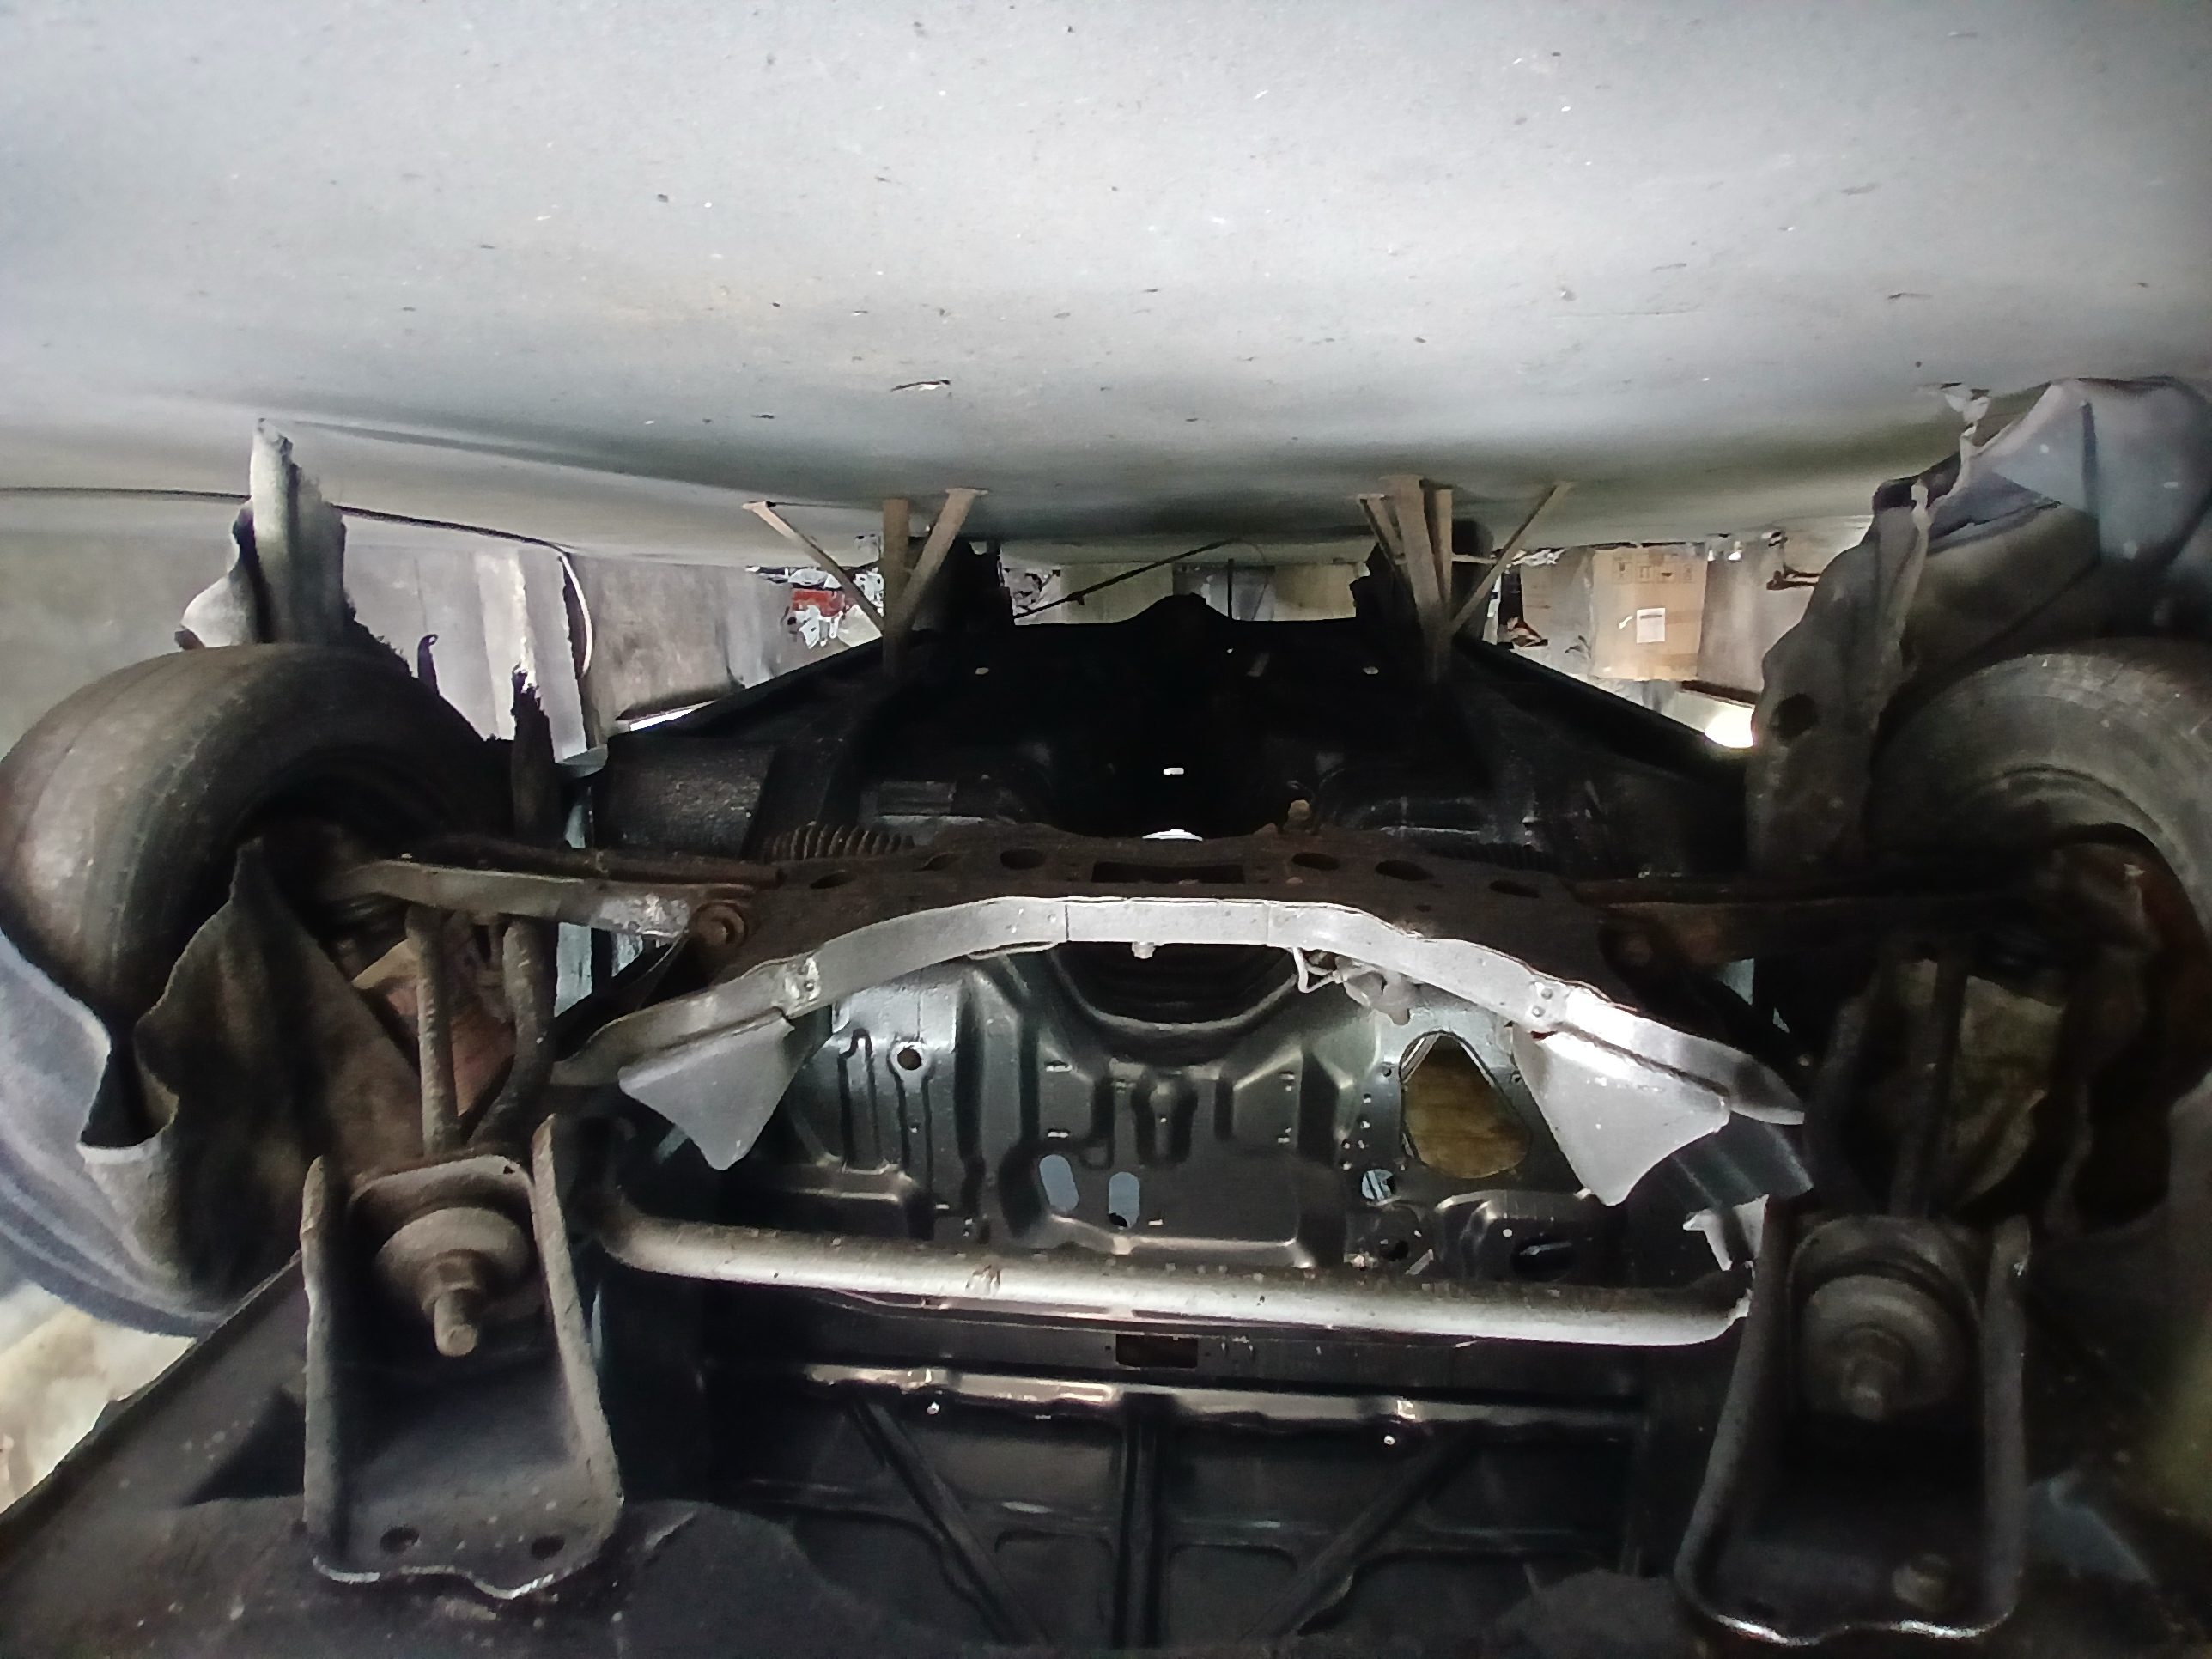
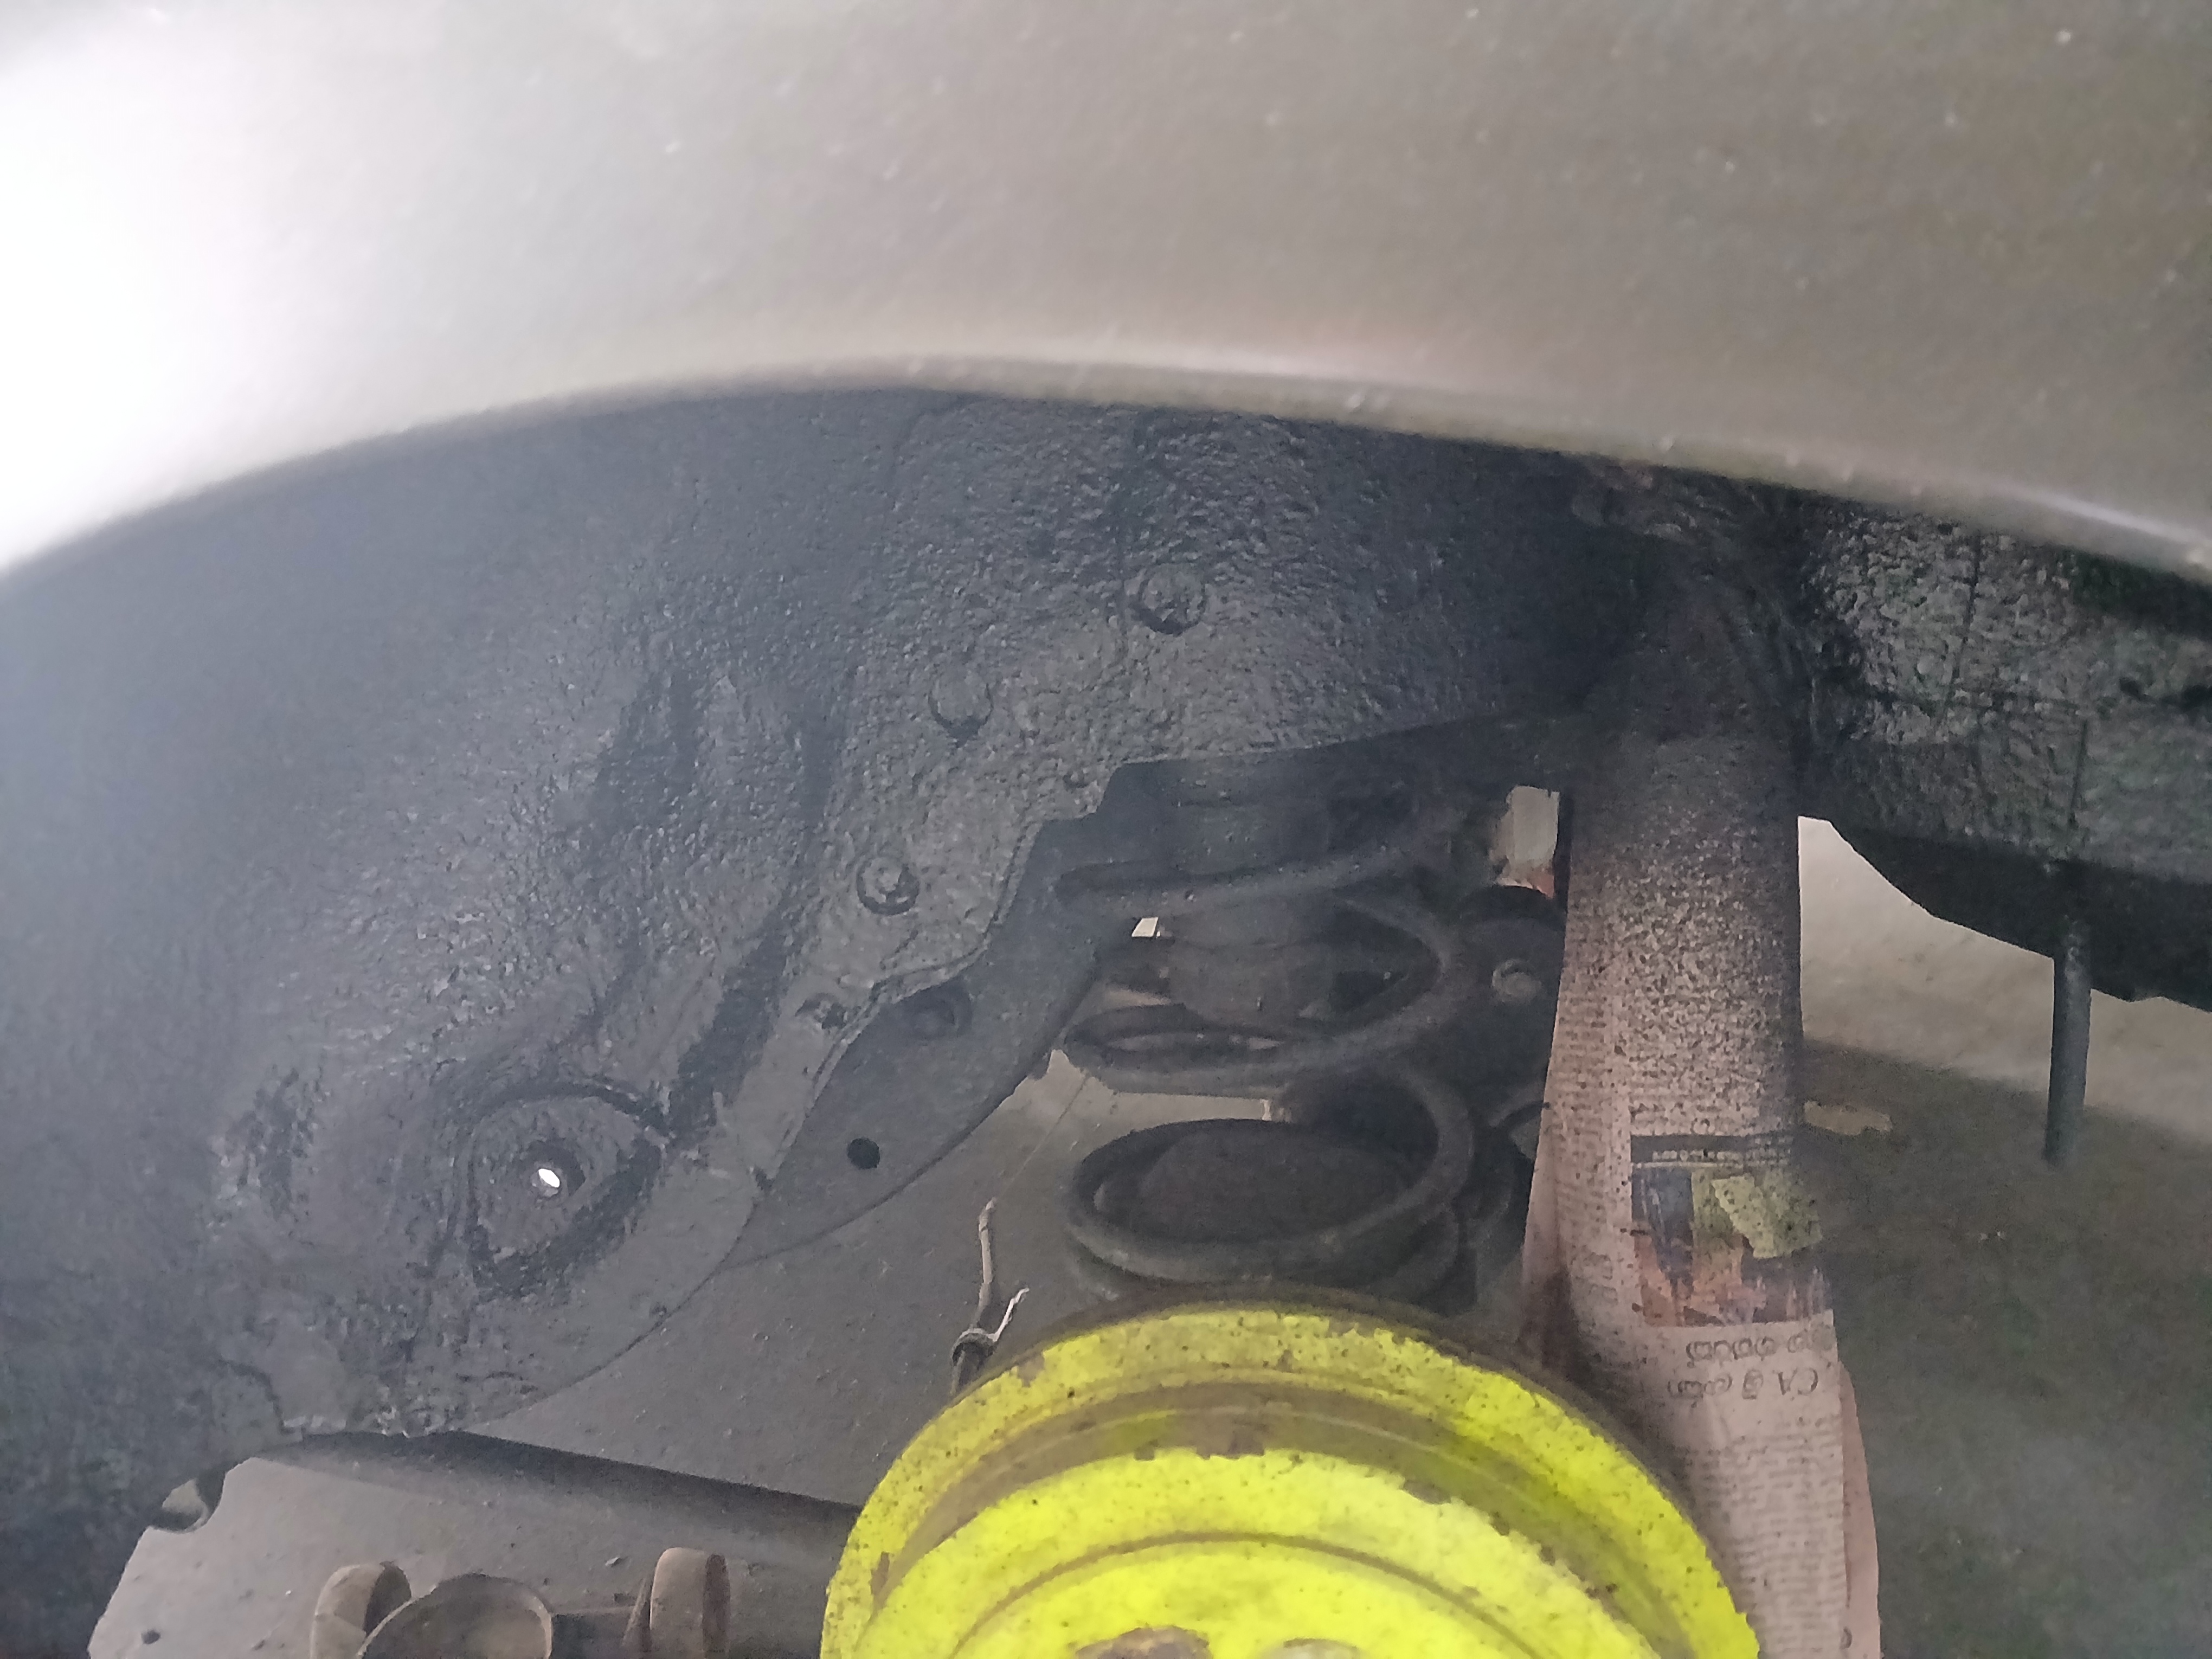
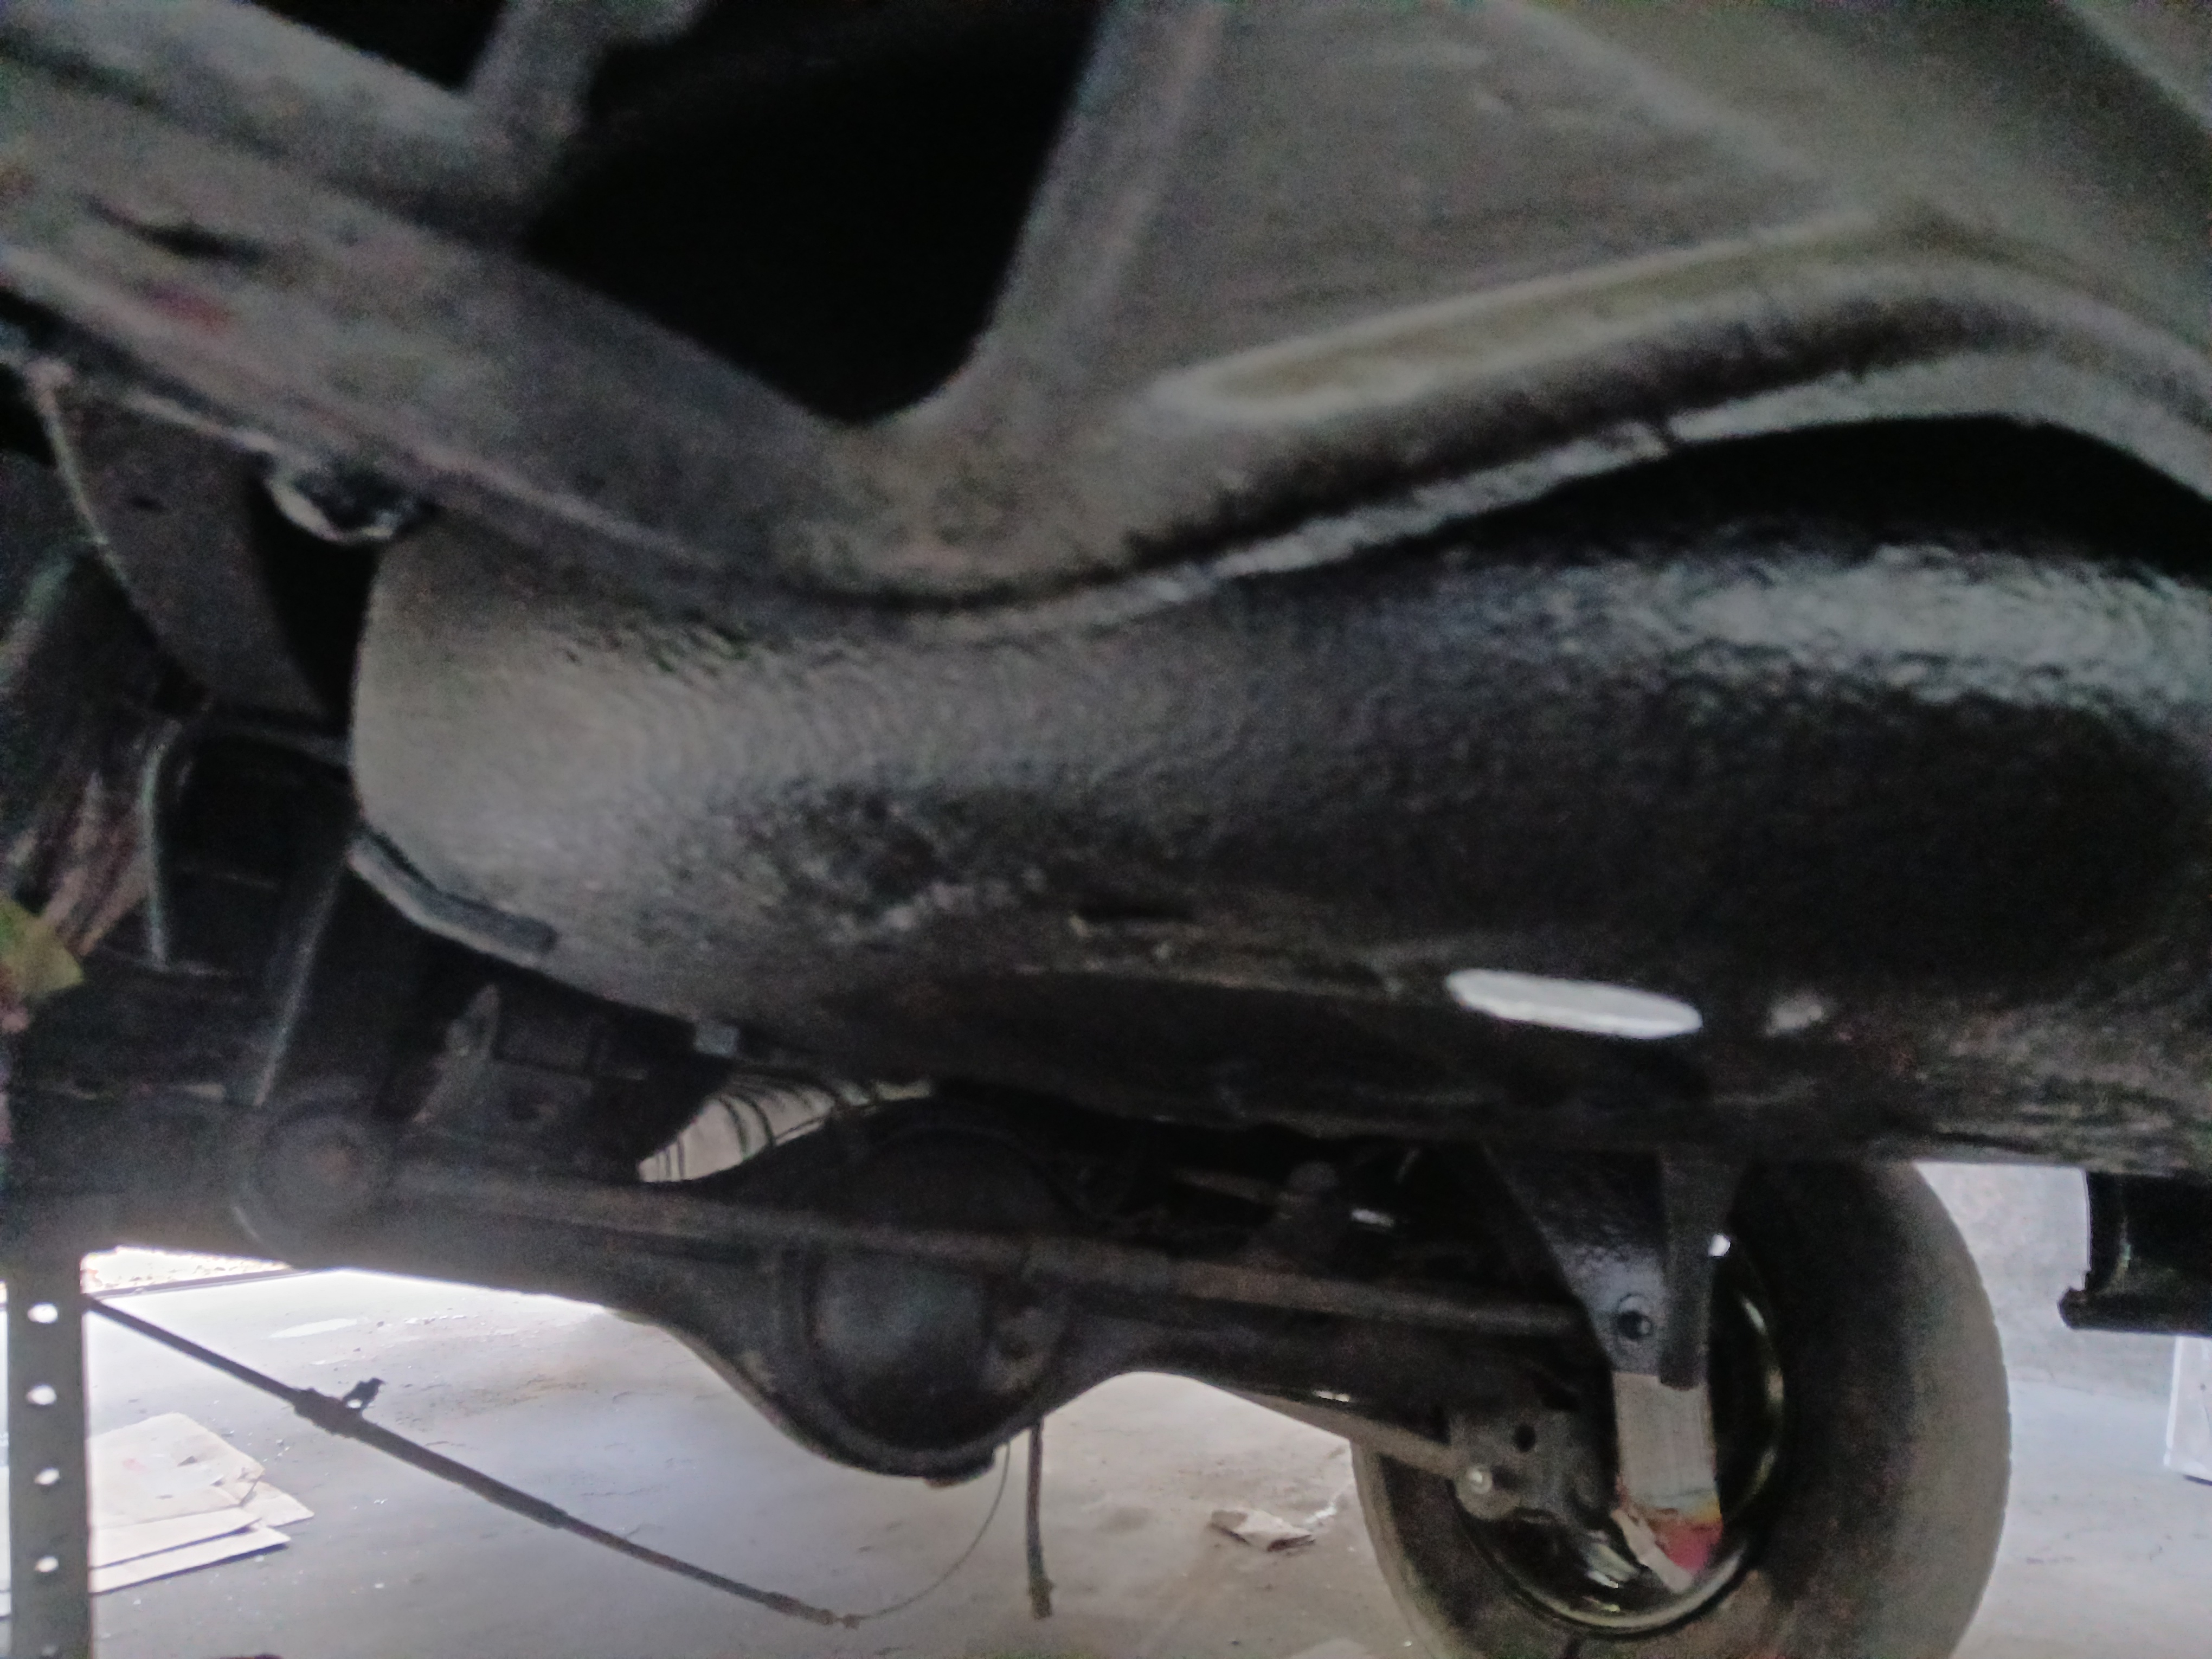
Applying Underseal for Long-Lasting Protection
After completing the paintwork and final body alignment, we moved on to applying the underseal—a crucial step to ensure the car’s longevity. Underseal acts as a protective barrier on the underside of the vehicle, shielding it from moisture, road salt, debris, and corrosion. This helps prevent rust and structural damage over time, especially important for preserving an older car through years of use.
Applying the underseal carefully now means the car will have added durability and resistance against harsh elements, extending its life well beyond the restoration.
Prep for Final Paint
After resolving all alignment issues, we began the critical preparation stage for the final paint. This prep work is essential to ensure the paint adheres perfectly and delivers a smooth, flawless finish.
It involves thorough cleaning, sanding, and masking to create an optimal surface free from dust, oils, or imperfections that could affect the paint quality. Proper prep sets the foundation for the final coat’s durability, shine, and overall appearance.
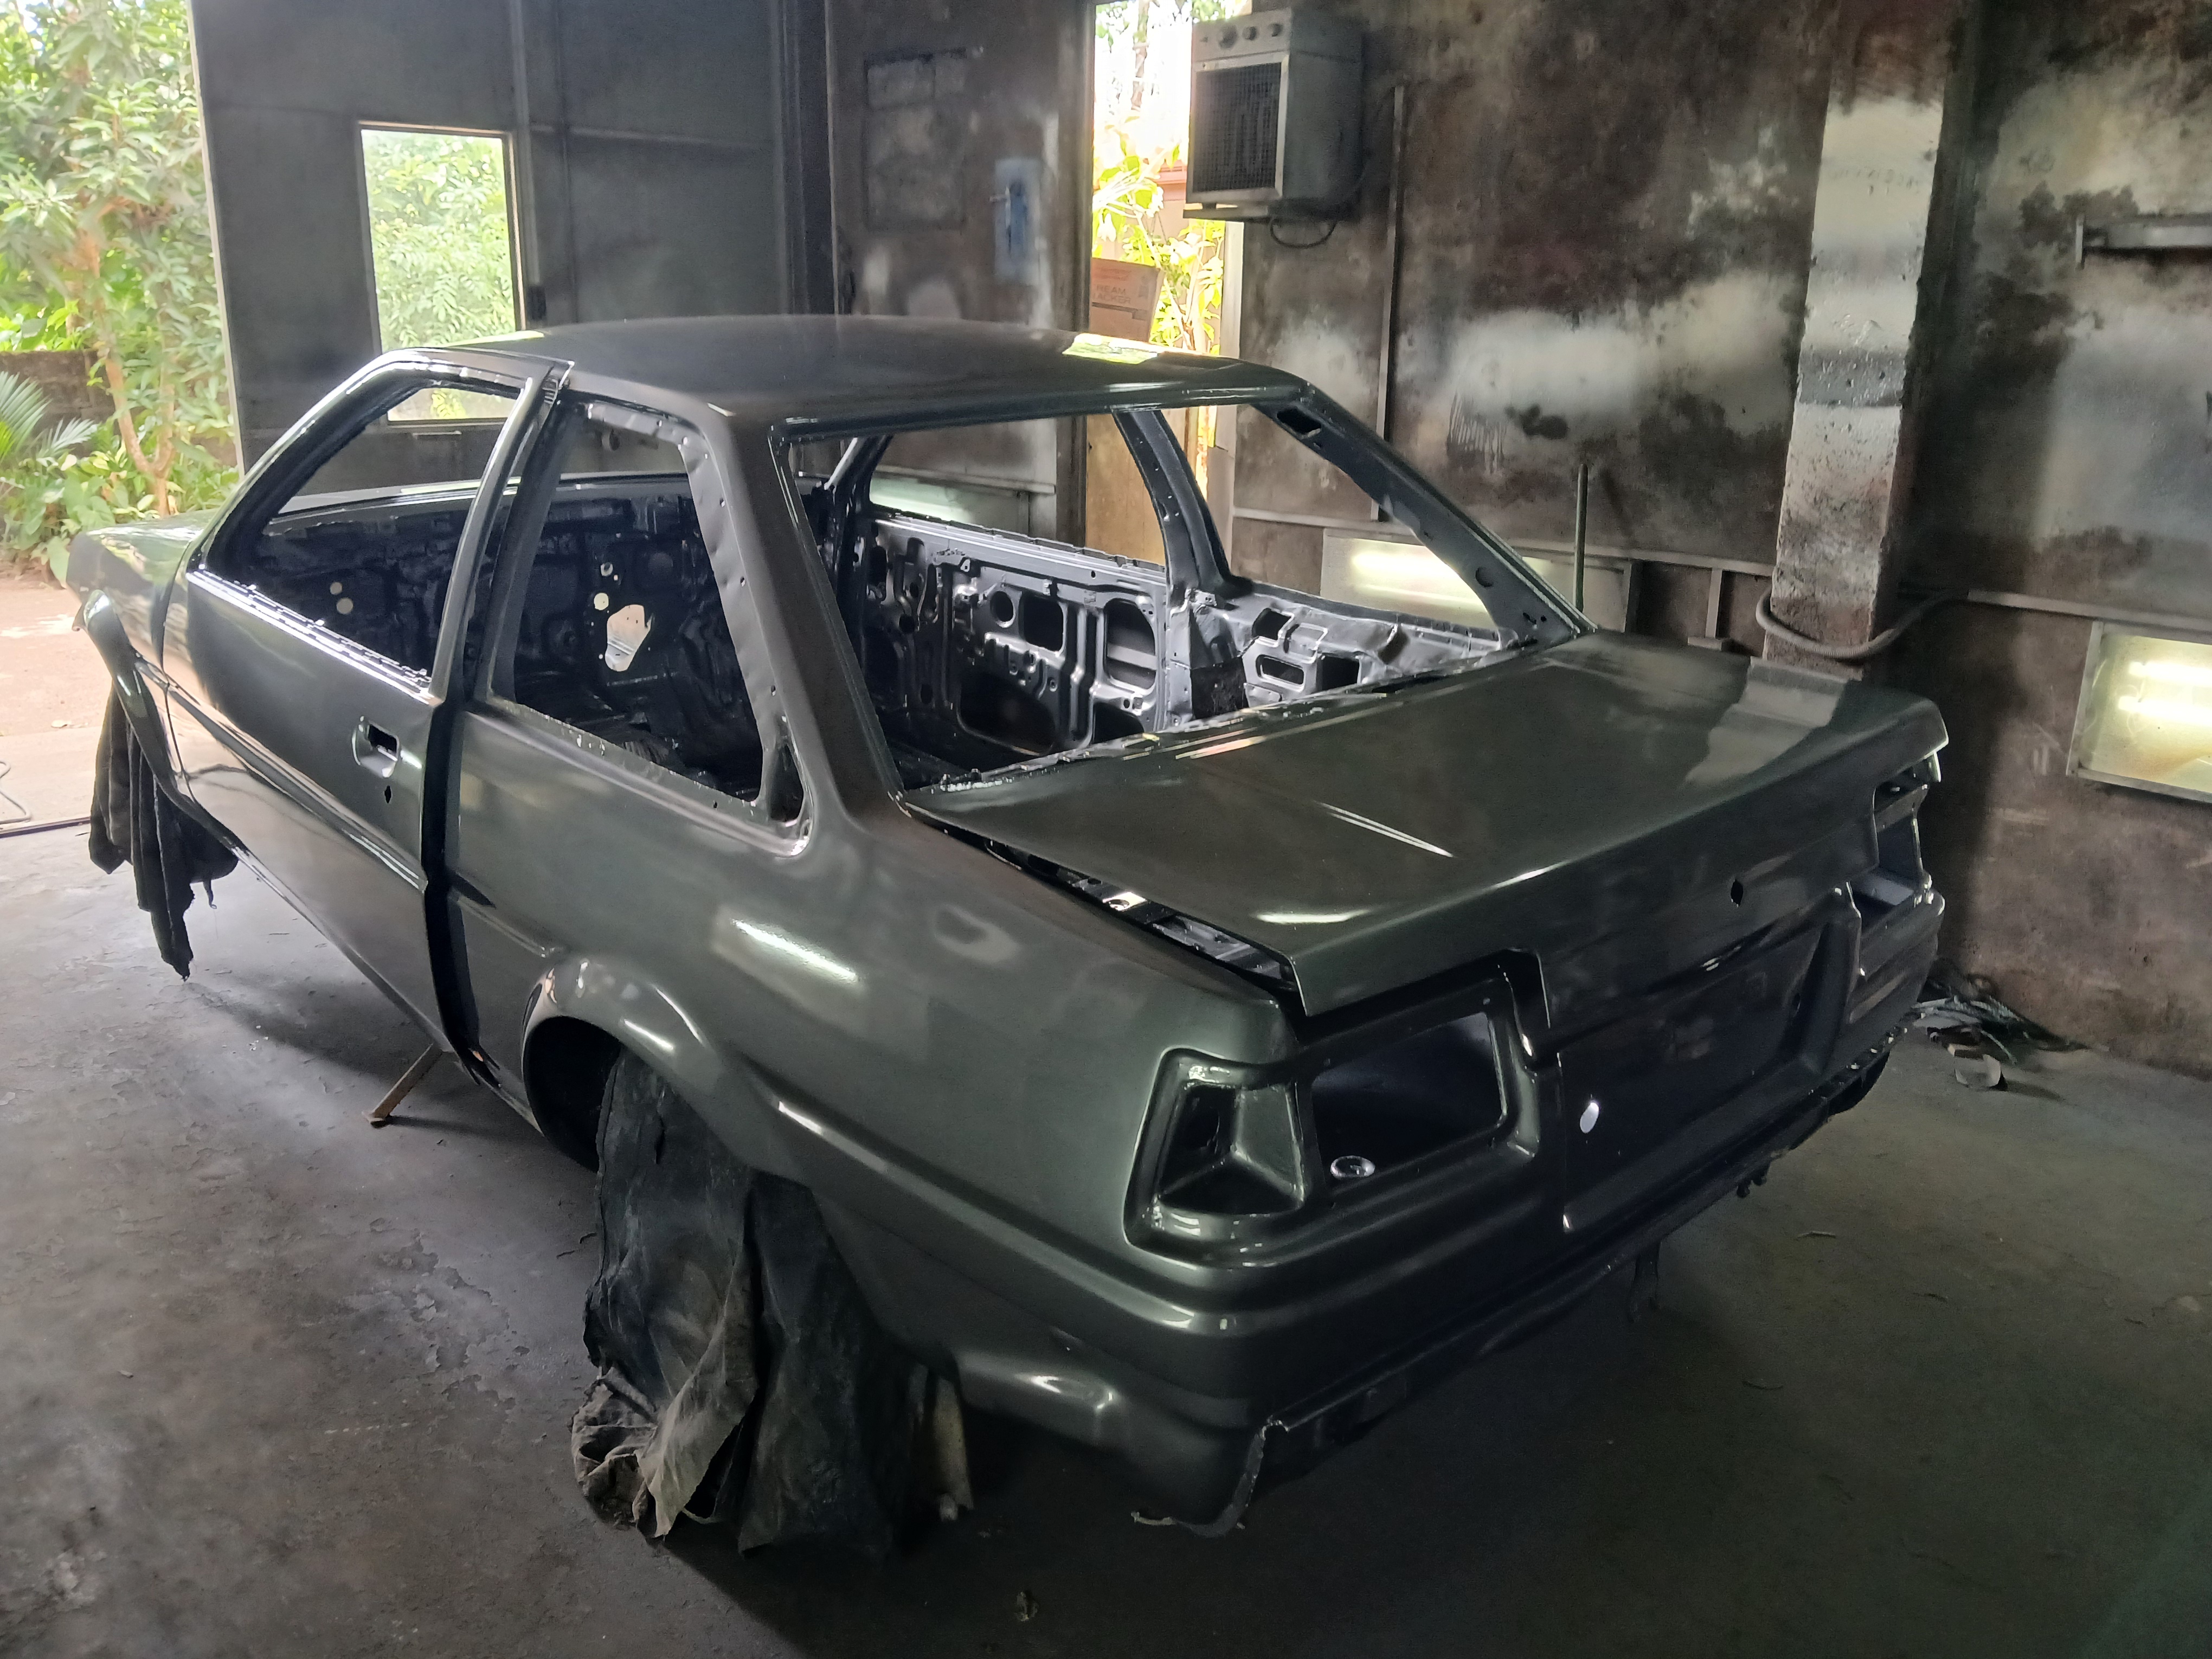
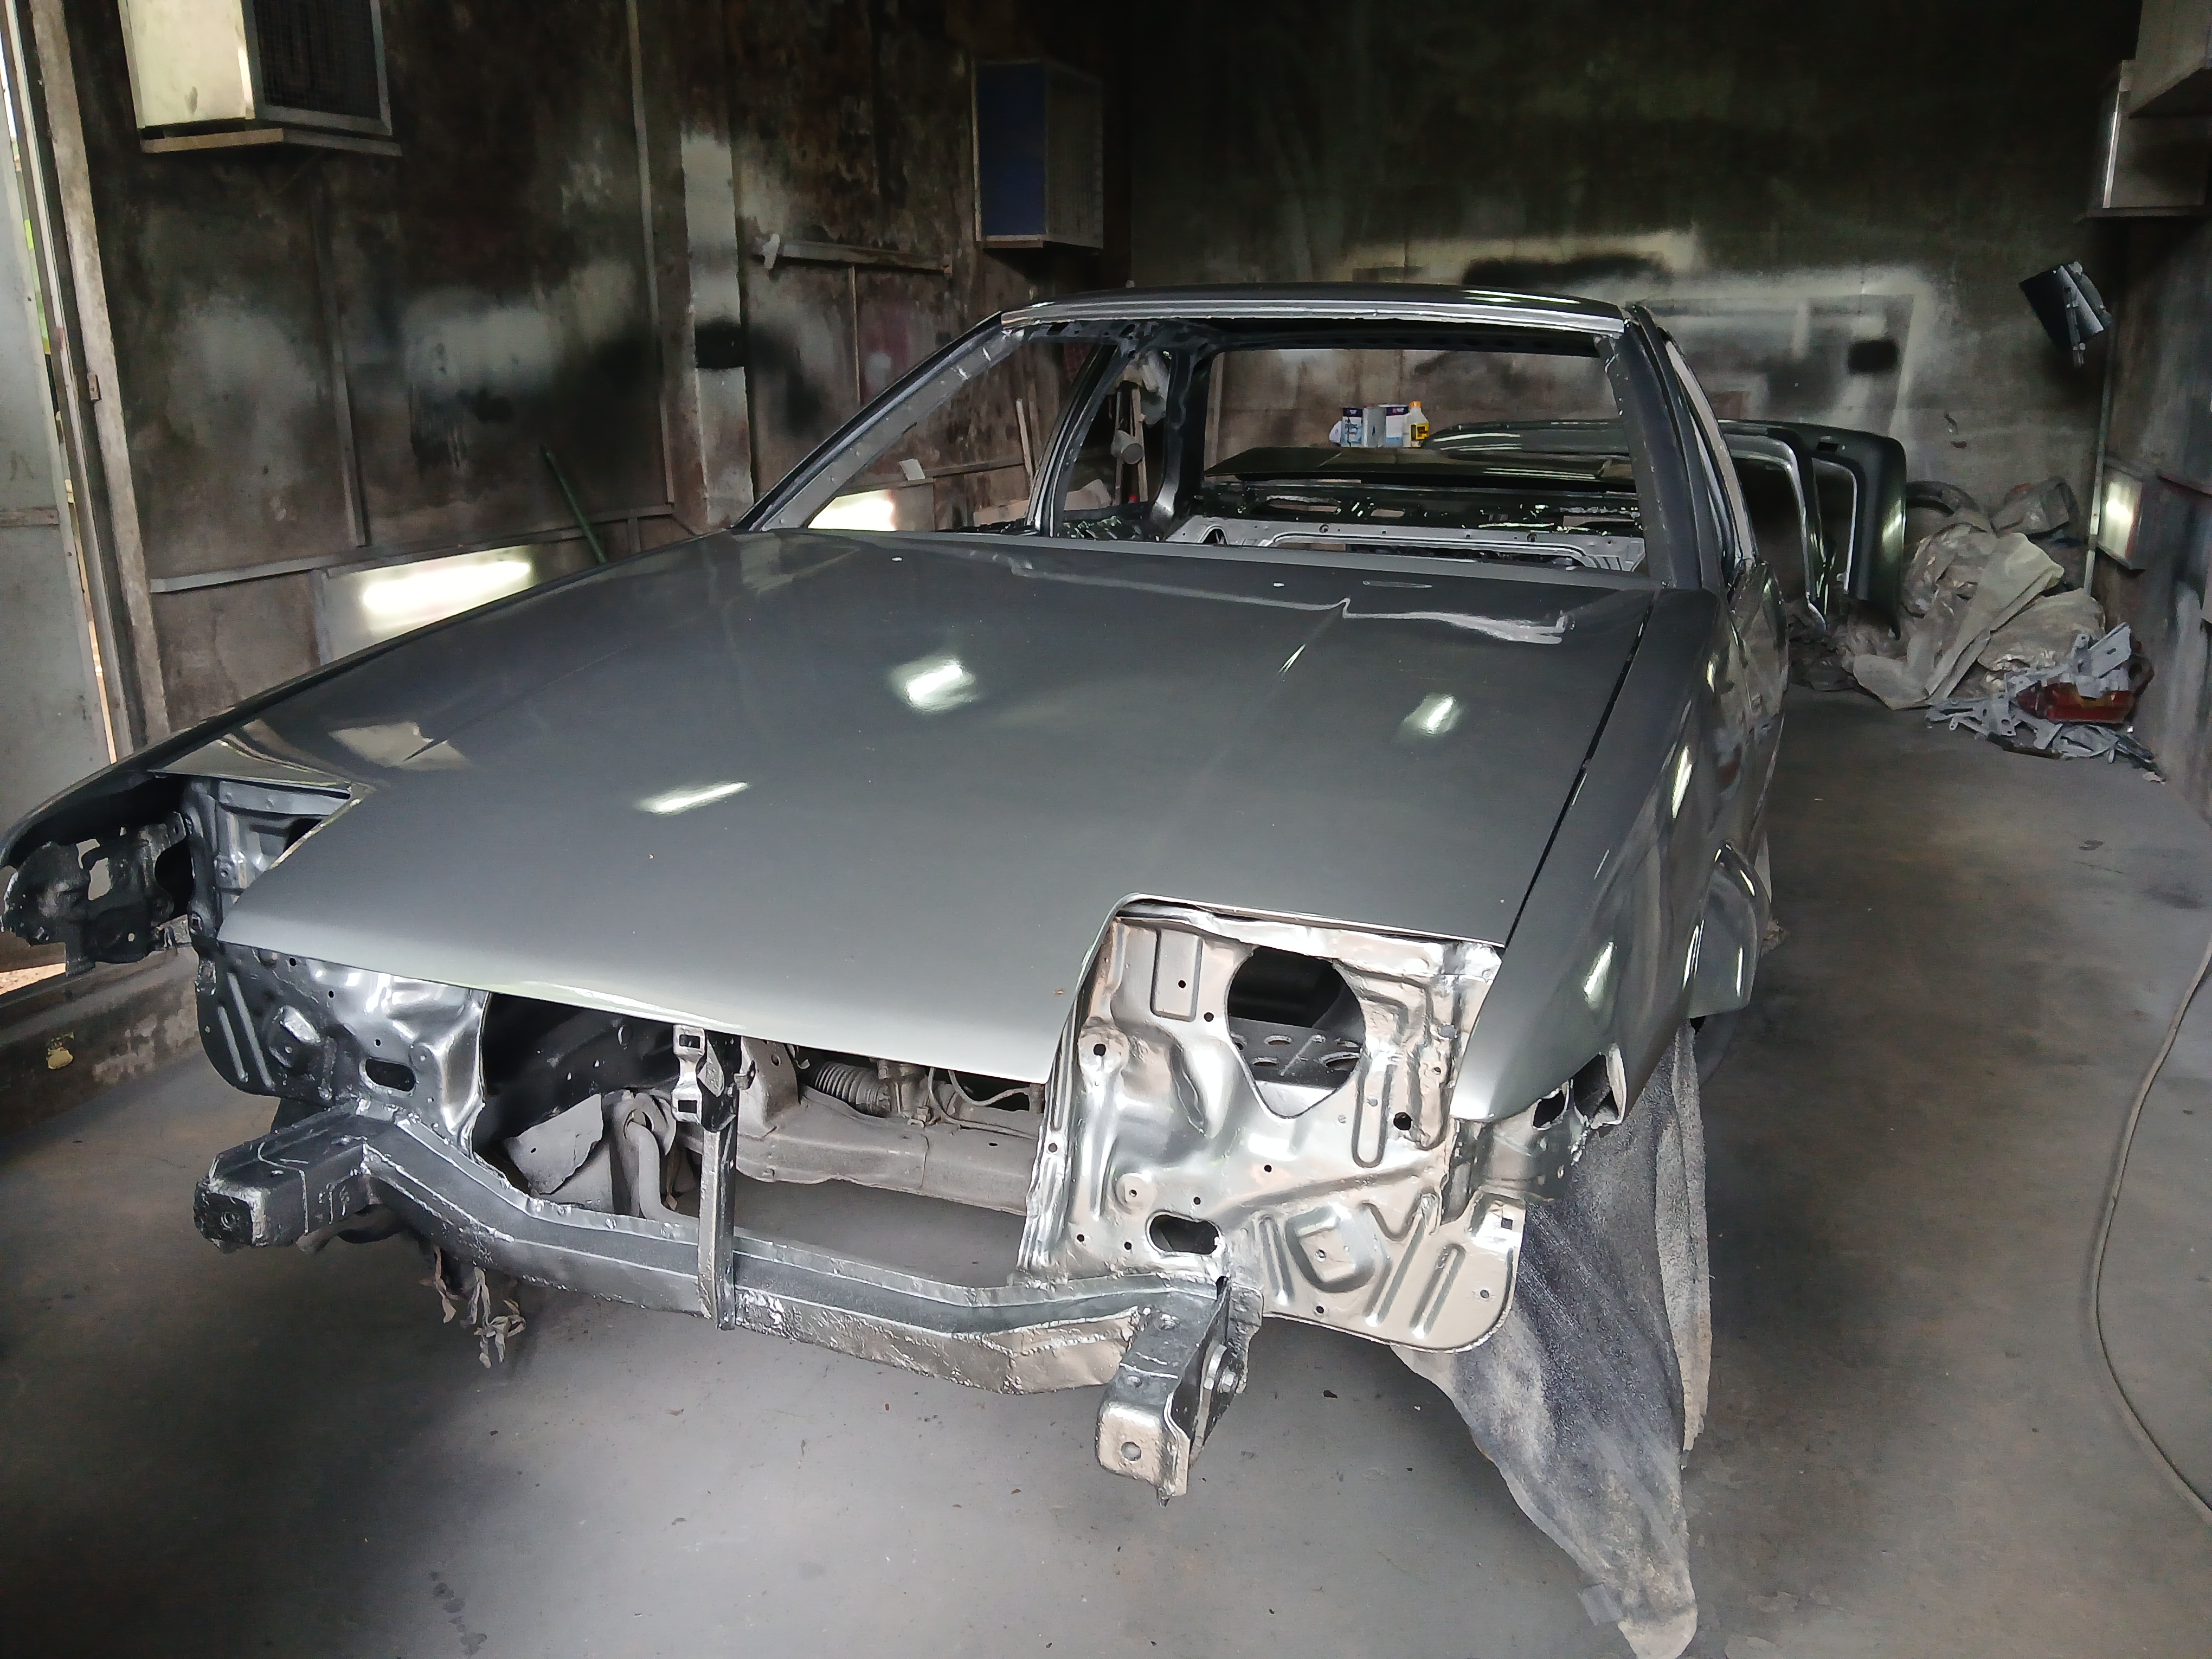
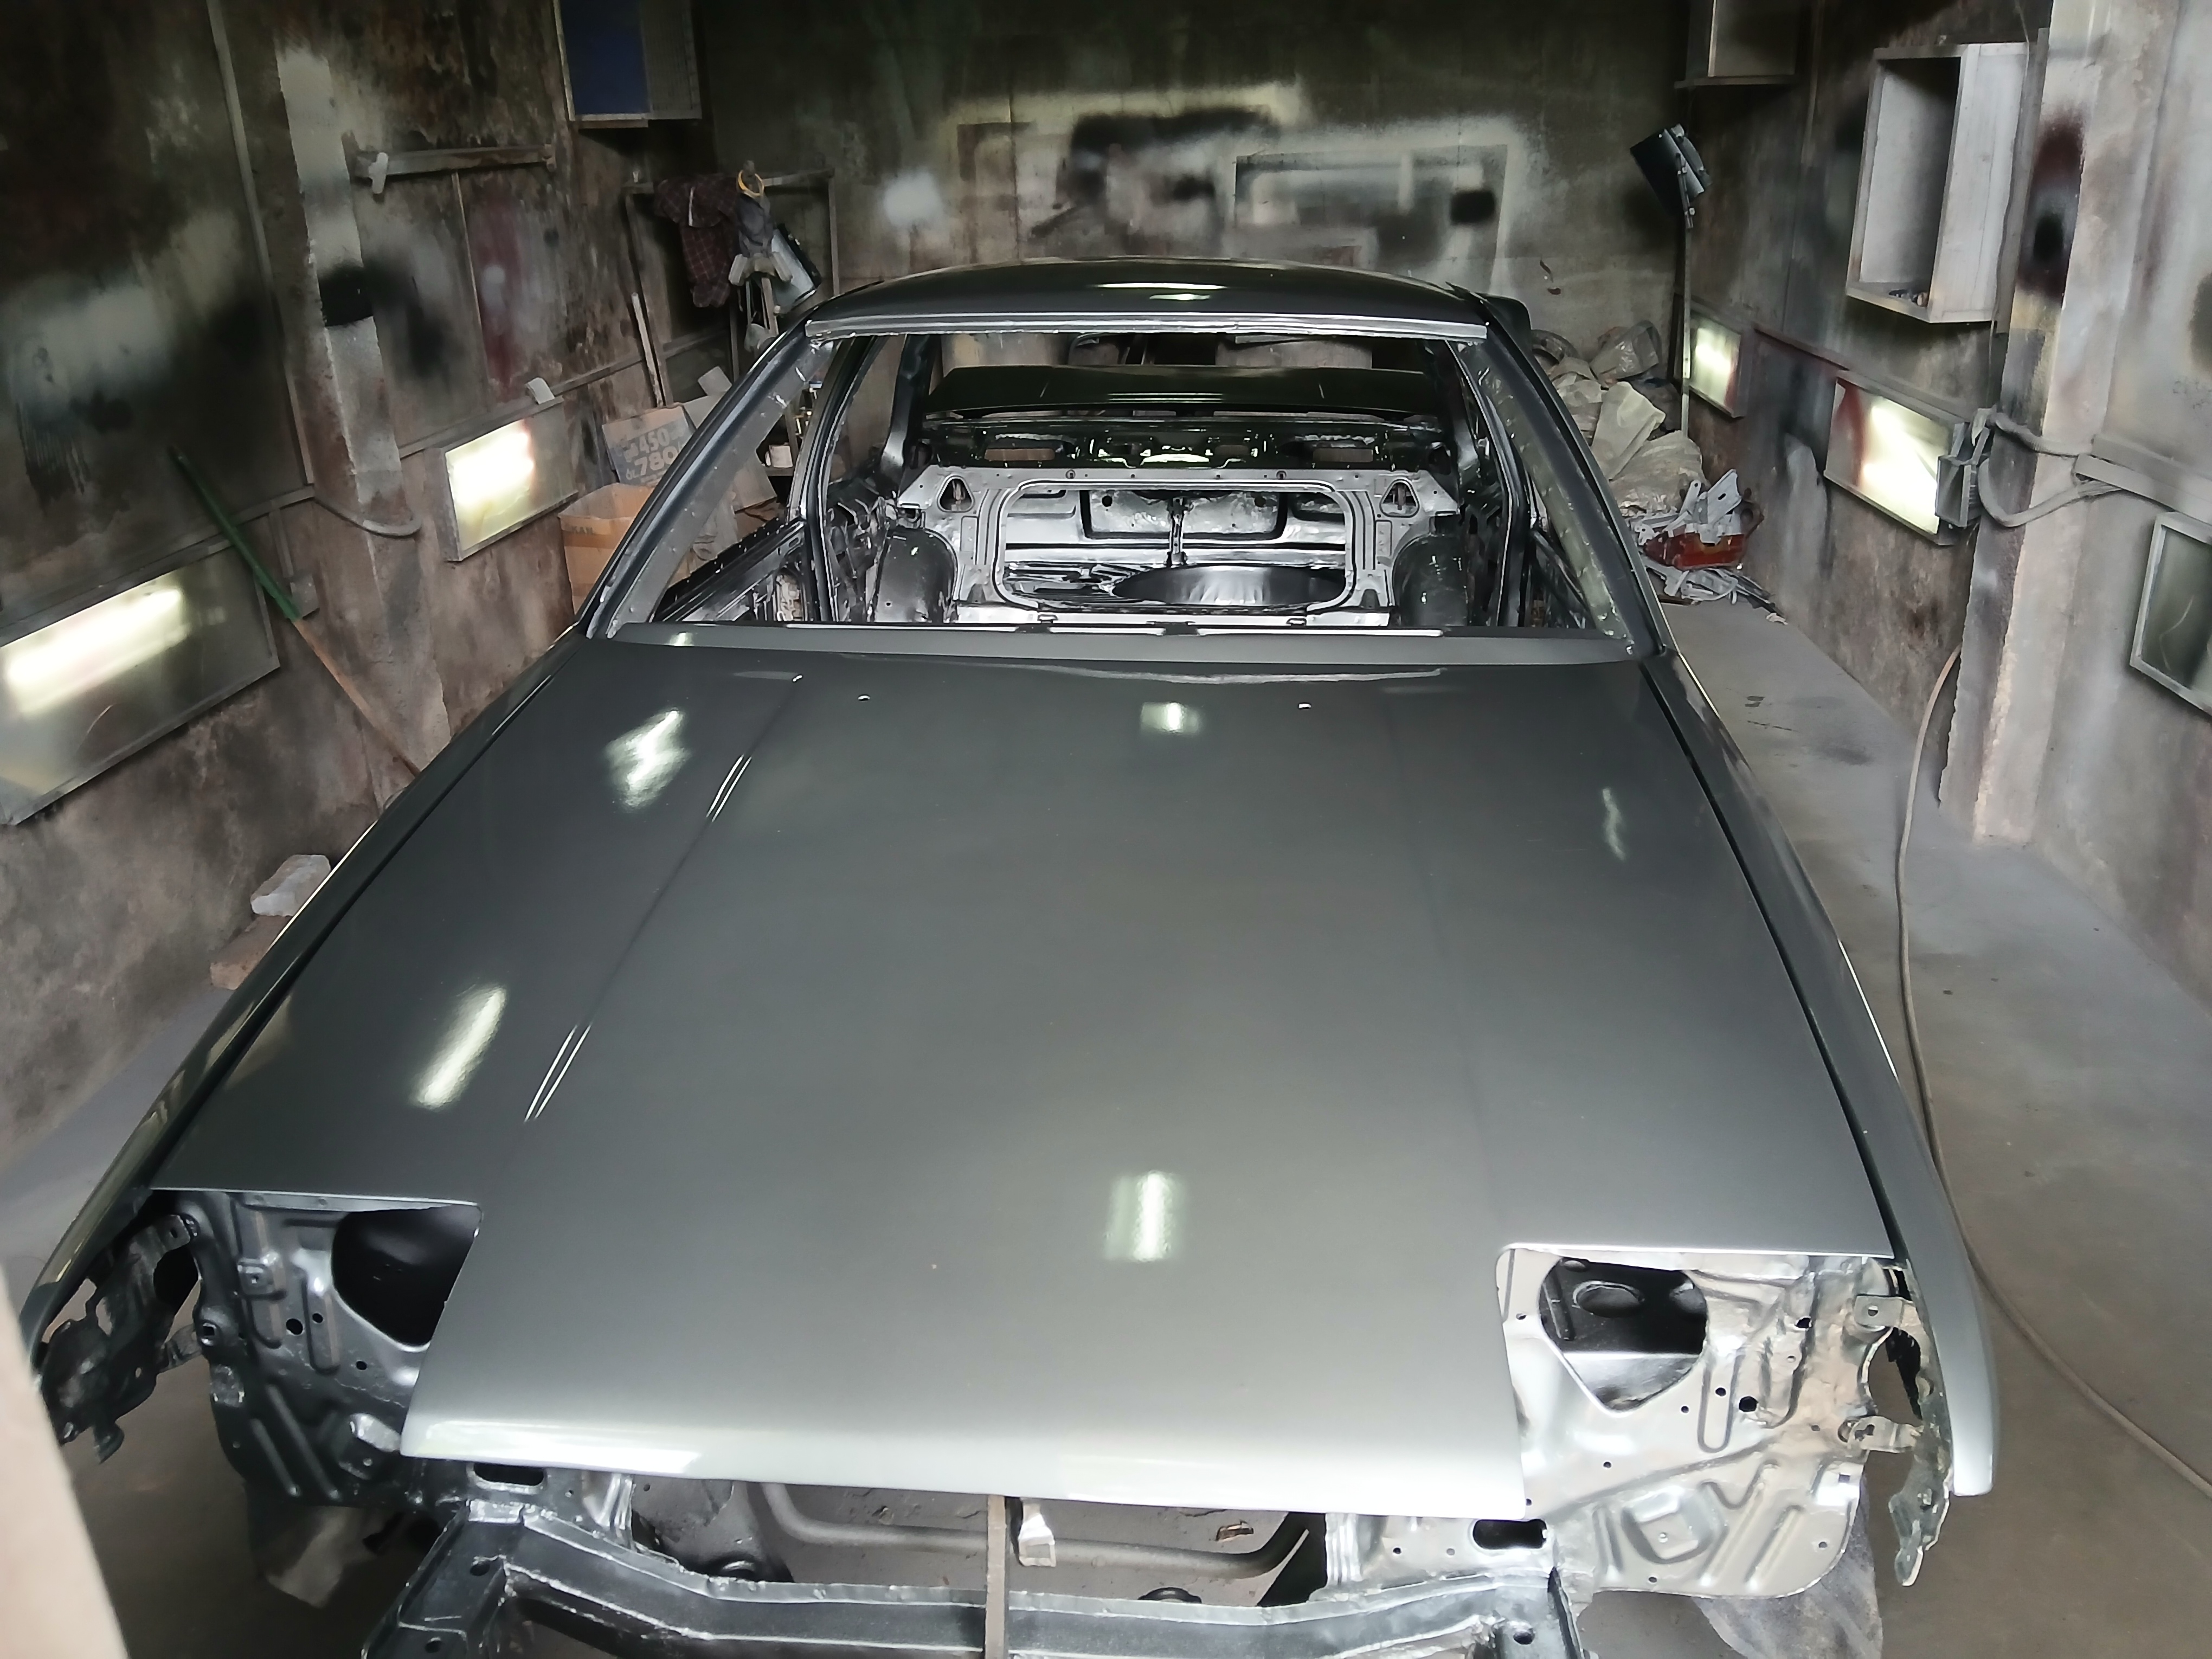
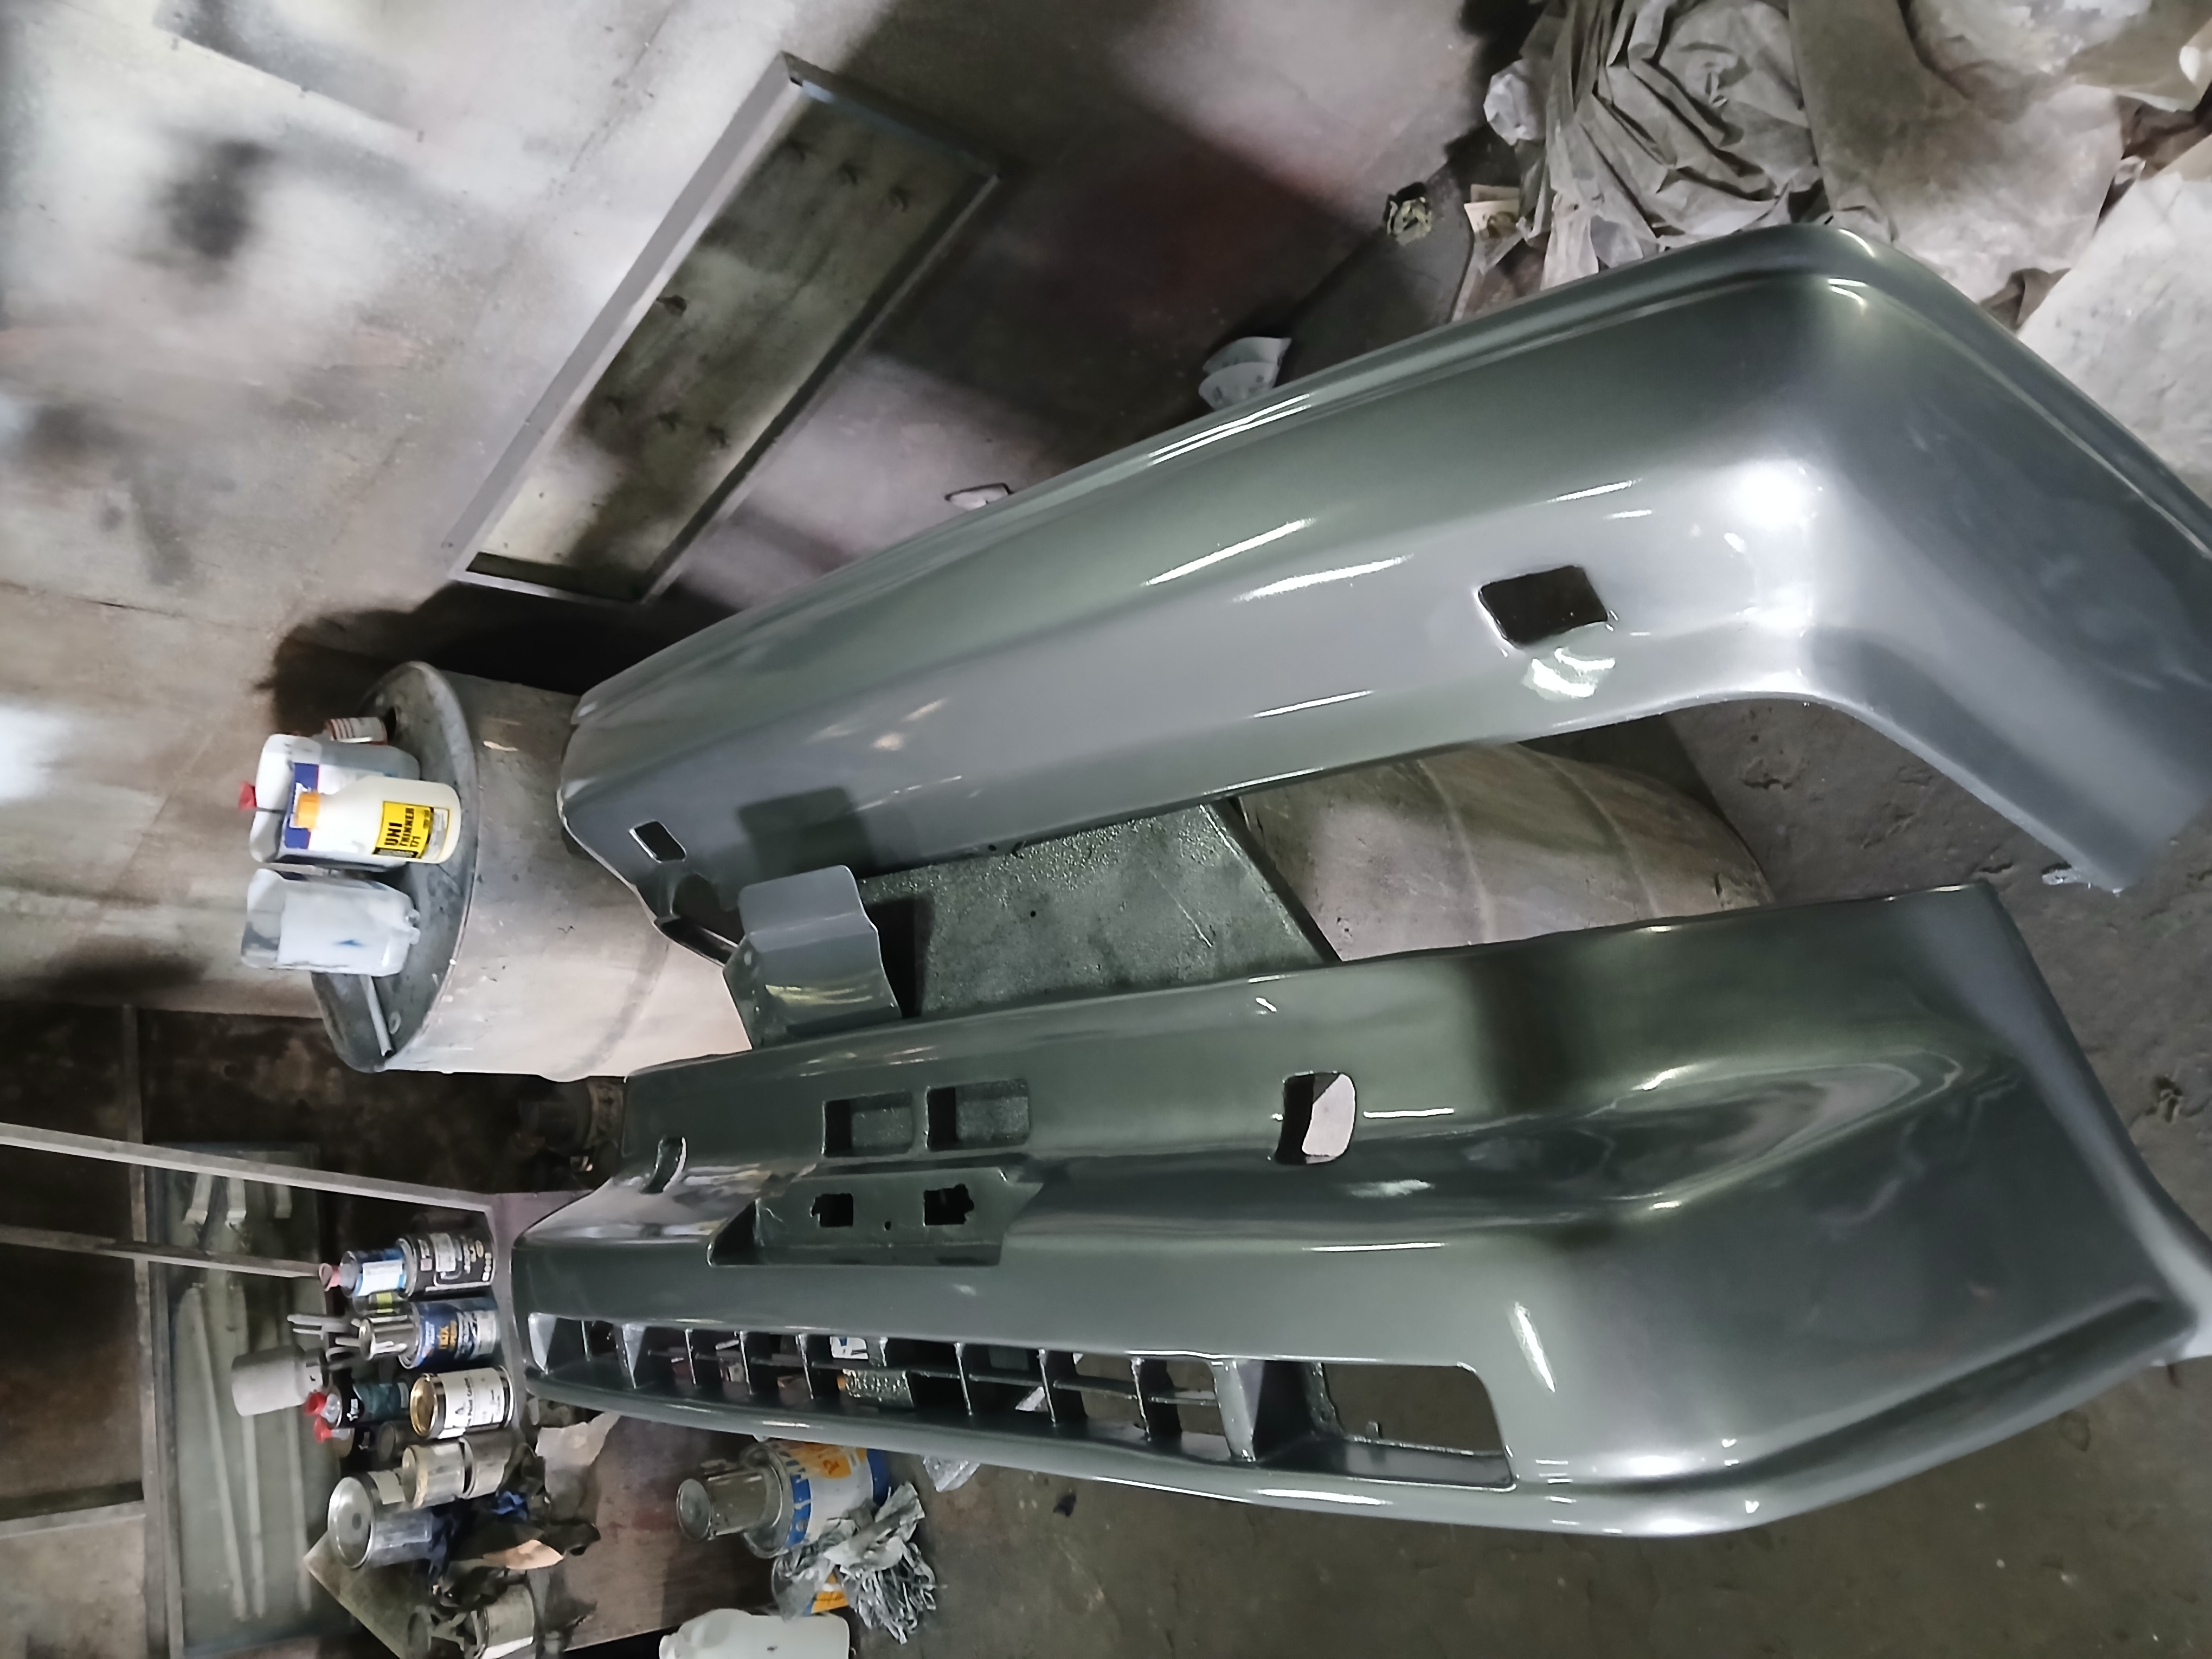
Applying the Final Coat: Medium Gray Metallic Unveiled
Started on: 2025-08-07
After countless hours and days of preparation, we finally applied the final coat of paint. For this special finish, we chose DeBeer’s renowned Medium Gray Metallic (color code 159) — a rare and distinctive shade offered for only one year.
“Damn, don’t tell him Medium Gray Metallic is an ultra-rare color offered for only one year!”
Yes, we embraced this unique color to make the car truly stand out. After all the effort poured into the restoration, the final paint job exceeded our expectations. The depth, shine, and flawless coverage made it clear the hard work was absolutely worth it. We couldn’t be happier with the outcome — the car finally looks exactly how we envisioned.
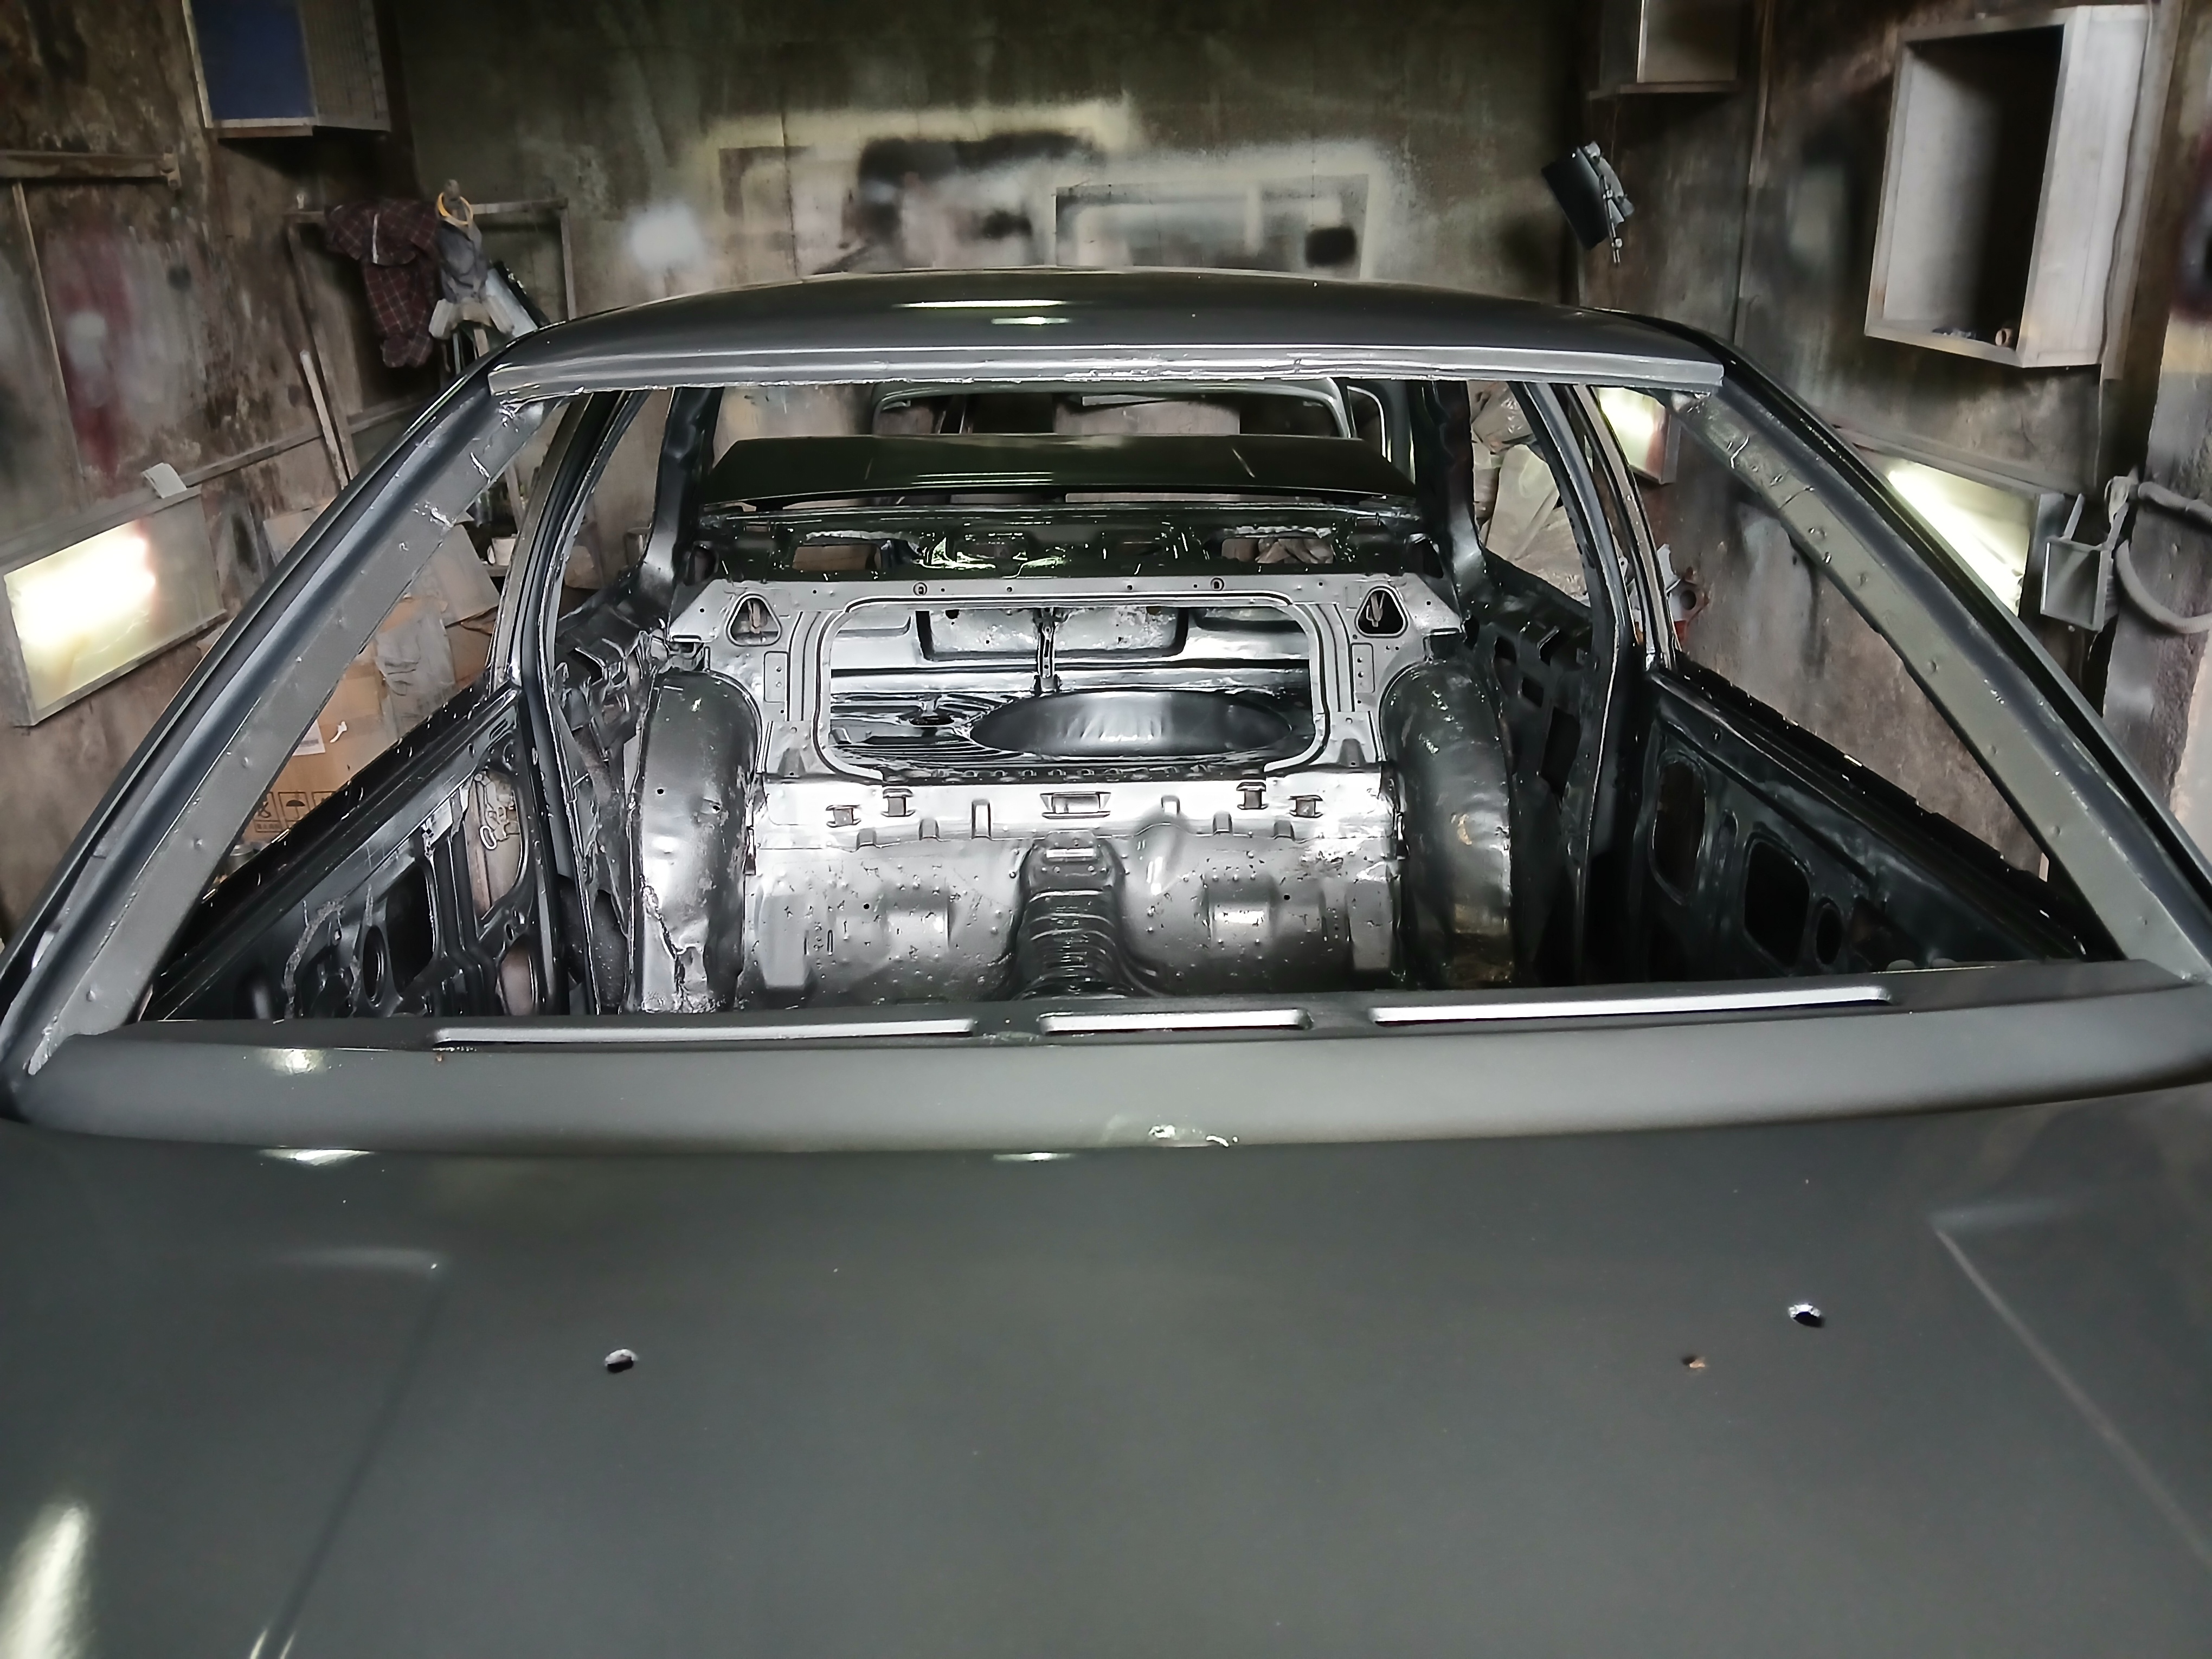
Here’s a walkthrough video of the paint job — enjoy!
This post reflects the current progress as of August 8, 2025.
We’ve made some solid headway, but there’s still a long road ahead. I’ll continue updating this blog as we tackle each stage of the build — stay tuned!
Special Thanks
This has been my very first car restoration project, and I couldn't have gotten this far without a few amazing friends and my incredible family who supported me throughout the journey. It hasn’t always been easy, but every step has been incredibly rewarding—and I’m genuinely grateful for the people who’ve stood by me.
A special shout-out to @Januka and @Shehan—despite their busy schedules, they made time to help out in every way they could. From the initial inspection to dealing with the usual chaos that comes with working with mechanics, they were there through it all. Massive thanks to both of them for being part of the build and making this project that much more meaningful.
Big thanks also to RoadSquad, the tow service provider who helped me out when I needed it most. Getting the car where it needed to be, safely and on time, made a huge difference—appreciate the professionalism and reliability.
And to my family—thank you for all the patience, encouragement, and support you've given me along the way. From late nights in the garage to the constant talk about parts and plans, your belief in me kept this dream moving forward. I couldn't have done this without you.
This is just the beginning—there’s a lot more to come as the build continues. Stay tuned!